Thanks to its advanced cameras, the Galaxy S9 can capture videos at an astonishing 960 frames per second (fps). To put it in perspective, you now have you the ability to record the world around you in ways that previously required expensive professional camera equipment. And that's just the tip of the iceberg.
The S9's Super Slow-mo feature comes with tons of goodies that make it a one-stop-shop for recording, editing, and sharing your slow motion videos. Because of all these capabilities, toying around with this camera function can be a little intimidating. As such, we'll go into its features in more detail, so join us as we explore all the little tidbits concerning Super Slow-mo.
Tip 1: Use a Tripod if You Can
While filming in Super Slow-mo, it's very important to keep your S9 as still as possible, as shaking can interfere with your recording and prevent it from detecting movements when set to auto-record. Whenever possible, we recommended that you use a tripod to maximize Super Slow-mo's effectiveness.
Tip 2: Learn When to Use Automatic & Manual Mode
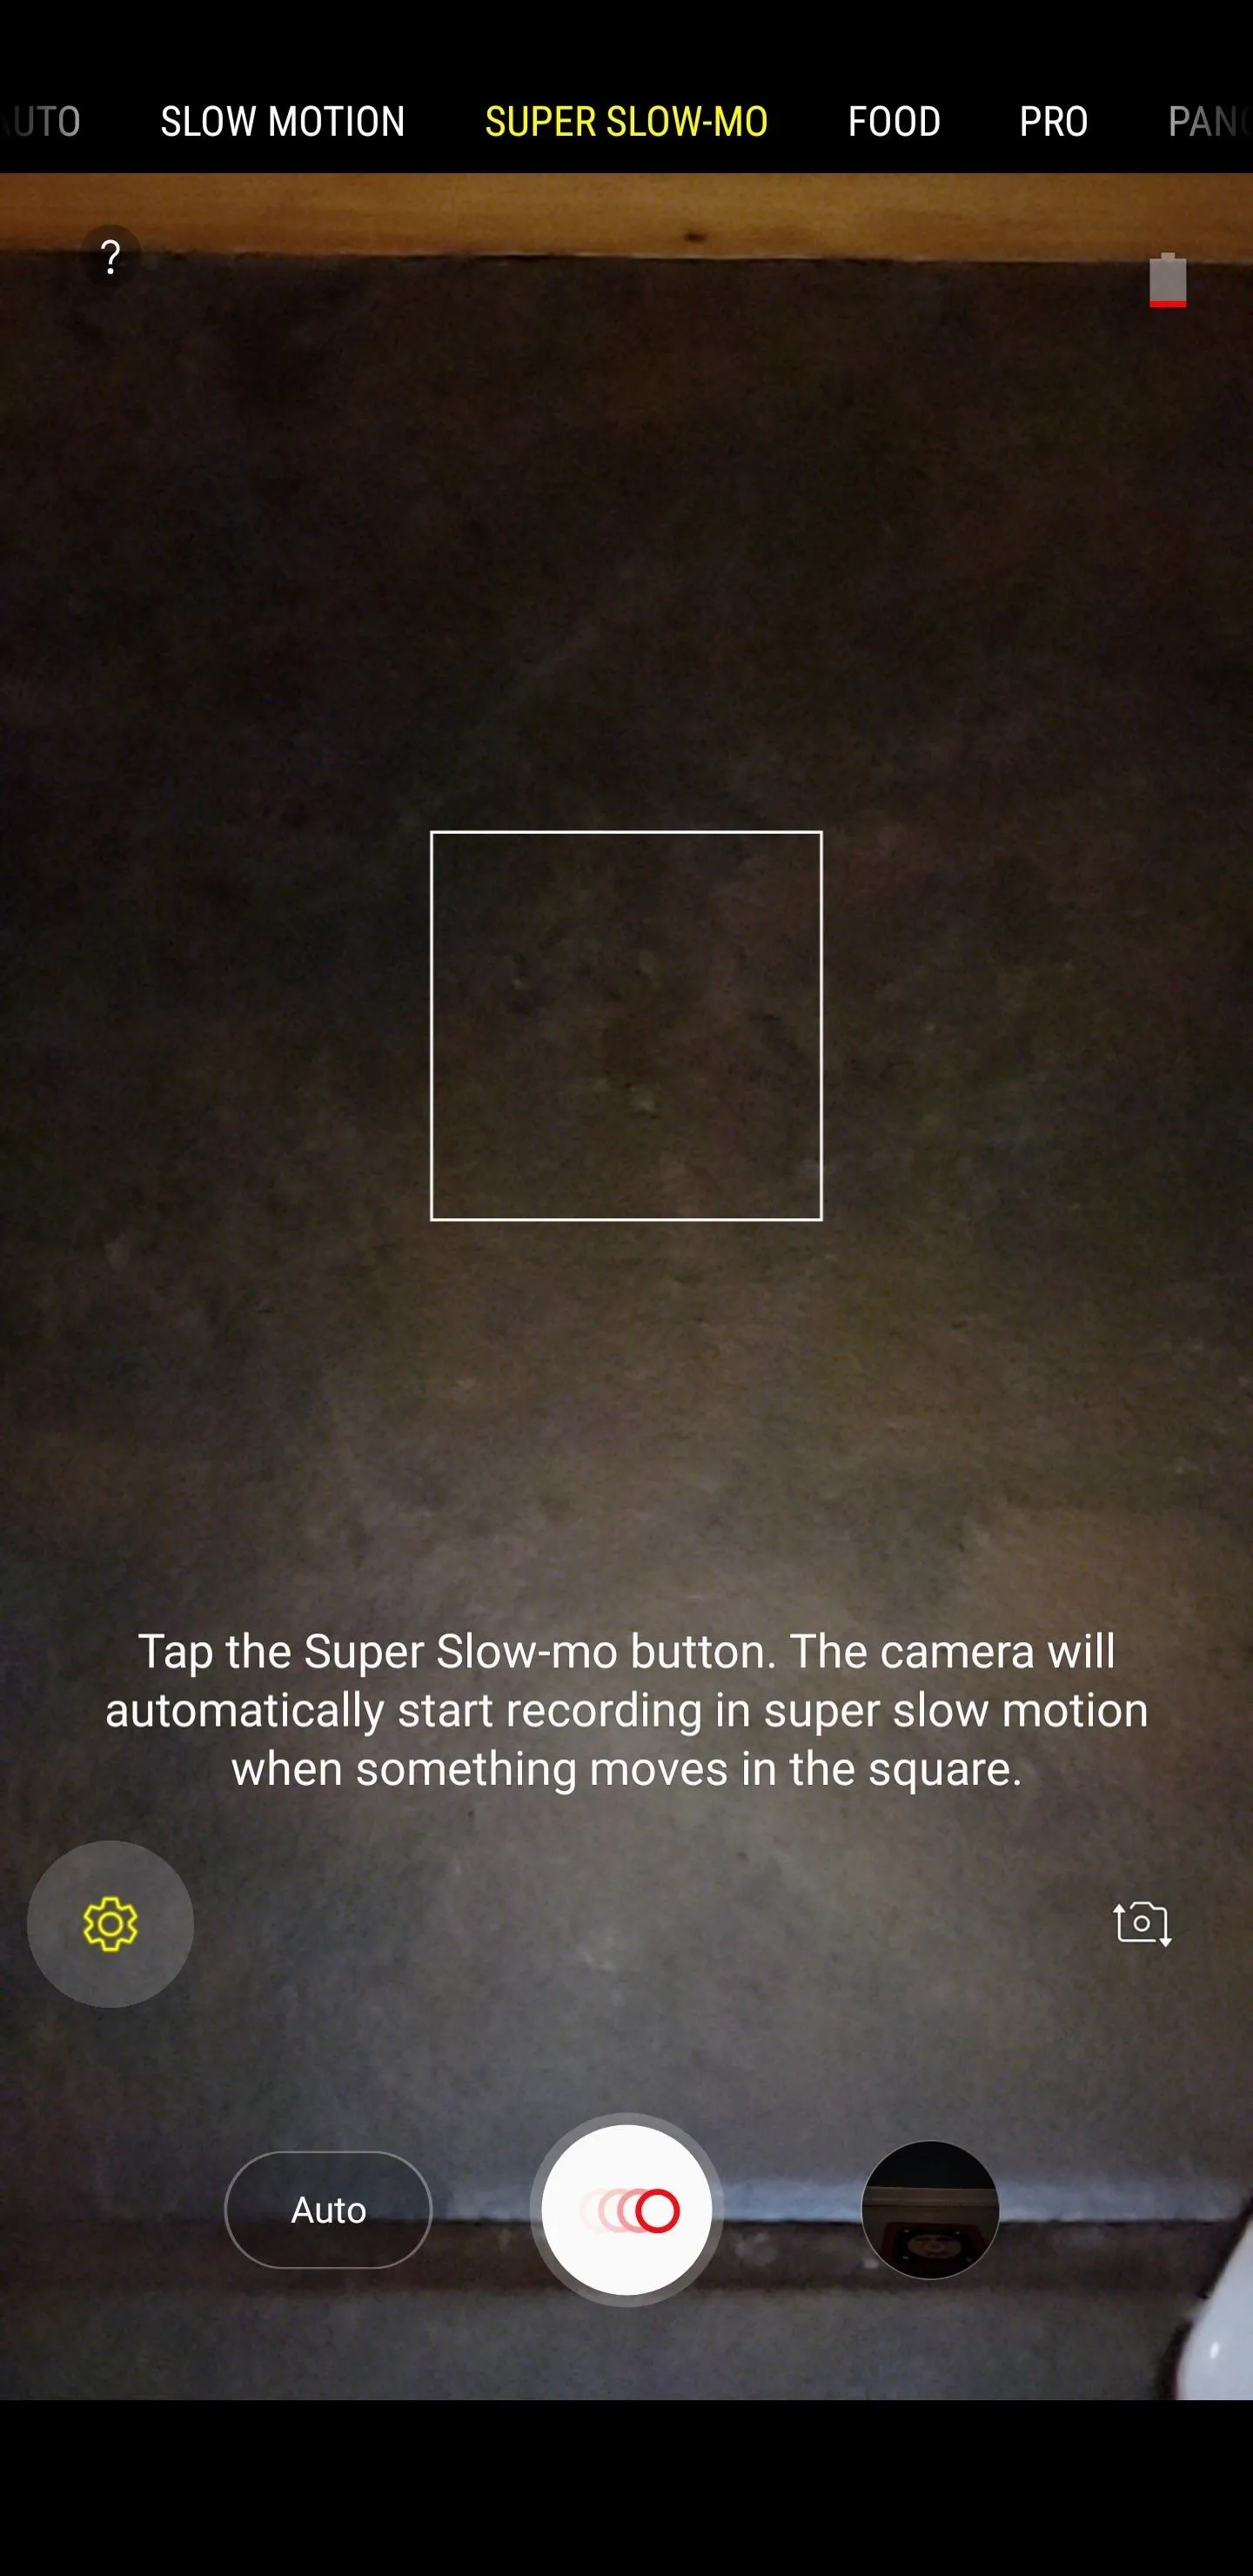
Super Slow-mo in the camera app is set to auto-record by default, but you can easily set it to manual recording by tapping on the text box next to the shutter button. Auto-record mode uses a white target box that turns gold once you hit the shutter button, indicating it's ready to record. Any rapid movement within the square will initiate auto-recording.
Auto-mode has some drawbacks — slow, gradual movements within the target box won't always trigger auto-recording for instance. In addition, tiny objects like raindrops will often fail to initiate slow motion recording. So if you want a little more control, manual recording might be a better option, as it lets you record in Super Slow-mo at will and increases your chances of capturing moments more precisely.
Tip 3: Switch Between Single-Take & Multi-Take
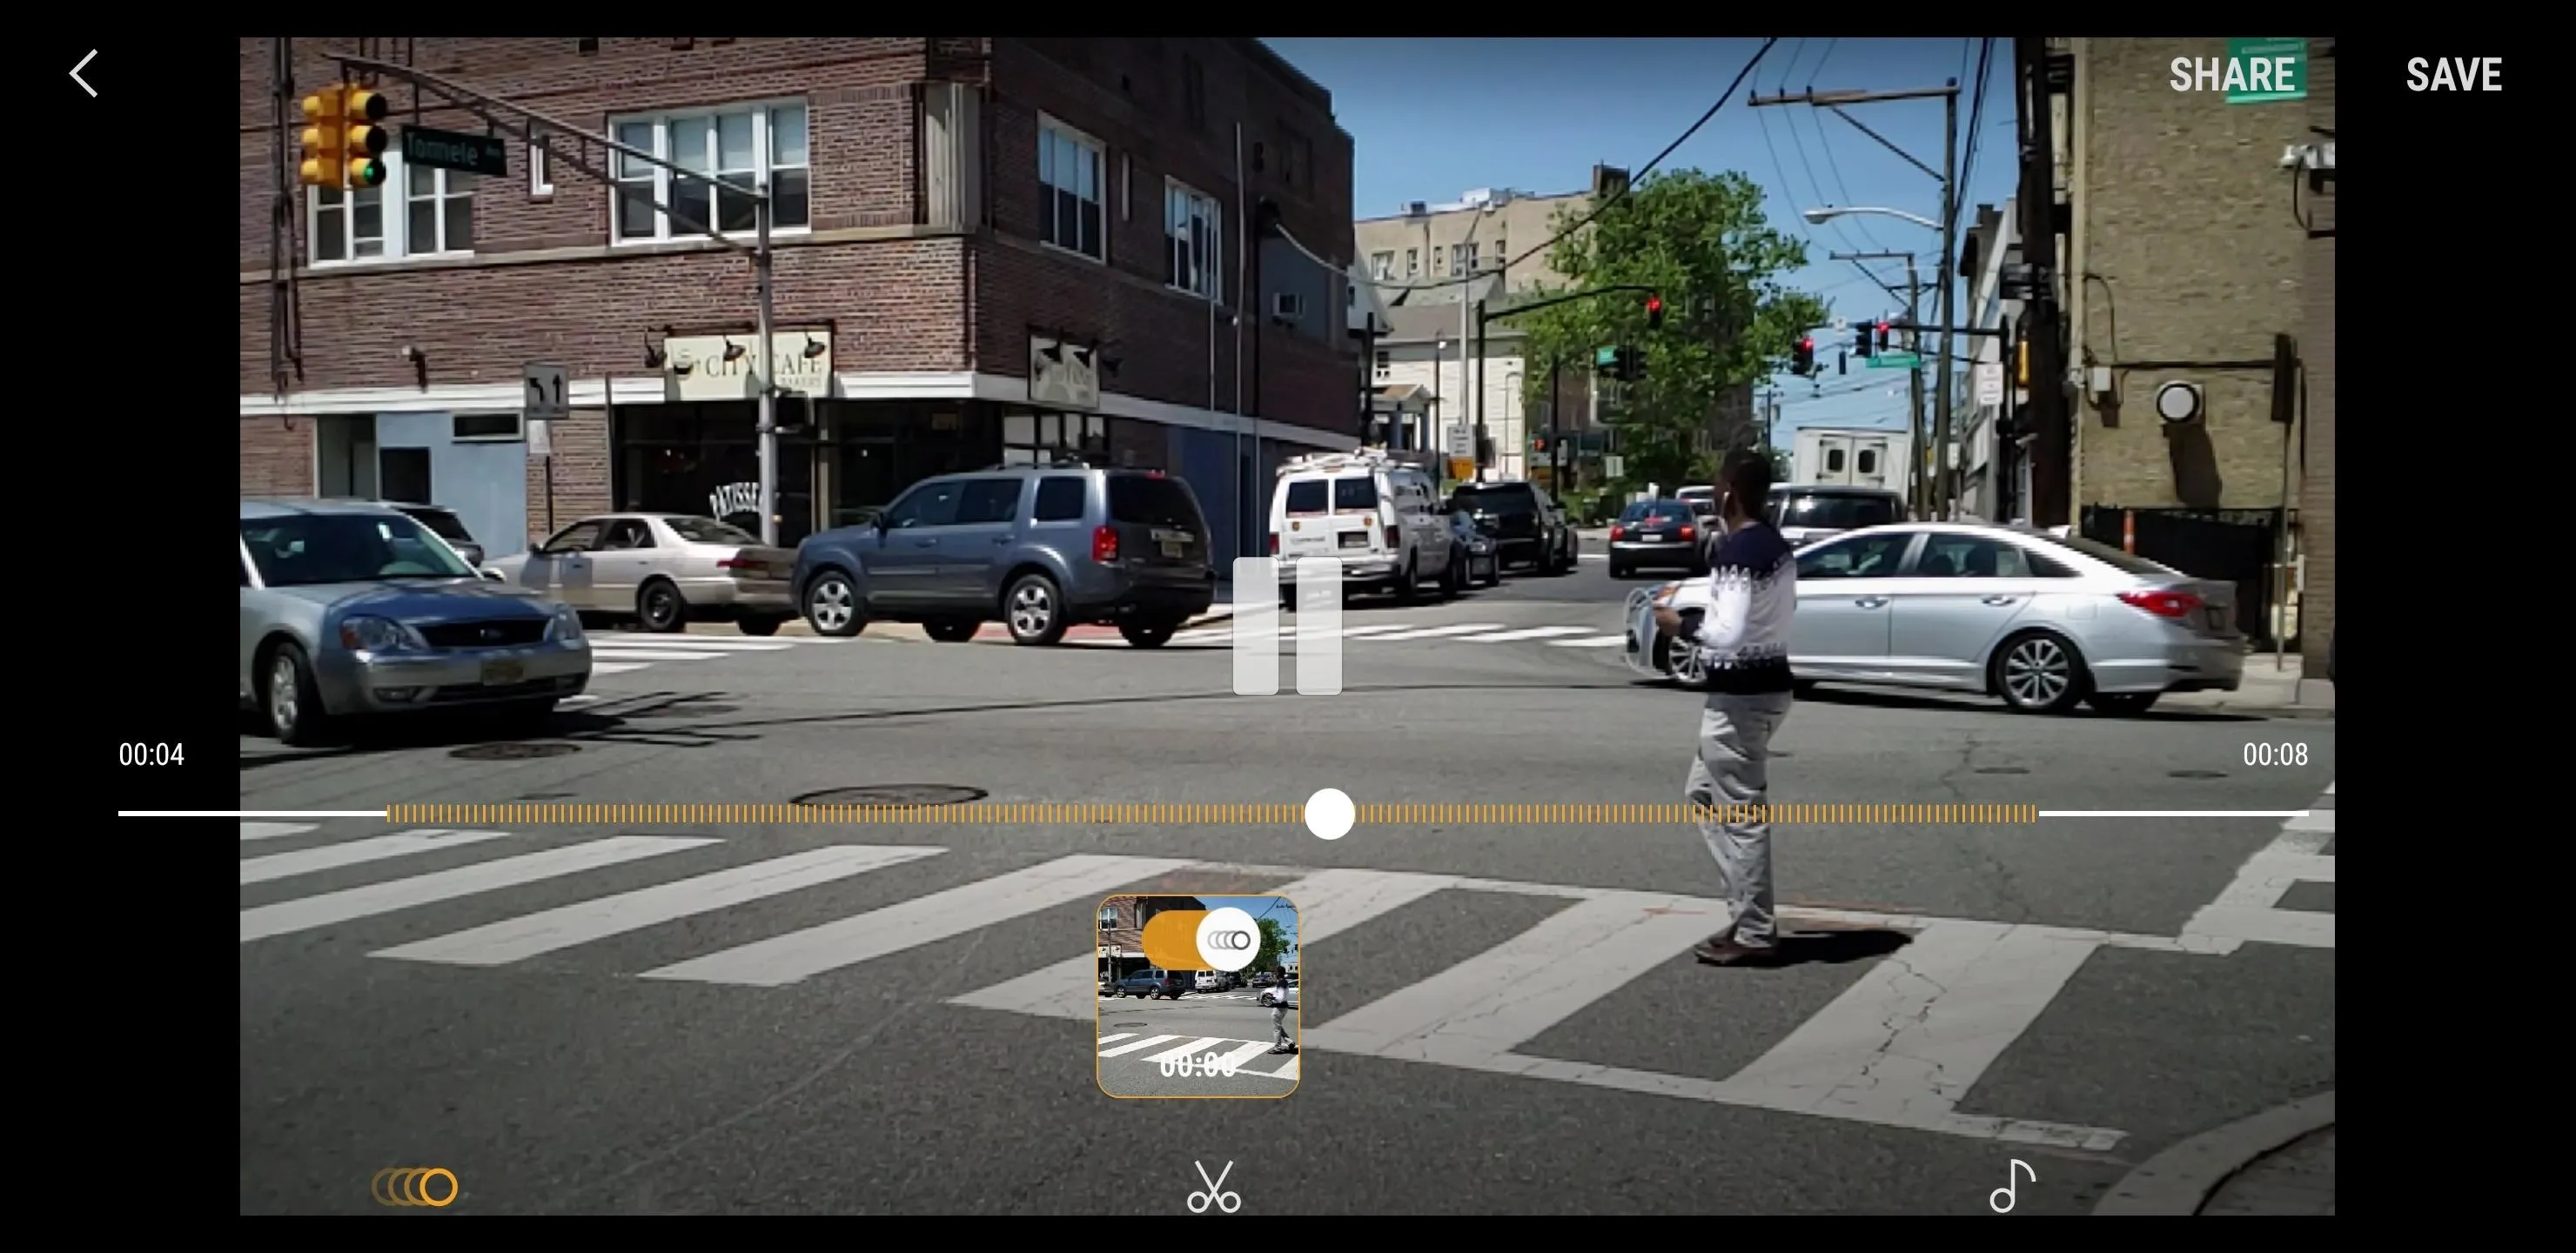
To further increase the odds of capturing the right moment in Super Slow-mo, your S9 gives you the option of recording in Multi-Take, which can capture several bursts of Super Slow-mo in one recording.
When selected in conjunction with auto record, multiple Super Slow-mo clips will be recorded as long as the target box detects movement, and they will only stop when you cease recording. Manual record works the same way, though you'll have to manually tap on the shutter each time you want to capture a scene in Super Slow-mo.
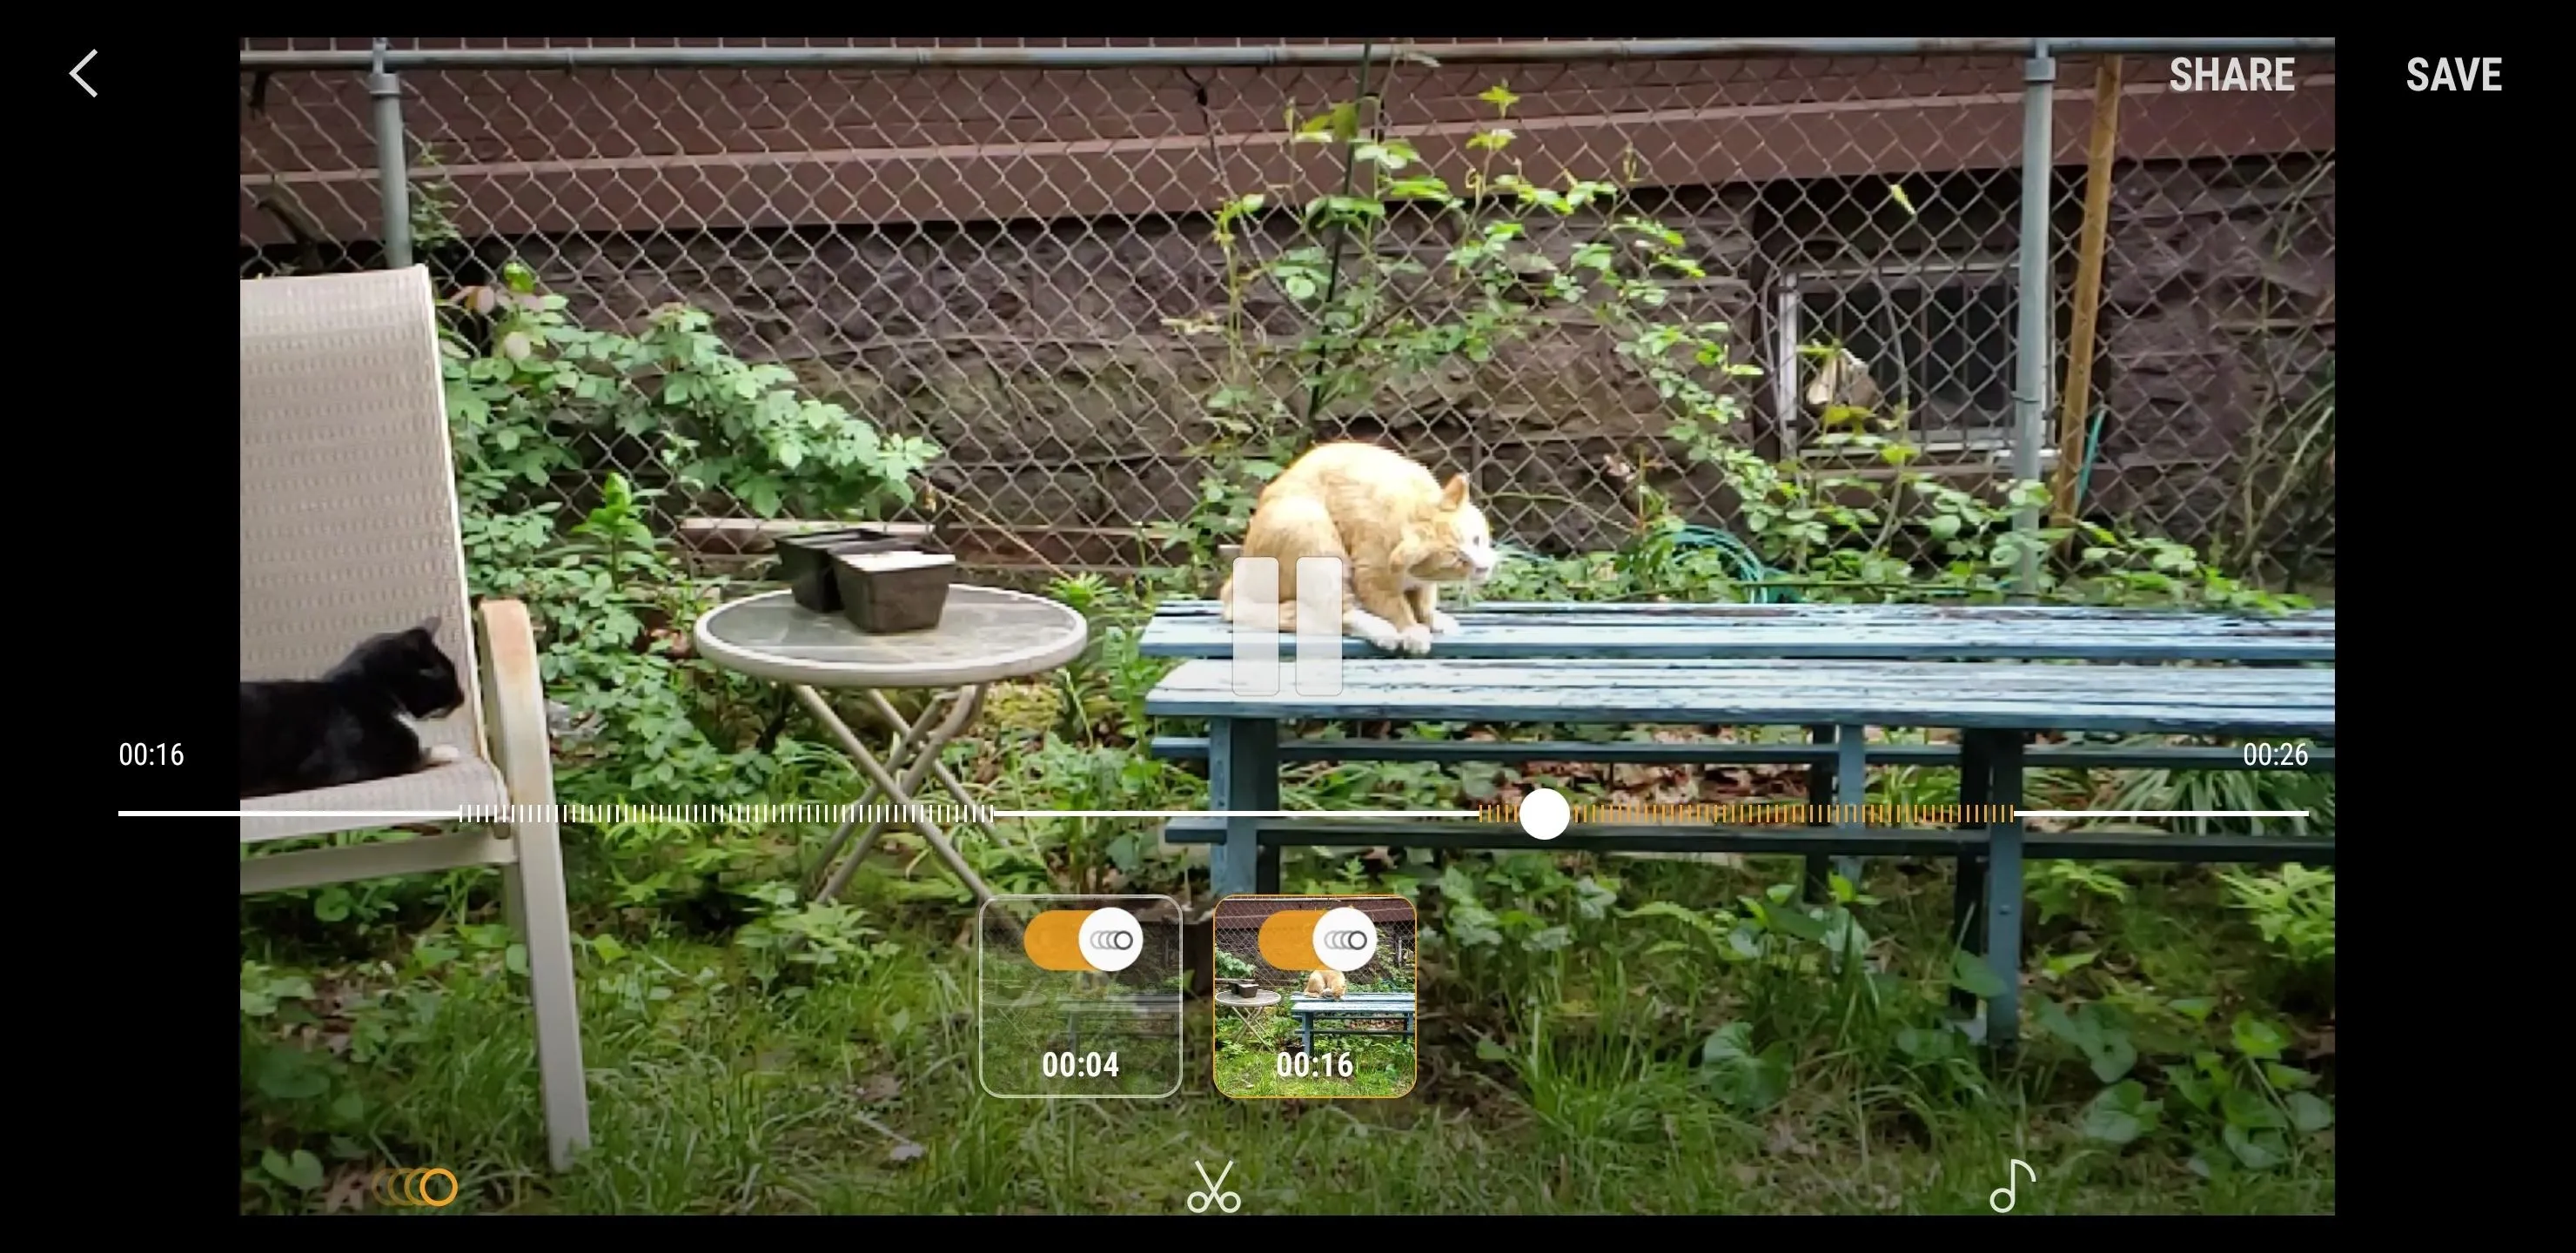
As its name implies, Single-Take will capture a single Super Slow-mo clip, and will automatically stop recording a second or two after. This can save plenty of storage space, as Multi-Take clips are generally larger. The automatic cut-off takes place regardless of whether you're on automatic or manual recording.
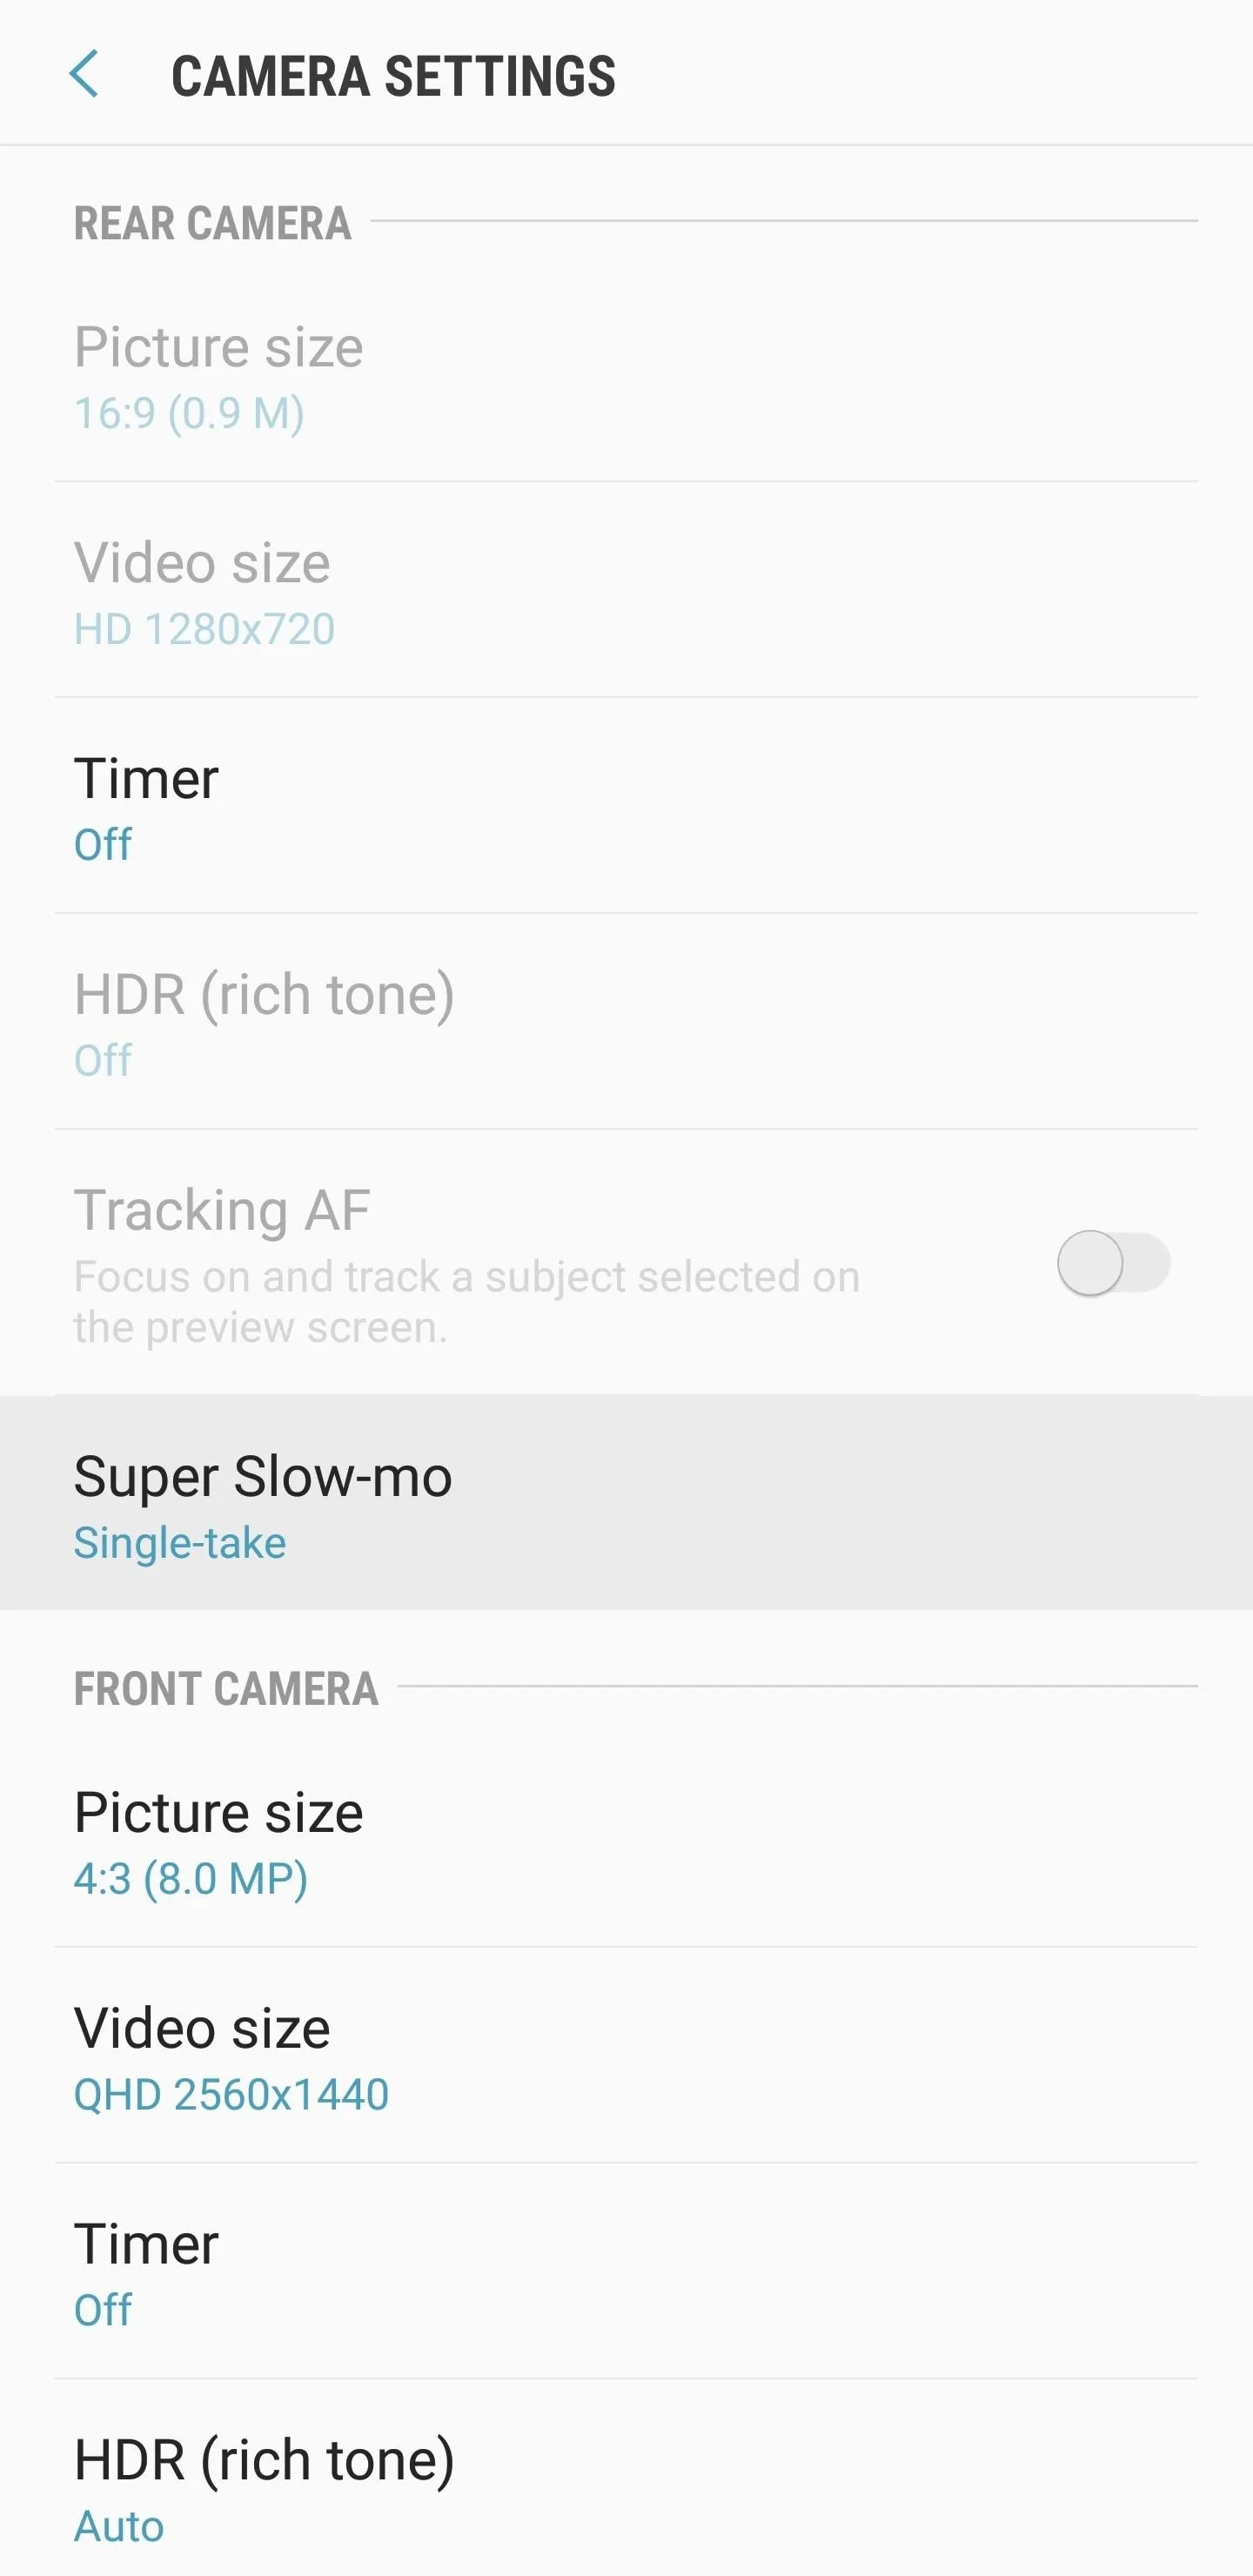
To switch between Multi-take and Singe-take, tap on the cog-shaped settings button on the lower-left side of the screen and select "Super Slow-mo" under the "Rear Camera" section on the following page. From there, choose between "Multi-take" and "Single-take" simply by tapping on them.


Tip 4: Resize the Target Box
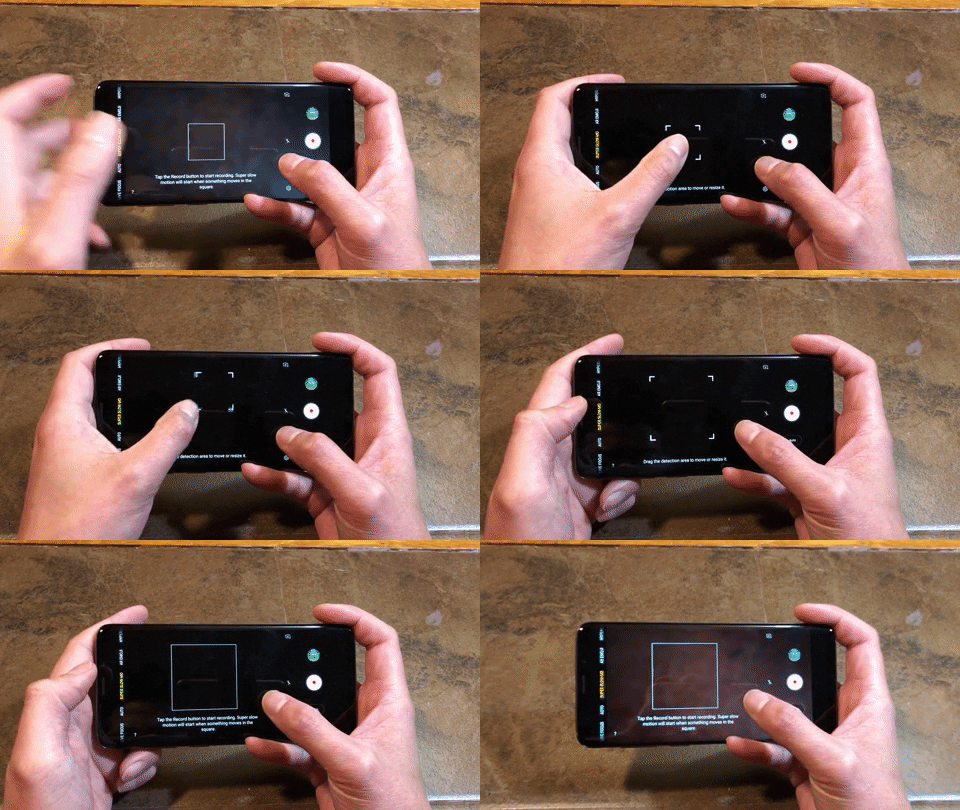
By default, the target box for auto-record appears small in size. Thankfully, you can easily resize it and increase its chances of detecting any movement. To change its size, perform a long press on the box until only its corners show, then drag any corner away from the others to increase the box's area. Once you're satisfied with its size, simply tap on any area outside the corners to confirm the change.
Tip 5: Natural Lighting Is Key
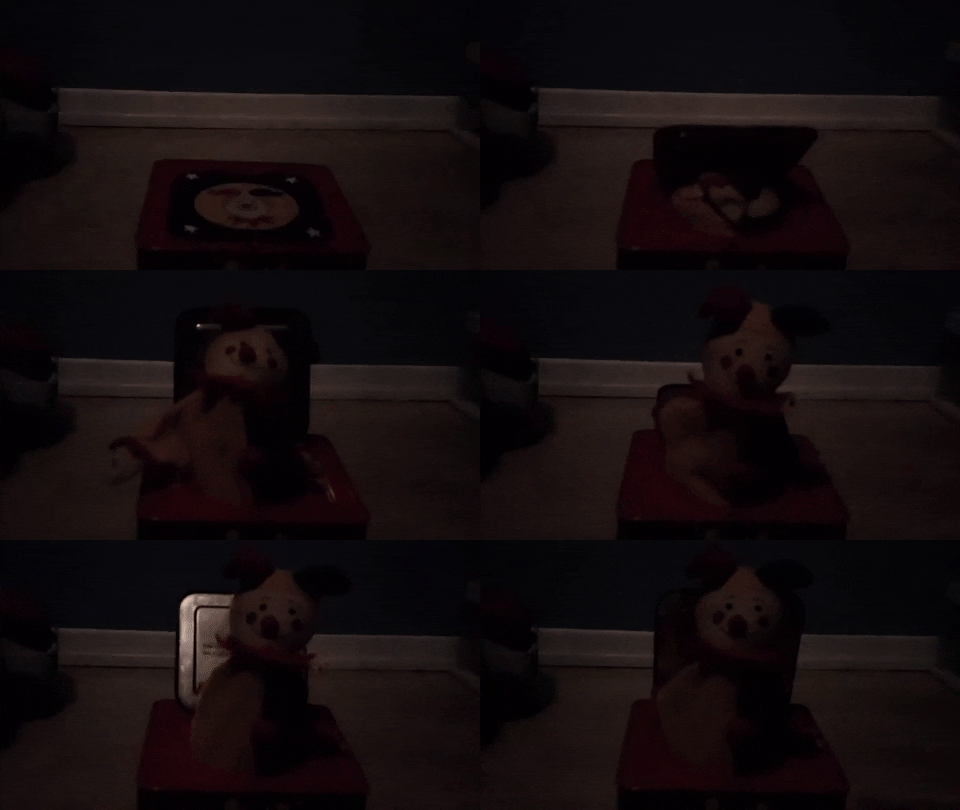
Super Slow-mo works best under natural lighting conditions due to the sheer amount of frames that it captures. Though not noticeable to the naked eye, indoor lighting tends to flicker at very high speeds — particularly LED bulbs and compact fluorescents. Super Slow-mo is very sensitive to this and displays your target at a significantly darker shade even if the room is well lit.
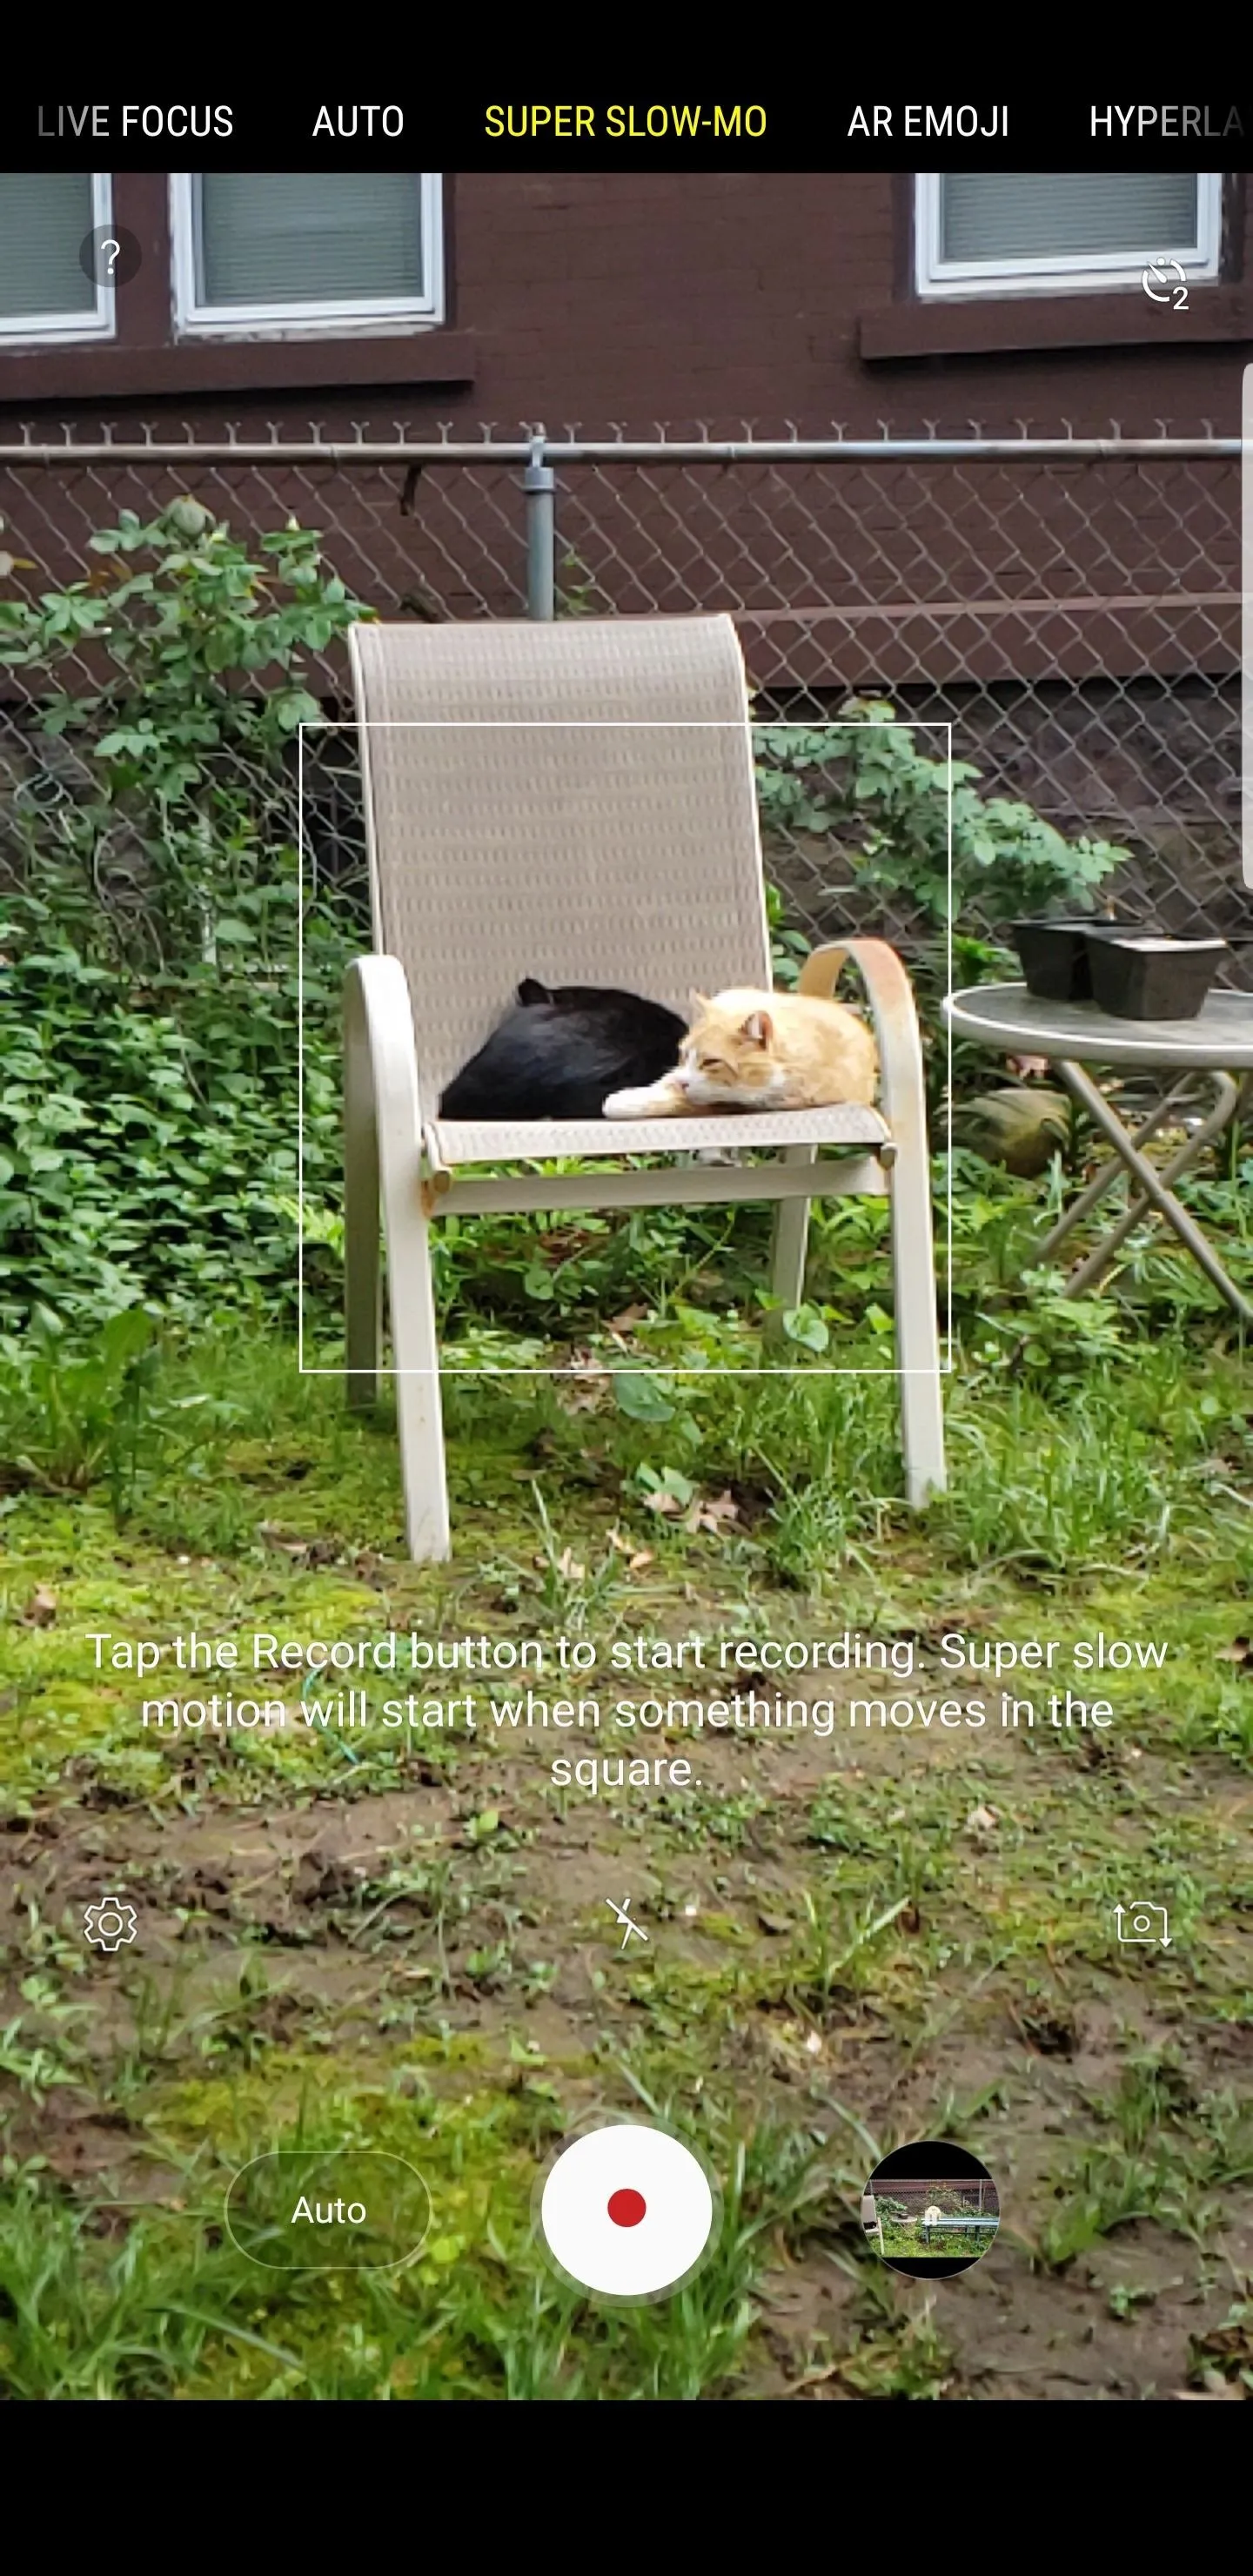
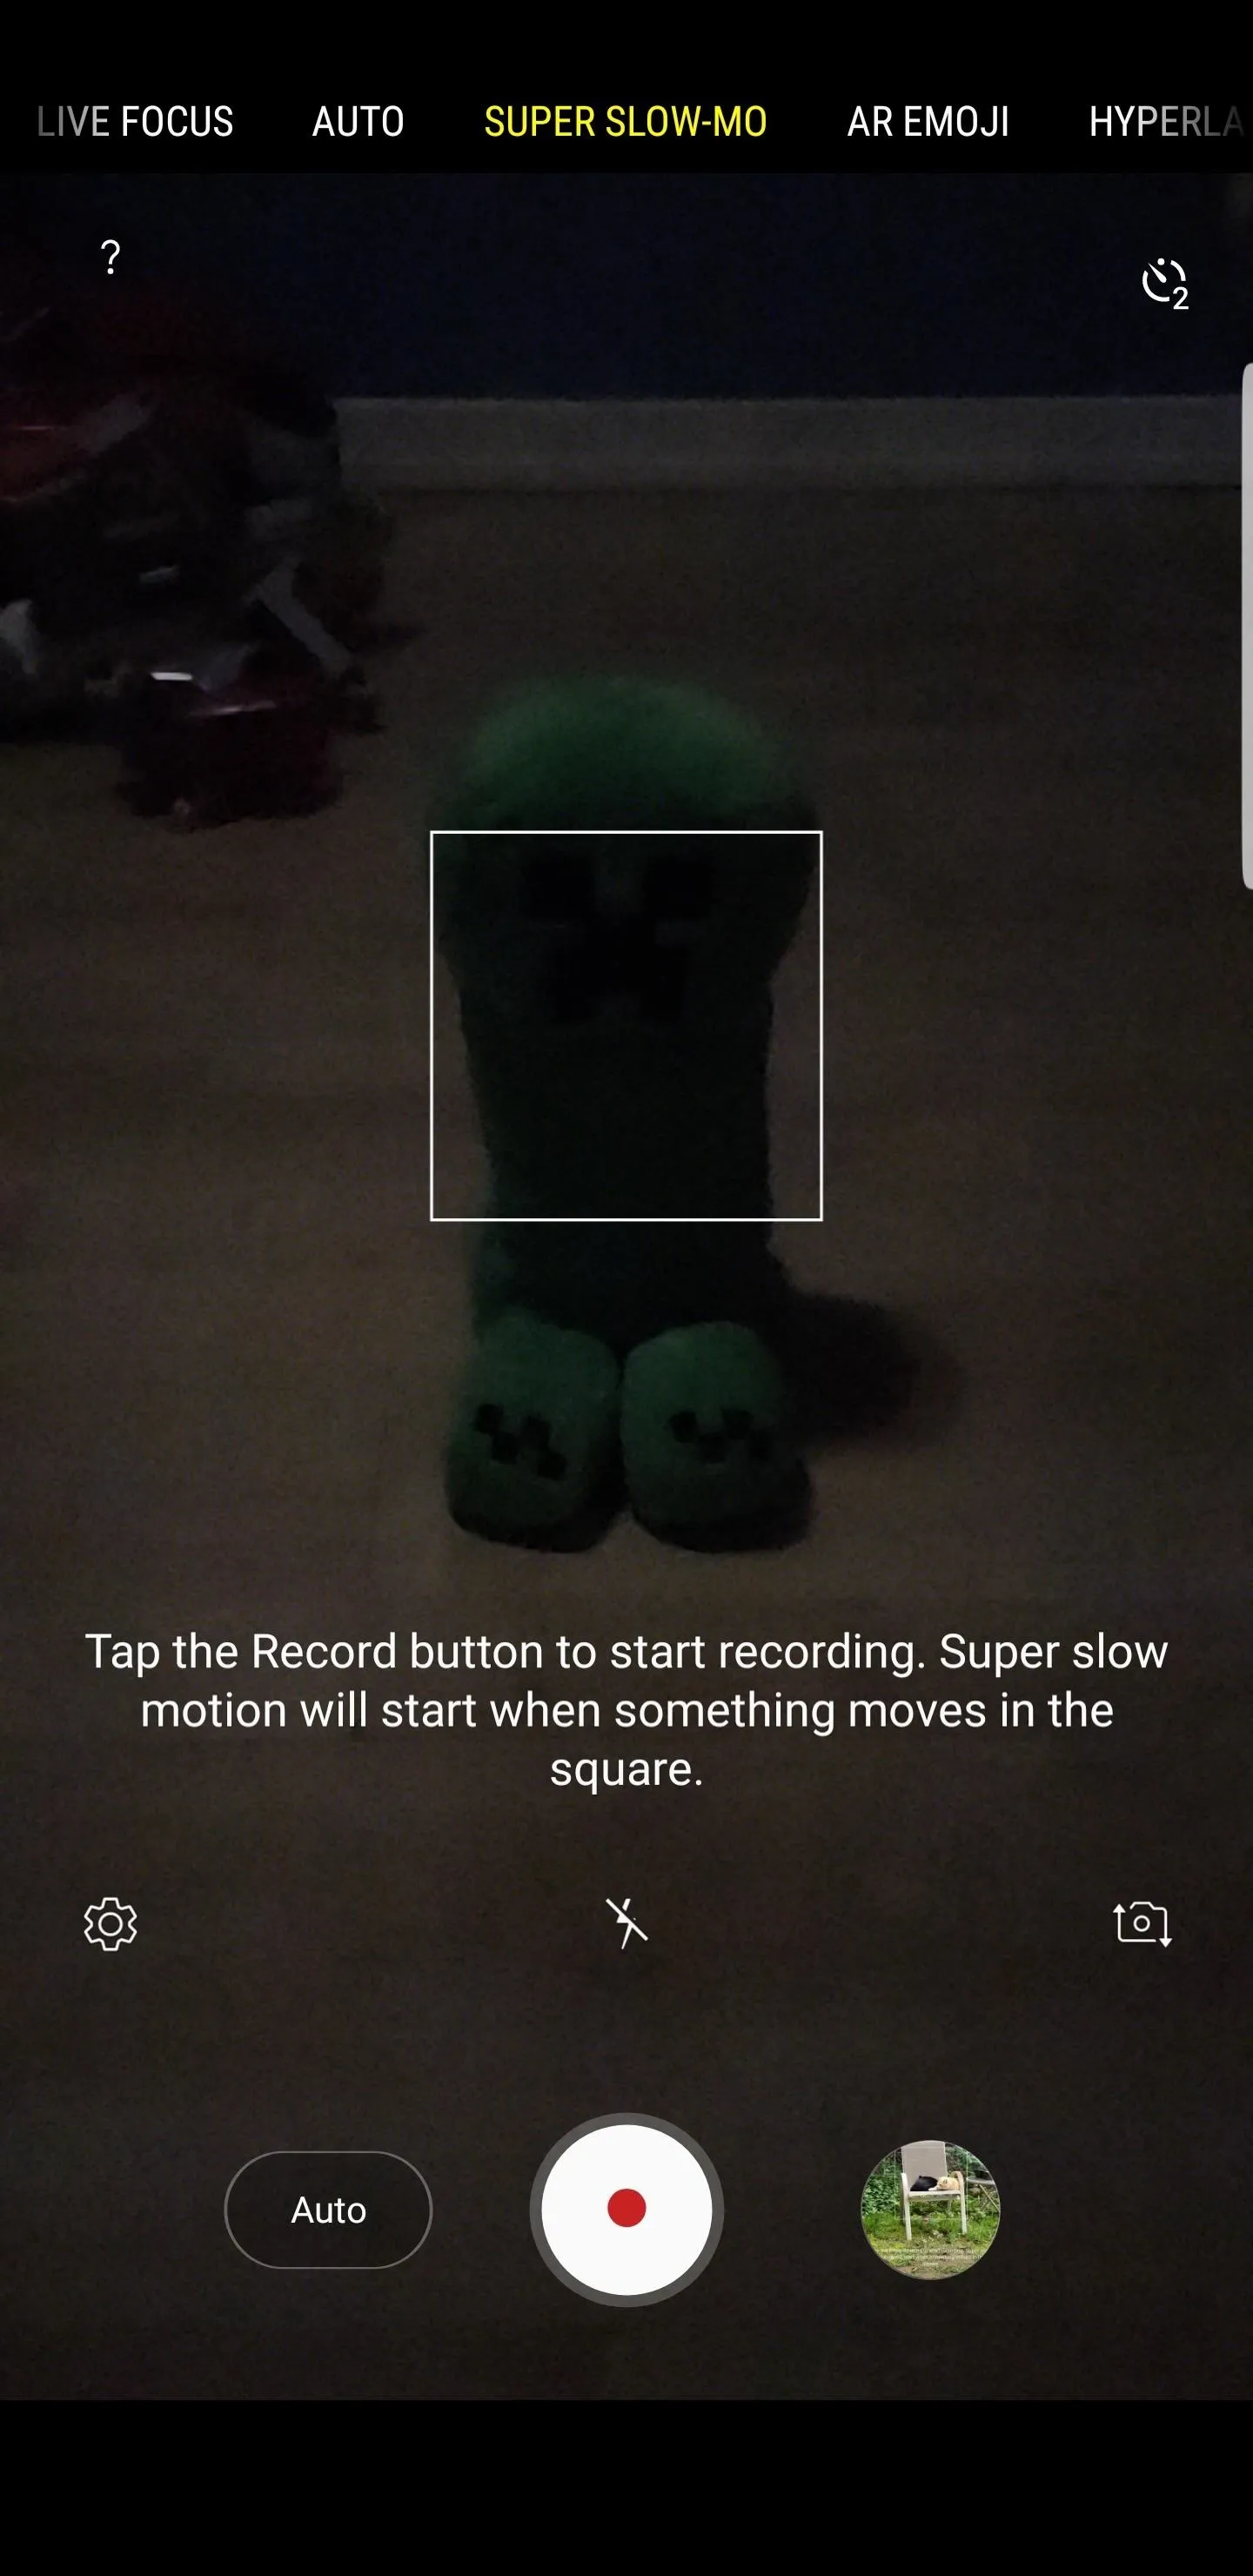


Don't be discouraged, however, as you can take advantage of the effects of pulse modulation to create videos that provide a darker, more film noir theme. As such, we recommend experimenting with indoor lighting while recording in Super Slow-mo — your imagination is your only limit, after all!
Tip 6: You Can Still Film in Standard Slow Motion
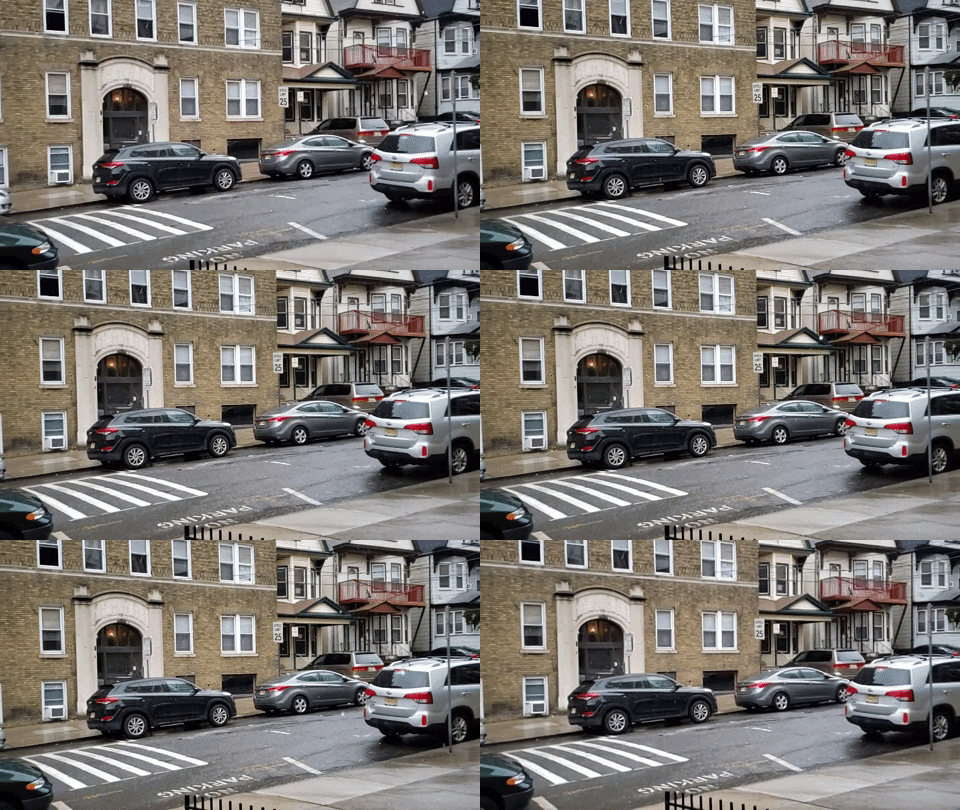
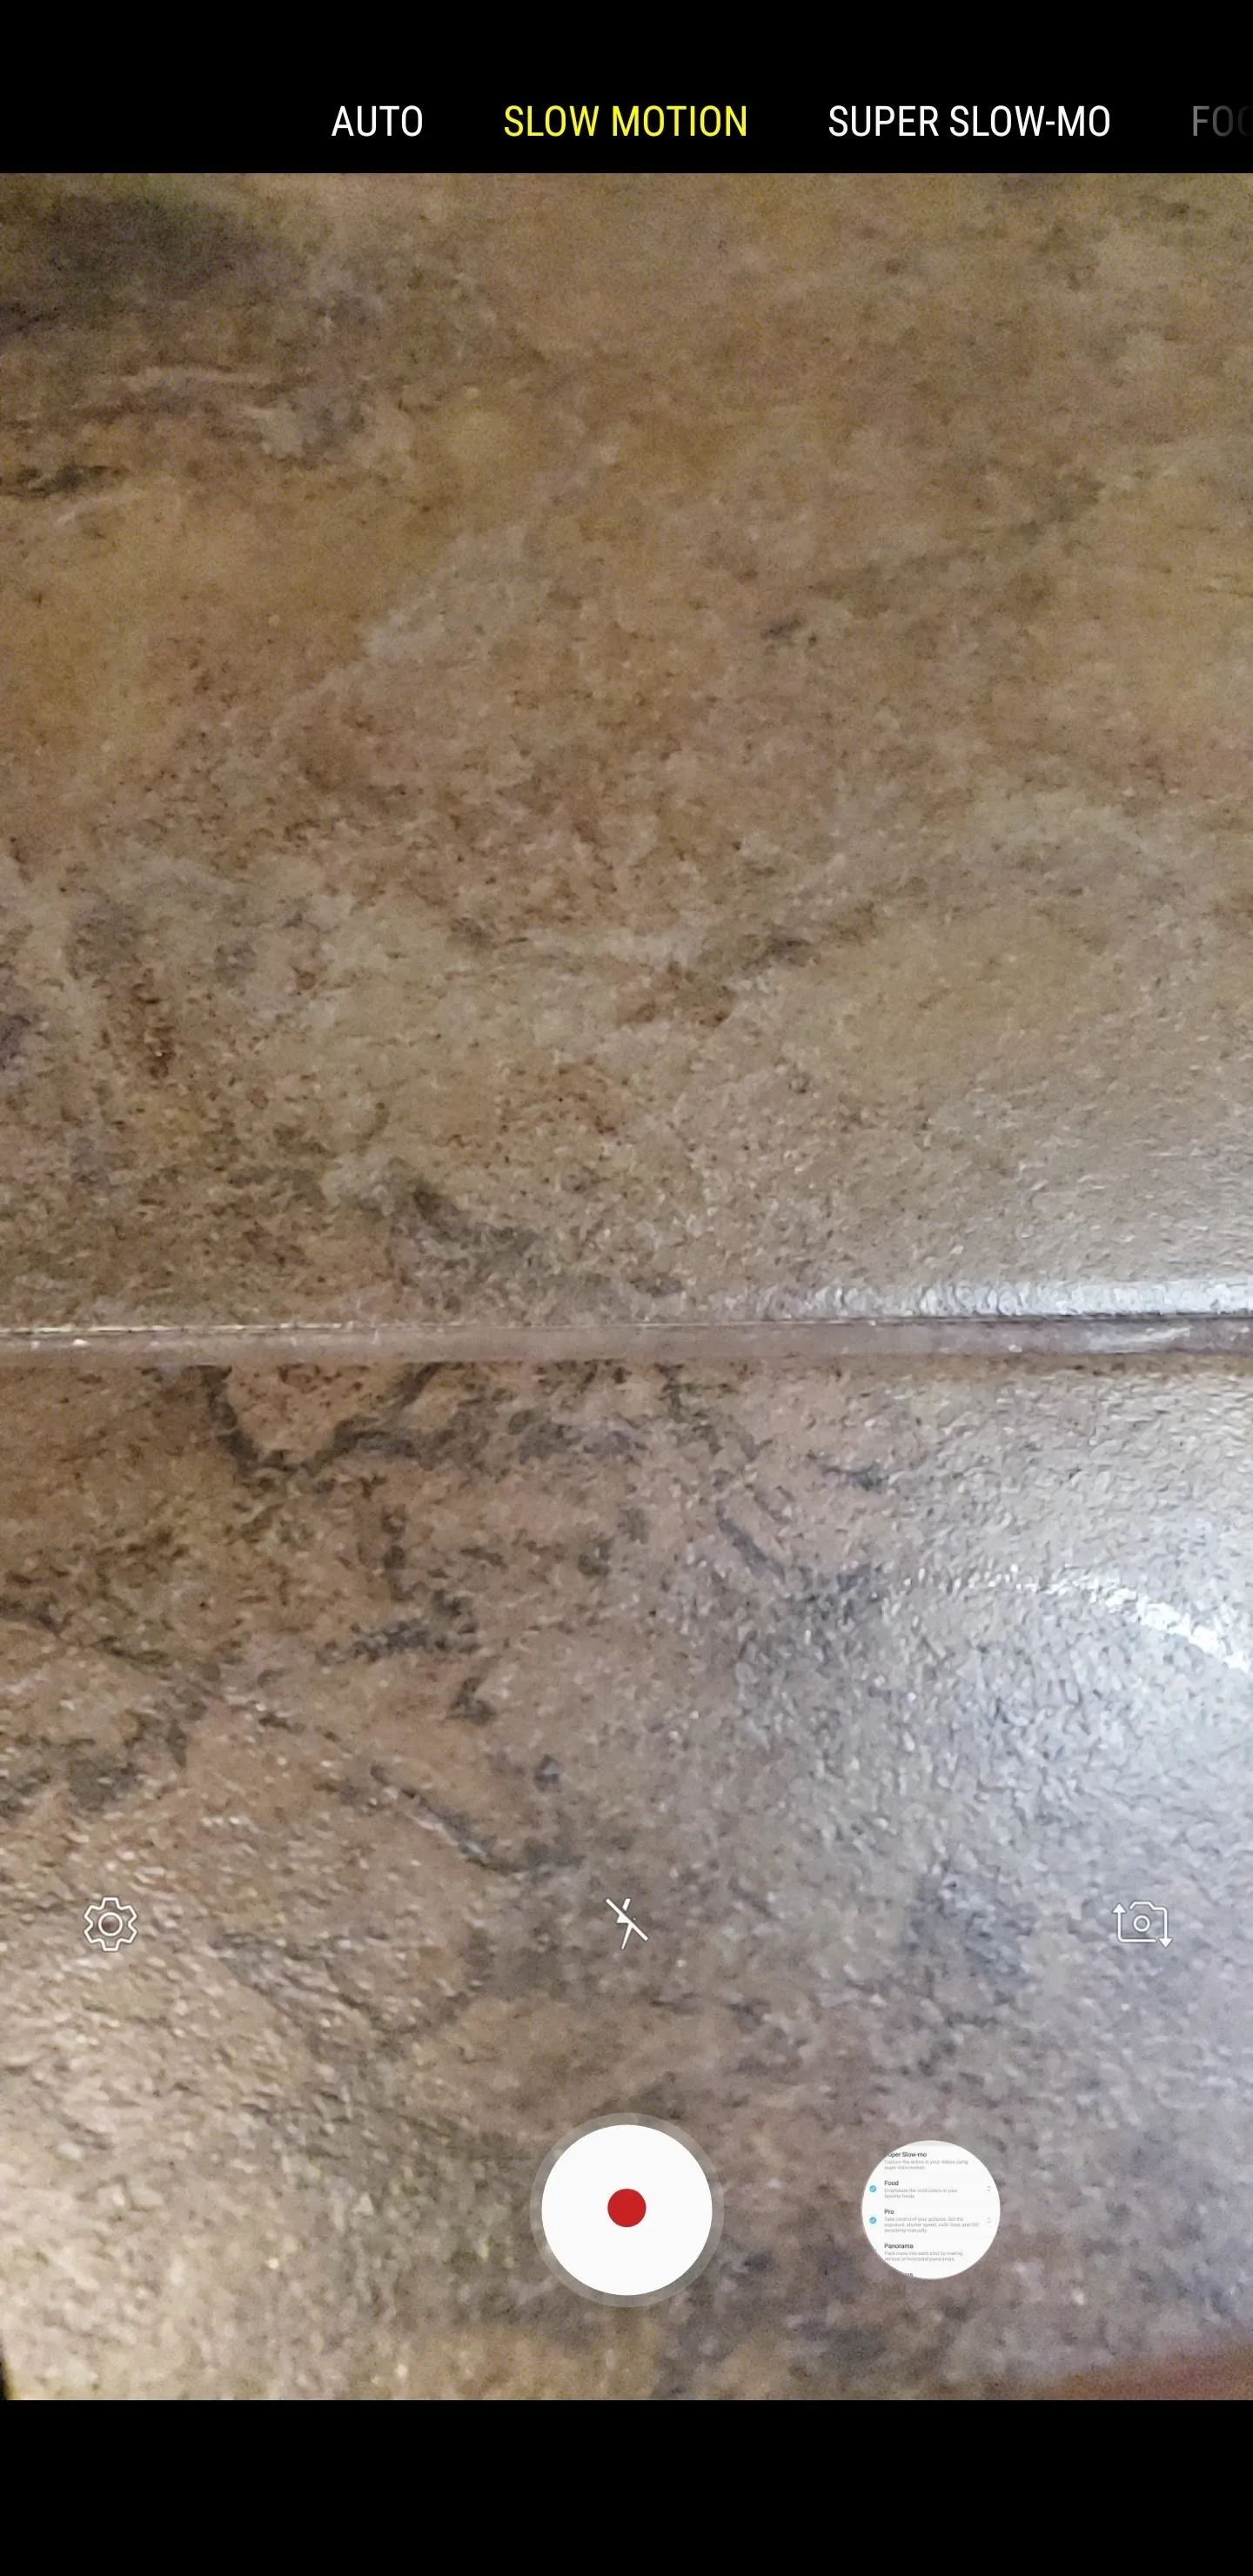
Besides Super Slow-mo, you can also film in regular slow motion, which captures frames at a comparatively faster 240 FPS. To do so, simply swipe sideways on your camera to change modes from Super Slow-mo to Slow Motion.
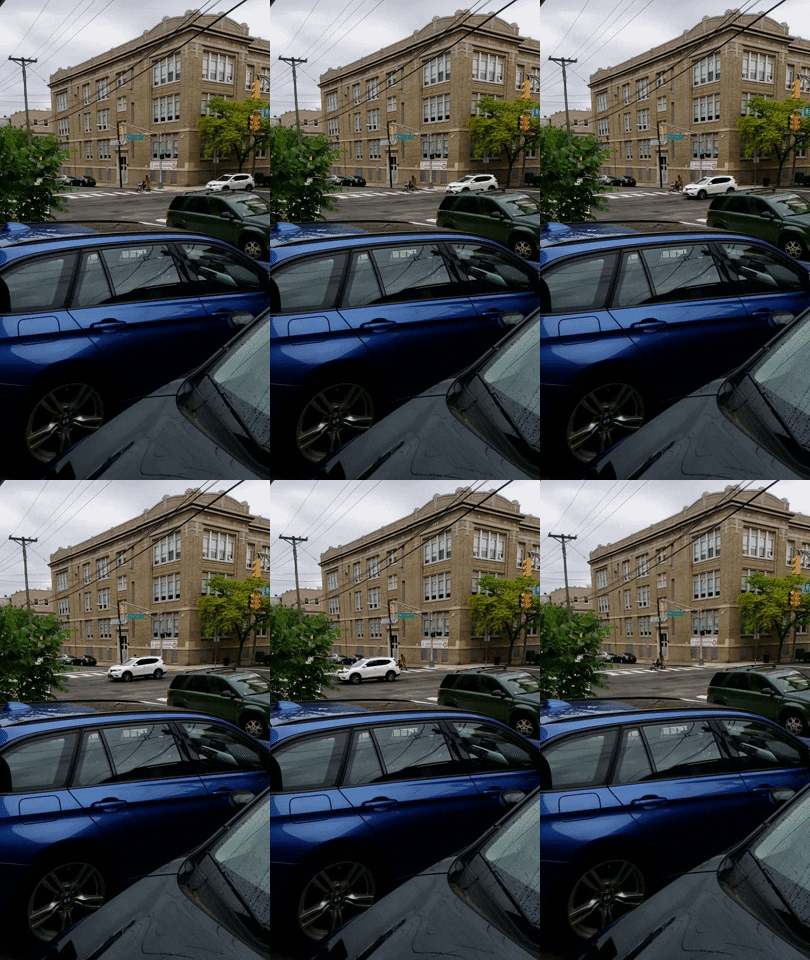
Slow Motion @ 240 FPS
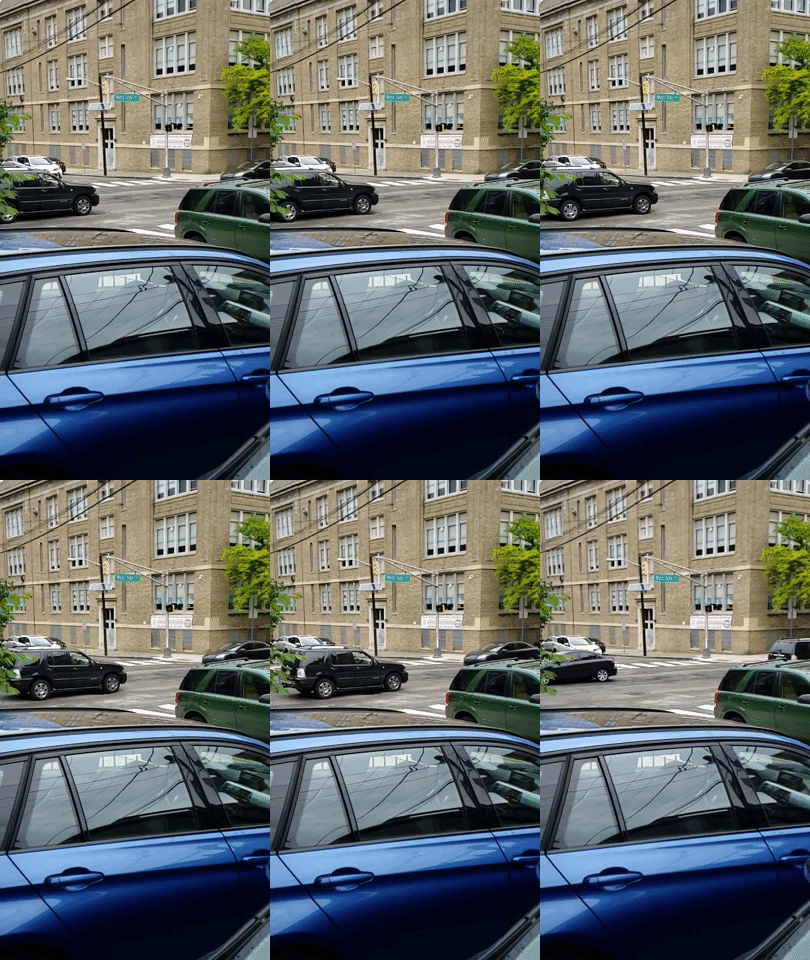
Super Slow-mo @ 960 FPS

Slow Motion @ 240 FPS

Super Slow-mo @ 960 FPS
Standard slow motion offers several advantages over its slower counterpart, such as significantly improved performance under indoor lighting, clearer videos at 1080p resolution, and the ability to make longer videos compared to Super Slow-mo's short 6-second bursts.
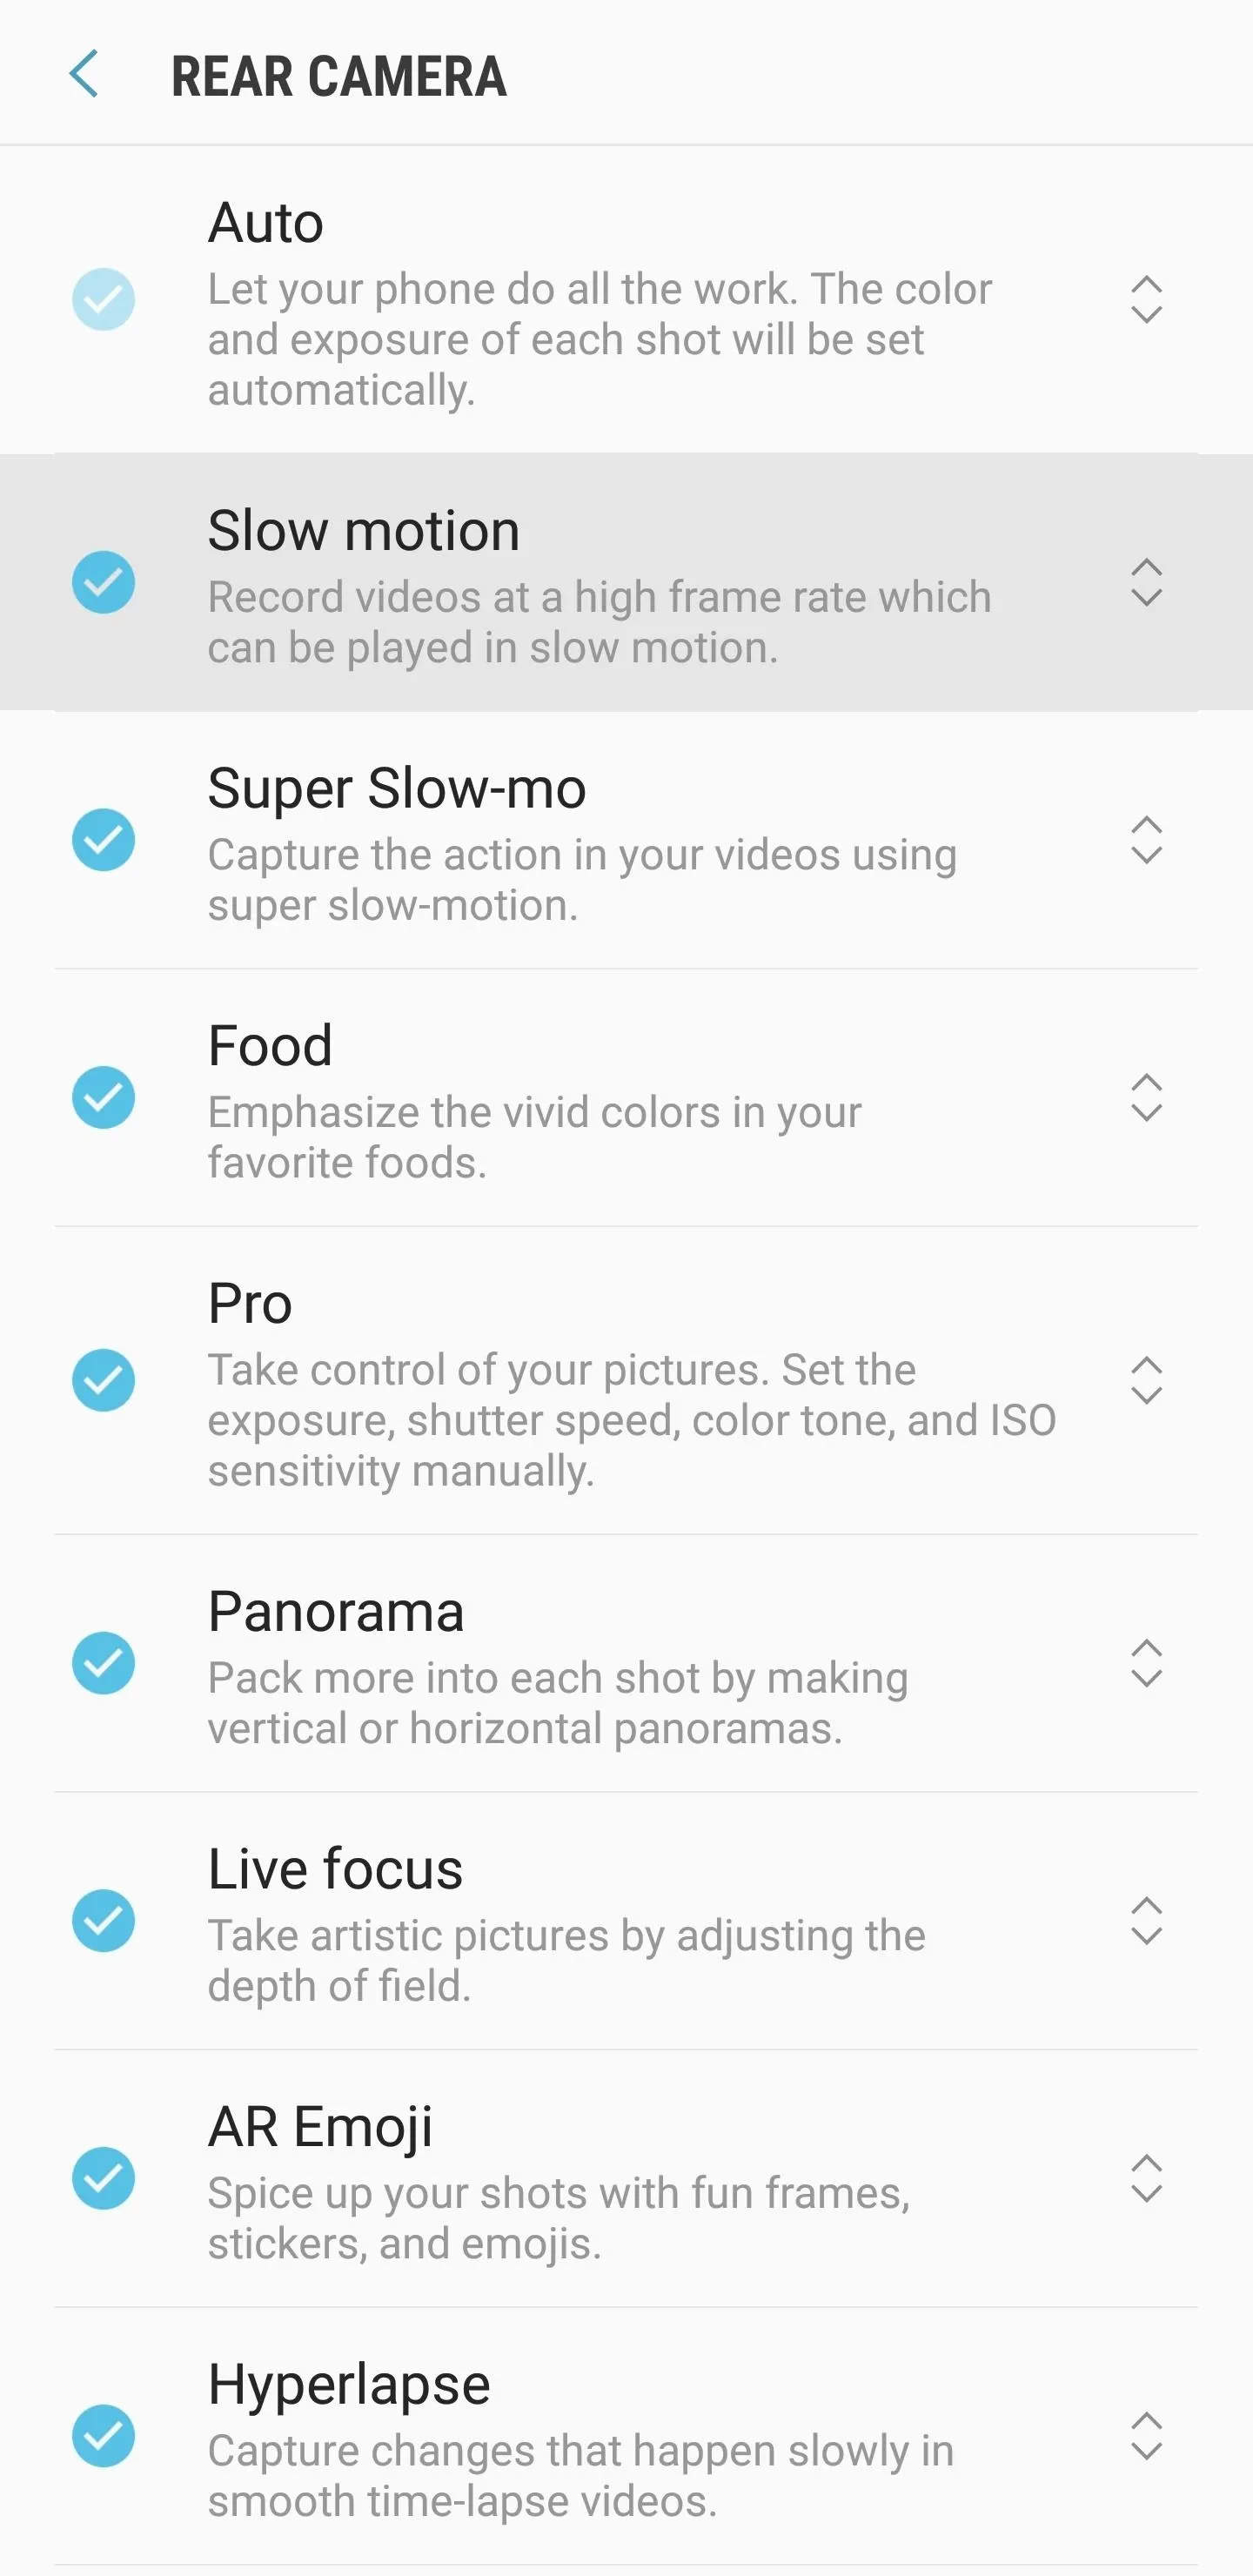
If you can't find "Slow Motion" within your camera, don't worry, you can easily enable the feature by first tapping on the settings button in the lower-left corner of the screen, then selecting "Edit camera modes" on the following page.
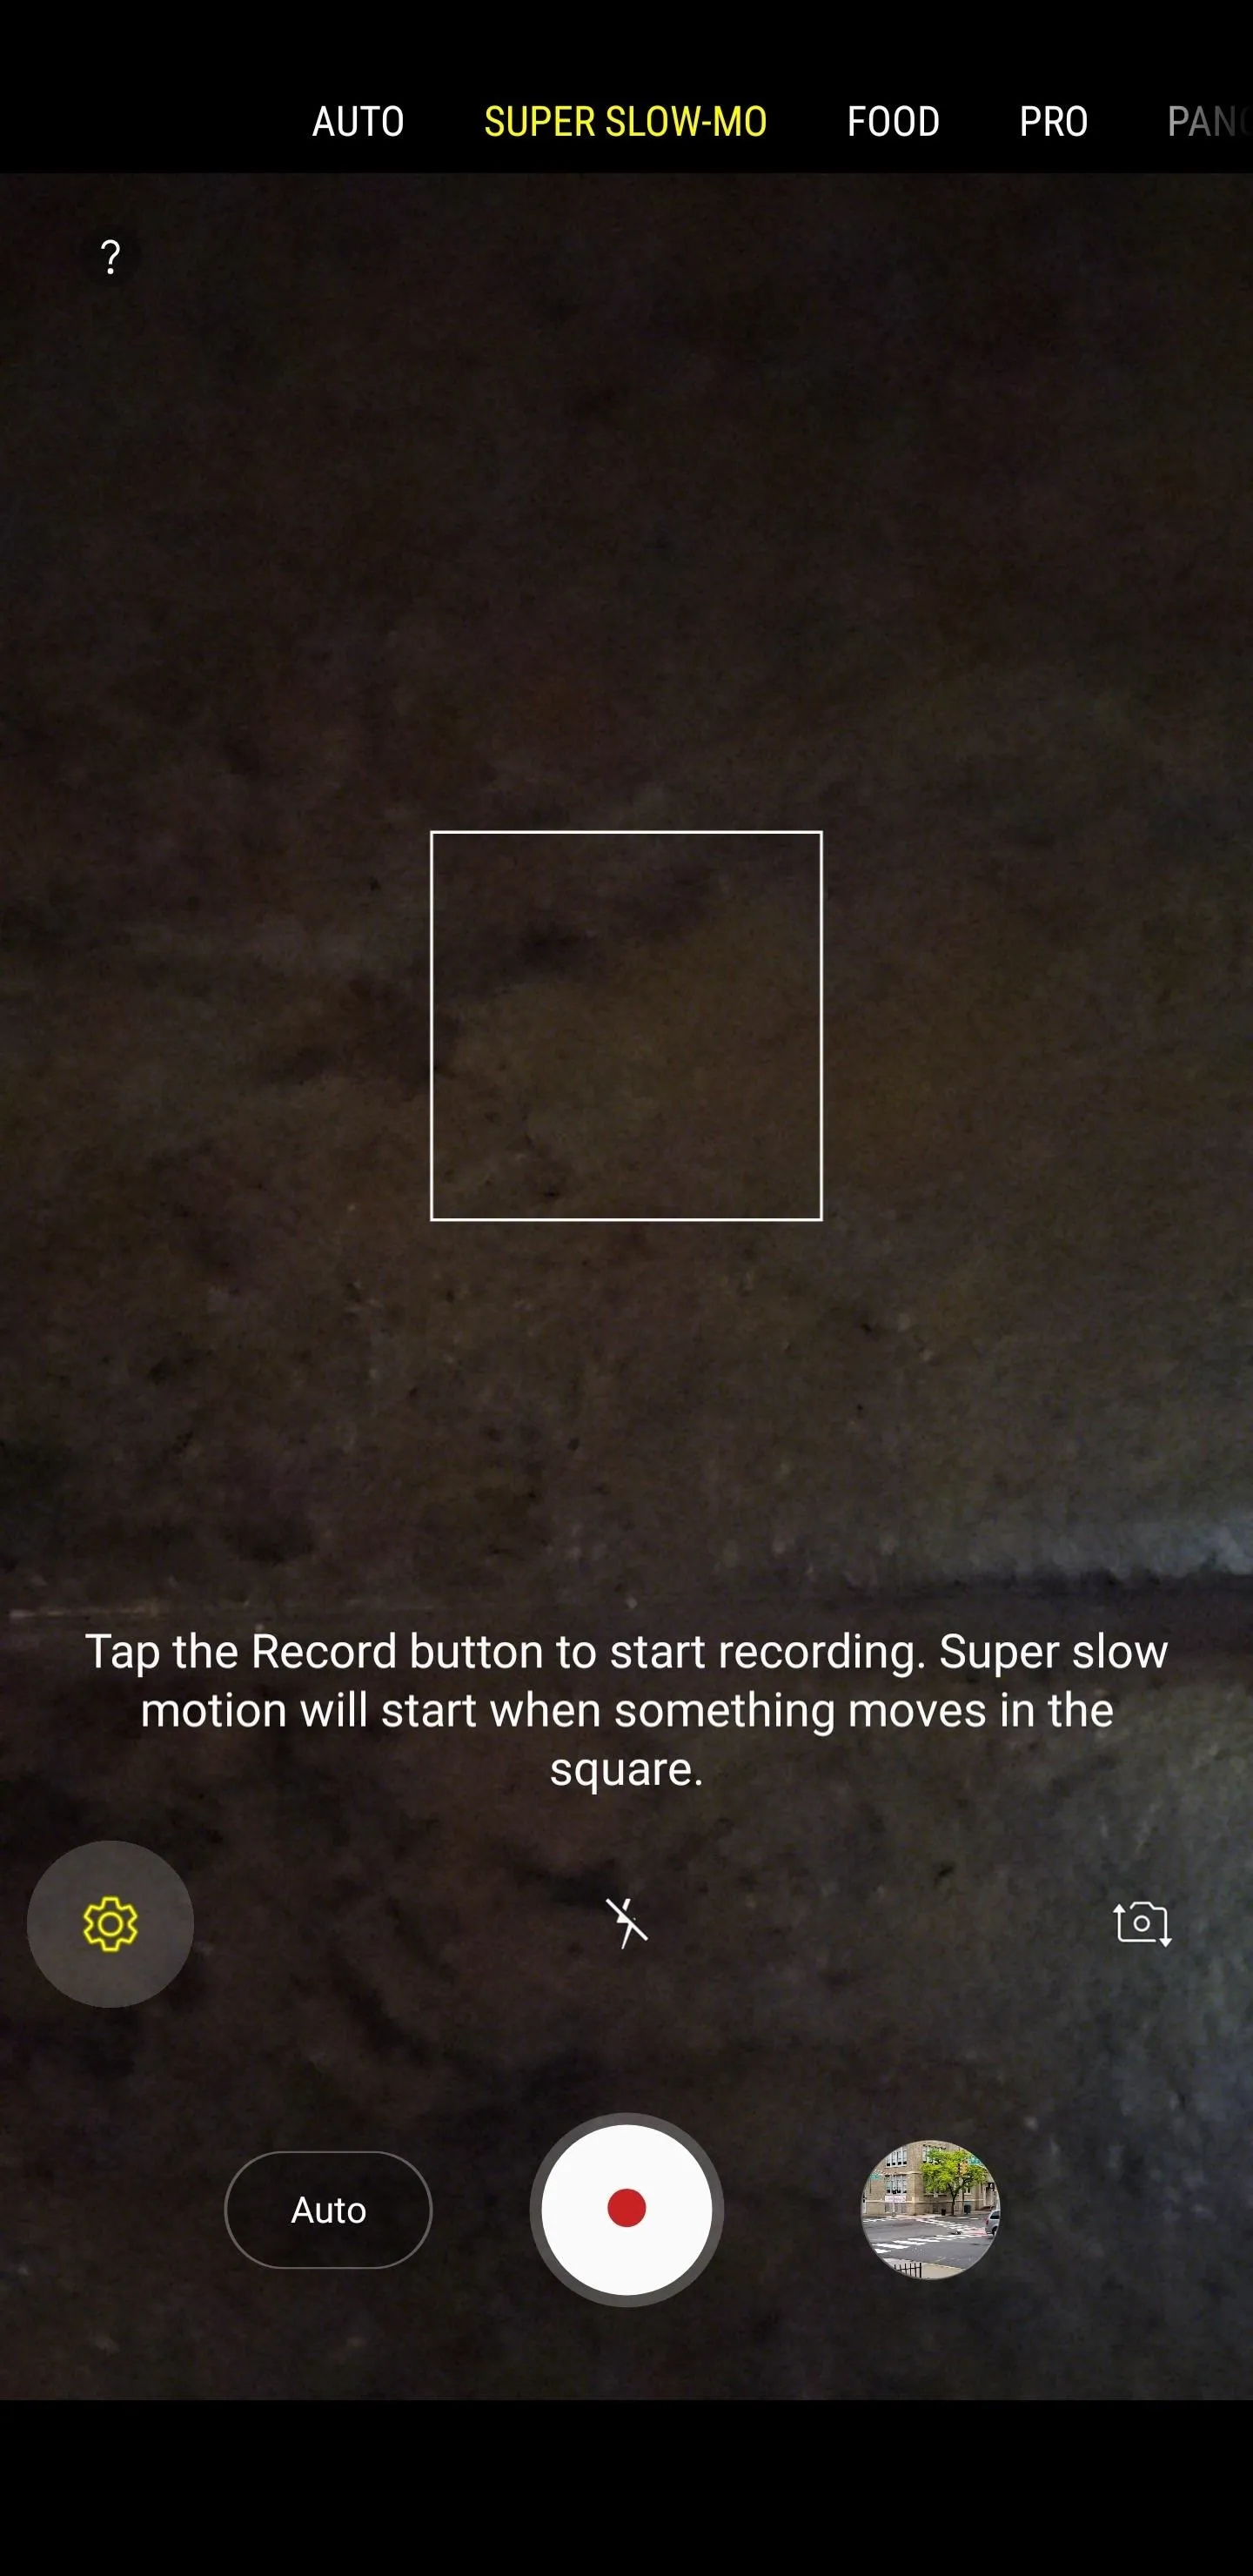
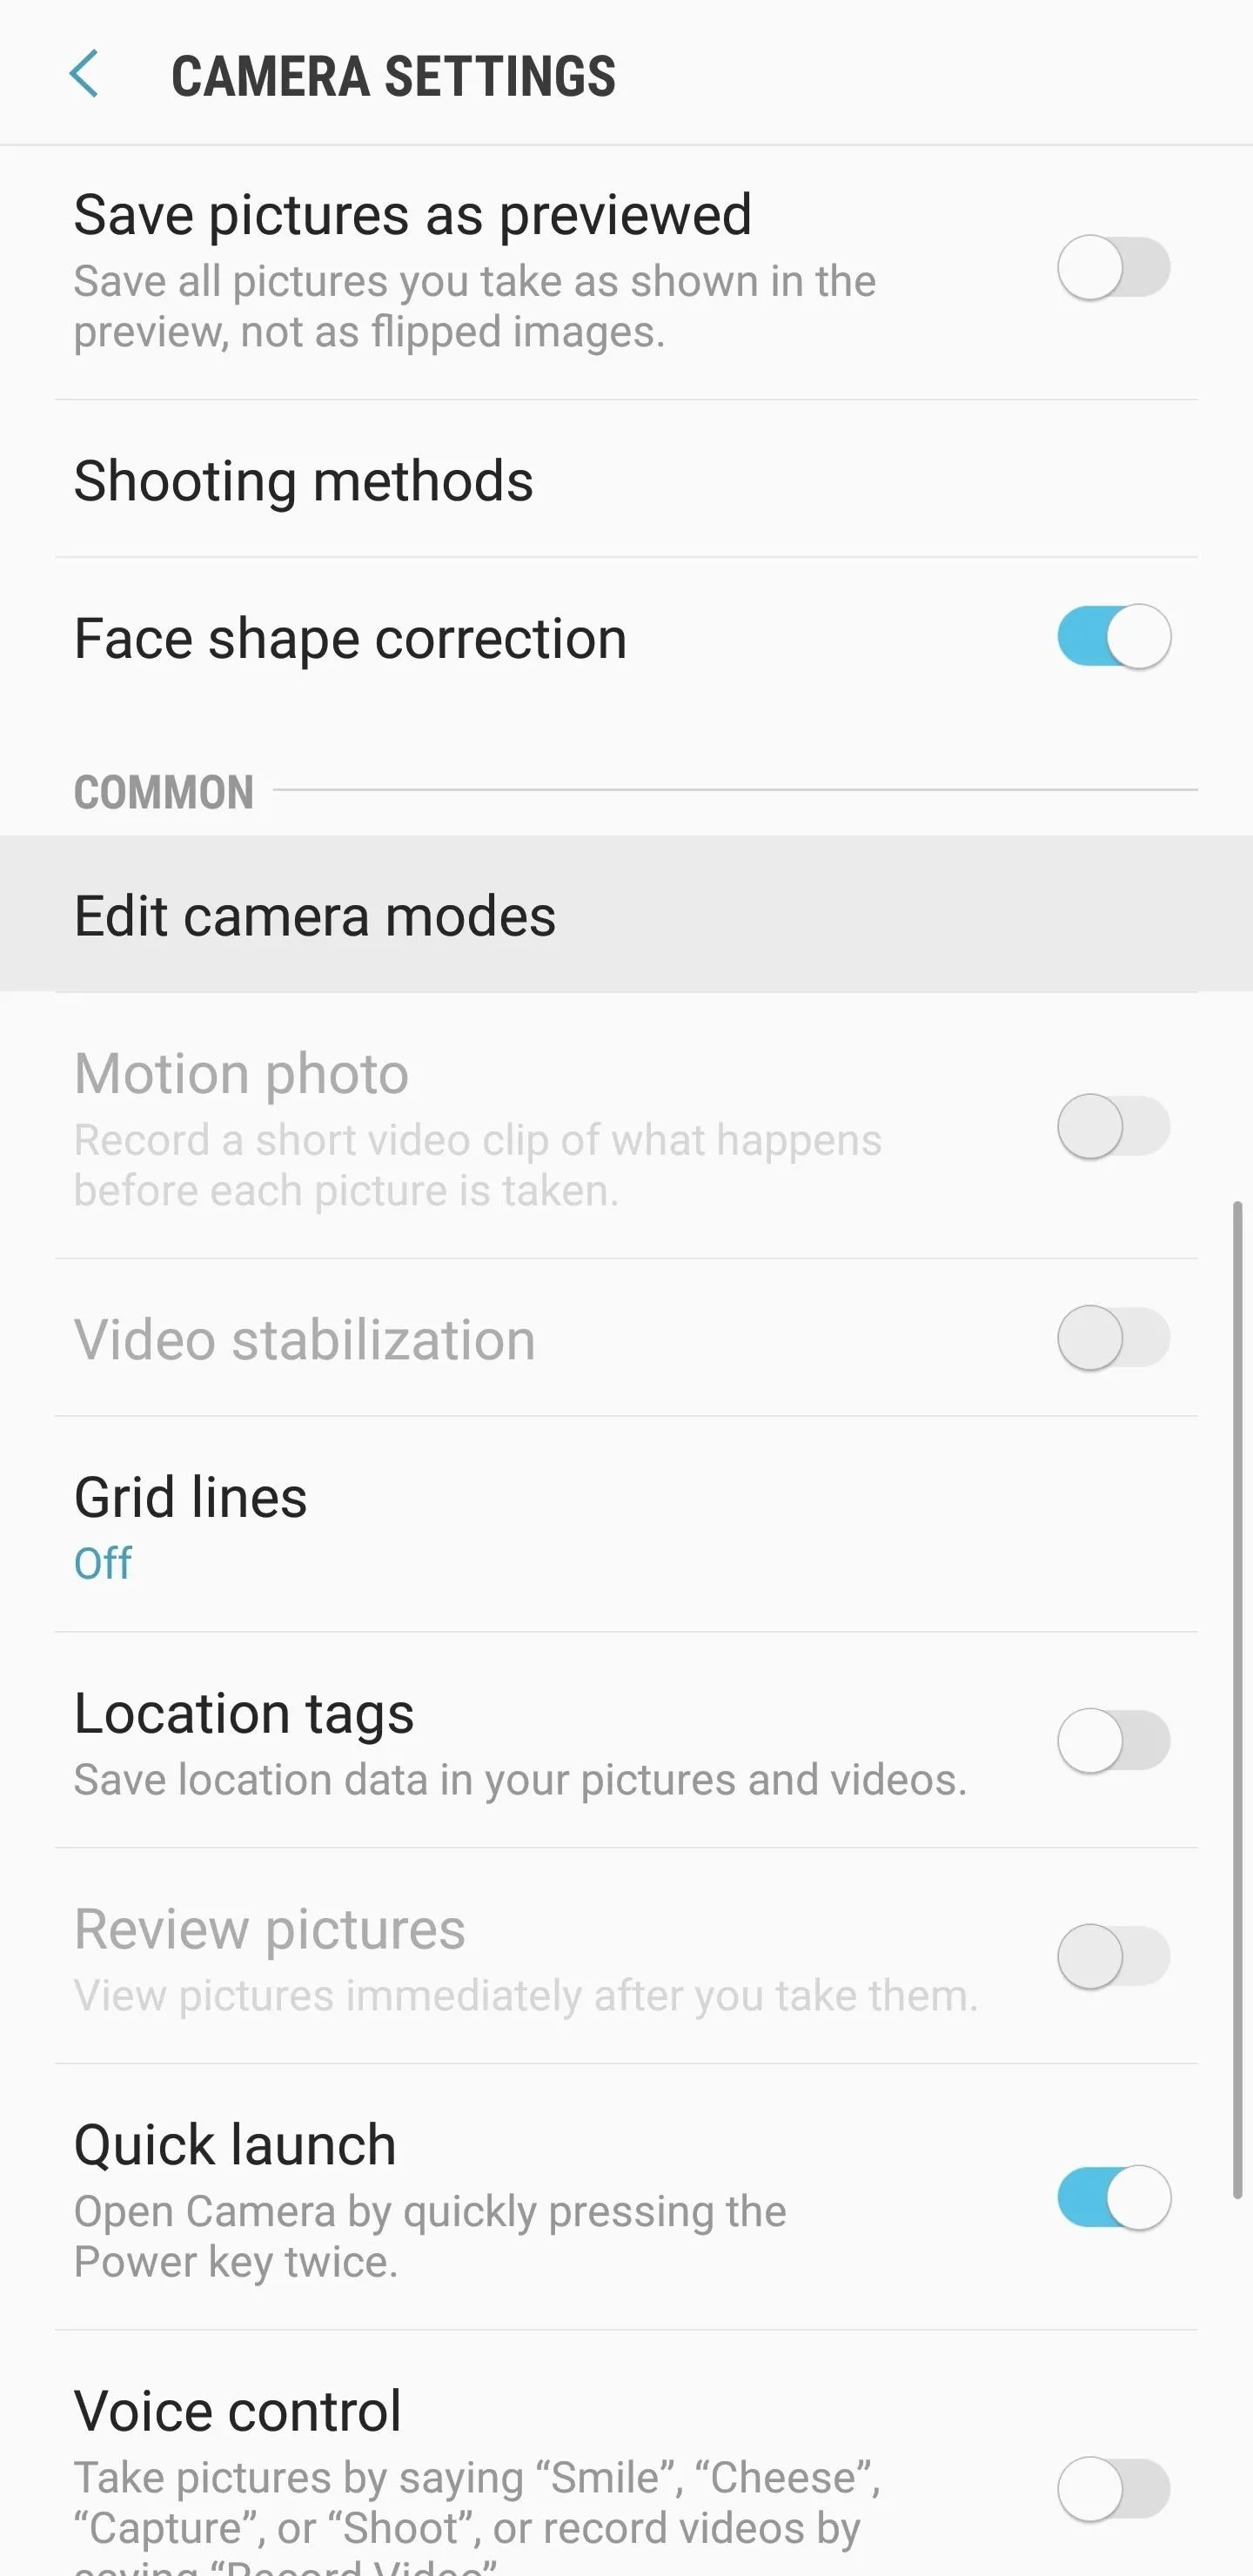


Now, tap on "Rear Camera," then scroll down and find "Slow motion." Once your do, tap on "Slow motion" to enable the feature. Go back to your camera once you're done, and slow motion should now be available for you to select.



Tip 7: Trim Your Videos to Get to the Action Quicker
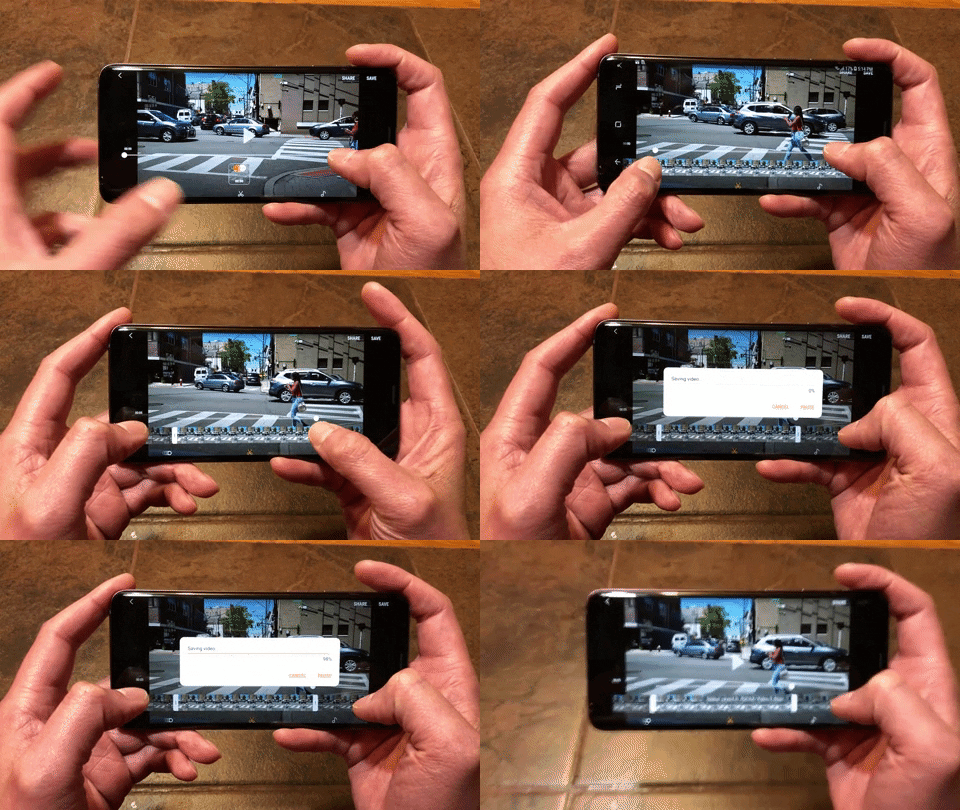
It's incredibly easy to trim your Super Slow-mo videos to make them smaller and easier to share with friends and loved ones. To shorten a video, open the clip in the default Gallery app and tap the scissors icon on the bottom of the screen. From there, tap on the reel that appears and choose your starting and ending points by dragging your finger from left to right, or right to left, respectively. Tap on "Save" once you're done.
Tip 8: View Your Videos at Normal Speed
If you want to play your Super Slow-mo videos at standard speed, simply tap on the toggle right below the video to disable Super Slow-mo playback. Doing so will give you a better appreciation of you S9's impressive ability to slow the world down to a near standstill.

Tip 9: Convert Your Videos to GIFs for Easy Sharing
You have the added option to convert your Super Slow-mo video into a GIF. To do so, either tap on the 3-dot menu button in the upper-right corner within your video's preview screen, or open your newly-recorded video and swipe up from the bottom of the screen to reveal more options.
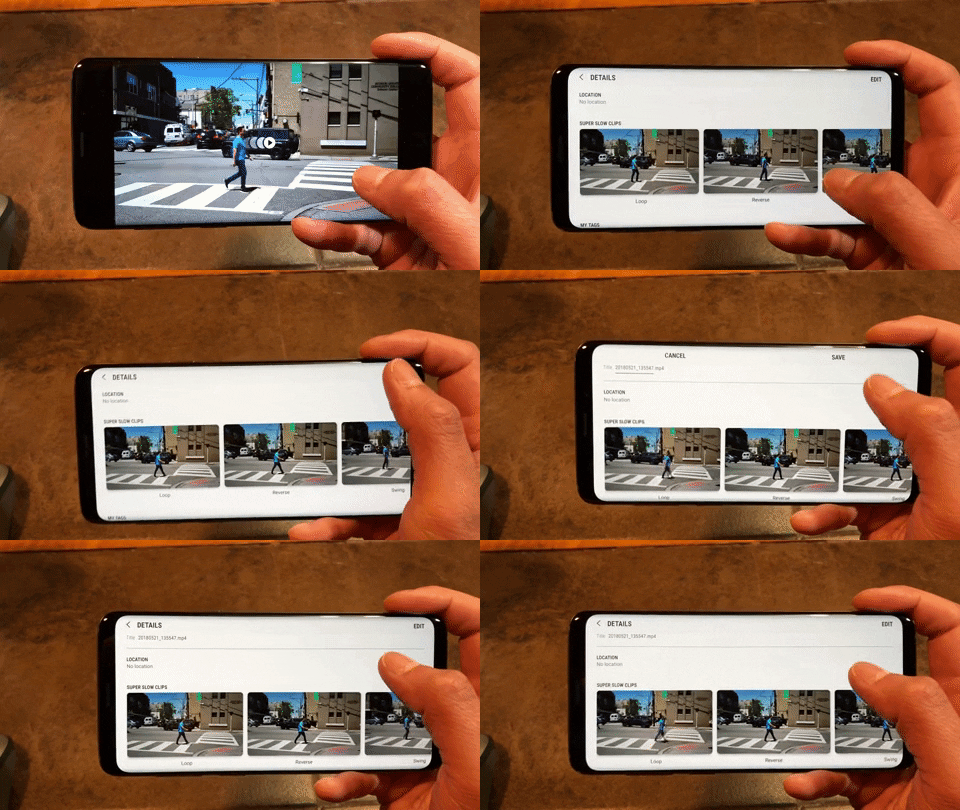
You'll now see three GIF options under the "Super Slow Clips" section: Loop, Reverse, and Swing. So tap on the style that you like best, then either tap on "Save" to save a copy of your video in GIF format, or hit "Share" to instantly save and share your new GIF through messaging or social media.

Loop

Reverse

Swing

Loop

Reverse

Swing
Tip 10: Edit Your Video's Music
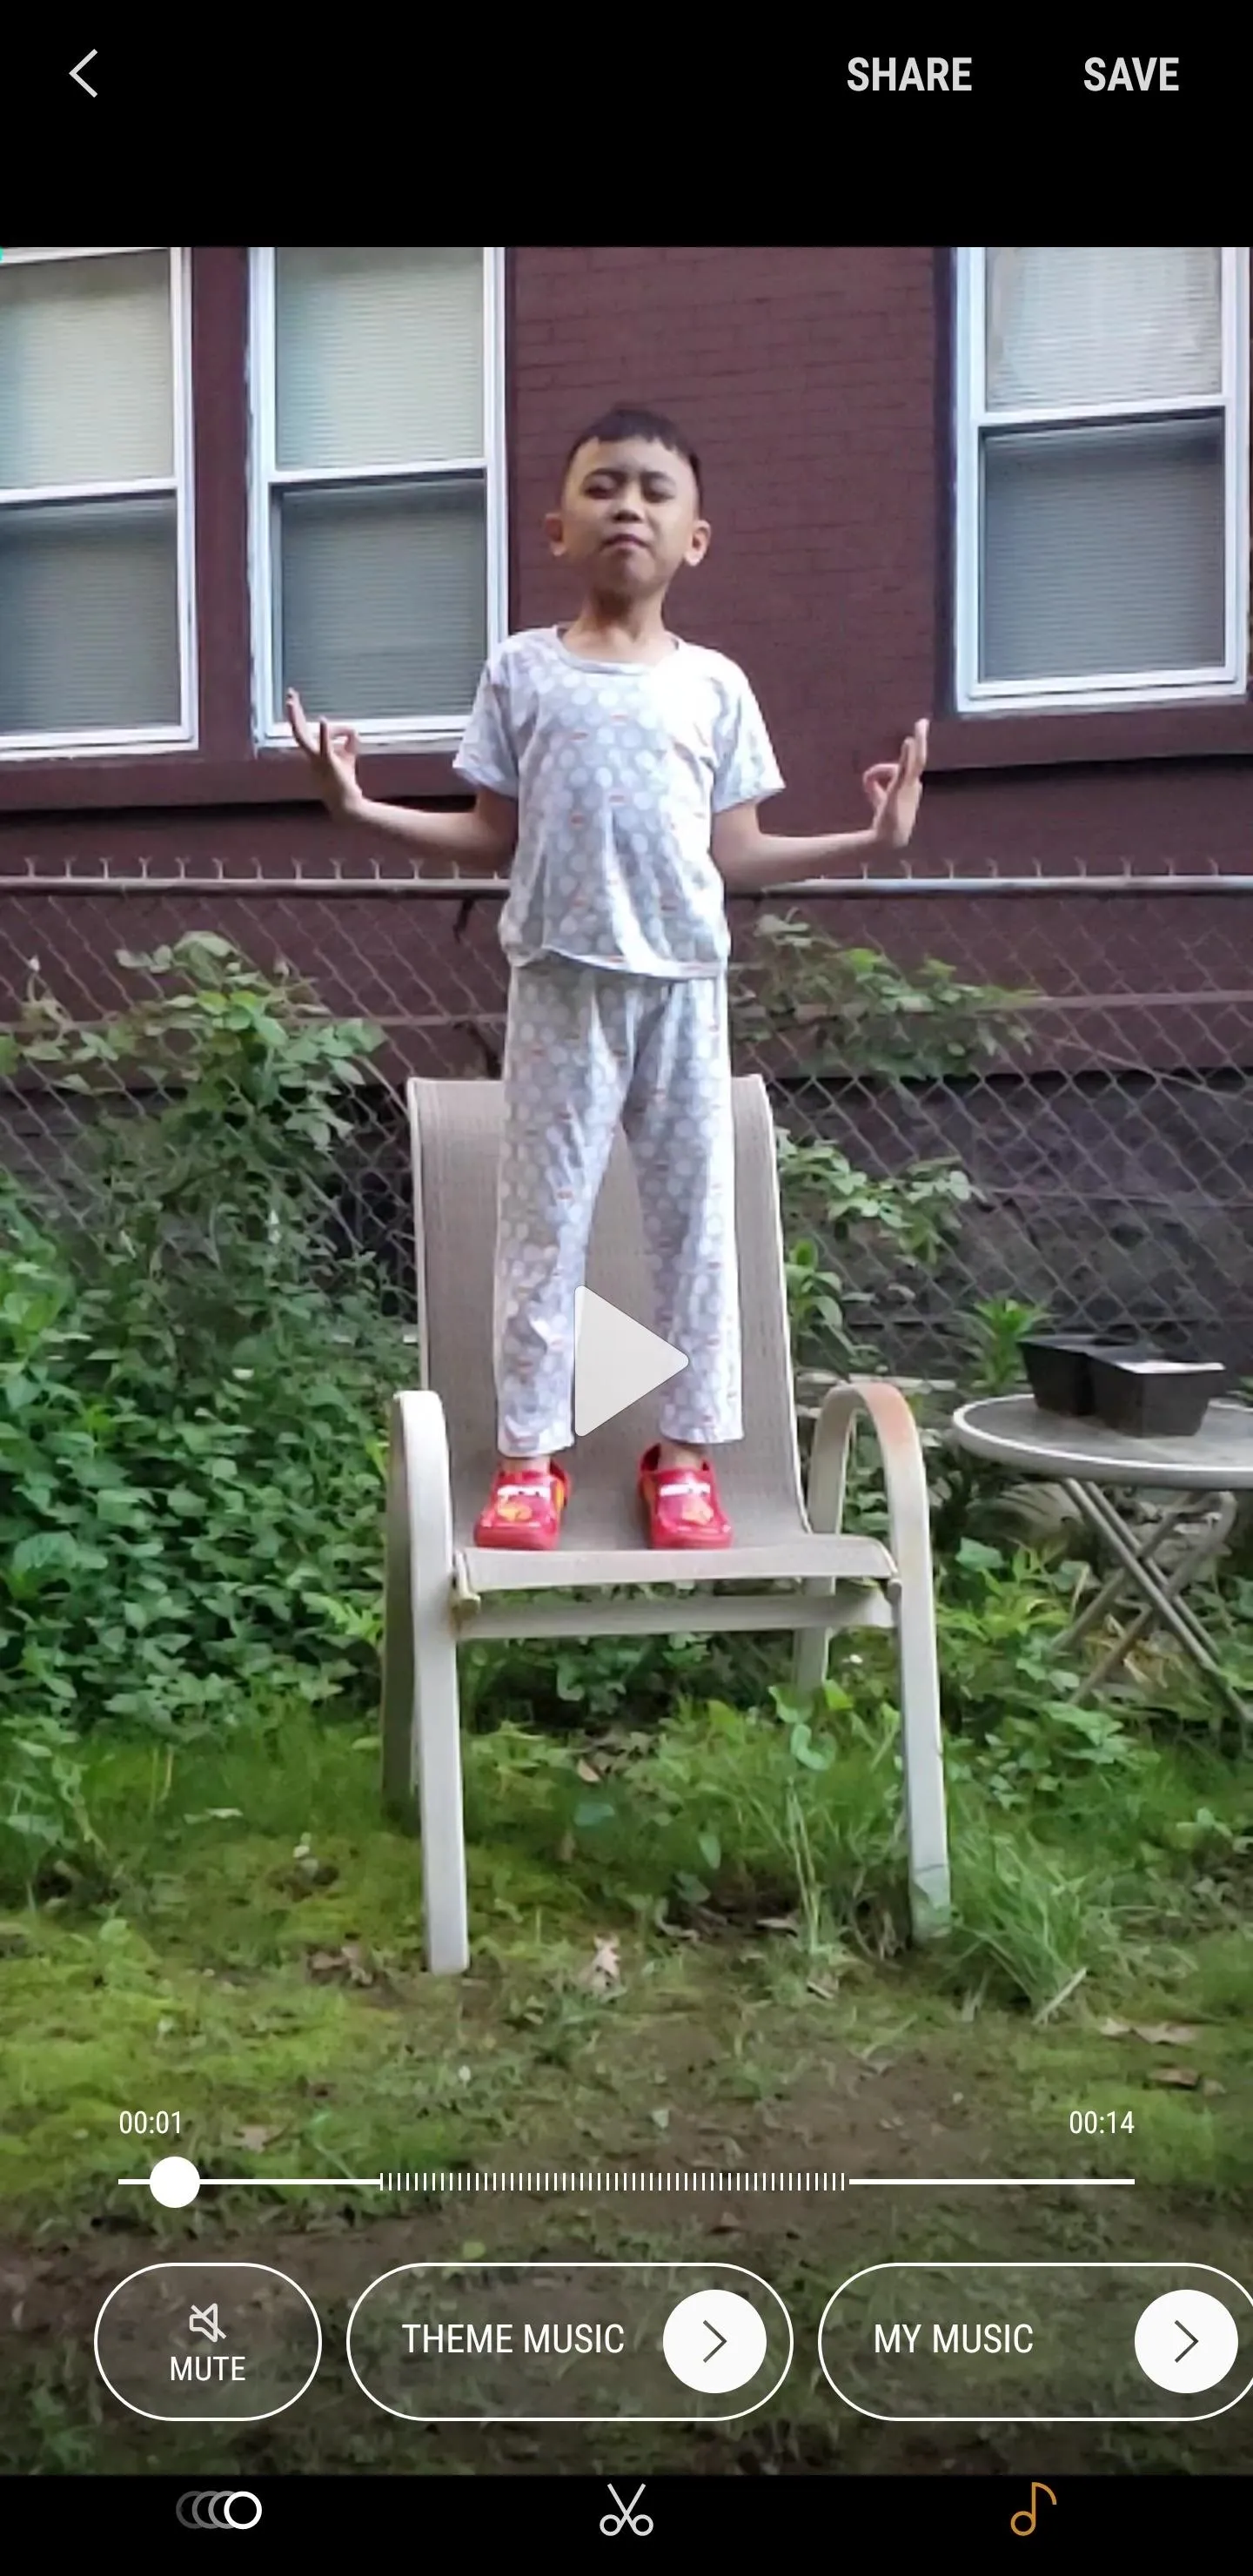
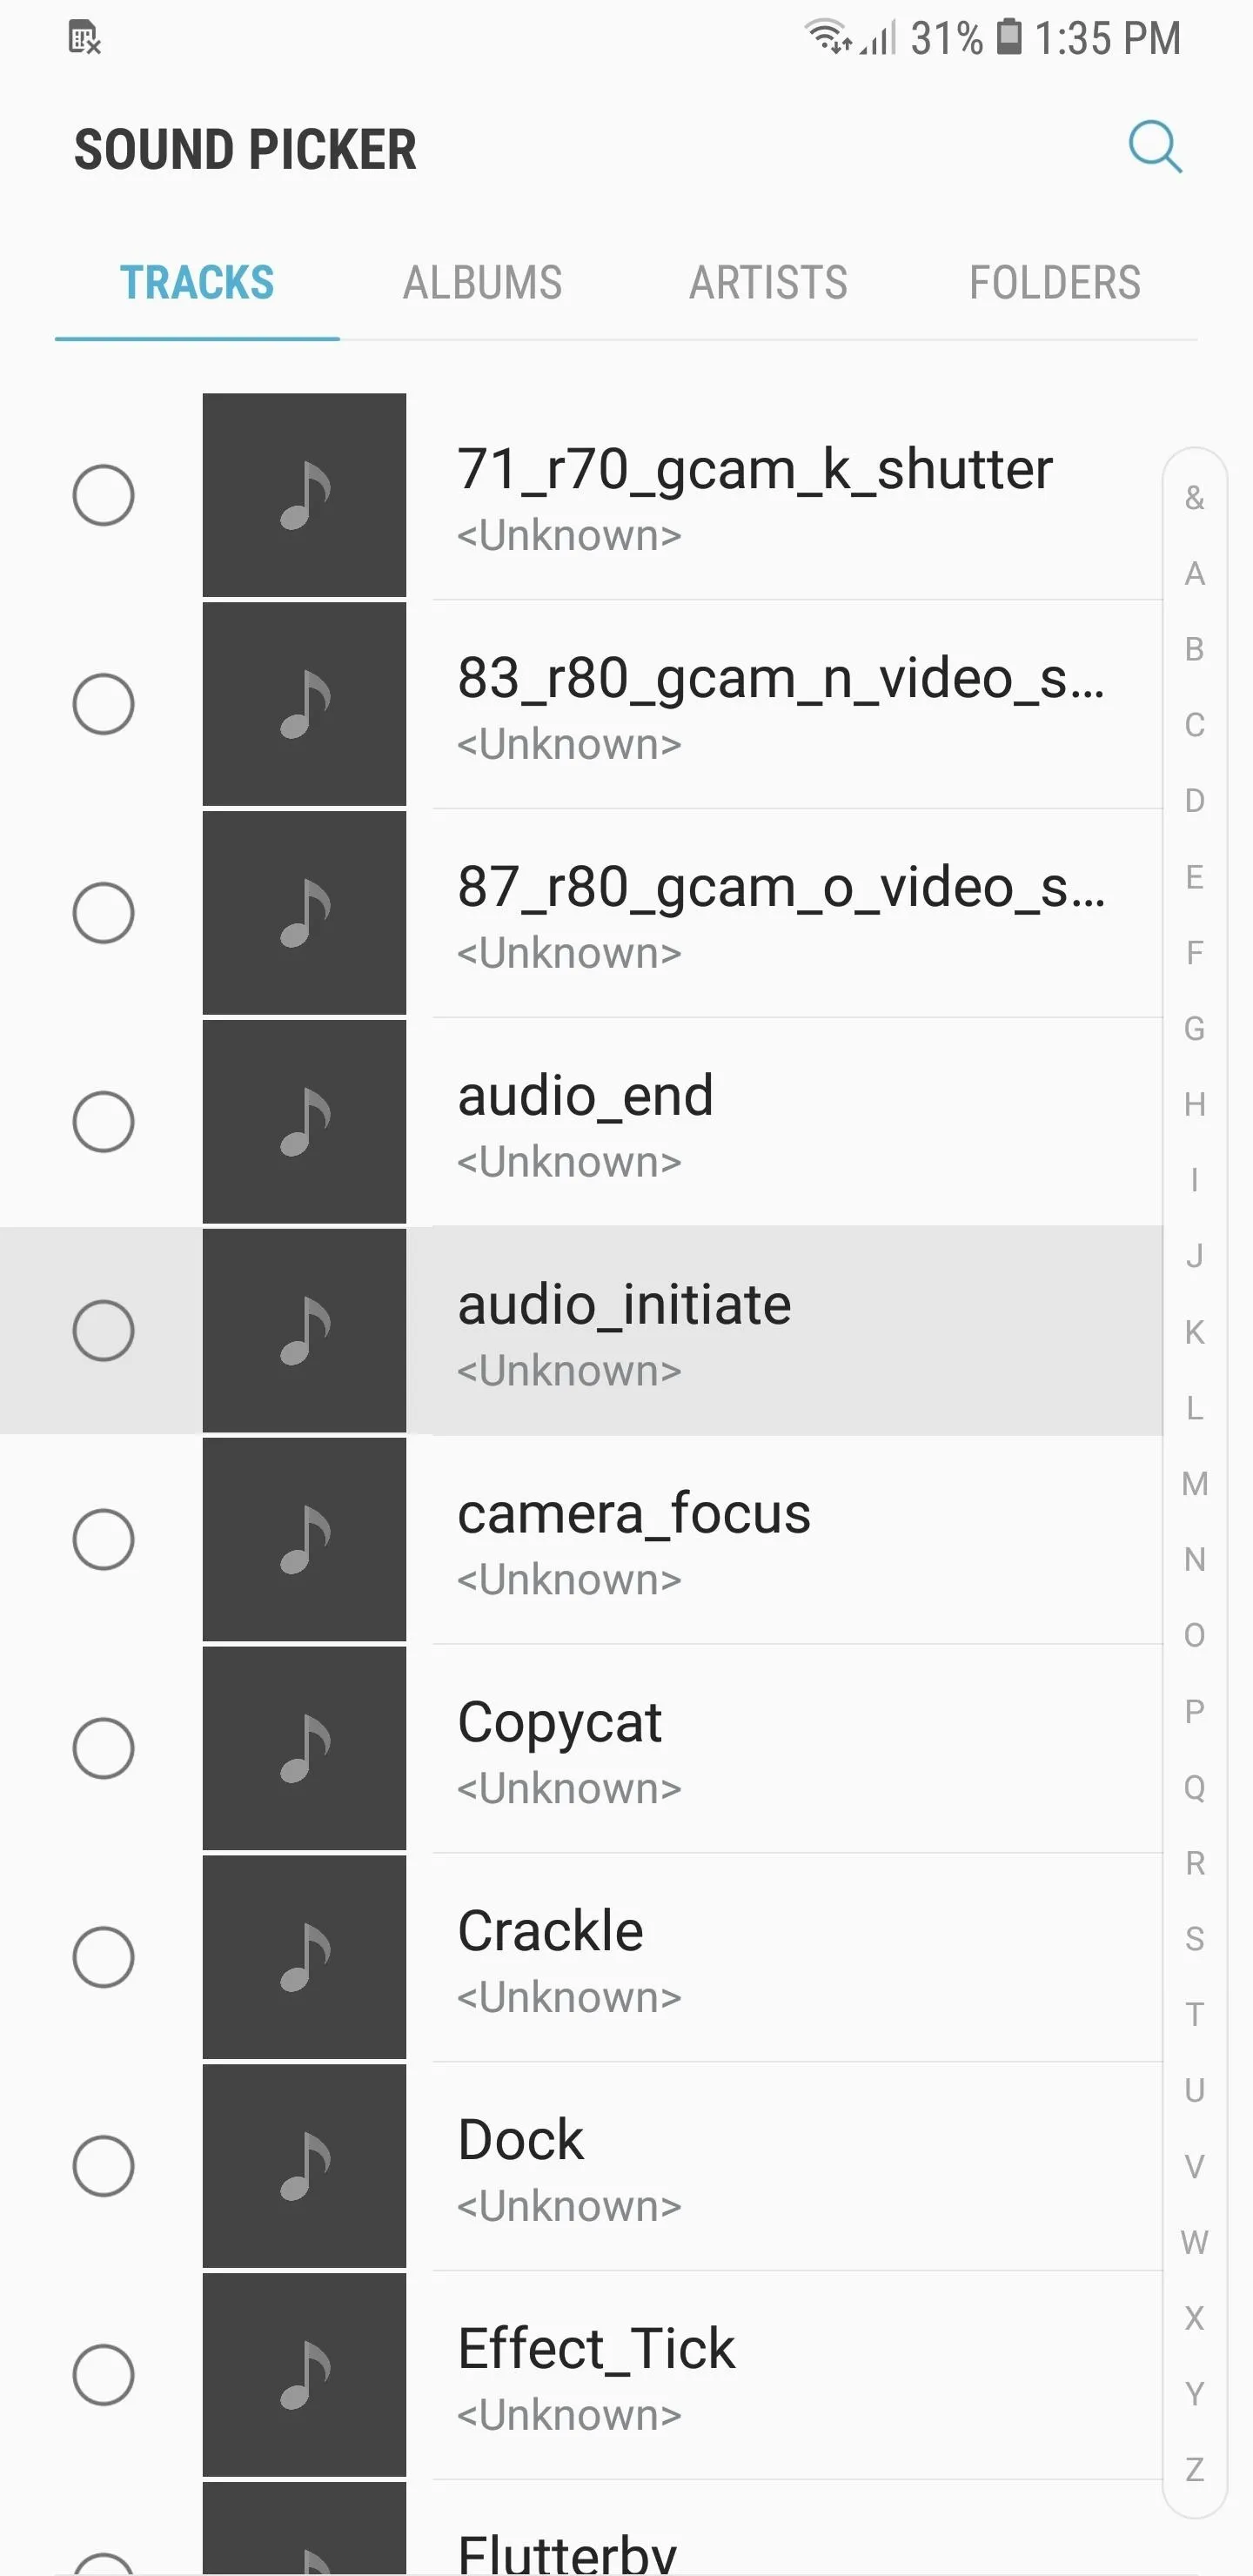
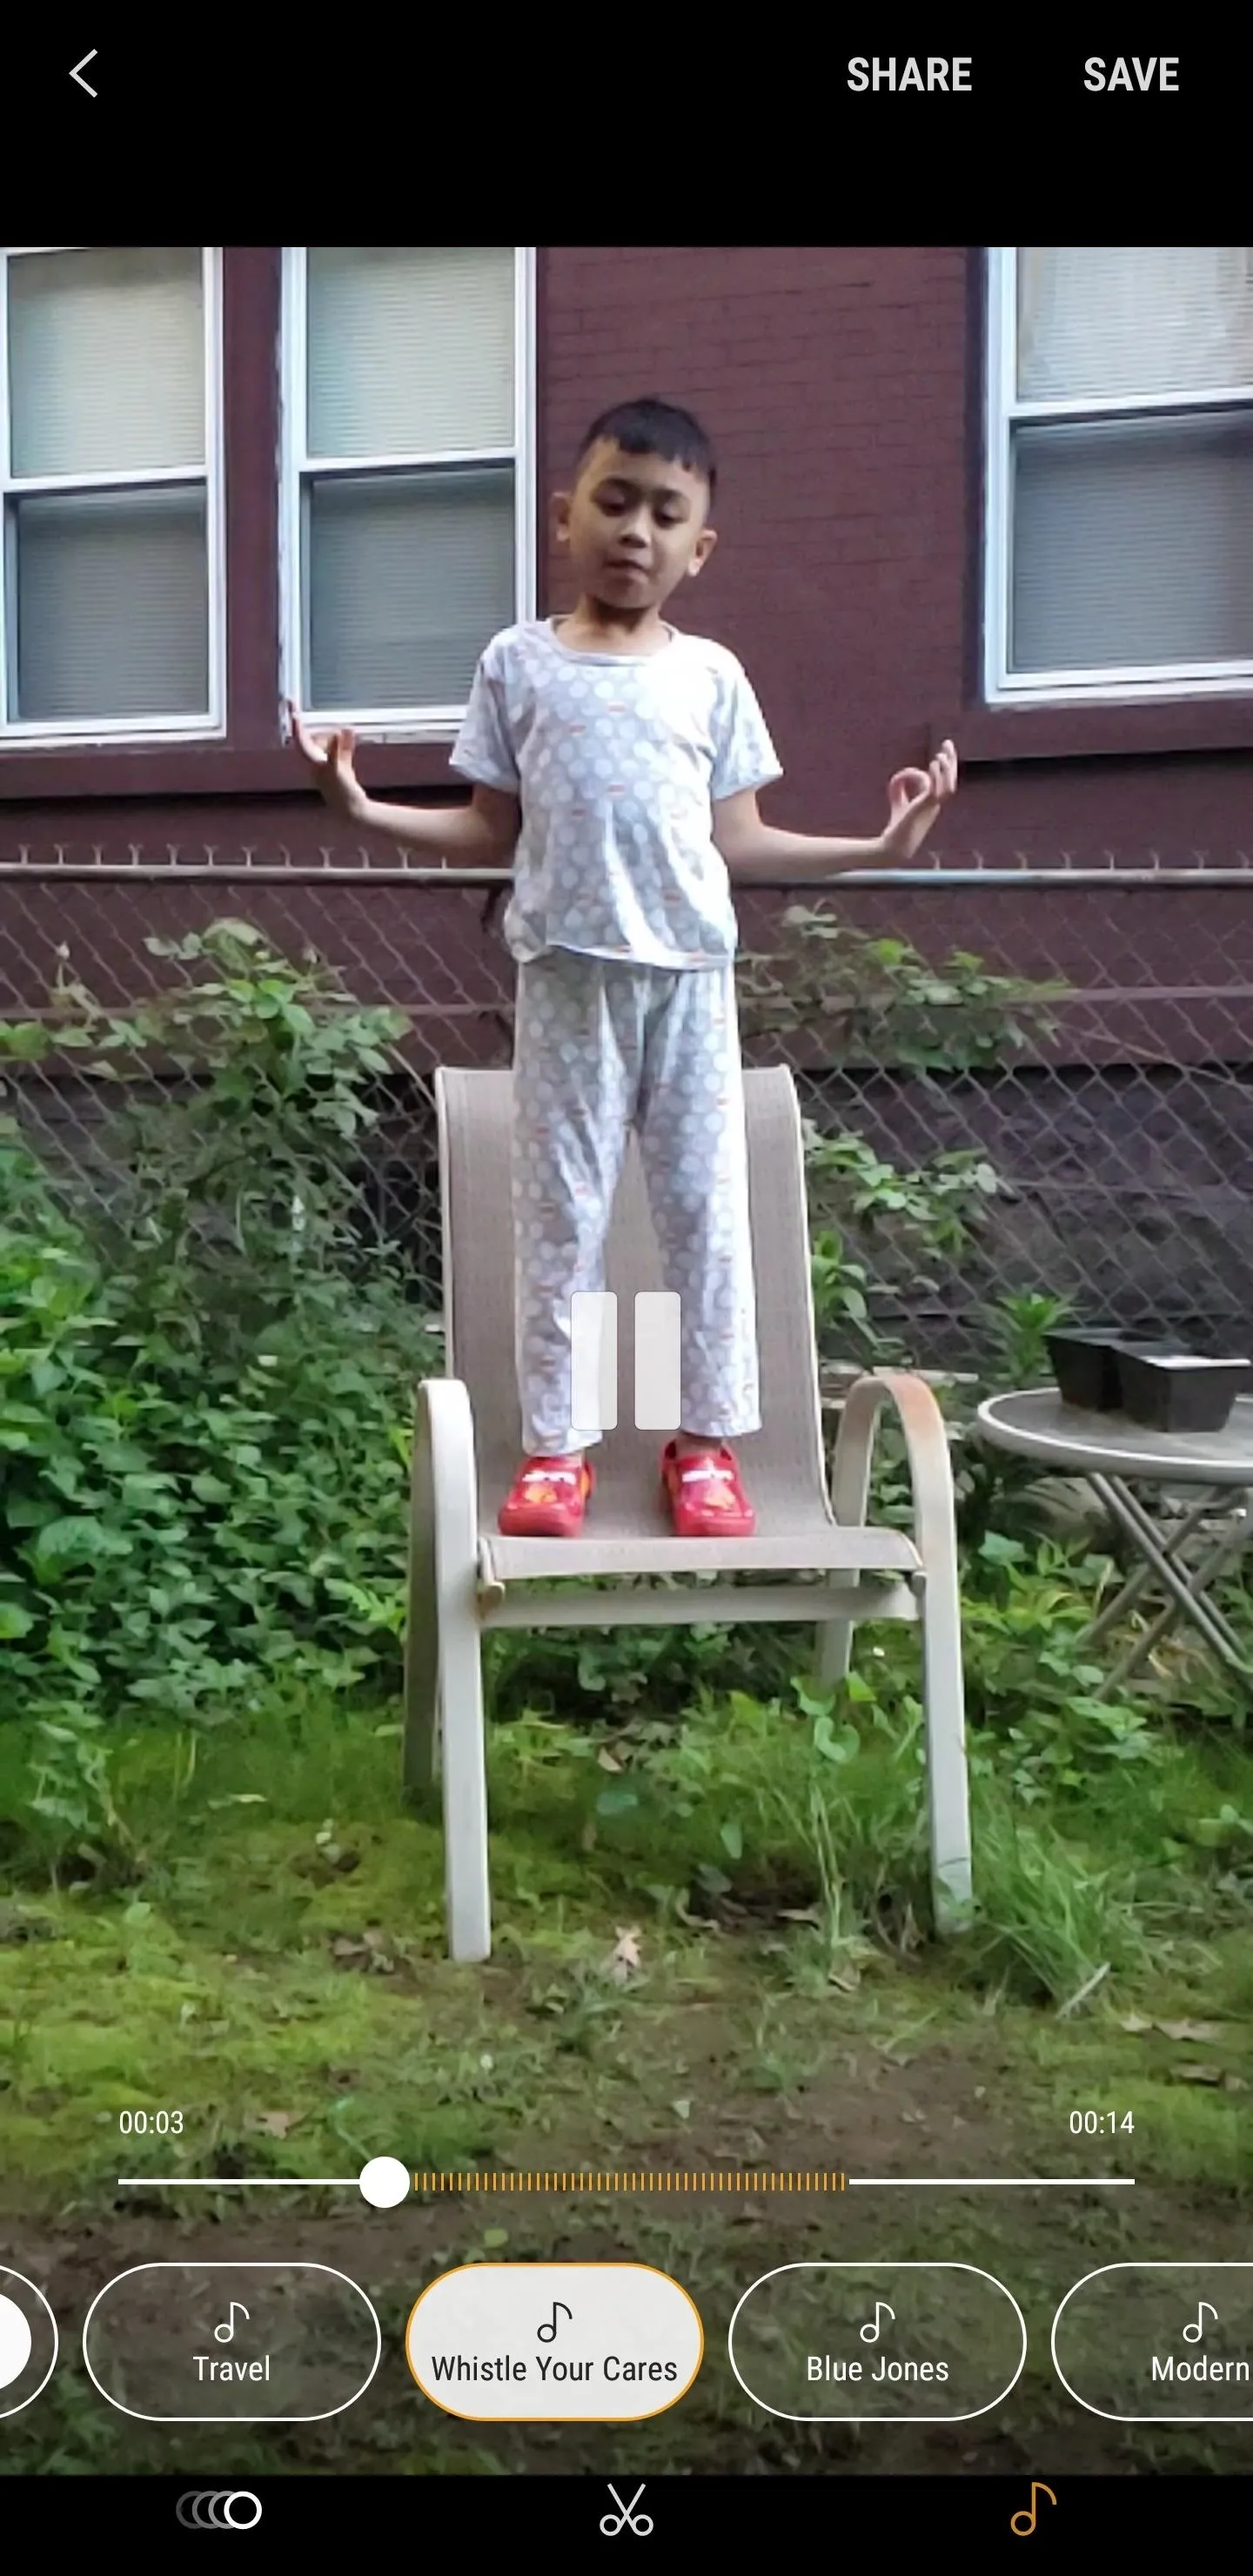
A mini-soundtrack is automatically added to your Super Slow-mo video based on the amount of movement you captured, and you can easily edit it and customize it yourself. To change your video's soundtrack, tap on the music icon in the lower-right corner of the screen. From there, you can tap on either "Theme Music" or "My Music" and browse through a selection of available files.
If you want to streamline audio editing, however, simply swipe left along the bottom to reveal more music clips, then choose an audio file that compliments your video. Hit either "Share" or "Save" once you're done, and your video will be saved with the corresponding soundtrack you've chosen, along with being shared if you've chosen the former.


- Follow Gadget Hacks on Facebook, Twitter, YouTube, and Flipboard
- Follow WonderHowTo on Facebook, Twitter, Pinterest, and Flipboard
Cover image and screenshots by Amboy Manalo/Gadget Hacks


Comments
No Comments Exist
Be the first, drop a comment!