Android 11 has a new power menu with integrated contactless payment cards and smart home toggles. It's definitely futuristic — so much so that it pushed out a tool many of us use in the present: the screenshot button.
In prior versions, you could long-press your power button and a handy "Screenshot" option would pop up along with the "Power Off" and "Restart" buttons. Sure, you can still hold volume down and power to take a screenshot, but that's clumsy. Or you could bring up the Google Assistant, then ask it to "Take a screenshot," but that's not very discrete. Thankfully, there's a way to bring this button back.
Step 1: Install Tasker Beta
The new smart home controls in Android 11's power menu can be provided by third-party apps — for instance, the Philips Hue app might offer up buttons that will control your lights. But this system can also be used to add other toggles, like a good old fashioned "Screenshot" button.
The Android automation app Tasker can now add custom power menu actions. With the right Profile, one of these could be that Screenshot button you're after.
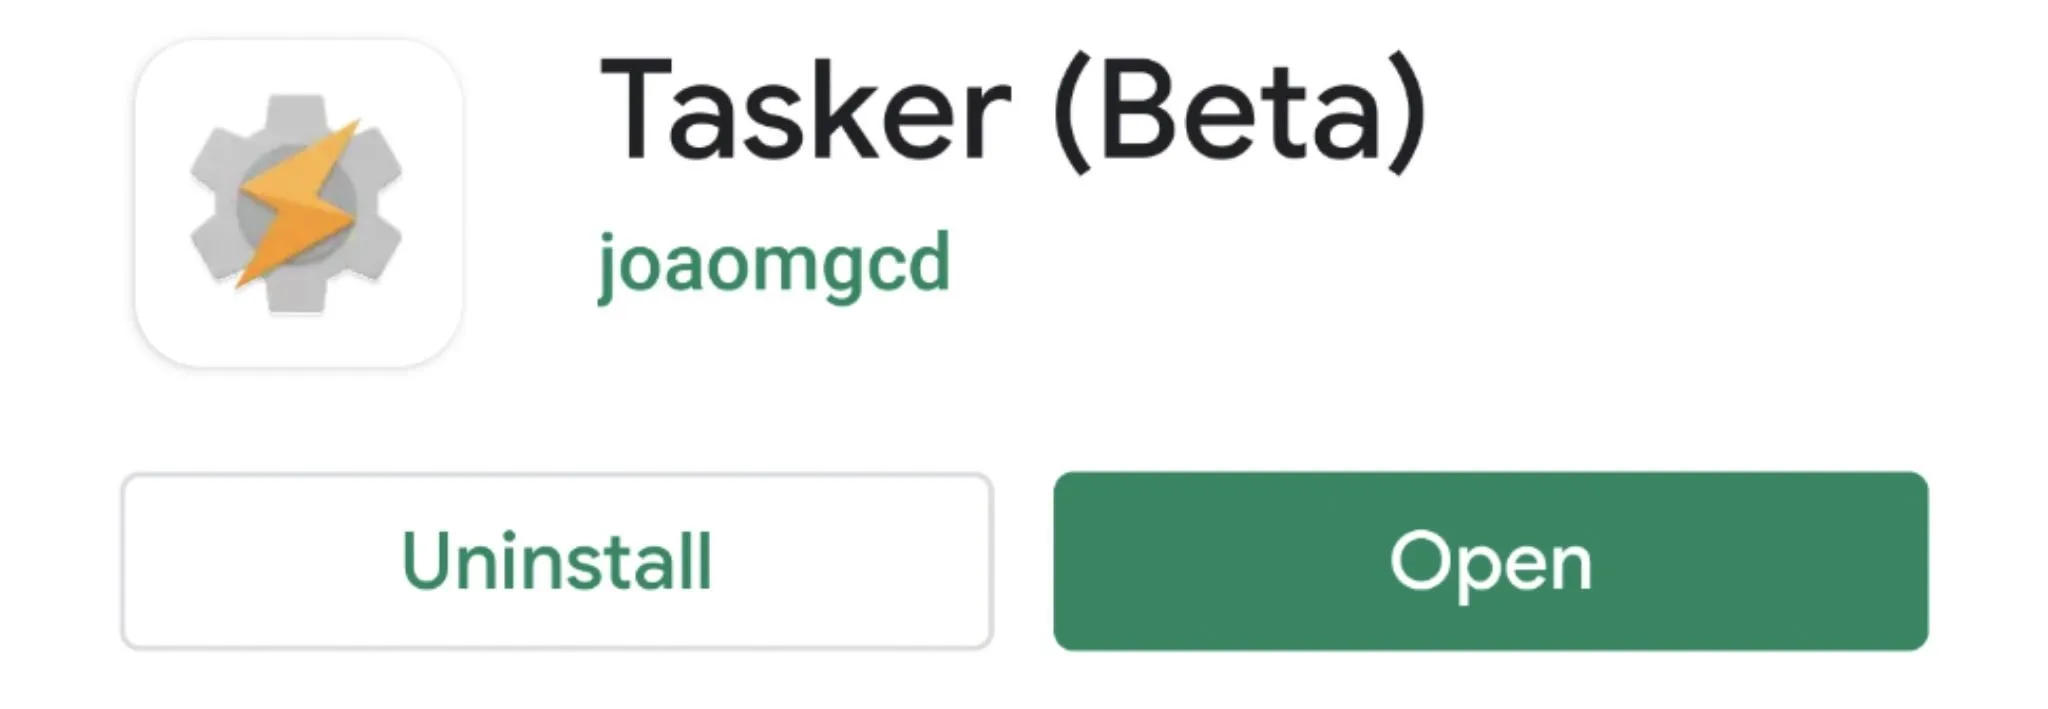
But there are two minor hurdles here. First, Tasker is a paid app that costs $3.49. It's well worth it when you consider all the things Tasker can do, so start by purchasing and installing the app from the Play Store:
- Play Store Link: Tasker ($3.49)
The second issue is that the feature we need to utilize is currently only available in the beta version of Tasker. So either use this link to sign up, or return to Tasker's Play Store page, scroll down, and tap "Join" on the "Join the beta" card.
Either way, once you're in the beta, return to Tasker's Play Store page to accept the beta update. It may take time to appear, but you can force-close the Play Store app to speed things up.
Step 2: Import the Custom Tasker Profile
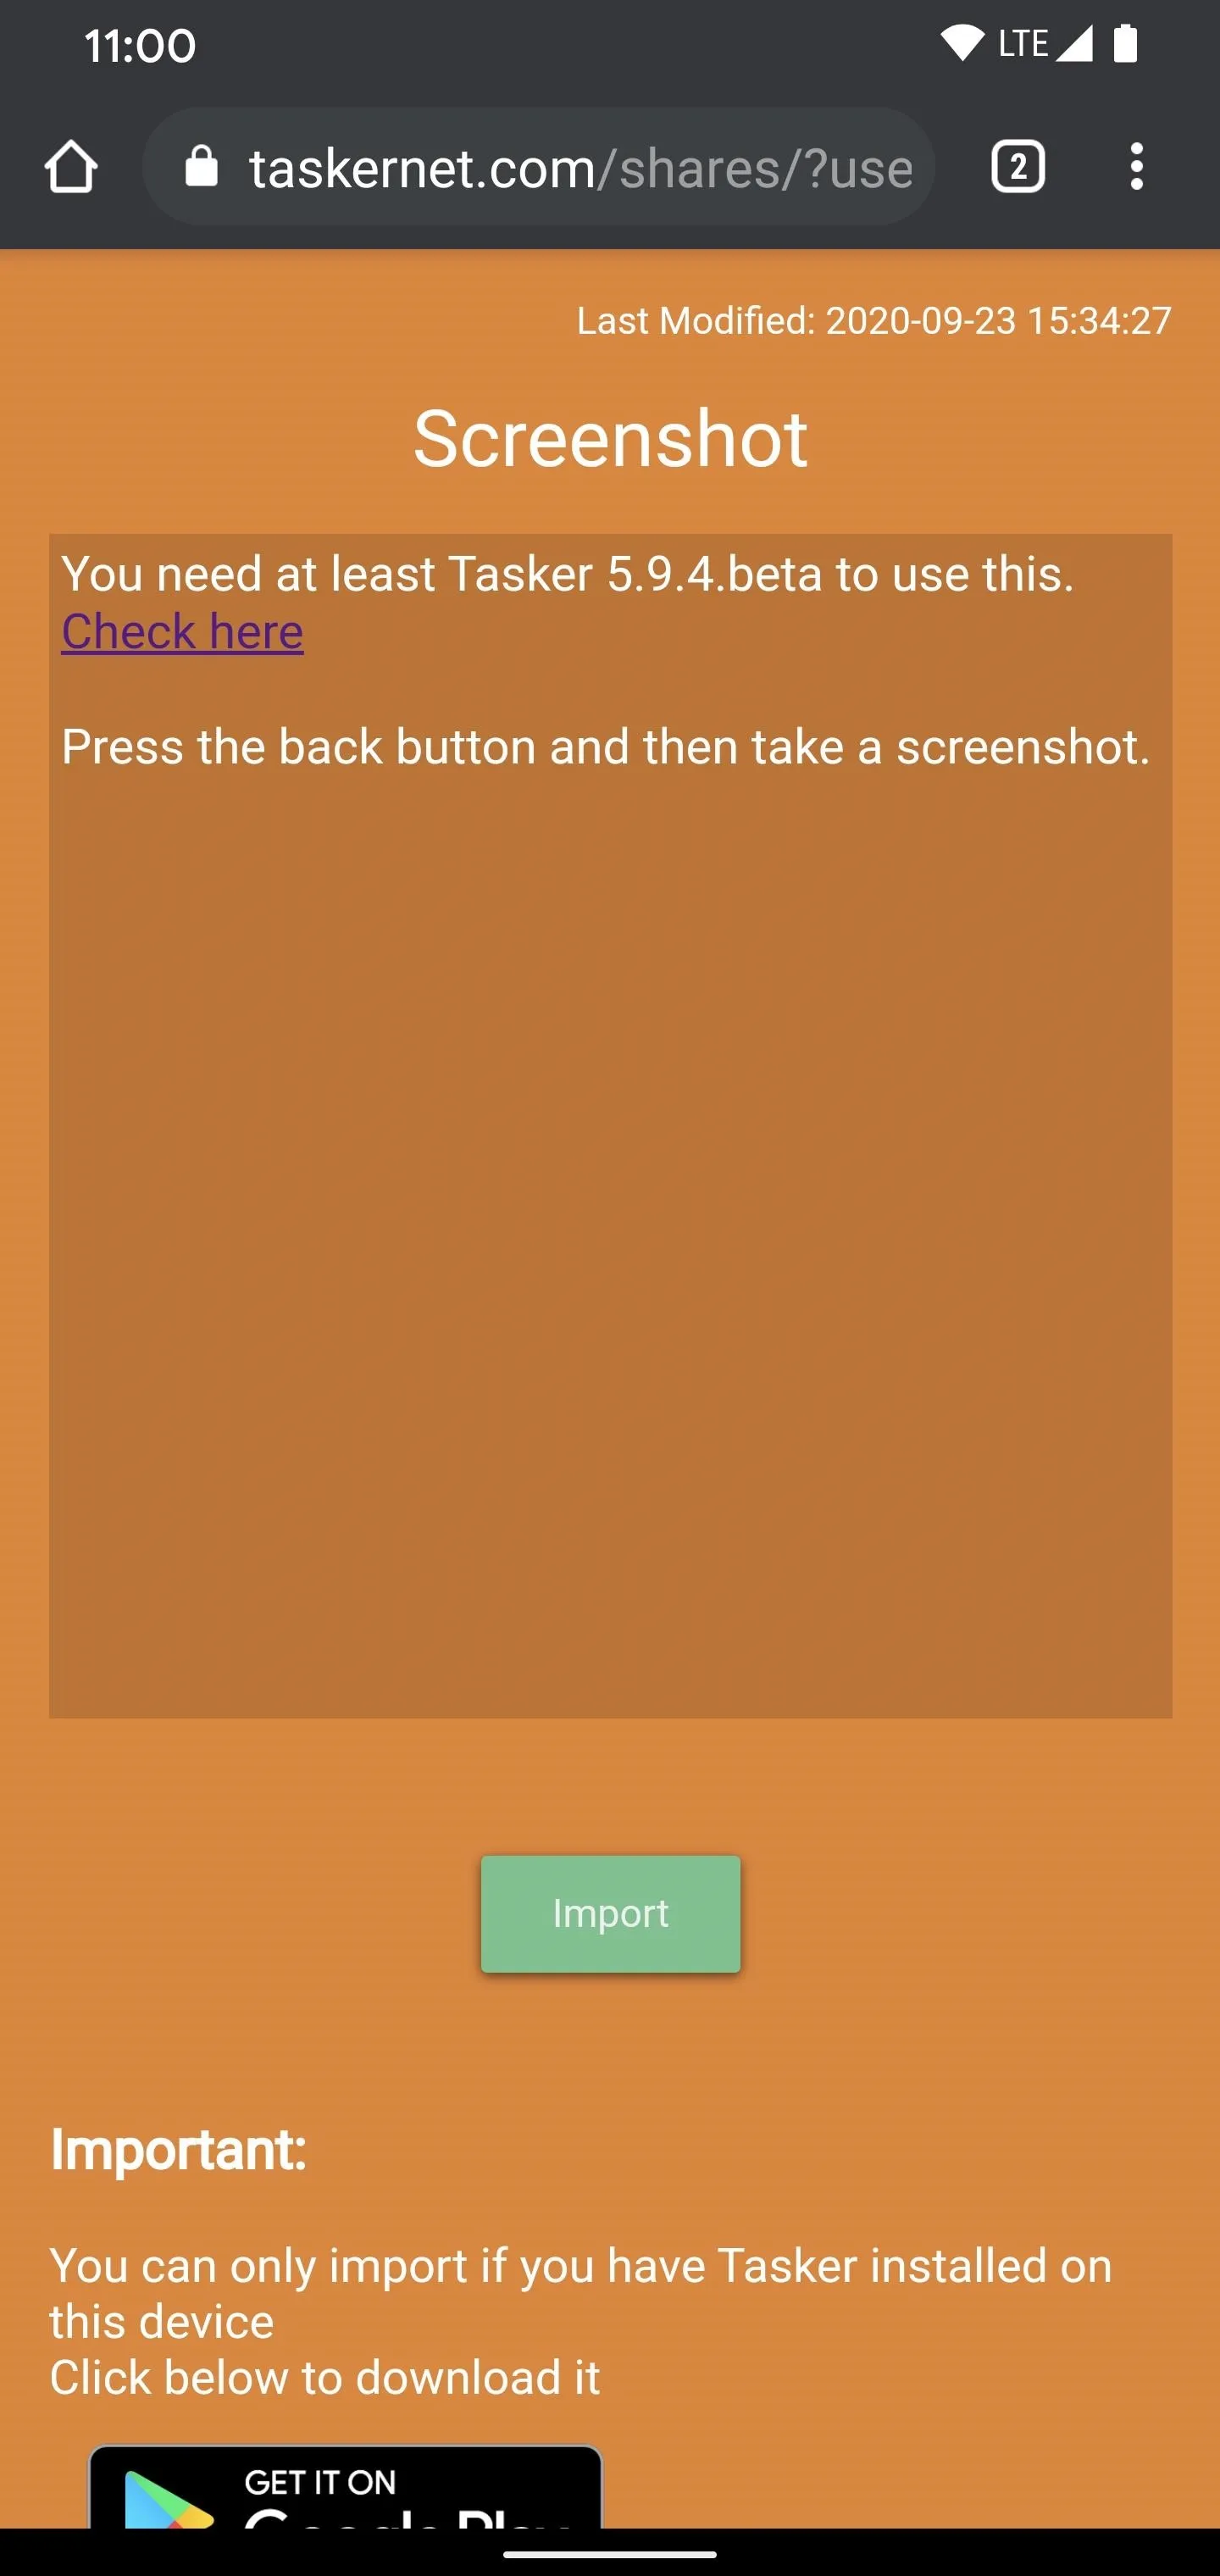
You might find Tasker a bit intimidating, but there's a custom profile for this very purpose that already has everything set up for you. Hit the link below on your Android 11 device with Tasker to download the profile.
Tap the "Import" button at the bottom of the page, select the Google account you'll be using for Tasker, then tap "Yes" on the Import Data screen to confirm your choice.
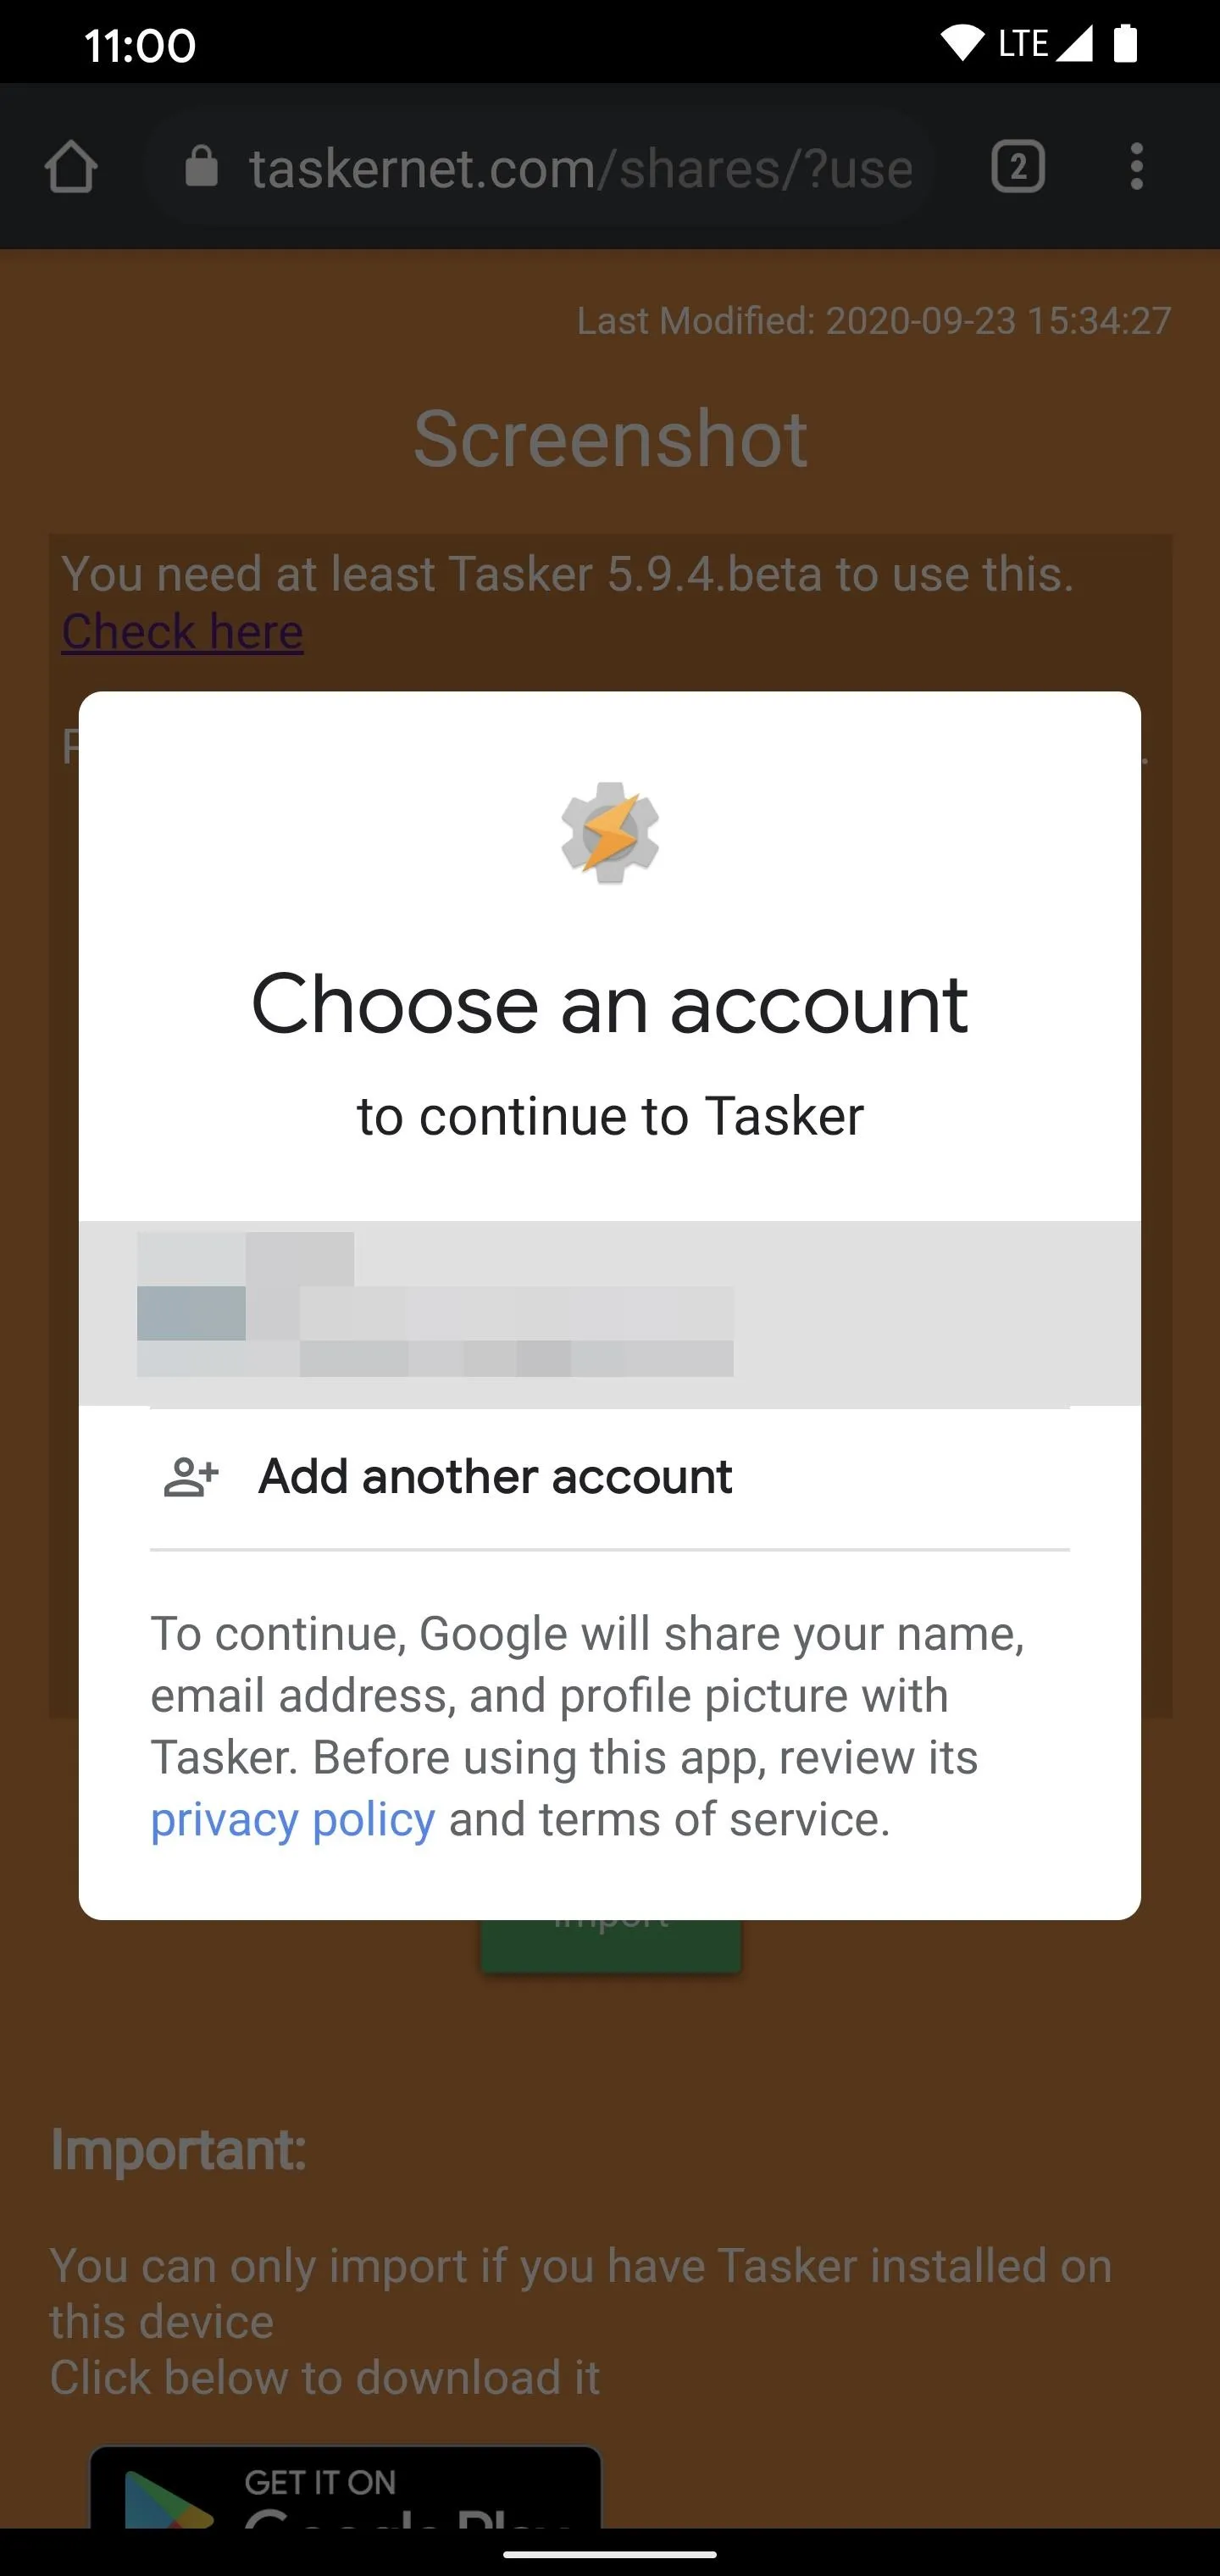
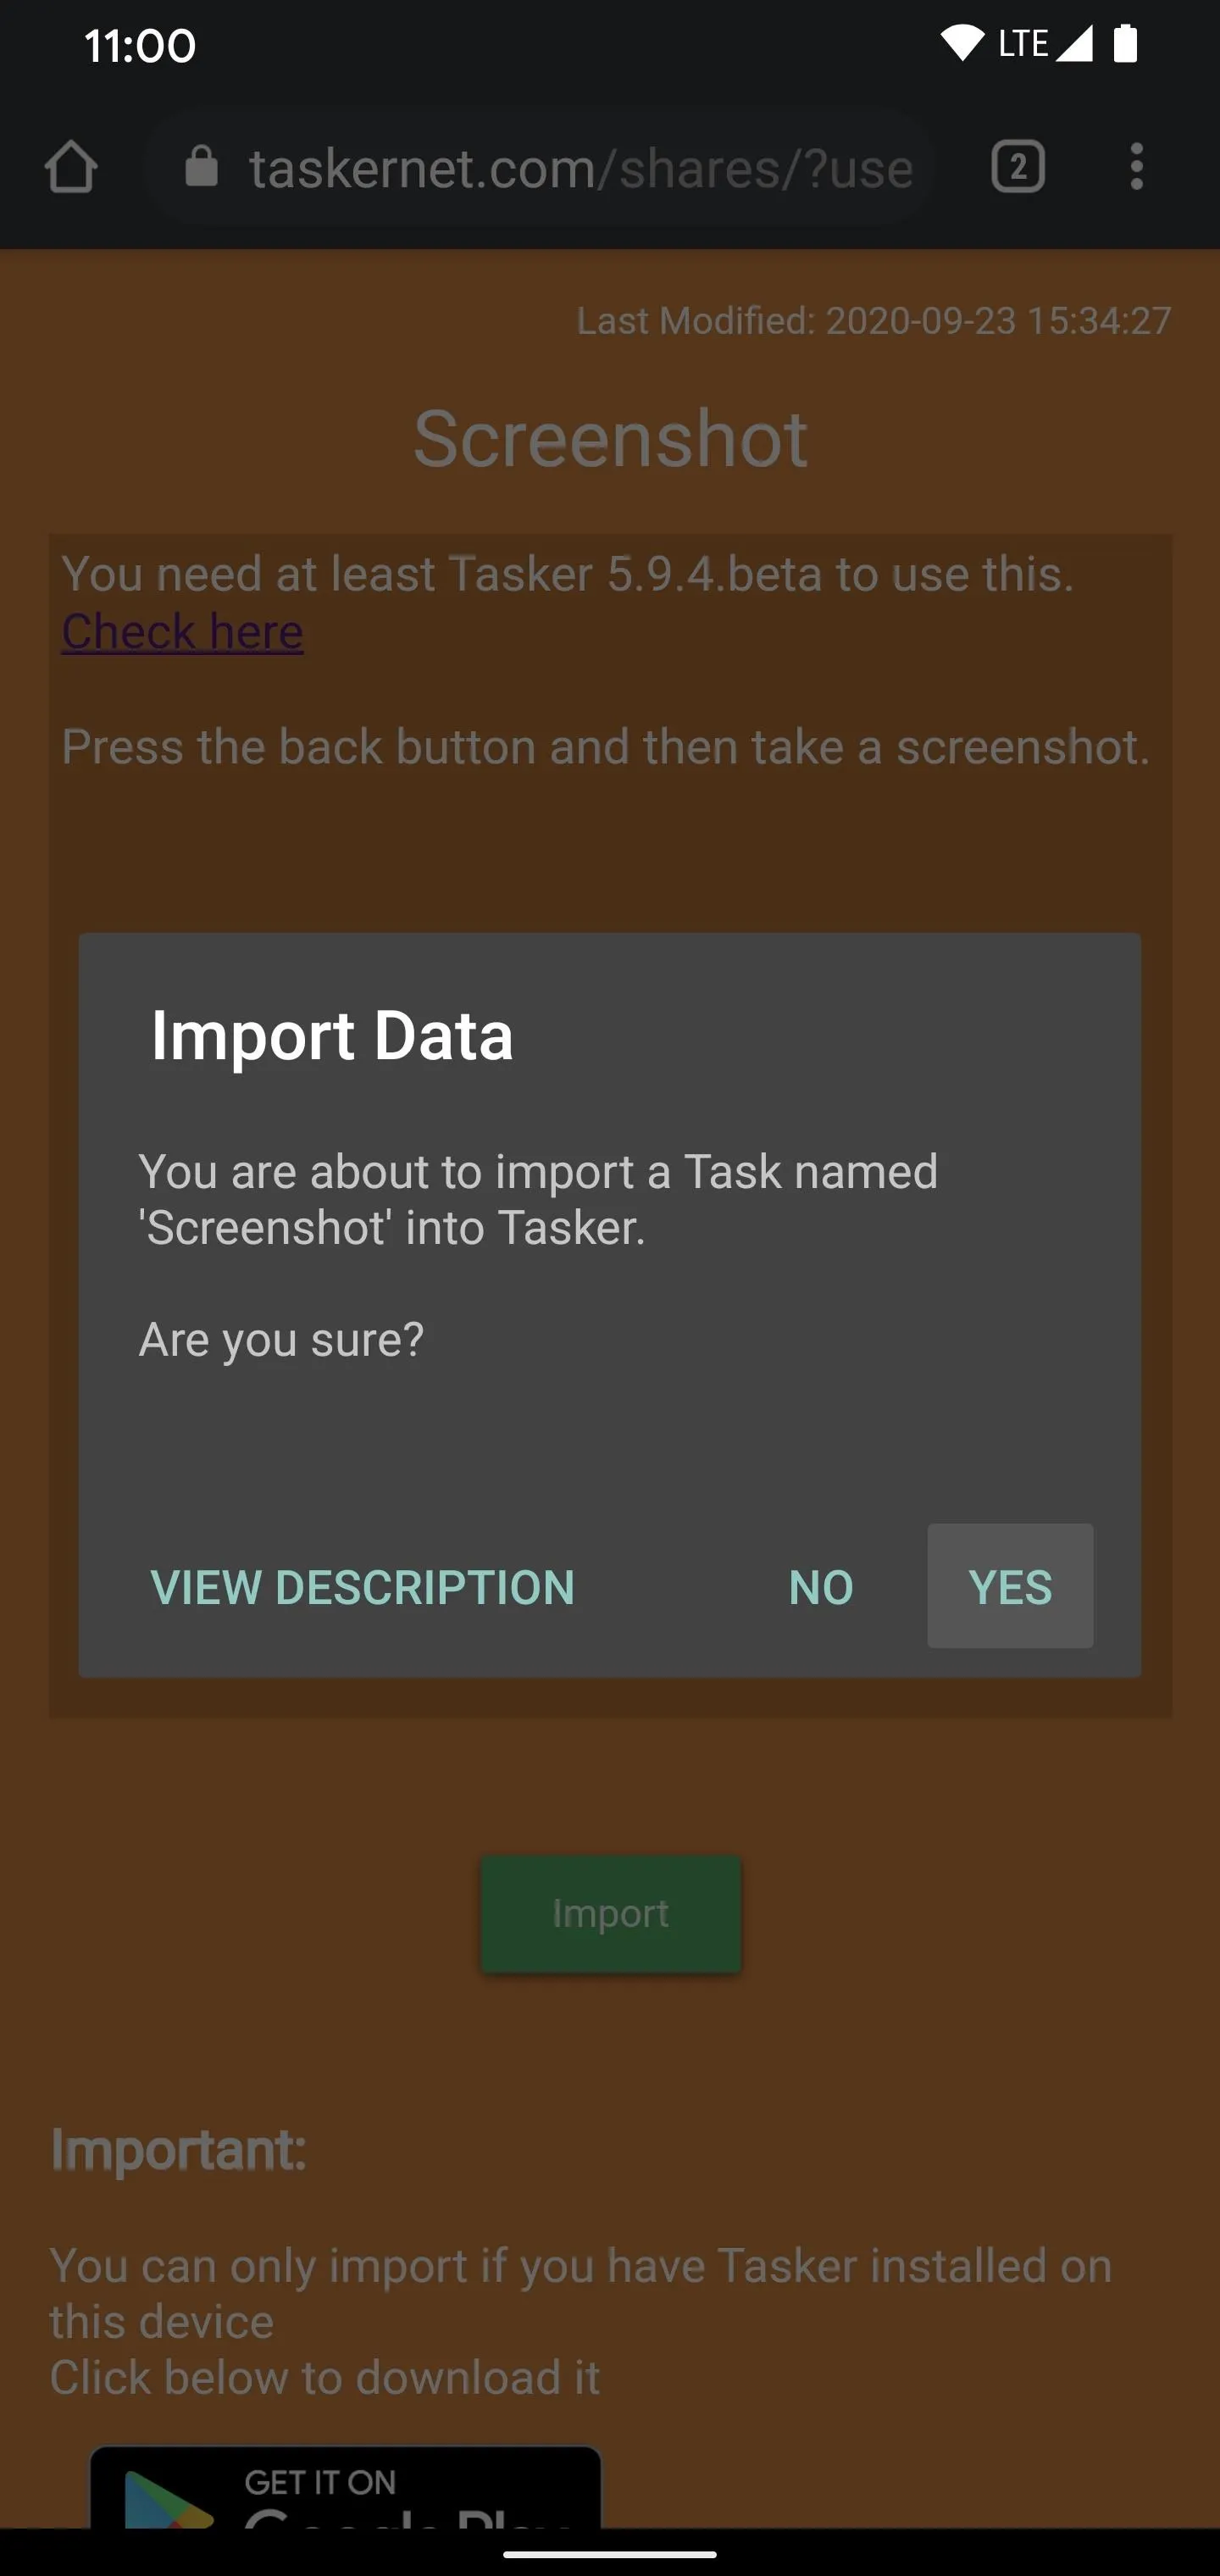


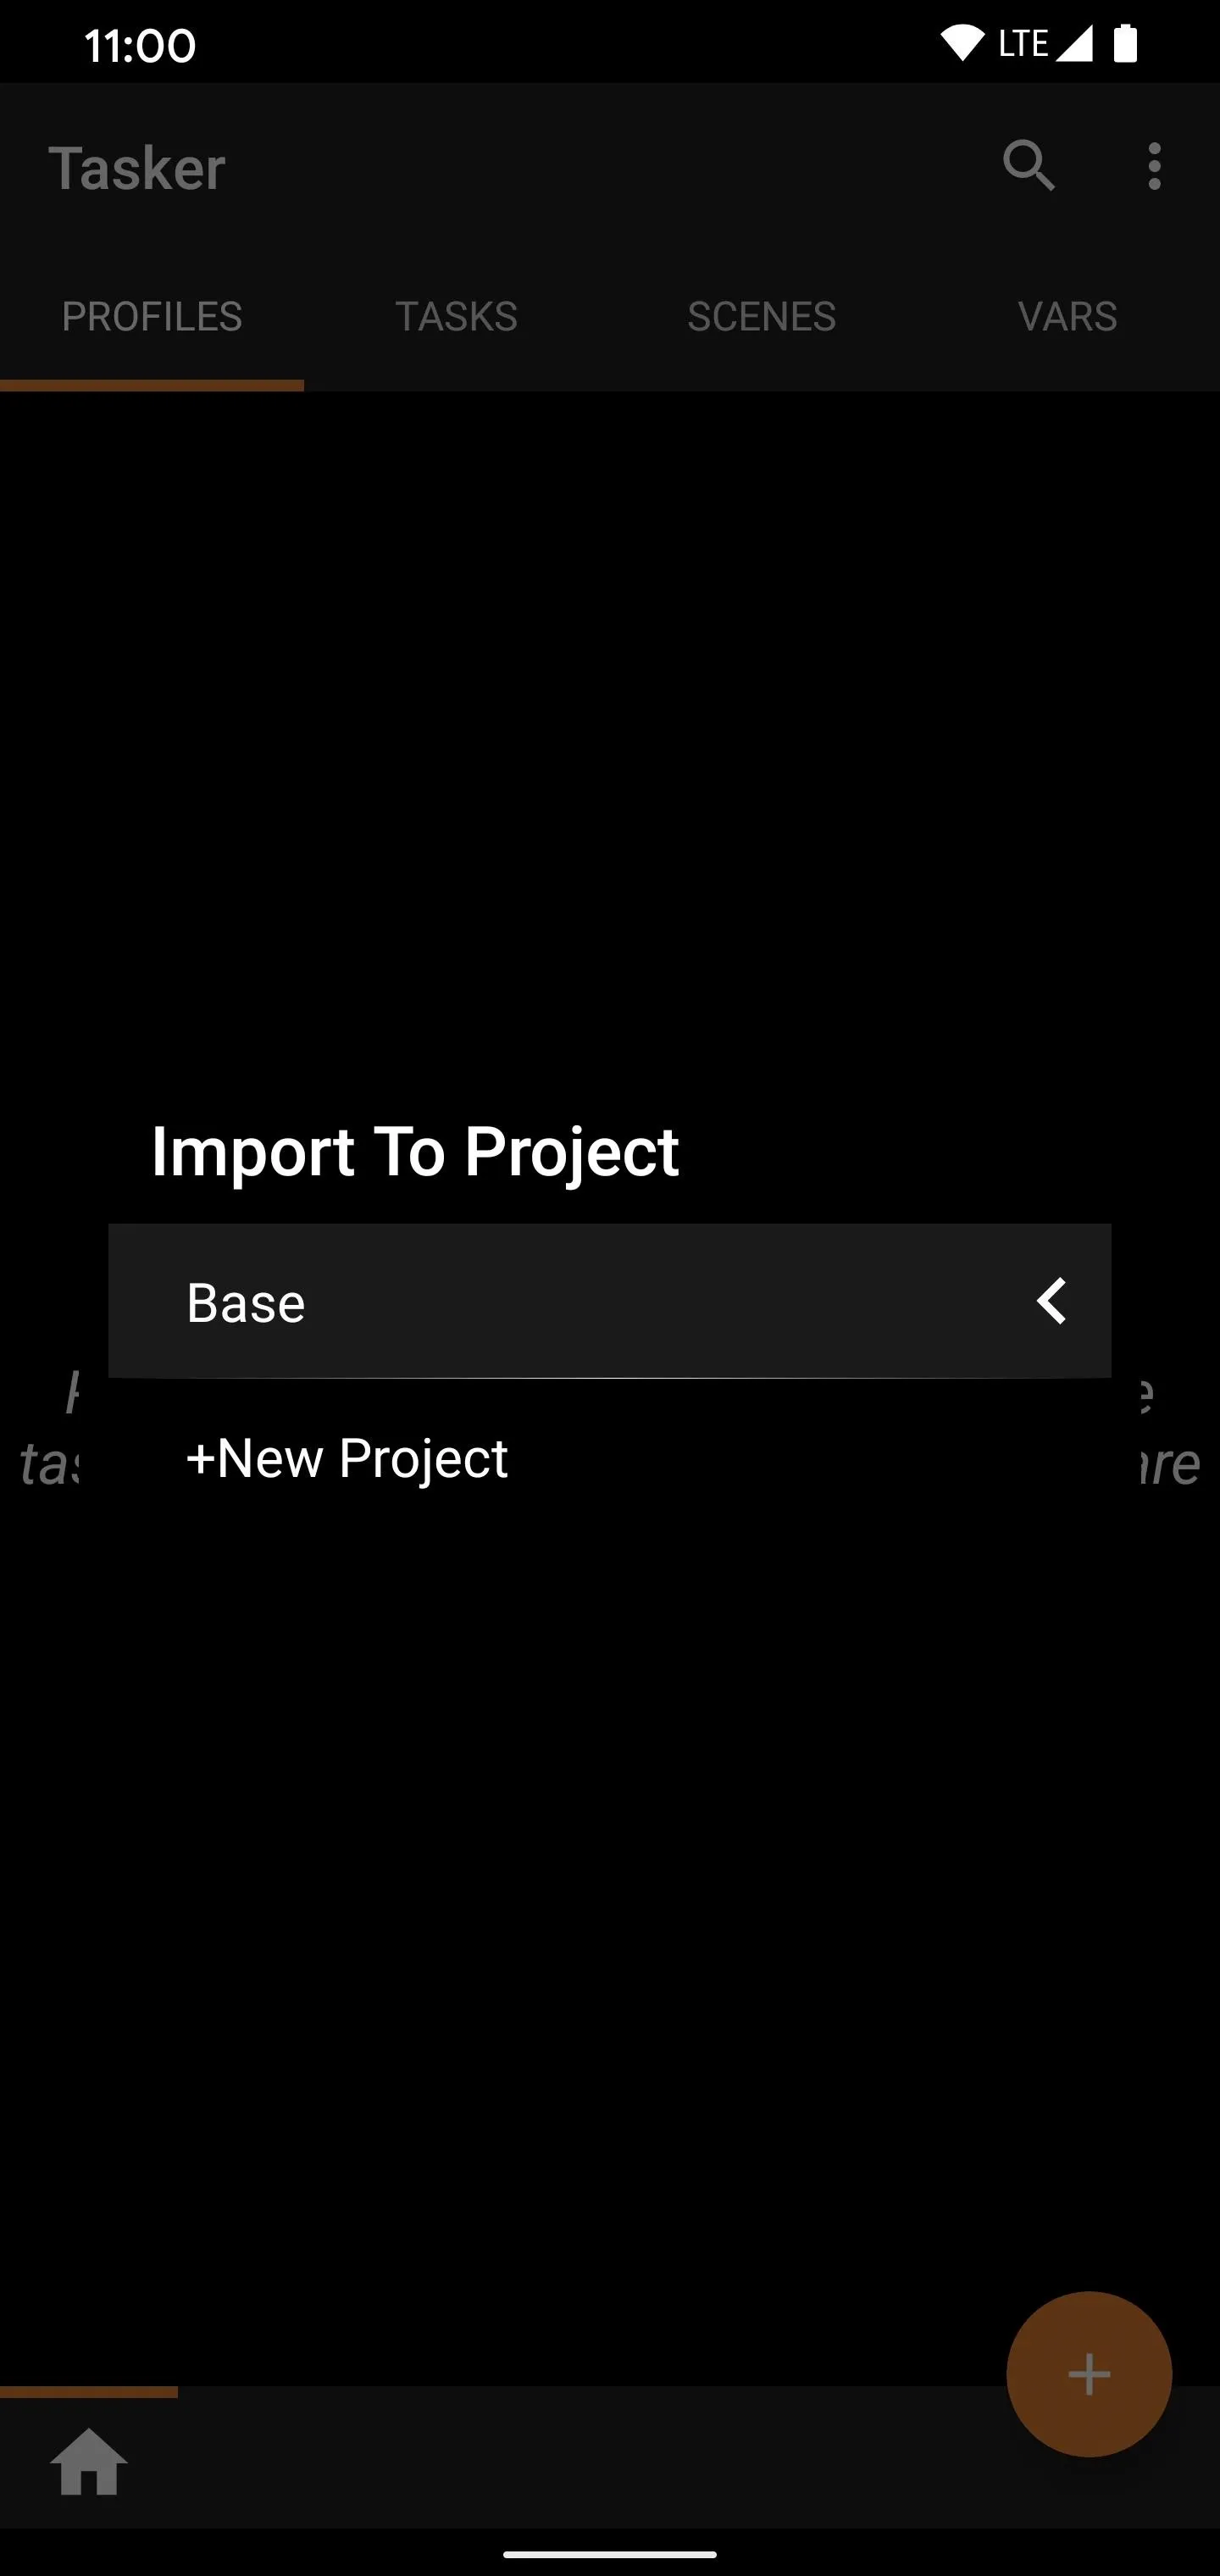
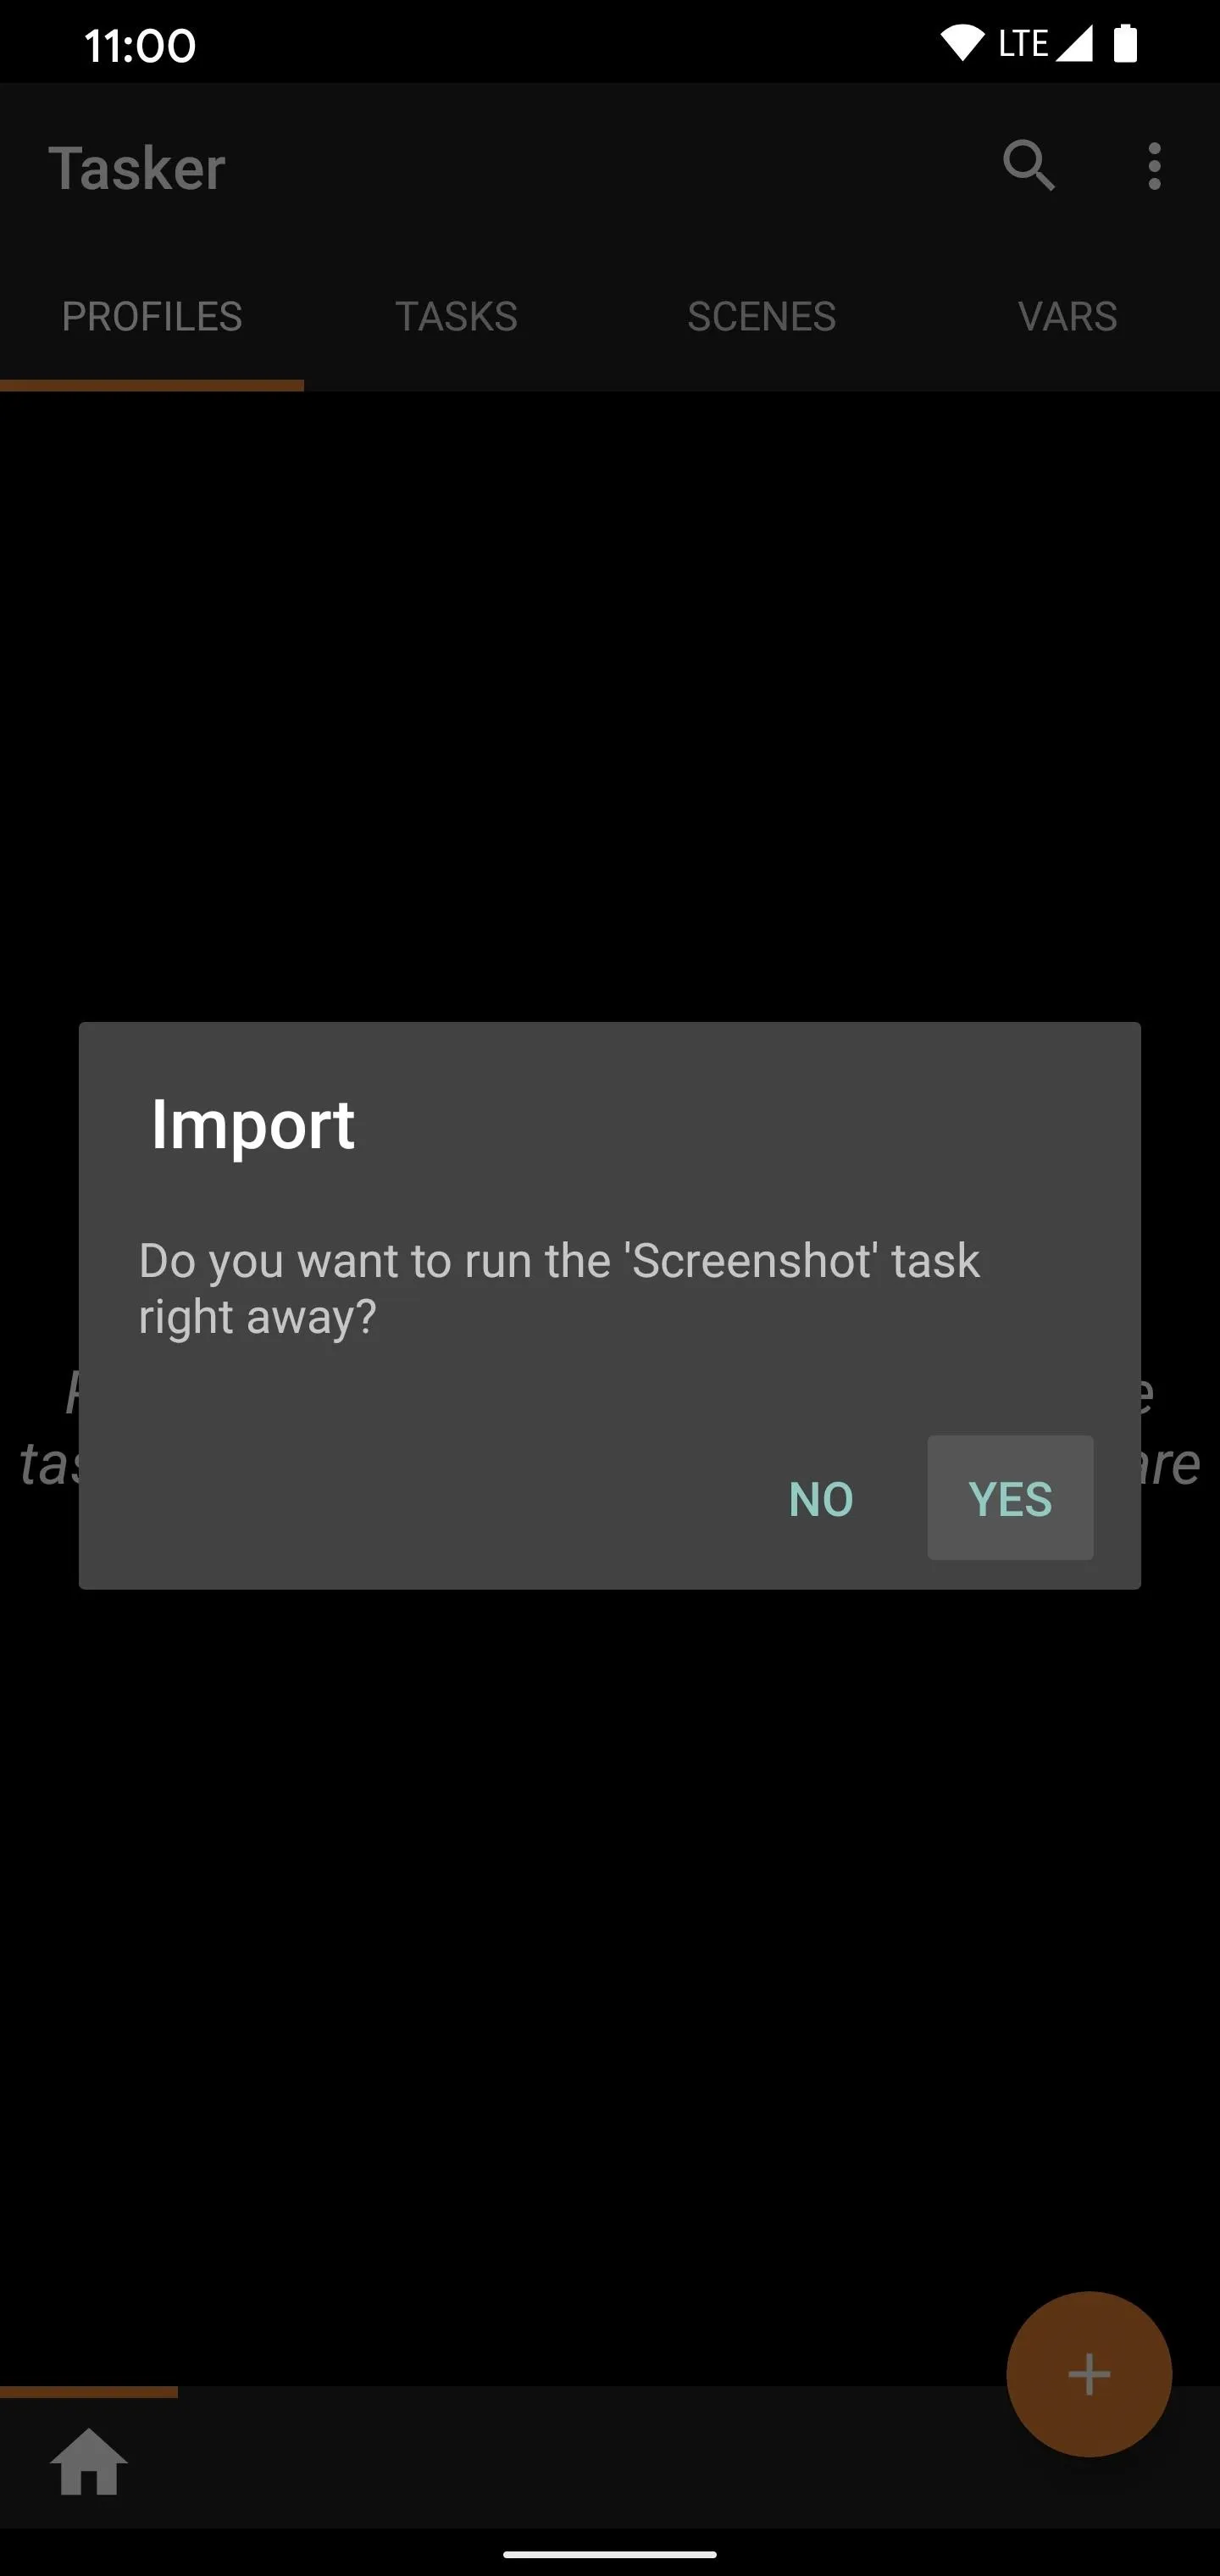
The profile will then open the Tasker app and import the data to your selected Google account. Go ahead and import the project to the "Base" option, then tap "Yes" to run the "Screenshot" task right away.


Step 3: Enable the New Power Menu Screenshot Button
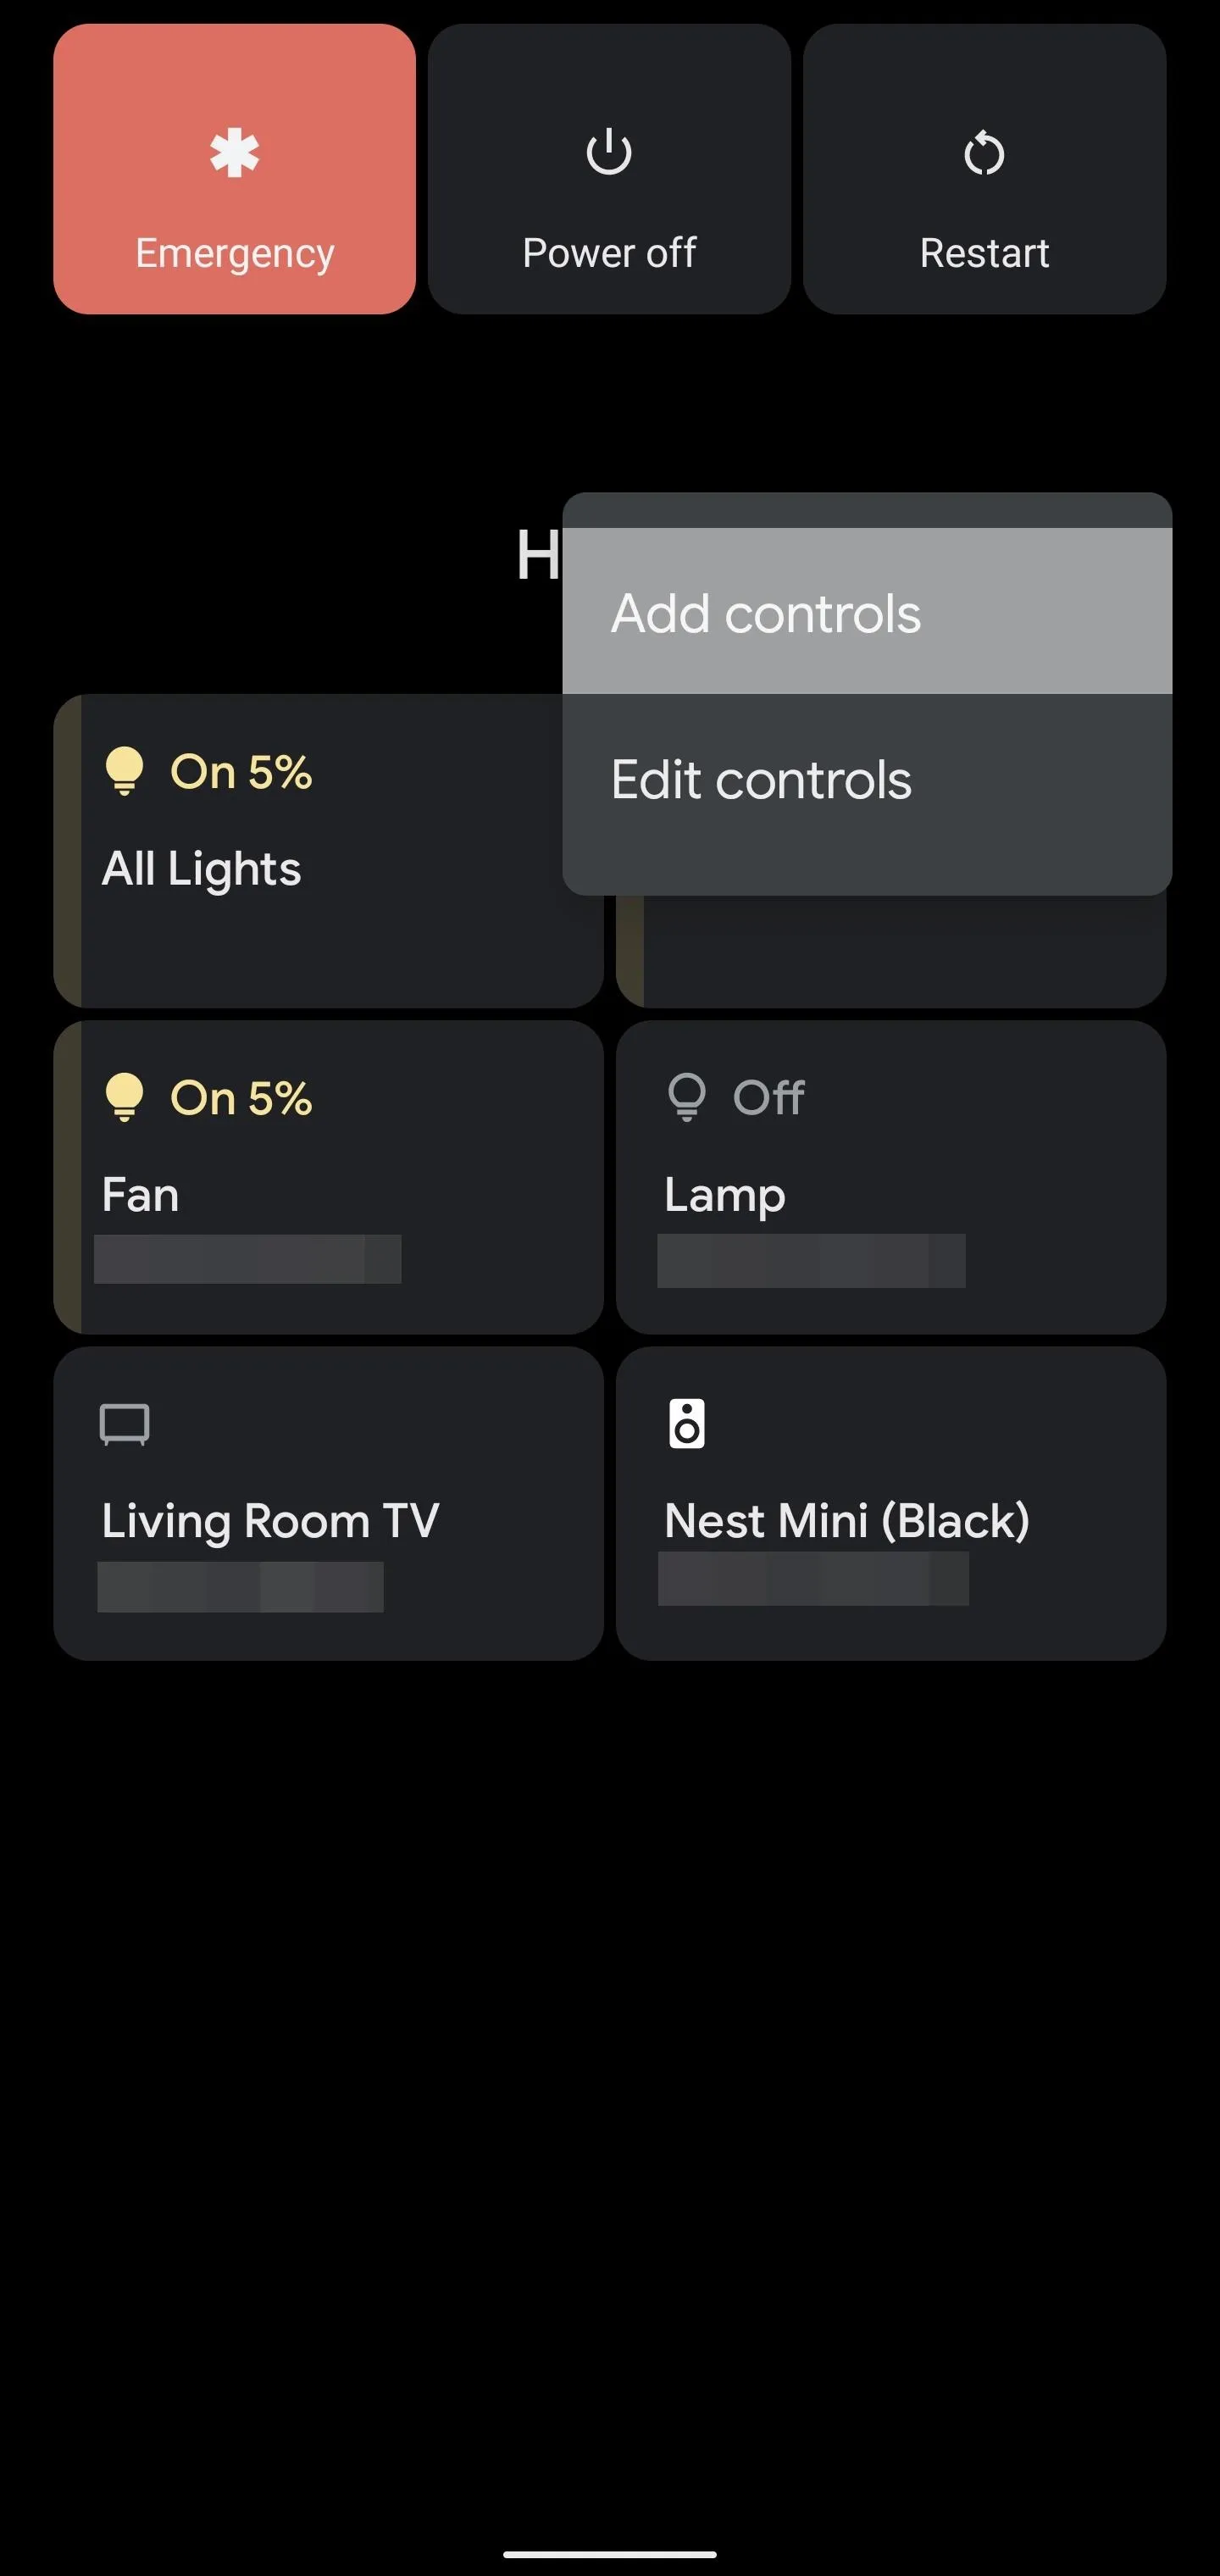
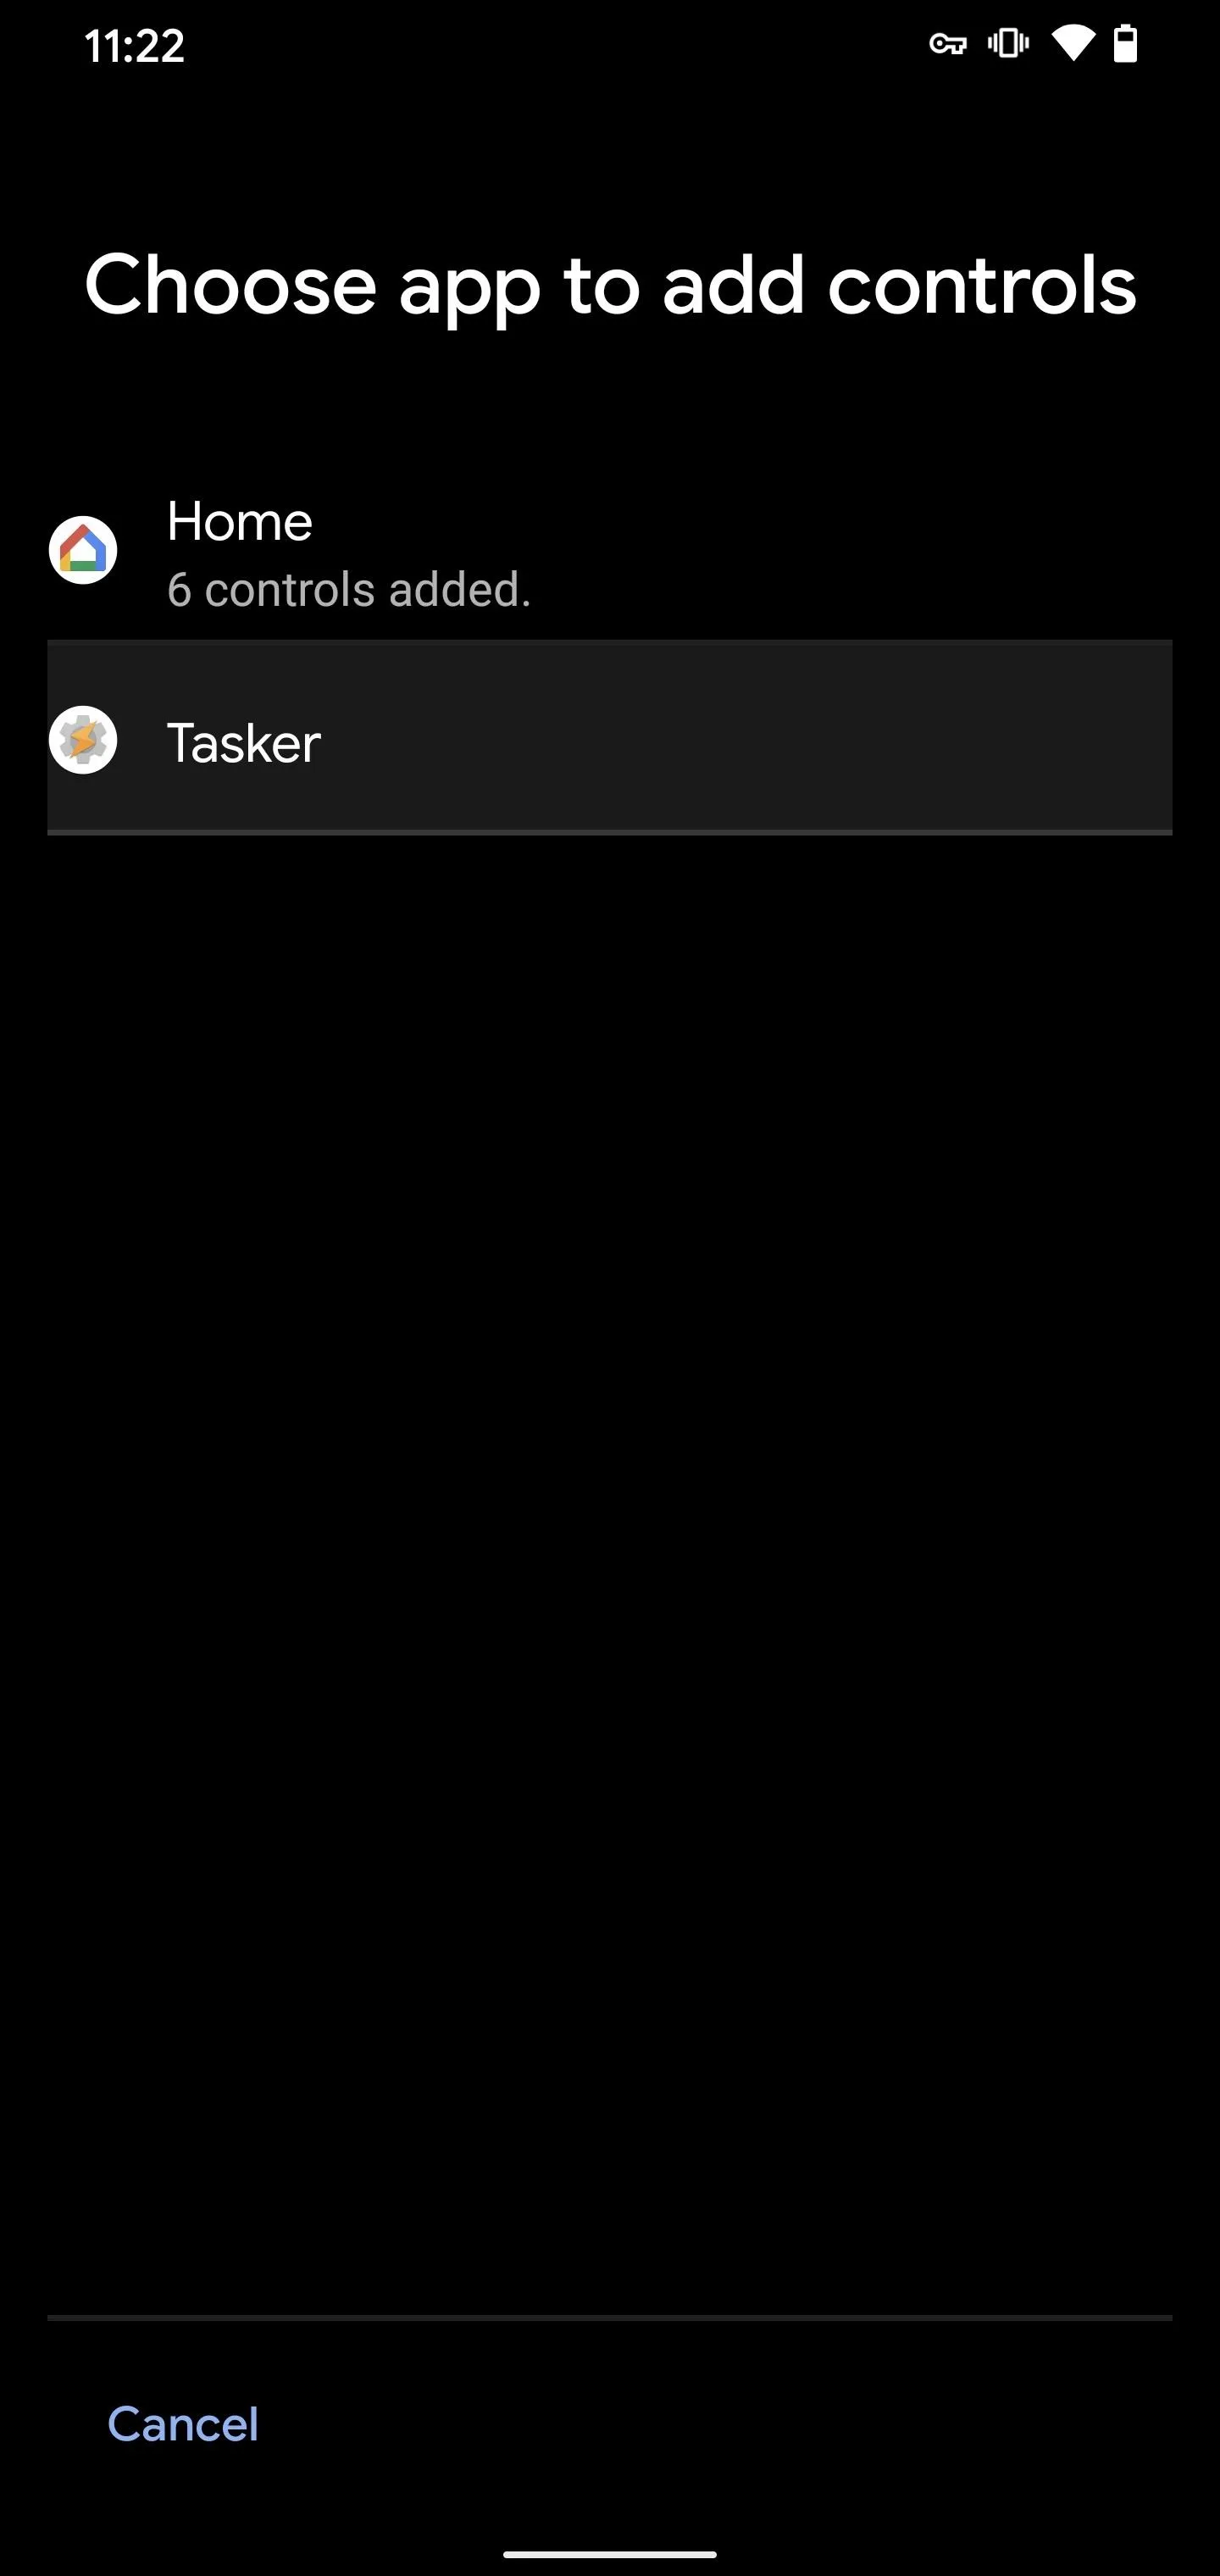
Go ahead and long-press your power button to bring up the device power menu like usual. Here, tap the three-dot menu in the upper-right, then press "Add controls." You want to hit the "See other apps" option at the bottom to move onto the next screen from here.
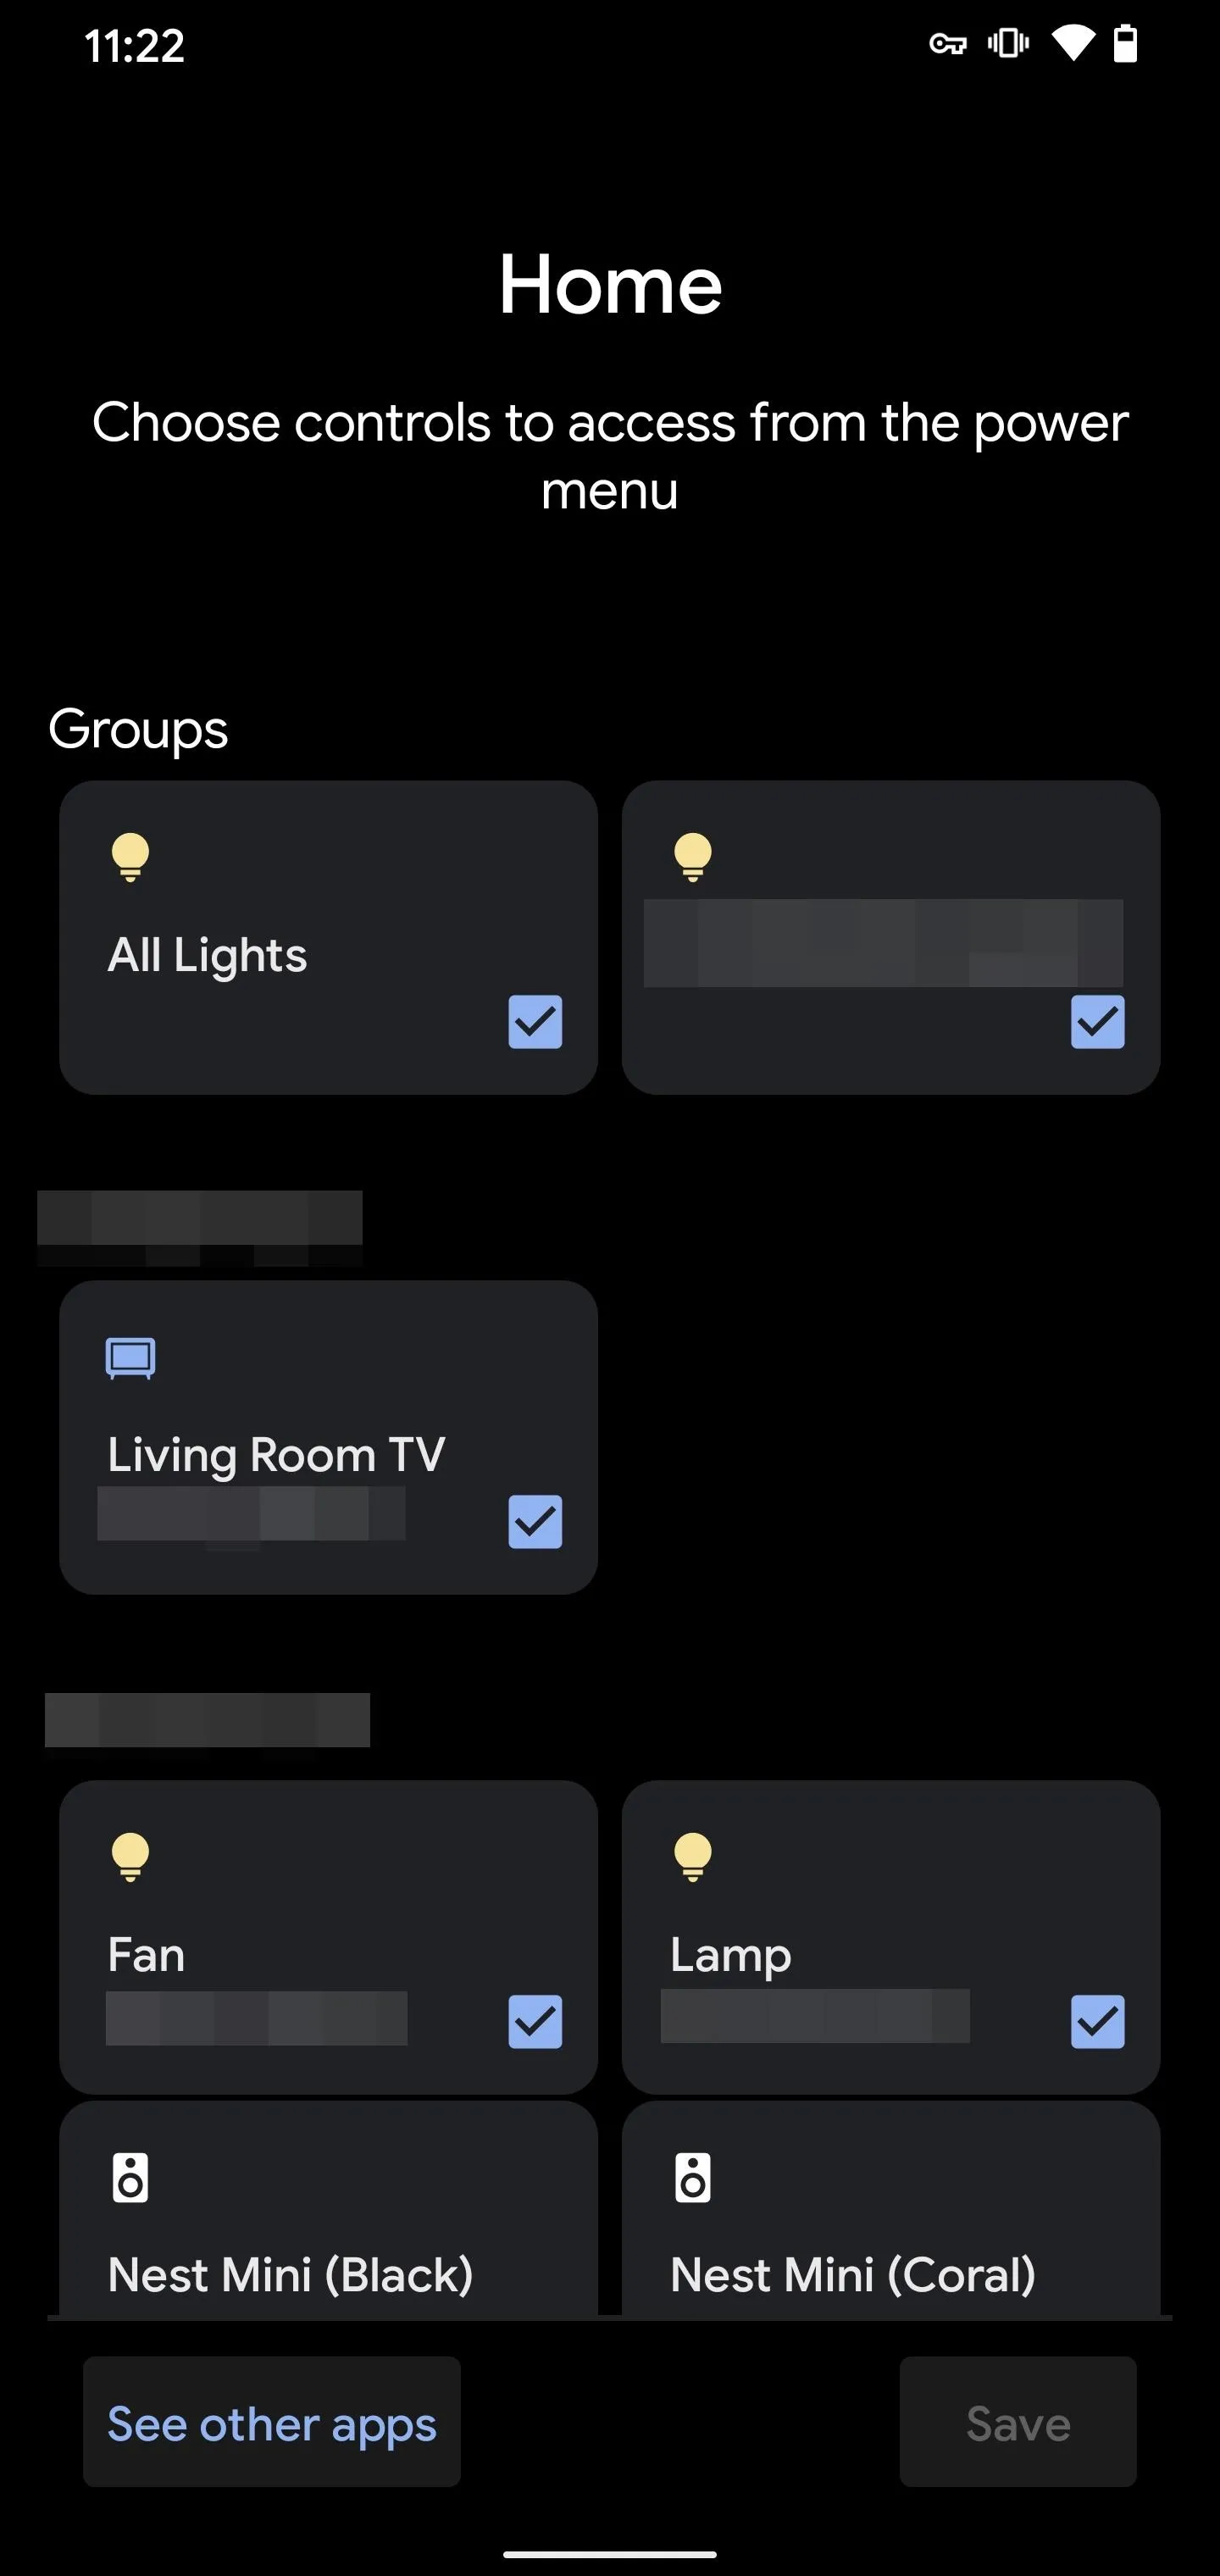


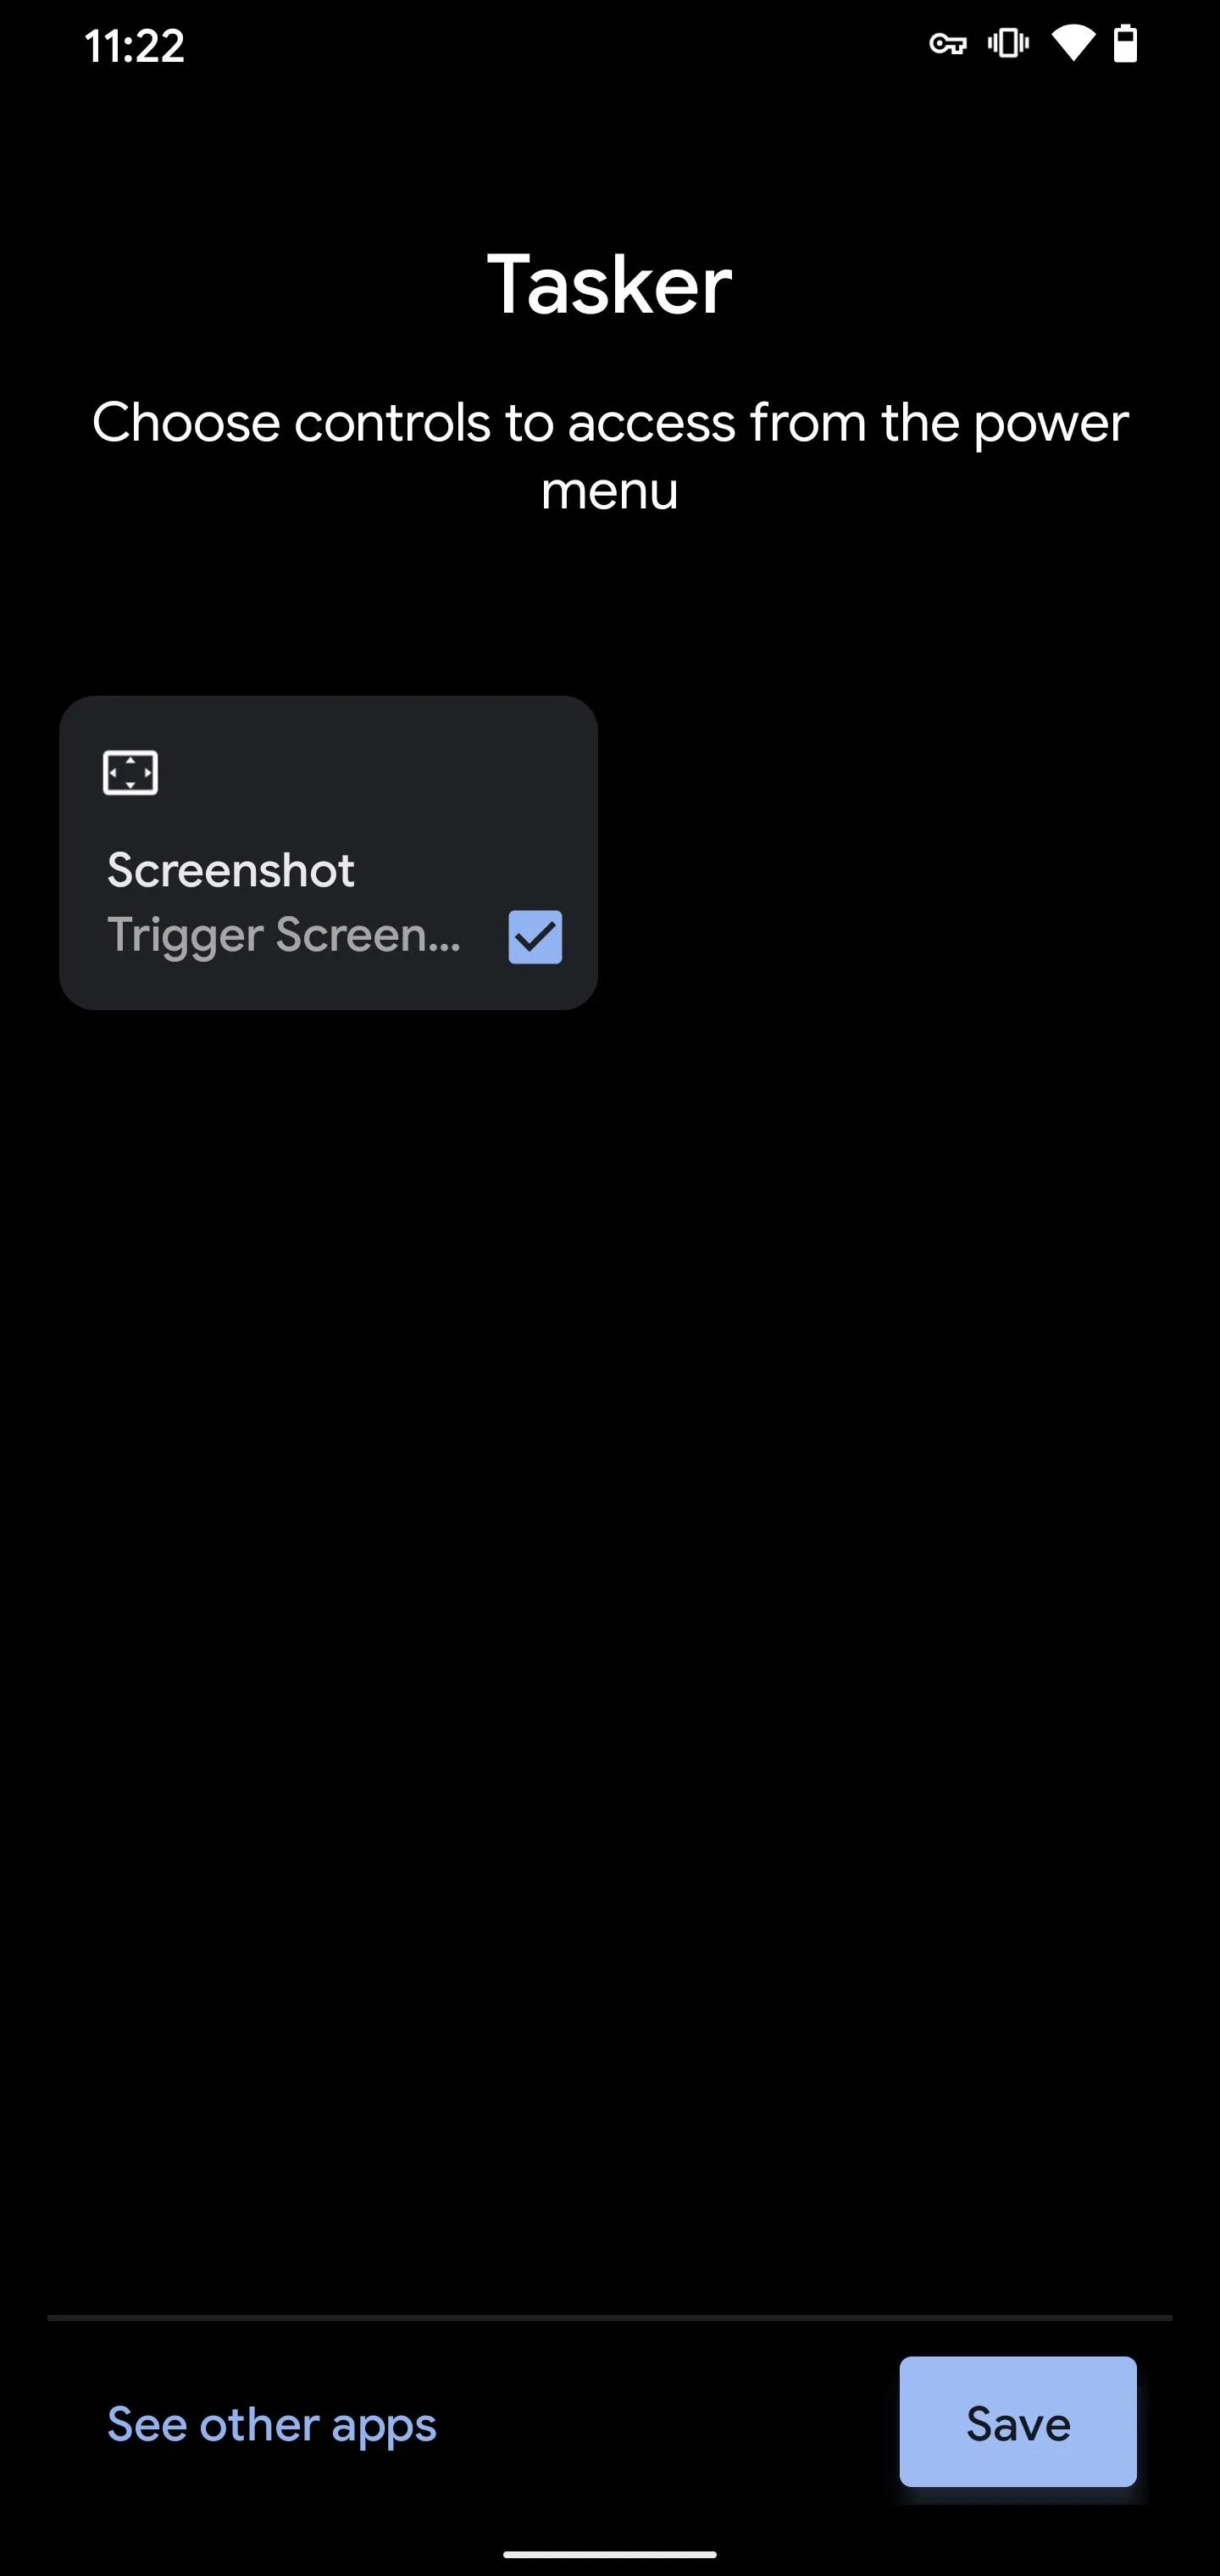
Now, tap the "Tasker" entry, select the "Screenshot" control option, then press the "Save" button to confirm your choice.


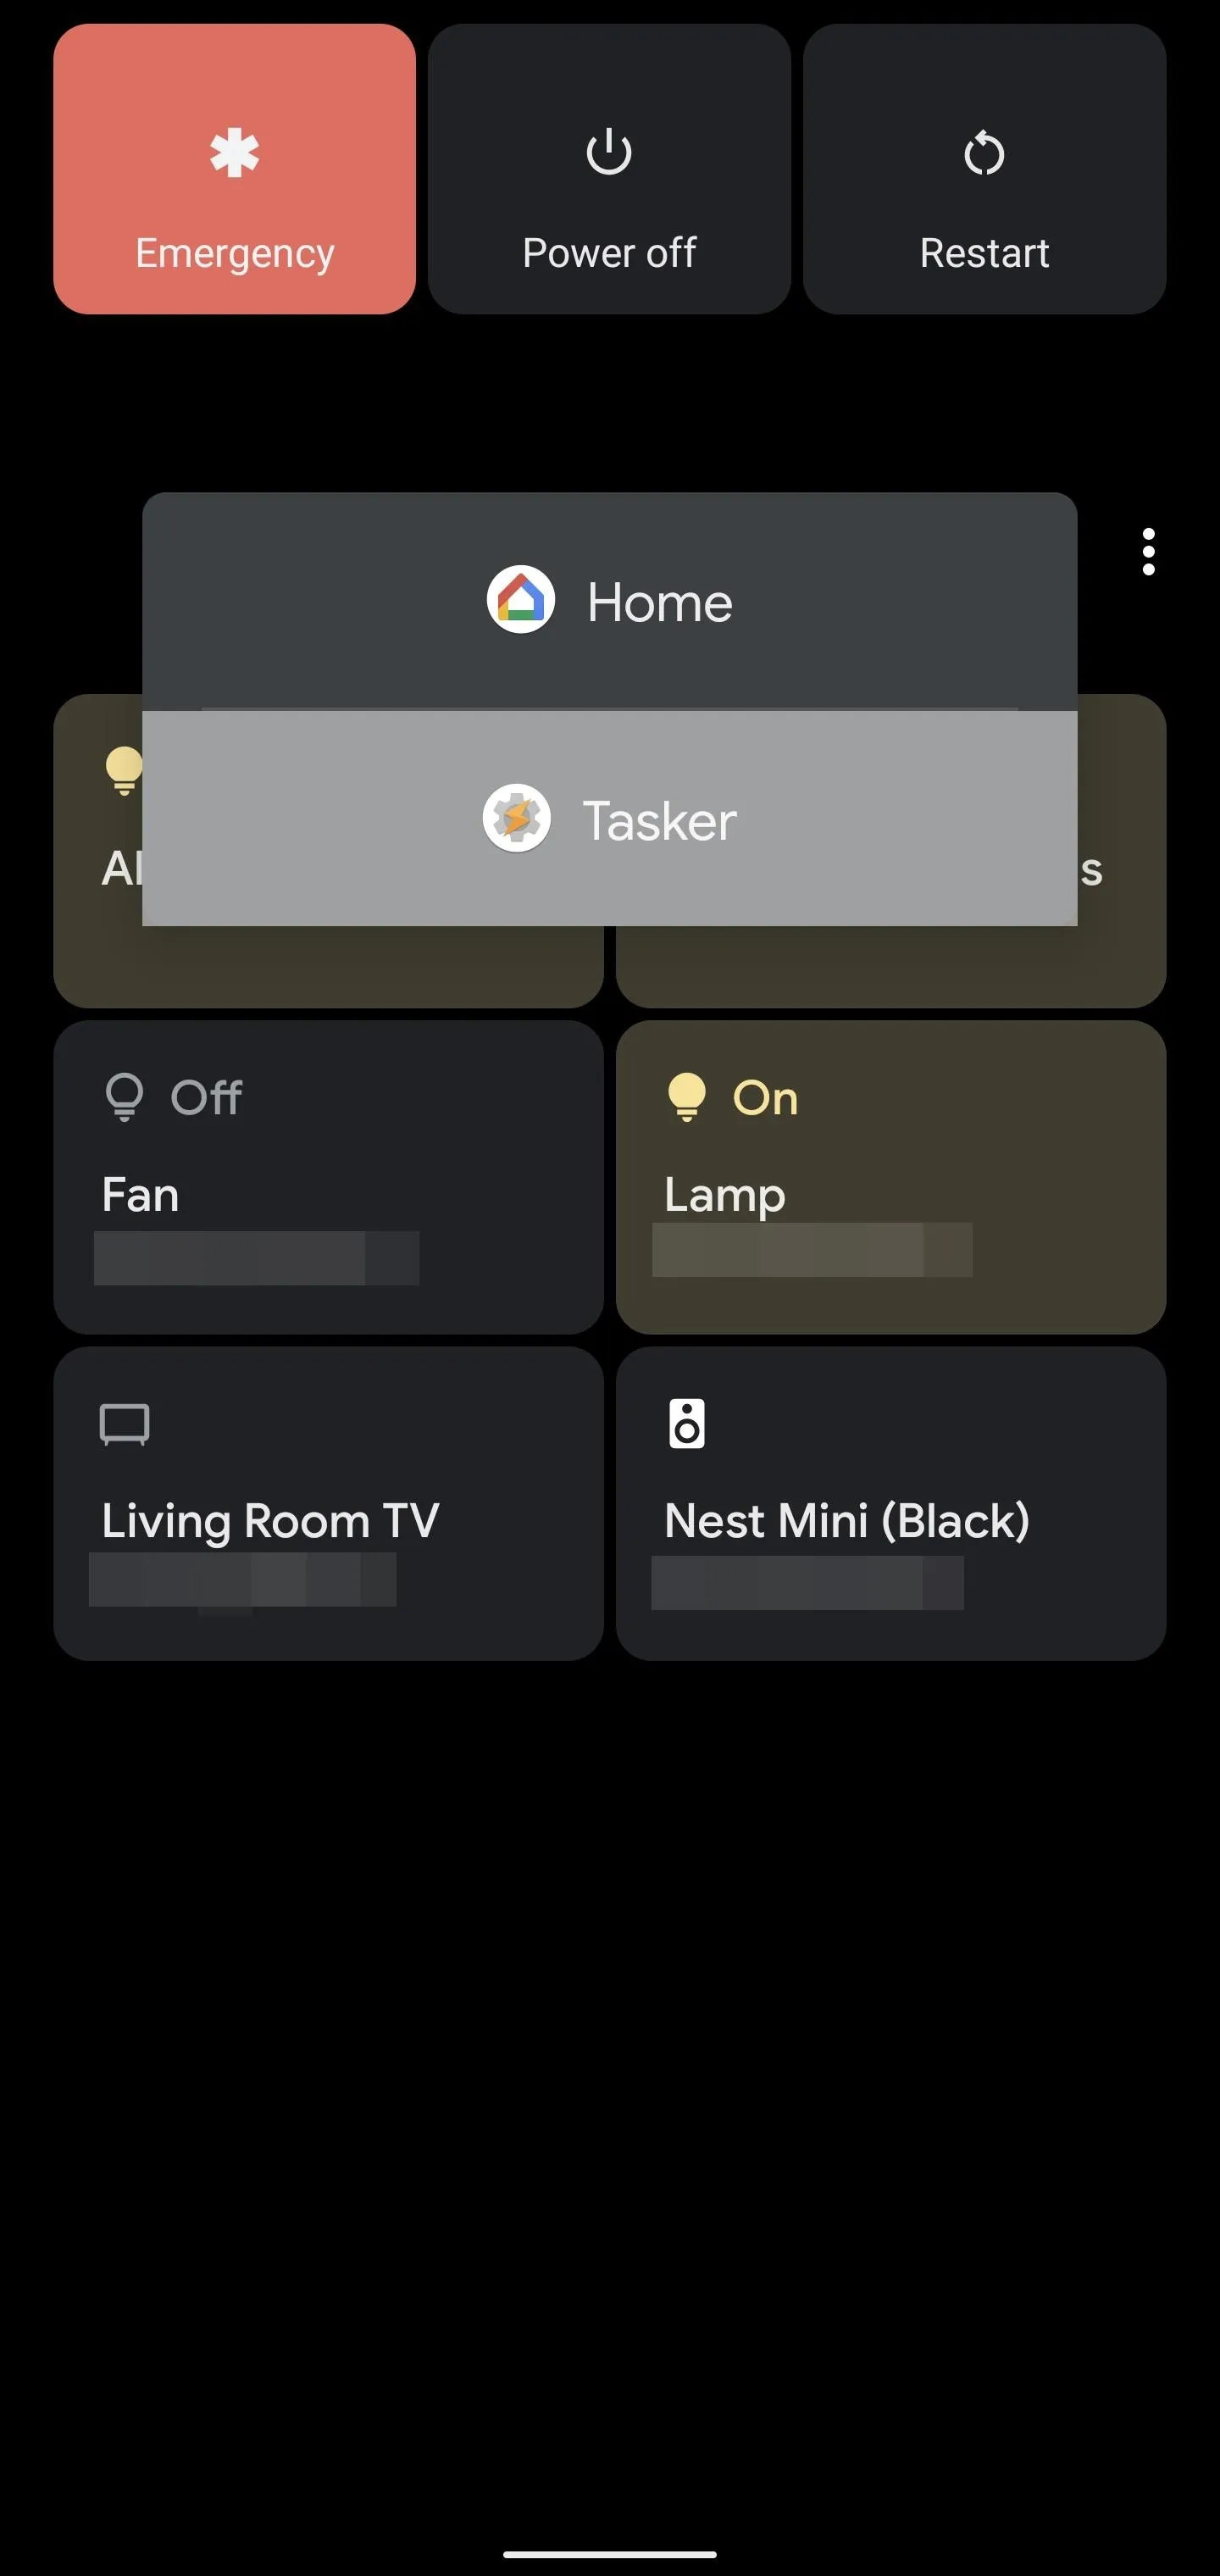
Head back to the main device power control menu, then tap the drop-down menu for the "Home" entry at the top of the screen. Tap "Tasker" to switch the power menu panel over to Tasker related custom actions. You'll notice the new "Screenshot" option you just added. Once you tap this button, it'll automatically take a screenshot for you, just like the Android 10 power menu did. All set!
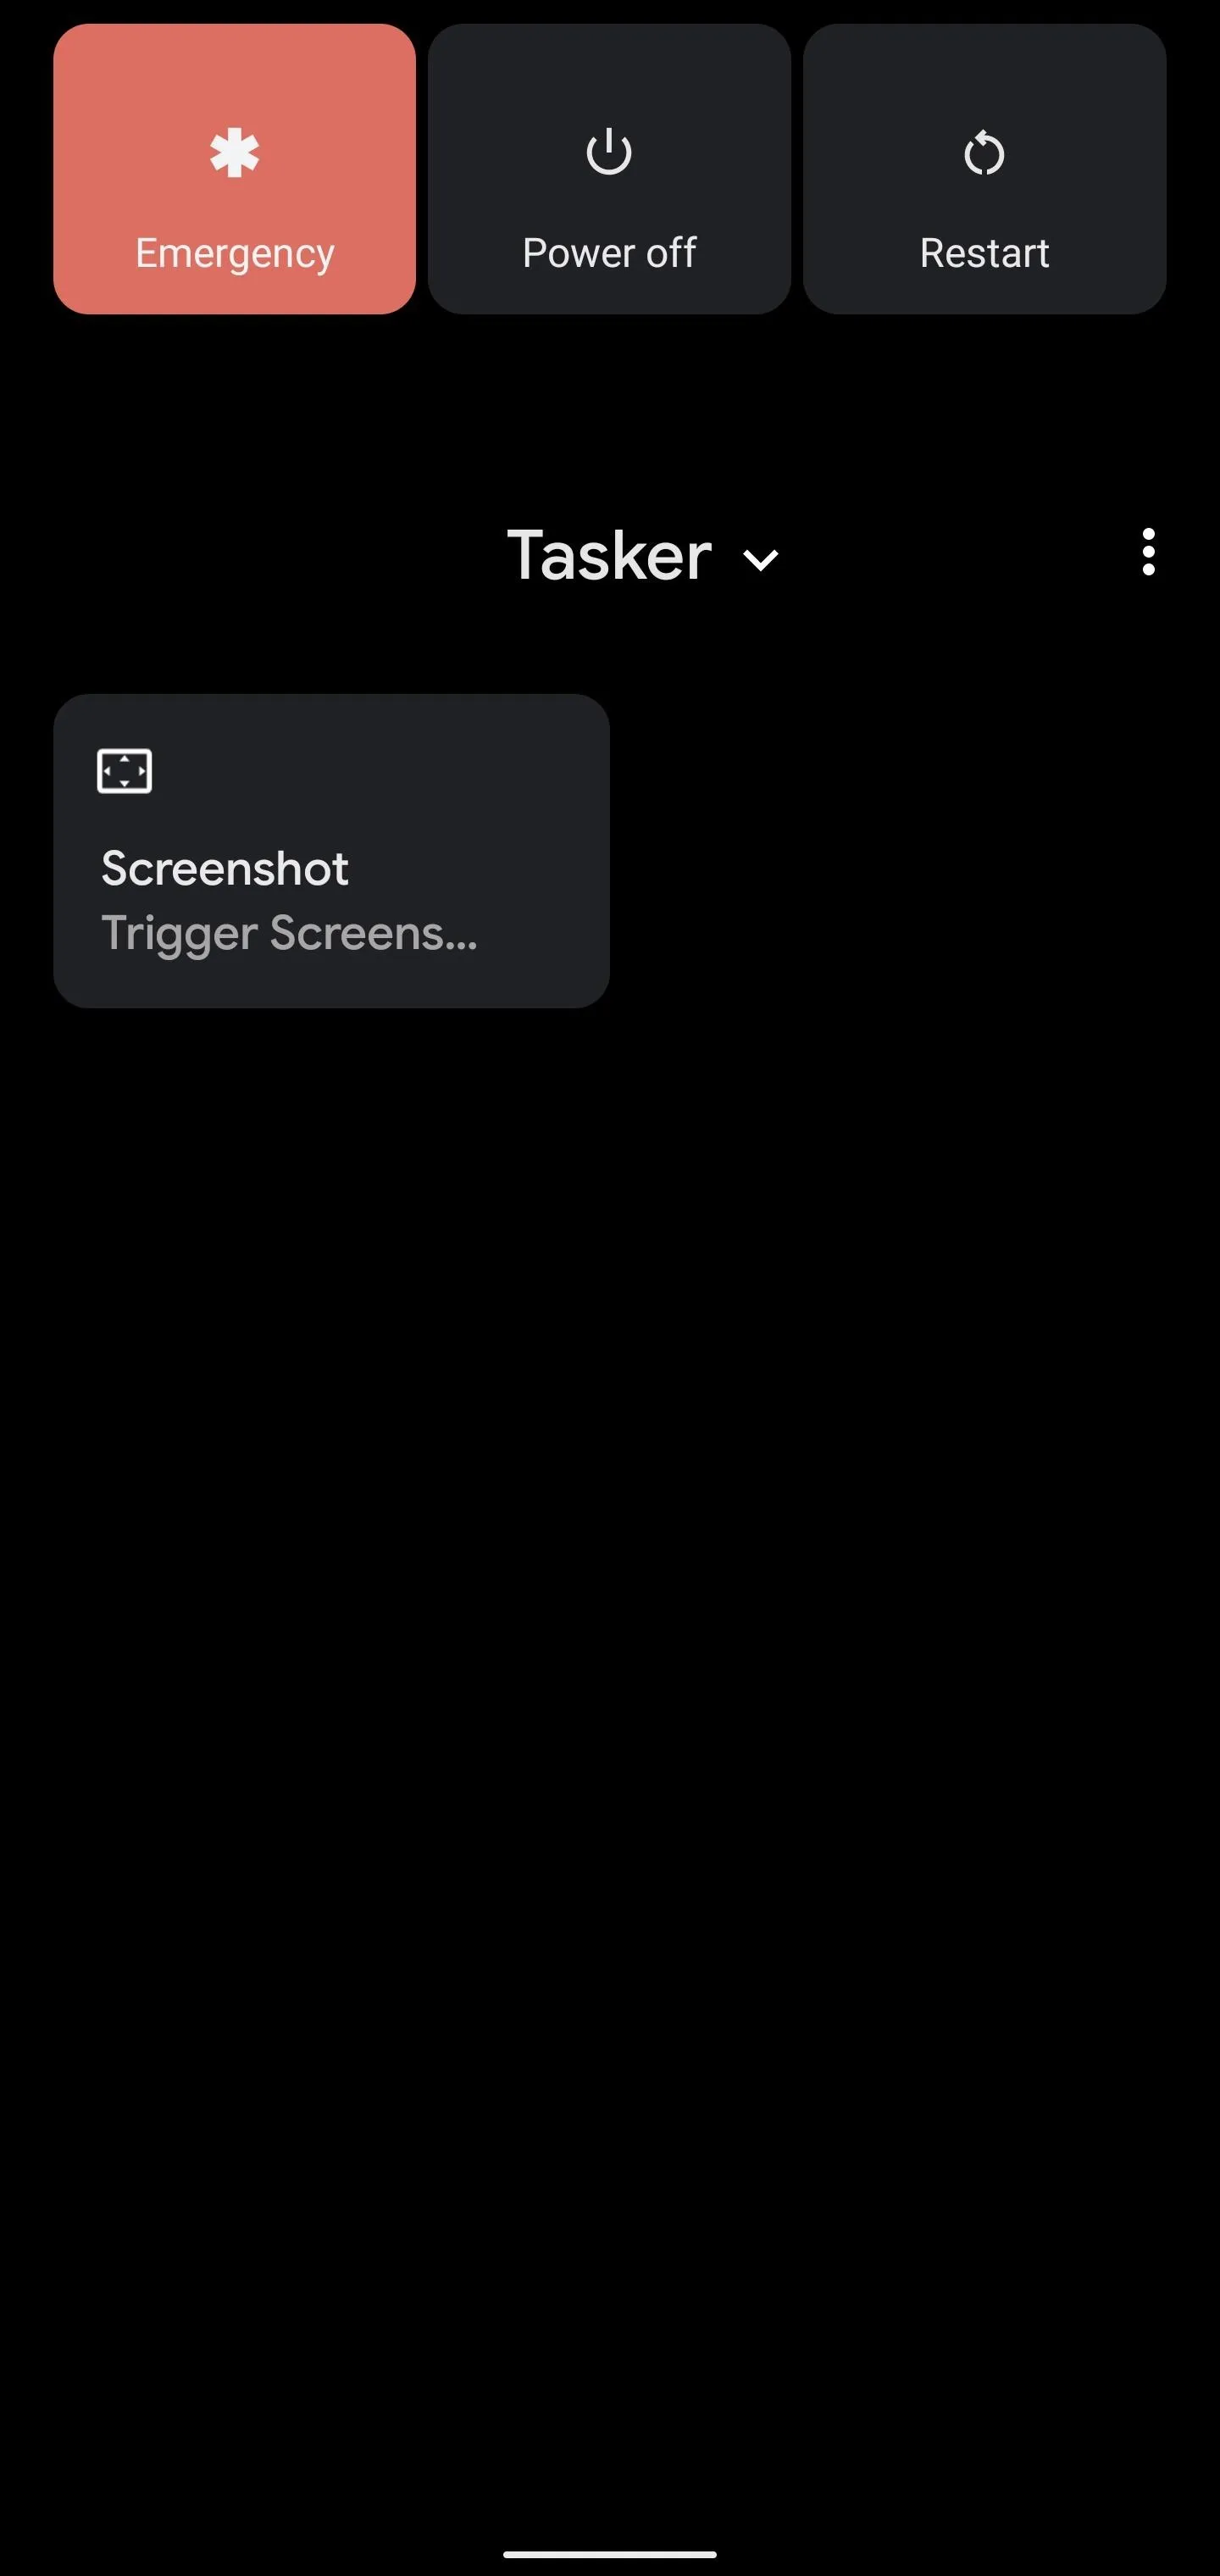
If you don't use the "Home" device power control menu much, you can leave it on the "Tasker" tab. It'll stay there as long as you want by default now.


If you don't use the "Home" device power control menu much, you can leave it on the "Tasker" tab. It'll stay there as long as you want by default now.
Cover image and screenshots by Stephen Perkins/Gadget Hacks


Comments
No Comments Exist
Be the first, drop a comment!