When you're flashing a custom ROM with TWRP recovery, it's almost never just one ZIP. Instead, you have to flash the ROM file, the Gapps, a custom kernel, and maybe even Xposed or Magisk, which results in a lot of back-and-forth. Thankfully, it doesn't have to be this way.
If you use TWRP's "Add More Zips" feature instead of manually selecting each file, flashing multiple ZIPs in one session suddenly becomes an easy task. You just have to take care to add the ZIPs in their proper order, then TWRP will handle the rest. Really, it's an incredibly useful feature, so I'll show you how it works below.
Flashing Multiple ZIPs at Once
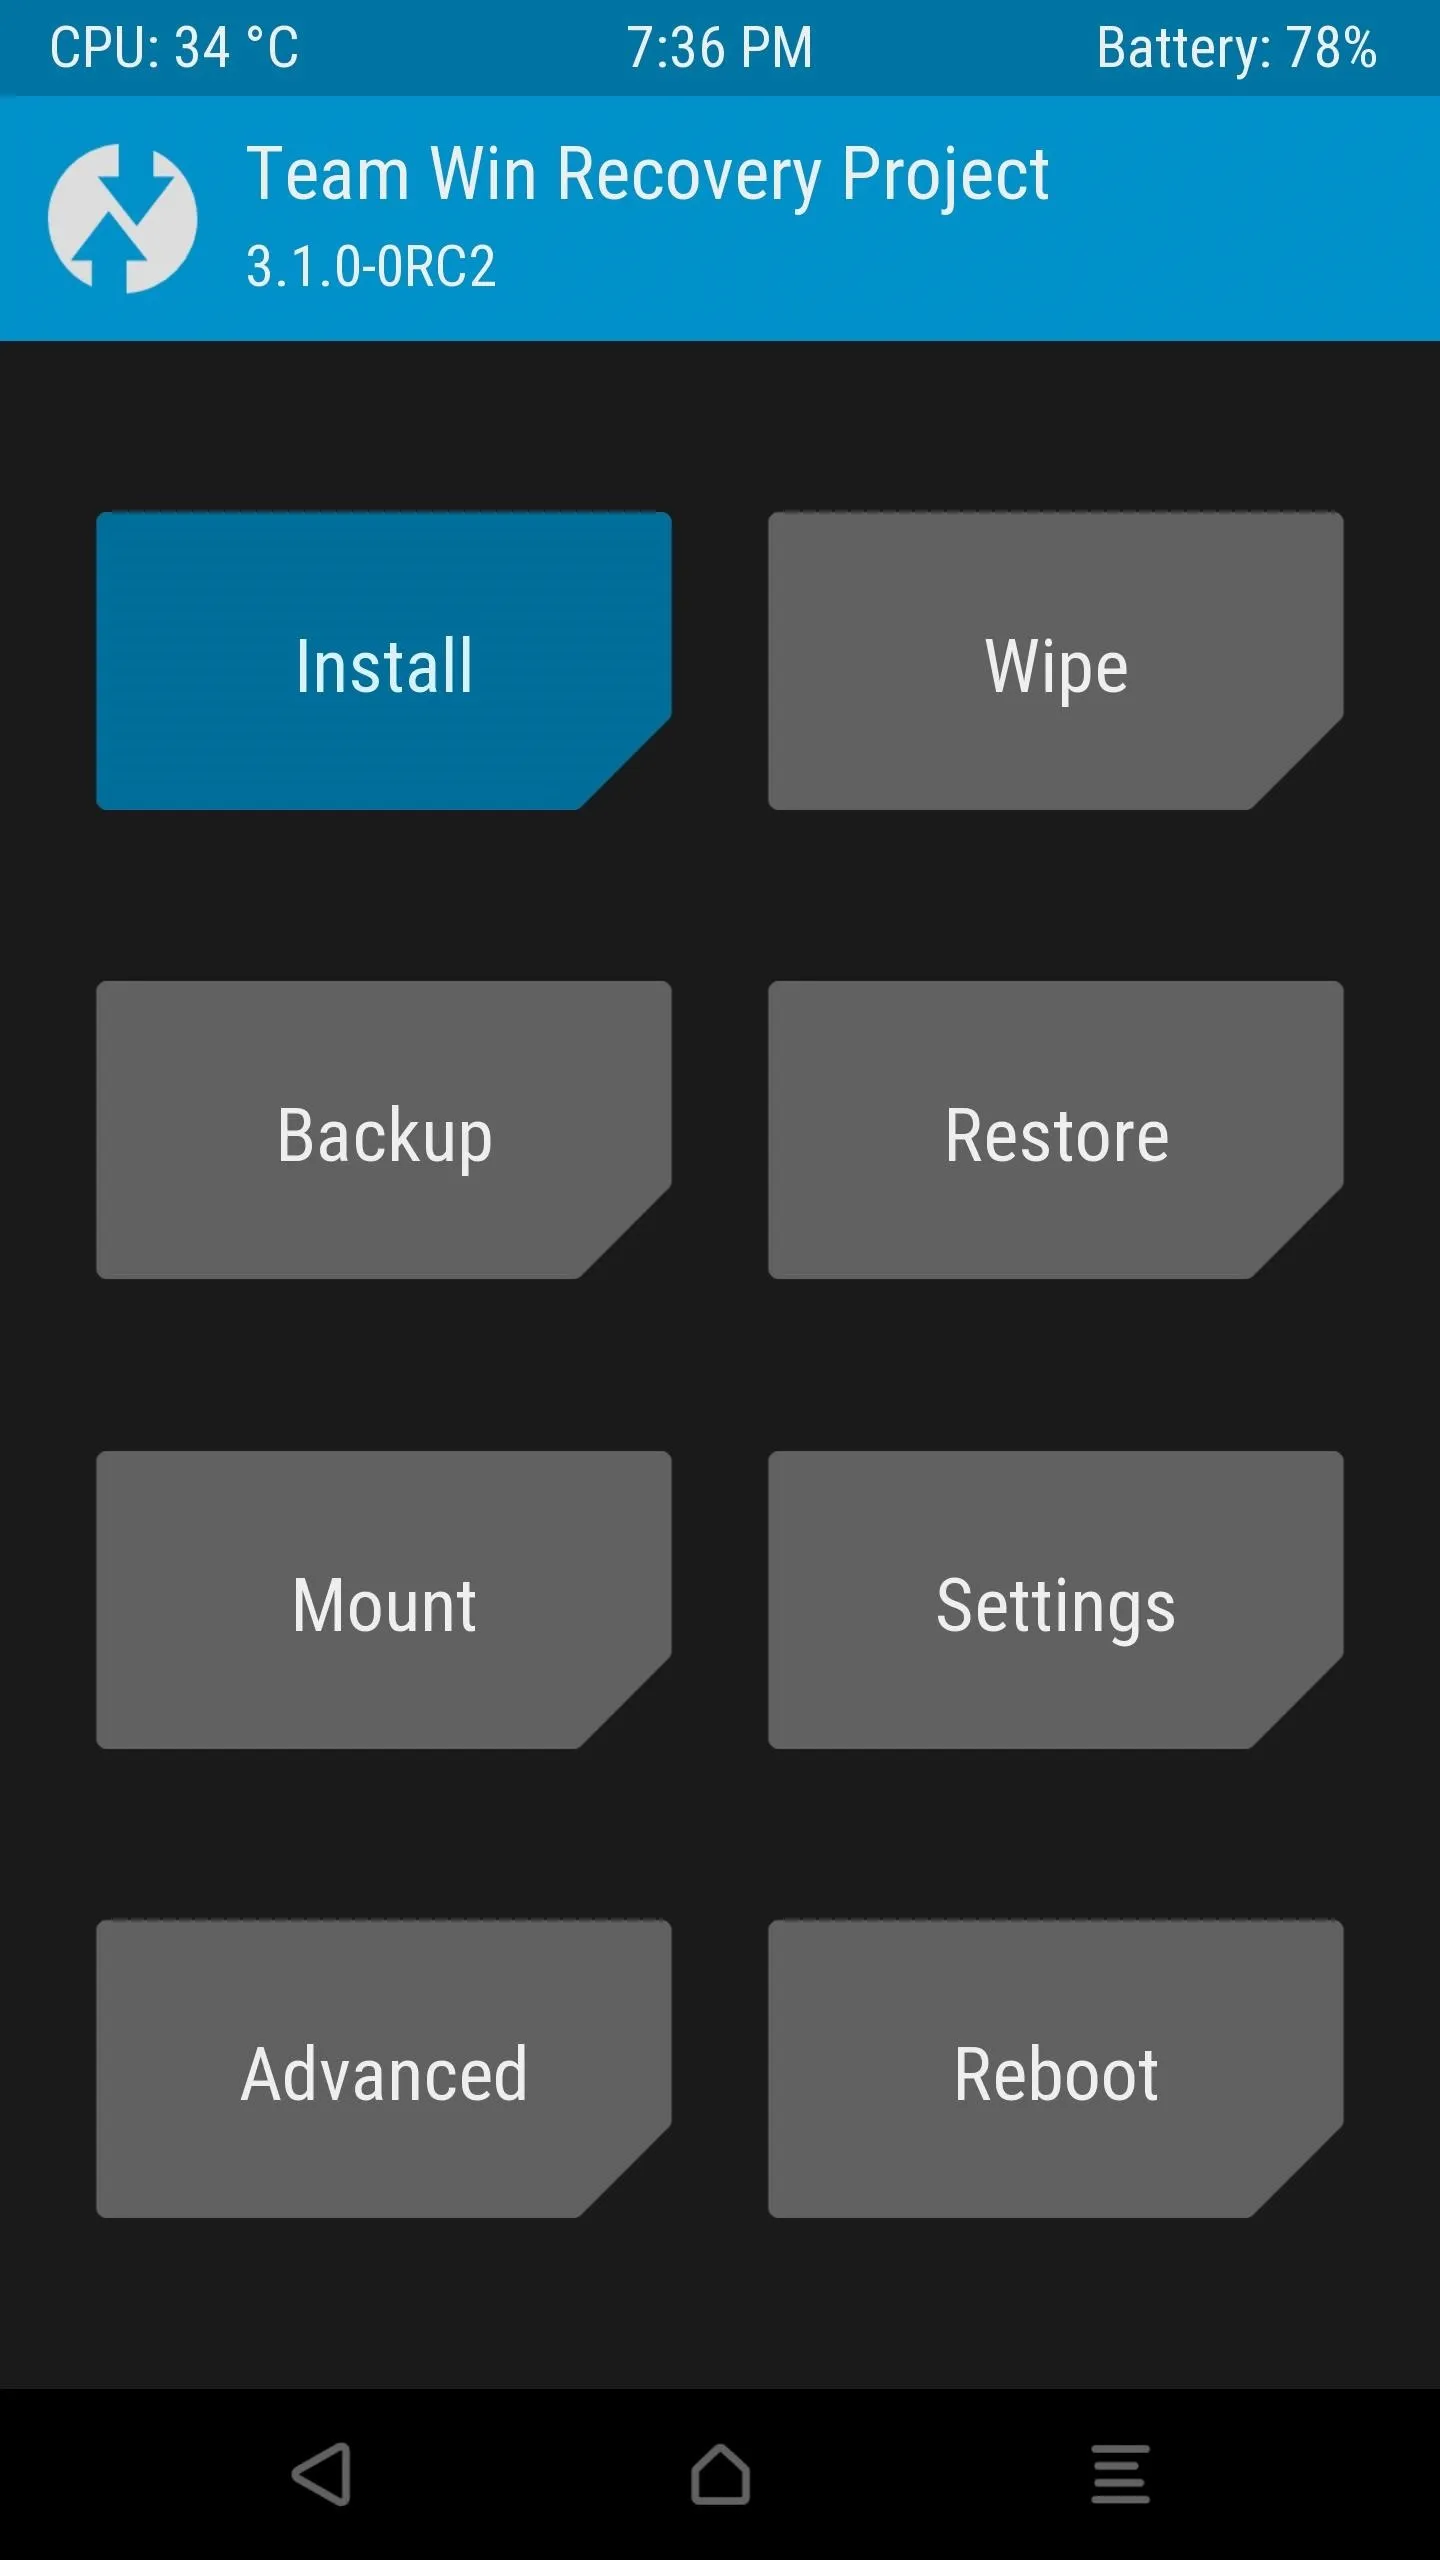
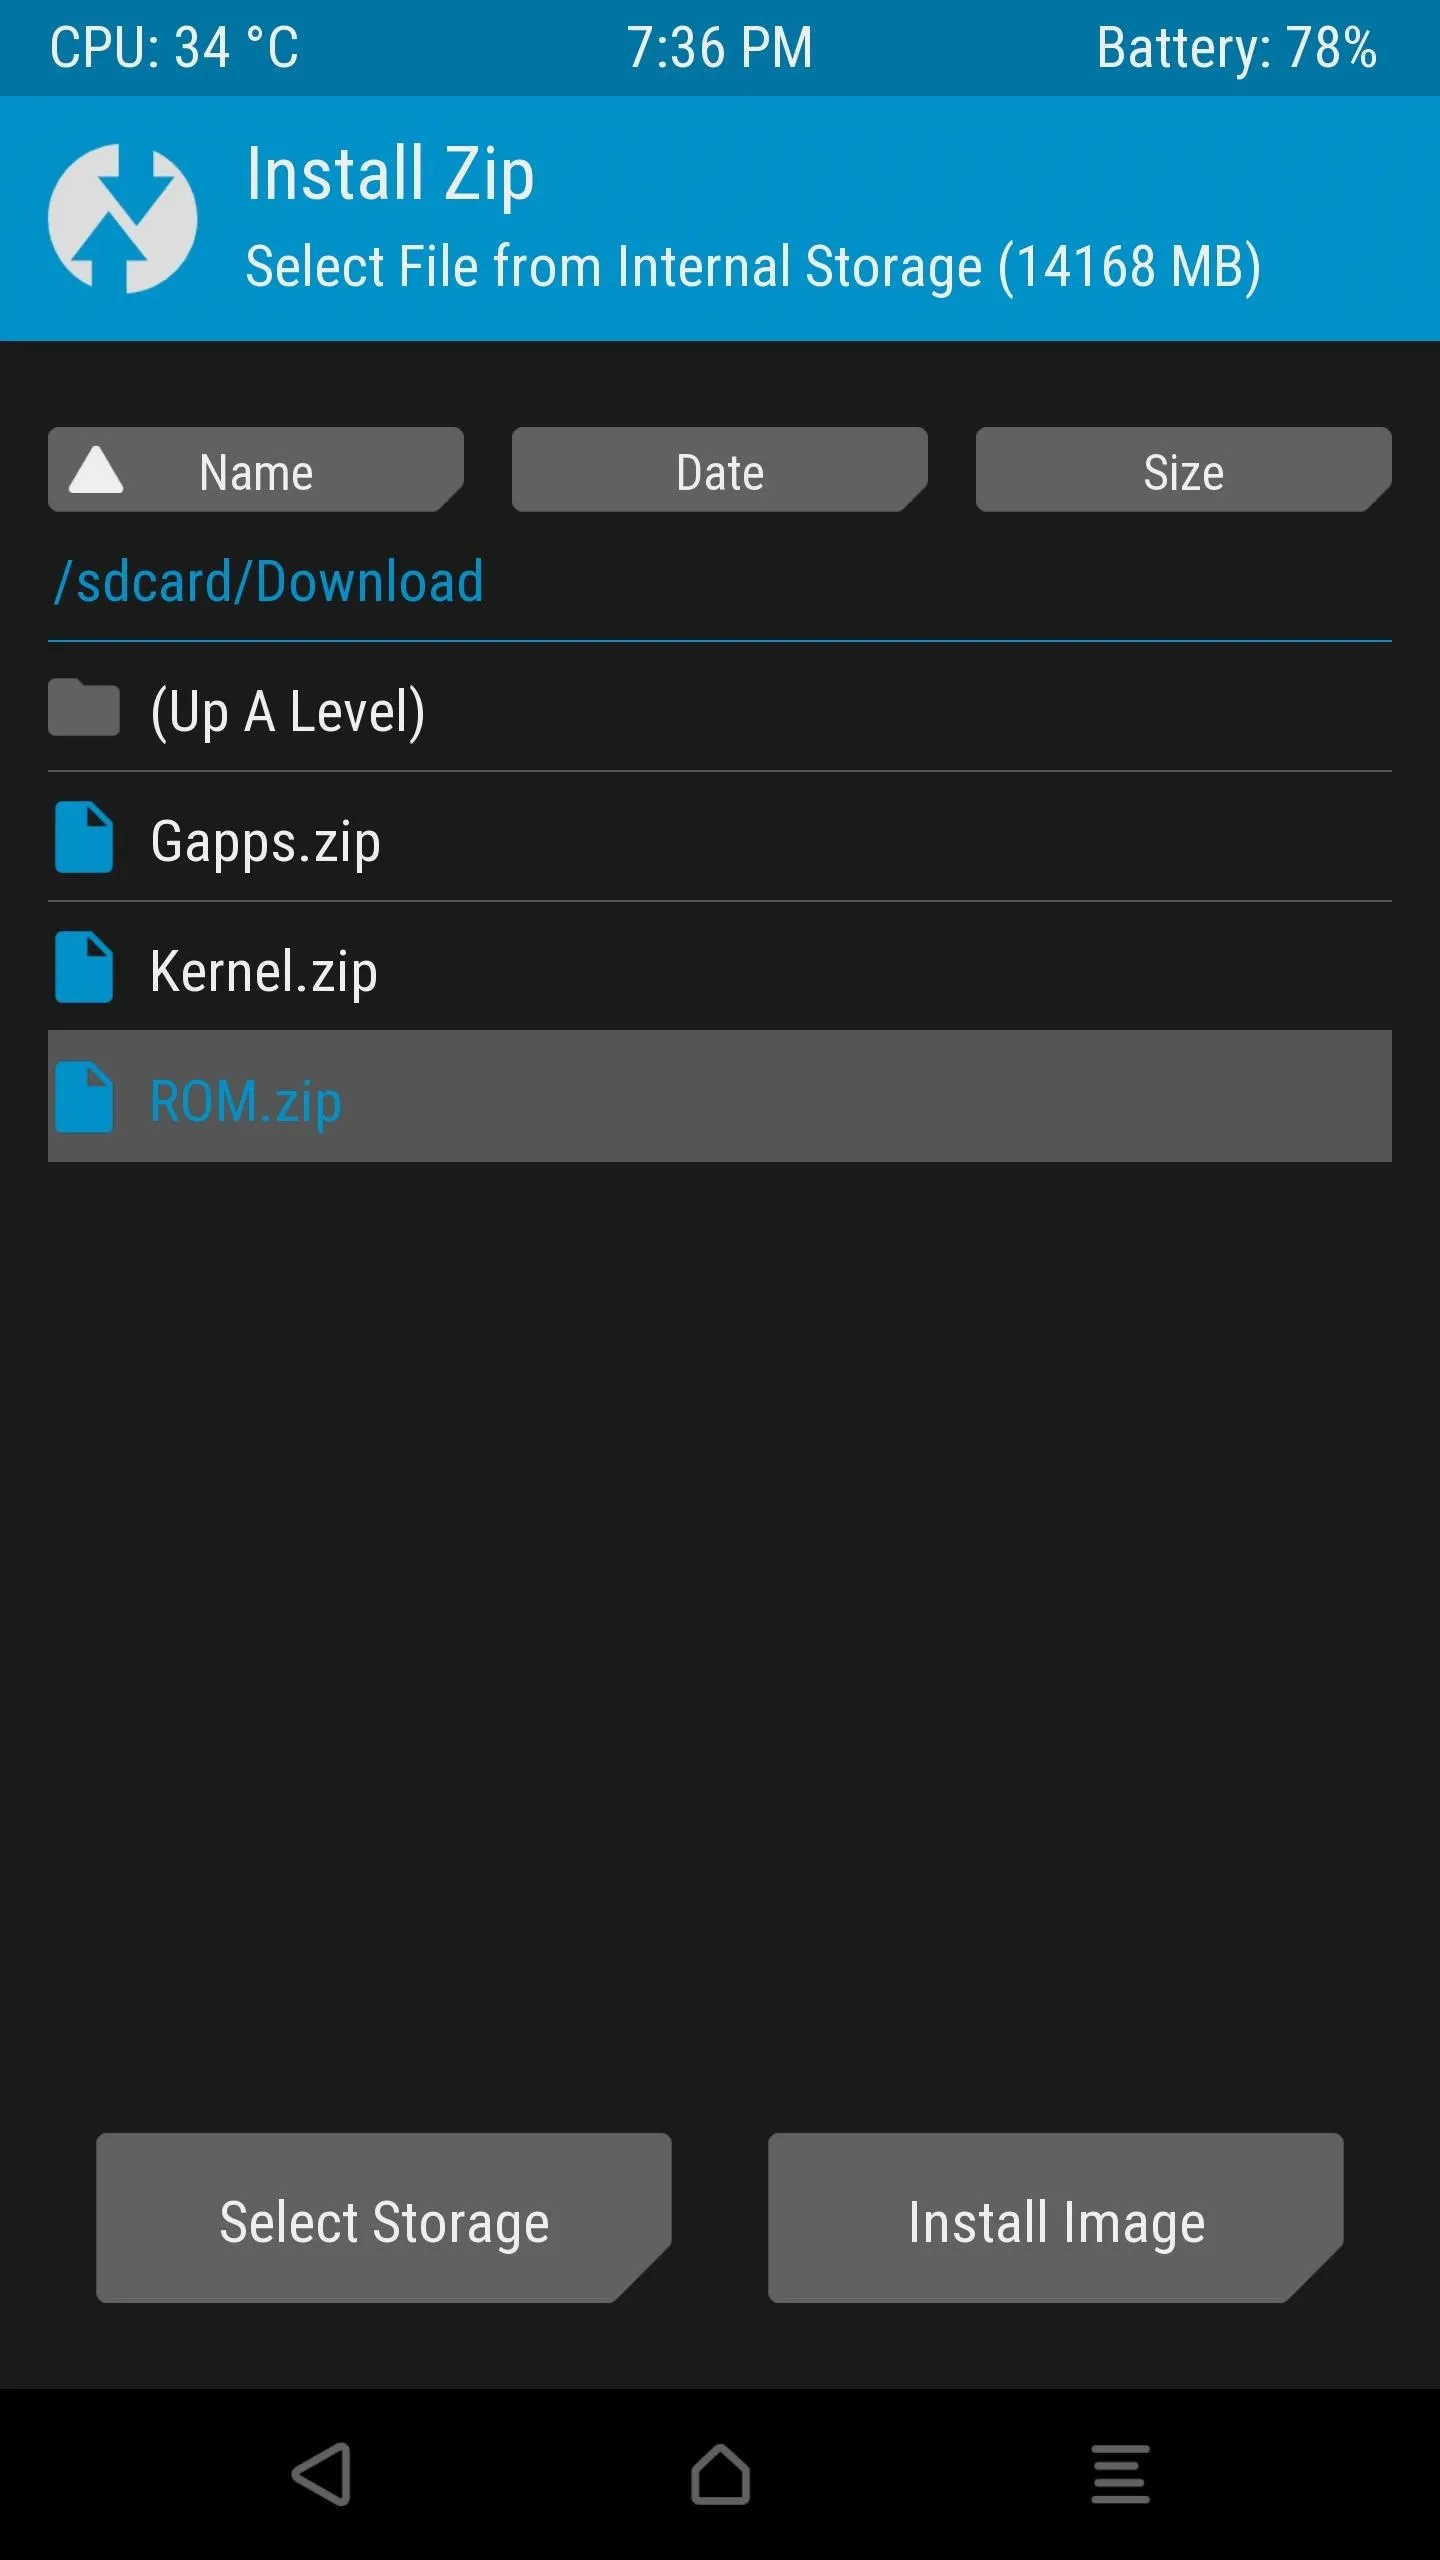
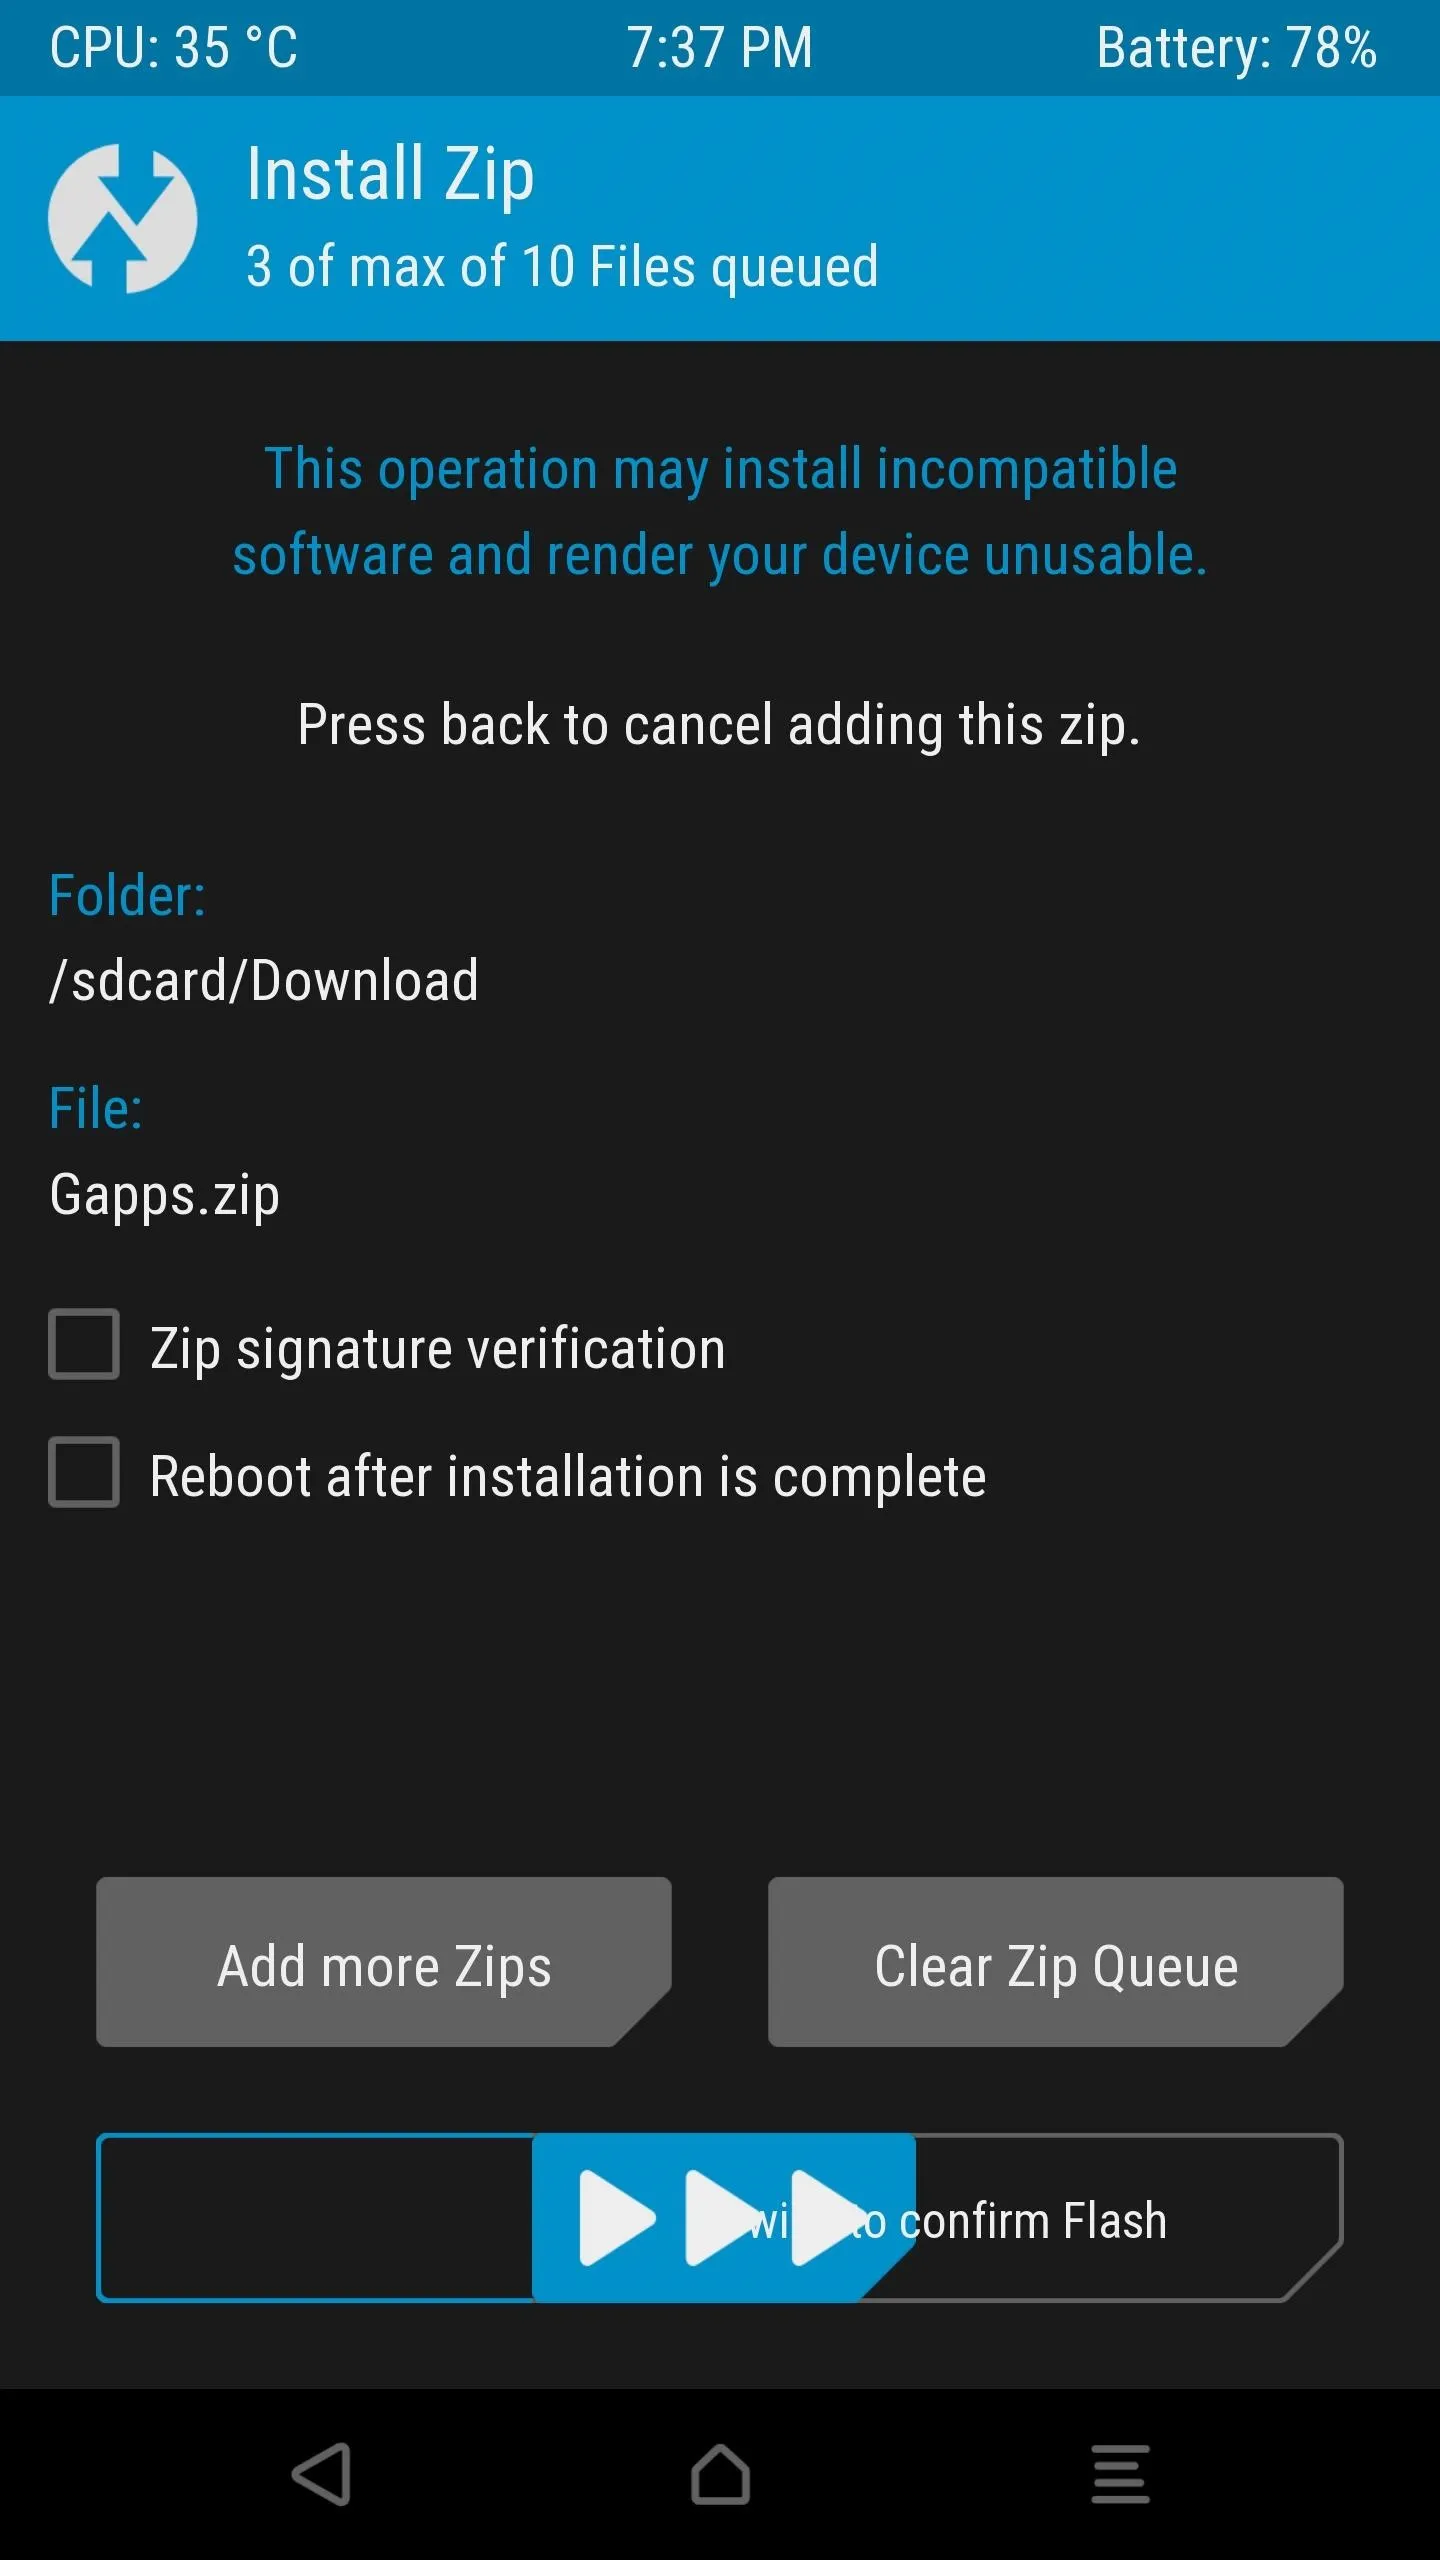
To try this feature out, start by pressing the "Install" button from TWRP's main menu. Next, select the first ZIP you want to flash in sequential order. If you're flashing a ROM, the one to select first would be the base ROM file.
Next, instead of swiping the slider at the bottom of the screen to flash your first ZIP, tap the "Add More ZIPs" button instead. This will take you back to the file browser where you can choose your second ZIP. From there, you can repeat this process for up to ten separate ZIPs, which will all be flashed in the order you chose them.
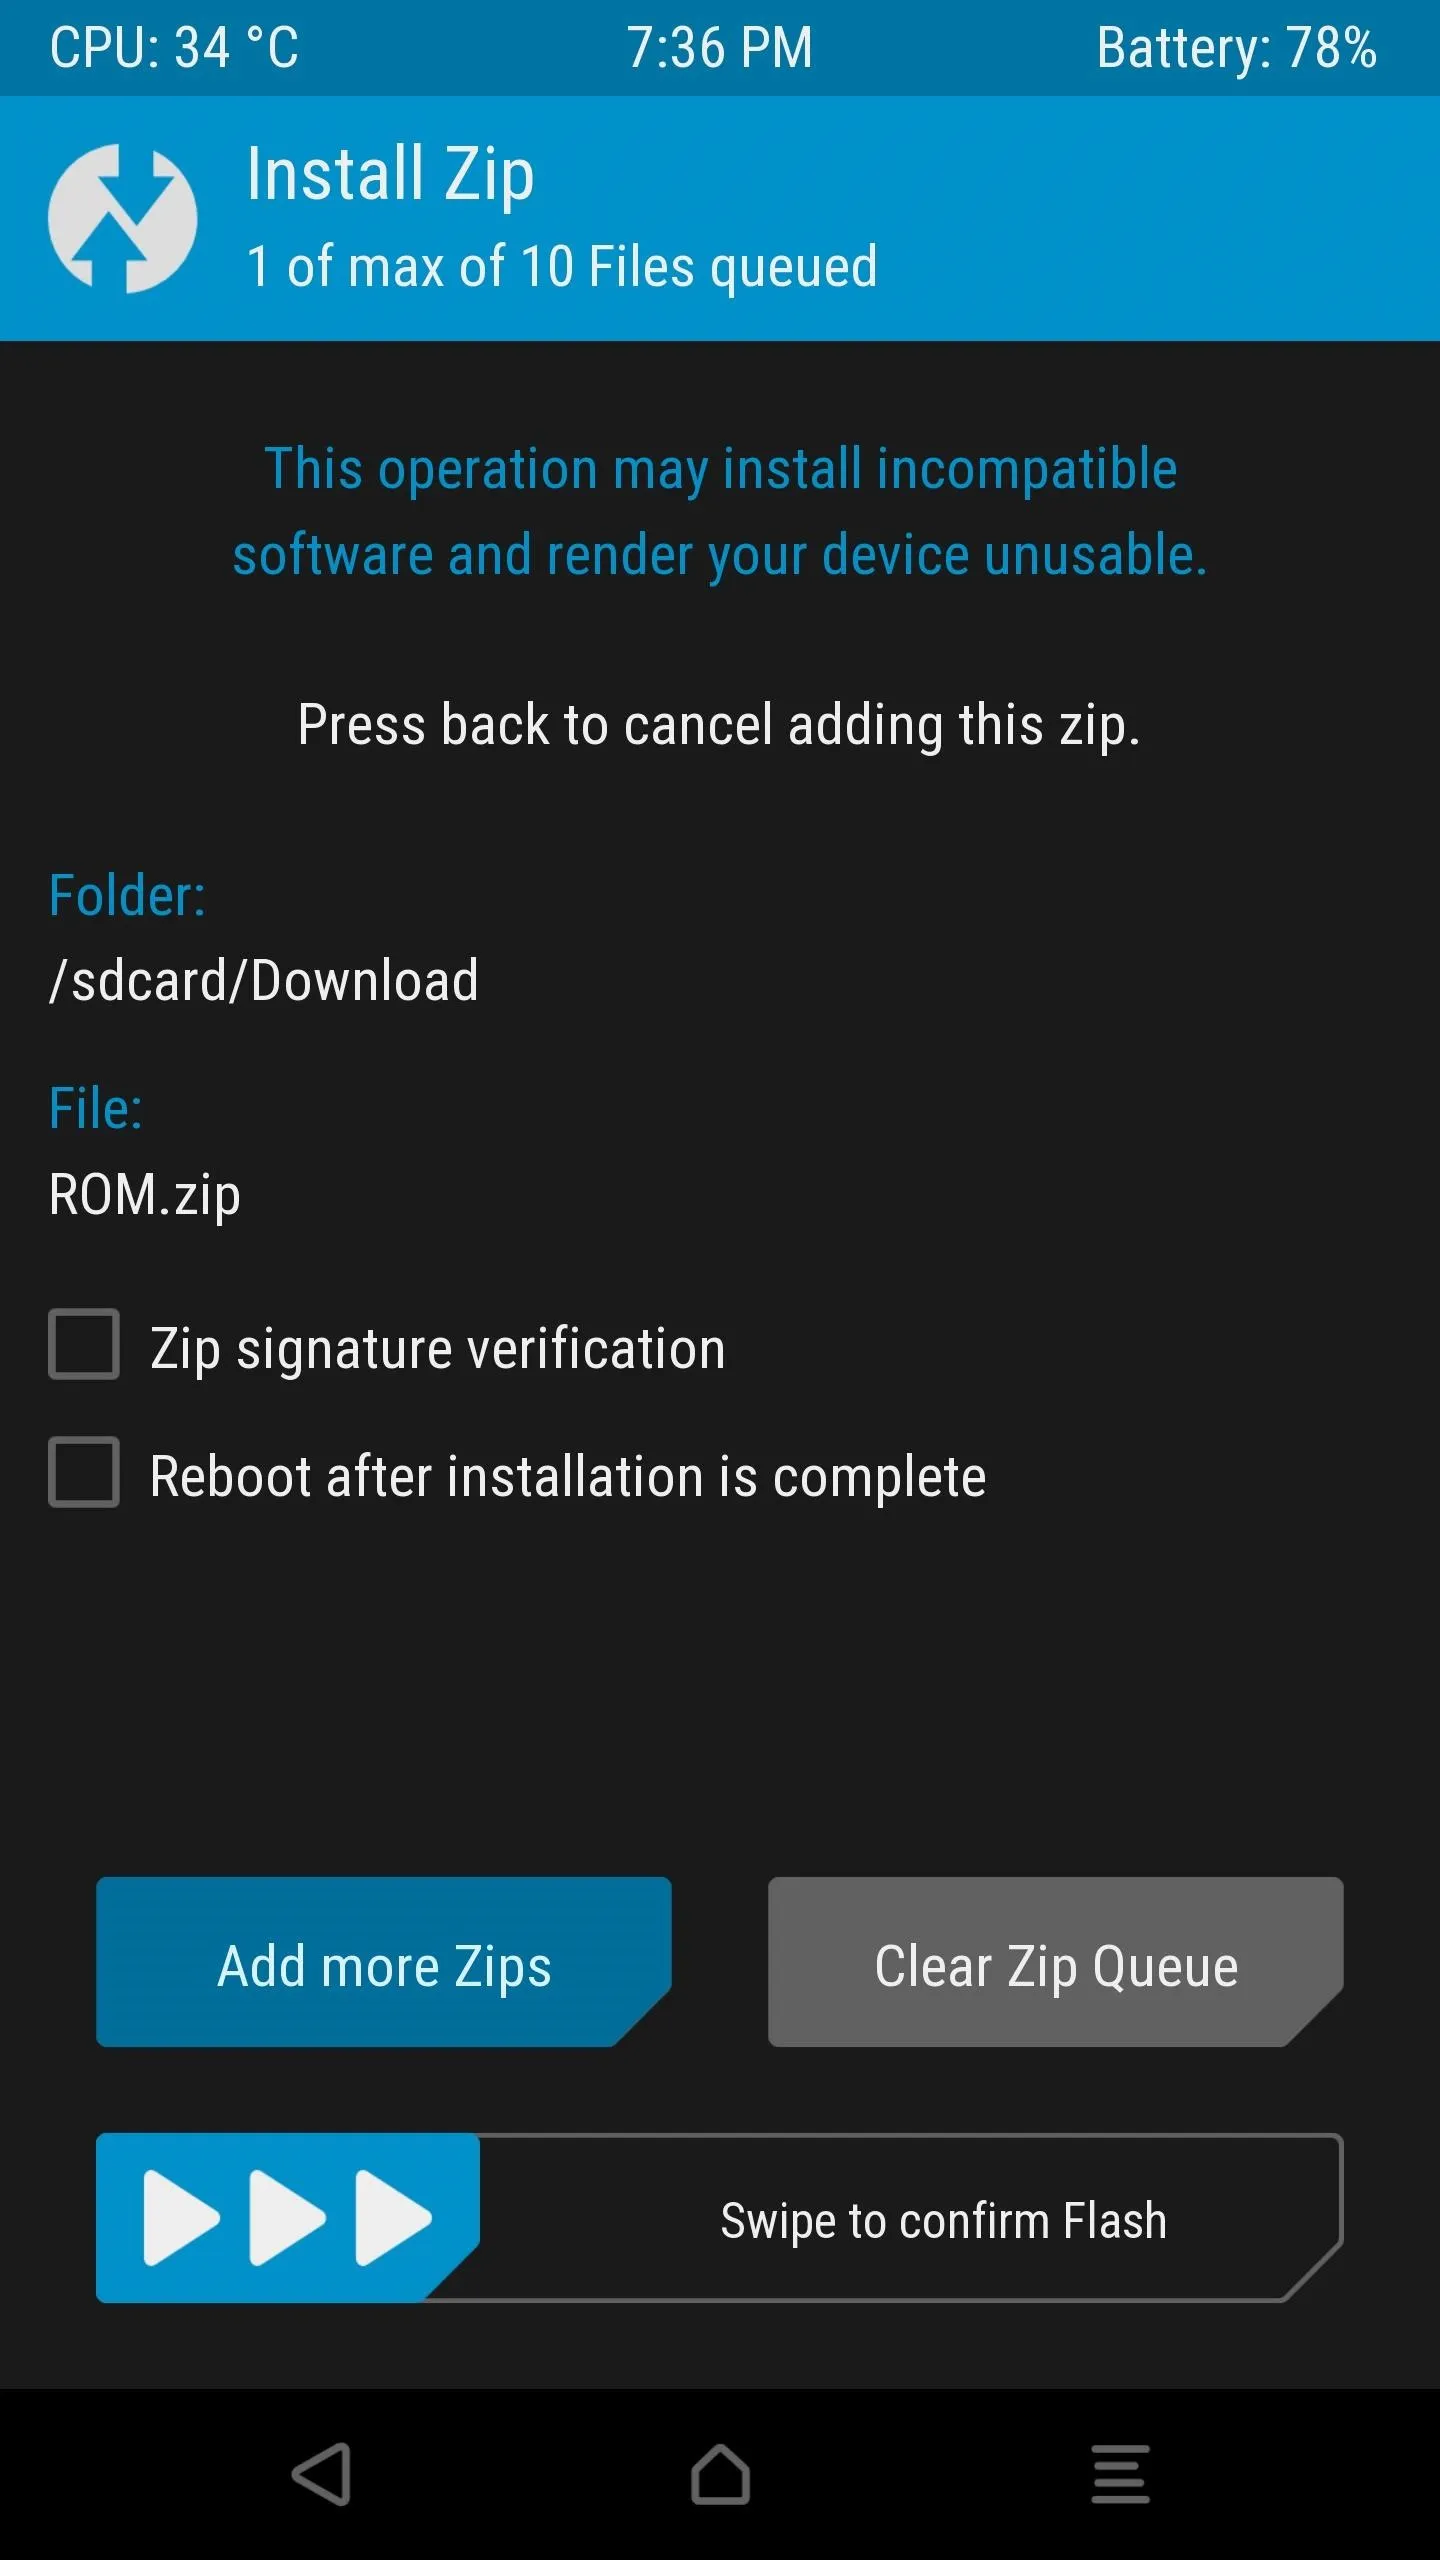


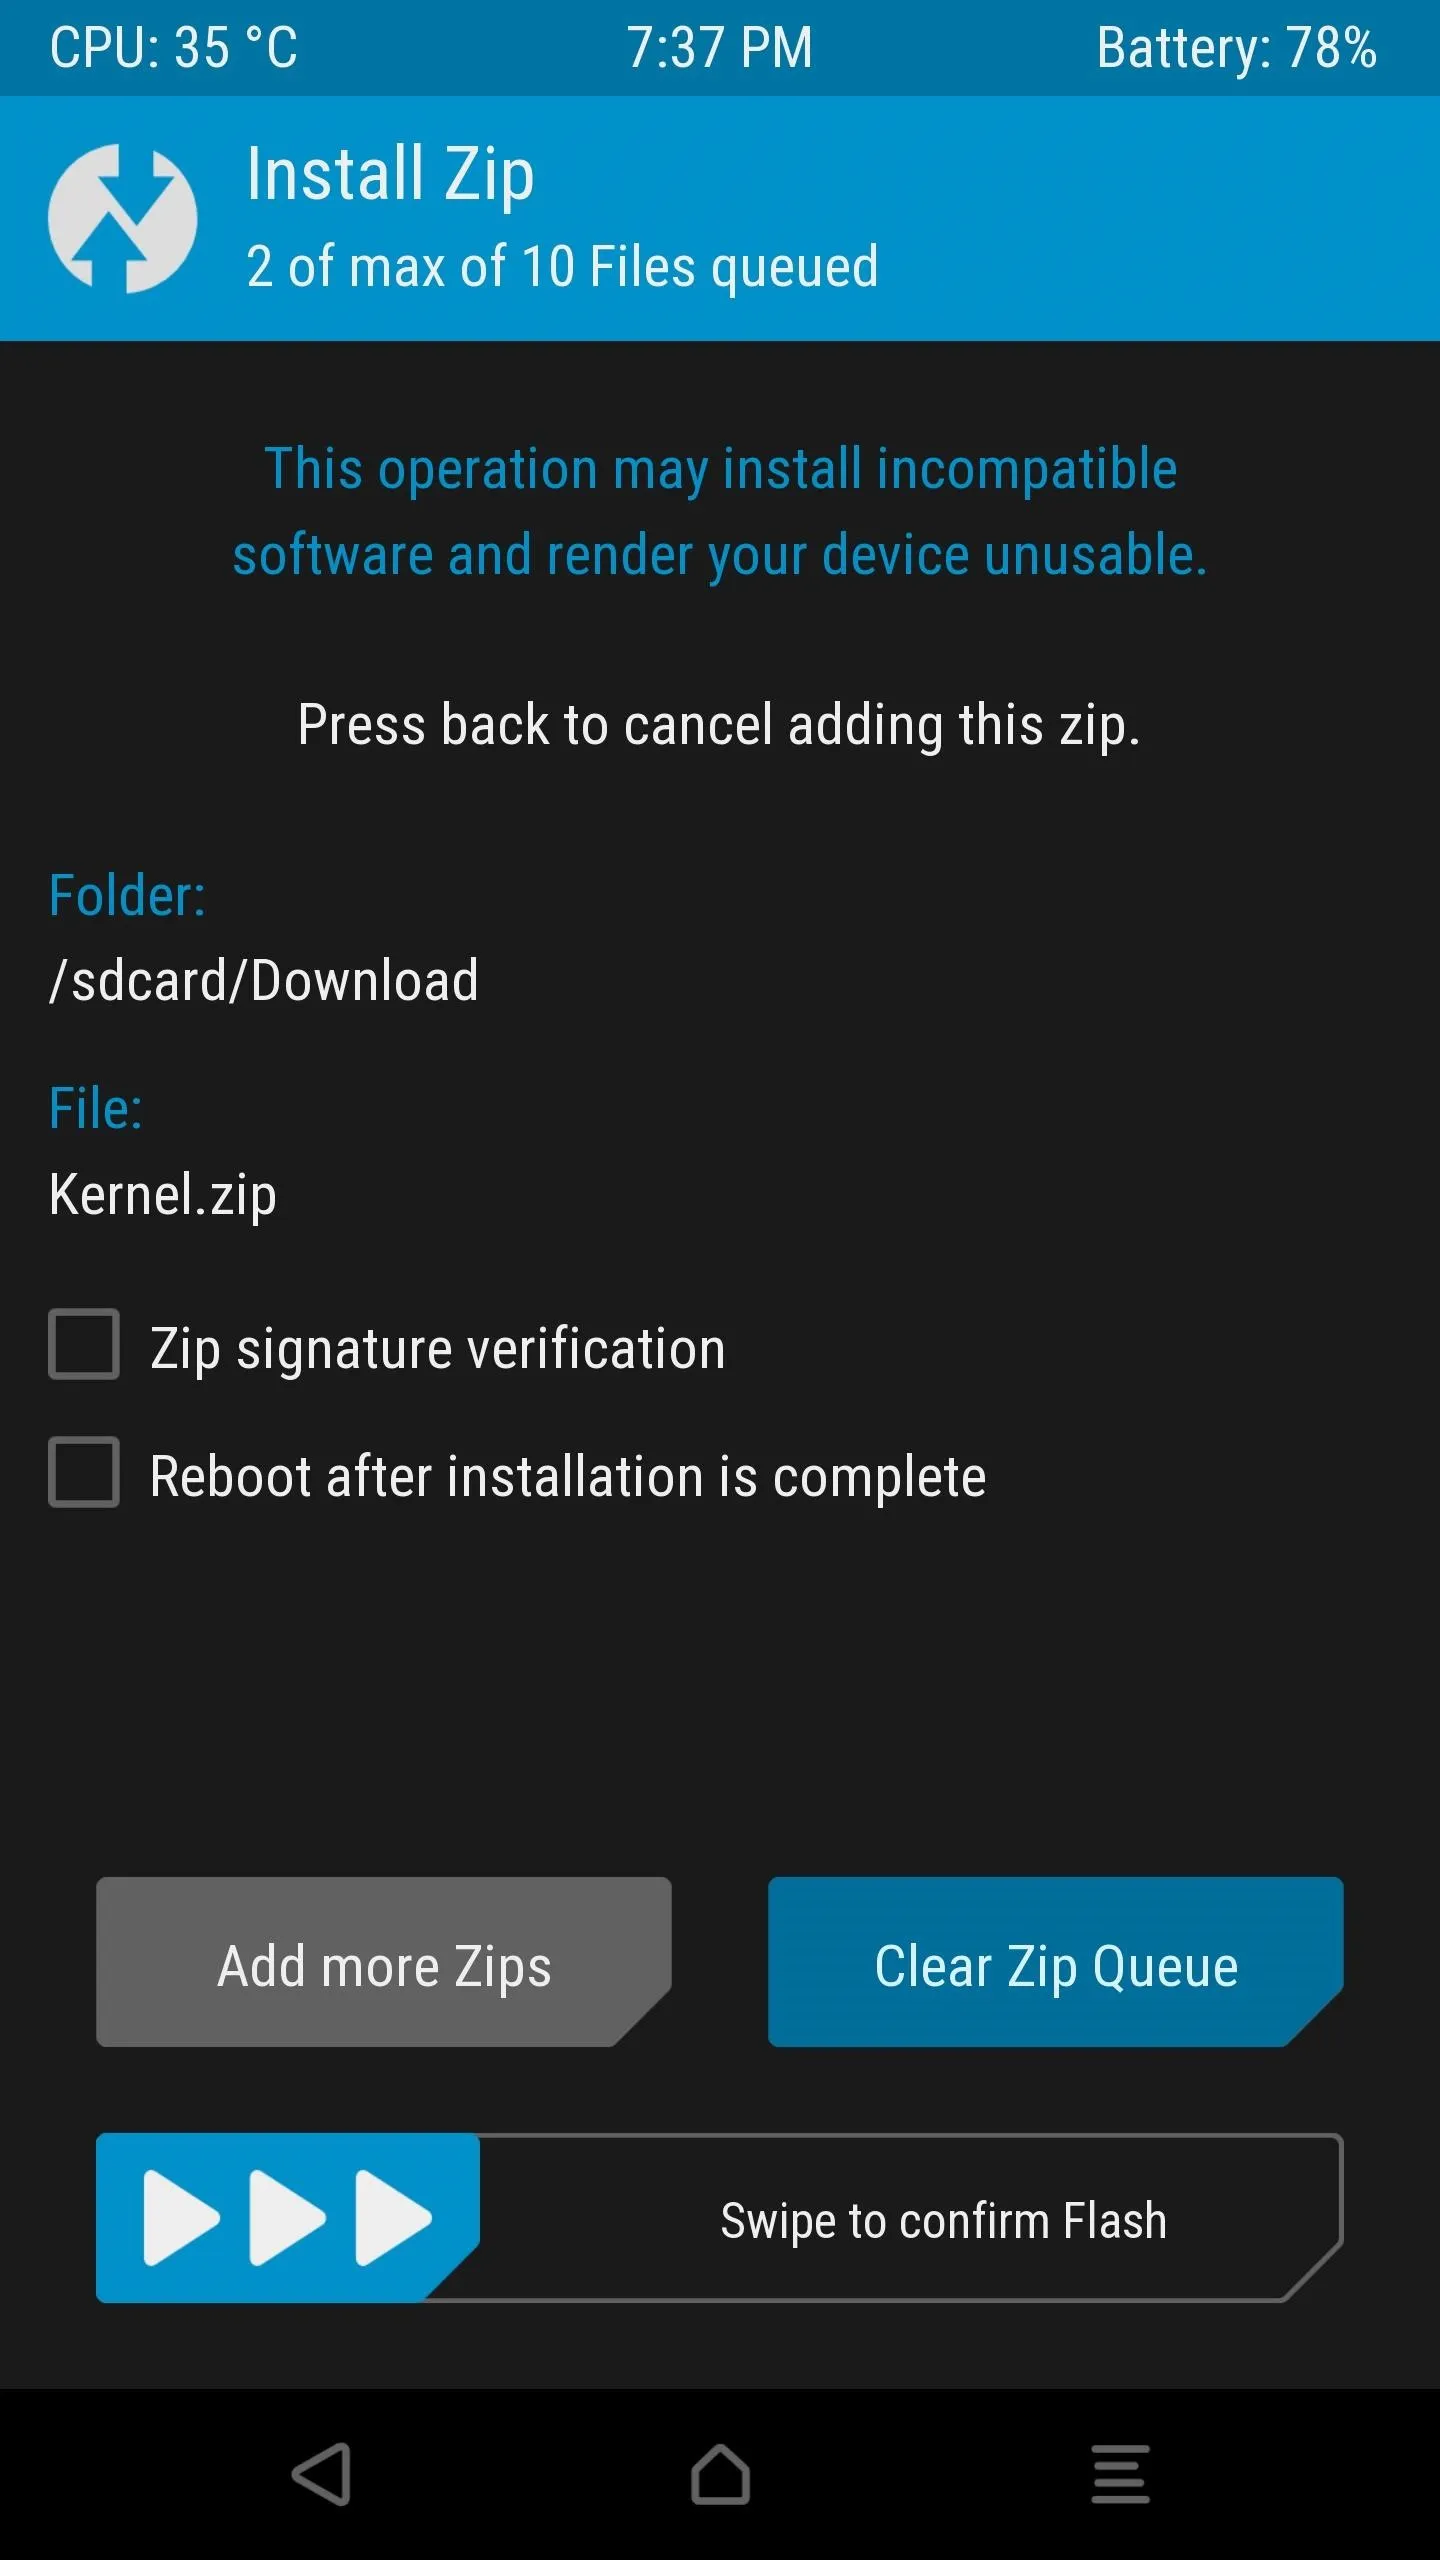
If you accidentally add the wrong ZIP file or add ZIPs to your flashing queue in the wrong order, you can either tap the back button to start over, or simply press "Clear ZIP Queue." But once you're sure you've added all of the ZIPs you want to flash, simply swipe the slider at the bottom of the screen, then they'll all be installed.


Now that you've mastered TWRP's "Add More ZIPs" option, it should be a lot easier to set up your next custom ROM. What ROM and kernel combo are you using? Let us know in the comment section below.
- Follow Gadget Hacks on Facebook, Twitter, Google+, YouTube, and Instagram
- Follow WonderHowTo on Facebook, Twitter, Pinterest, and Google+
Cover image and screenshots by Dallas Thomas/Gadget Hacks


Comments
No Comments Exist
Be the first, drop a comment!