The Galaxy S9 was announced February 25, and it's jam-packed with features like AR Emojis and and a Dual Aperture camera. You really love the cut of its jib, but maybe you don't have the means to get your hands on one. Well now, you can get the Galaxy S9's notification sounds and ringtones, to help you feel like you own one.
XDA user mkc1130 leaked a system dump of the S9's firmware, then jubei79 extracted the ringtone files, so we now have all we need. While this process is simple enough if you know what you're doing, it can be intimidating for a novice. Luckily, by following us step-by-step, you'll be fooling your friends, family, and yourself into thinking that you actually got your hands on the brand new Galaxy S9 — and before they even hit the market, too.
Step 1: Download the Files
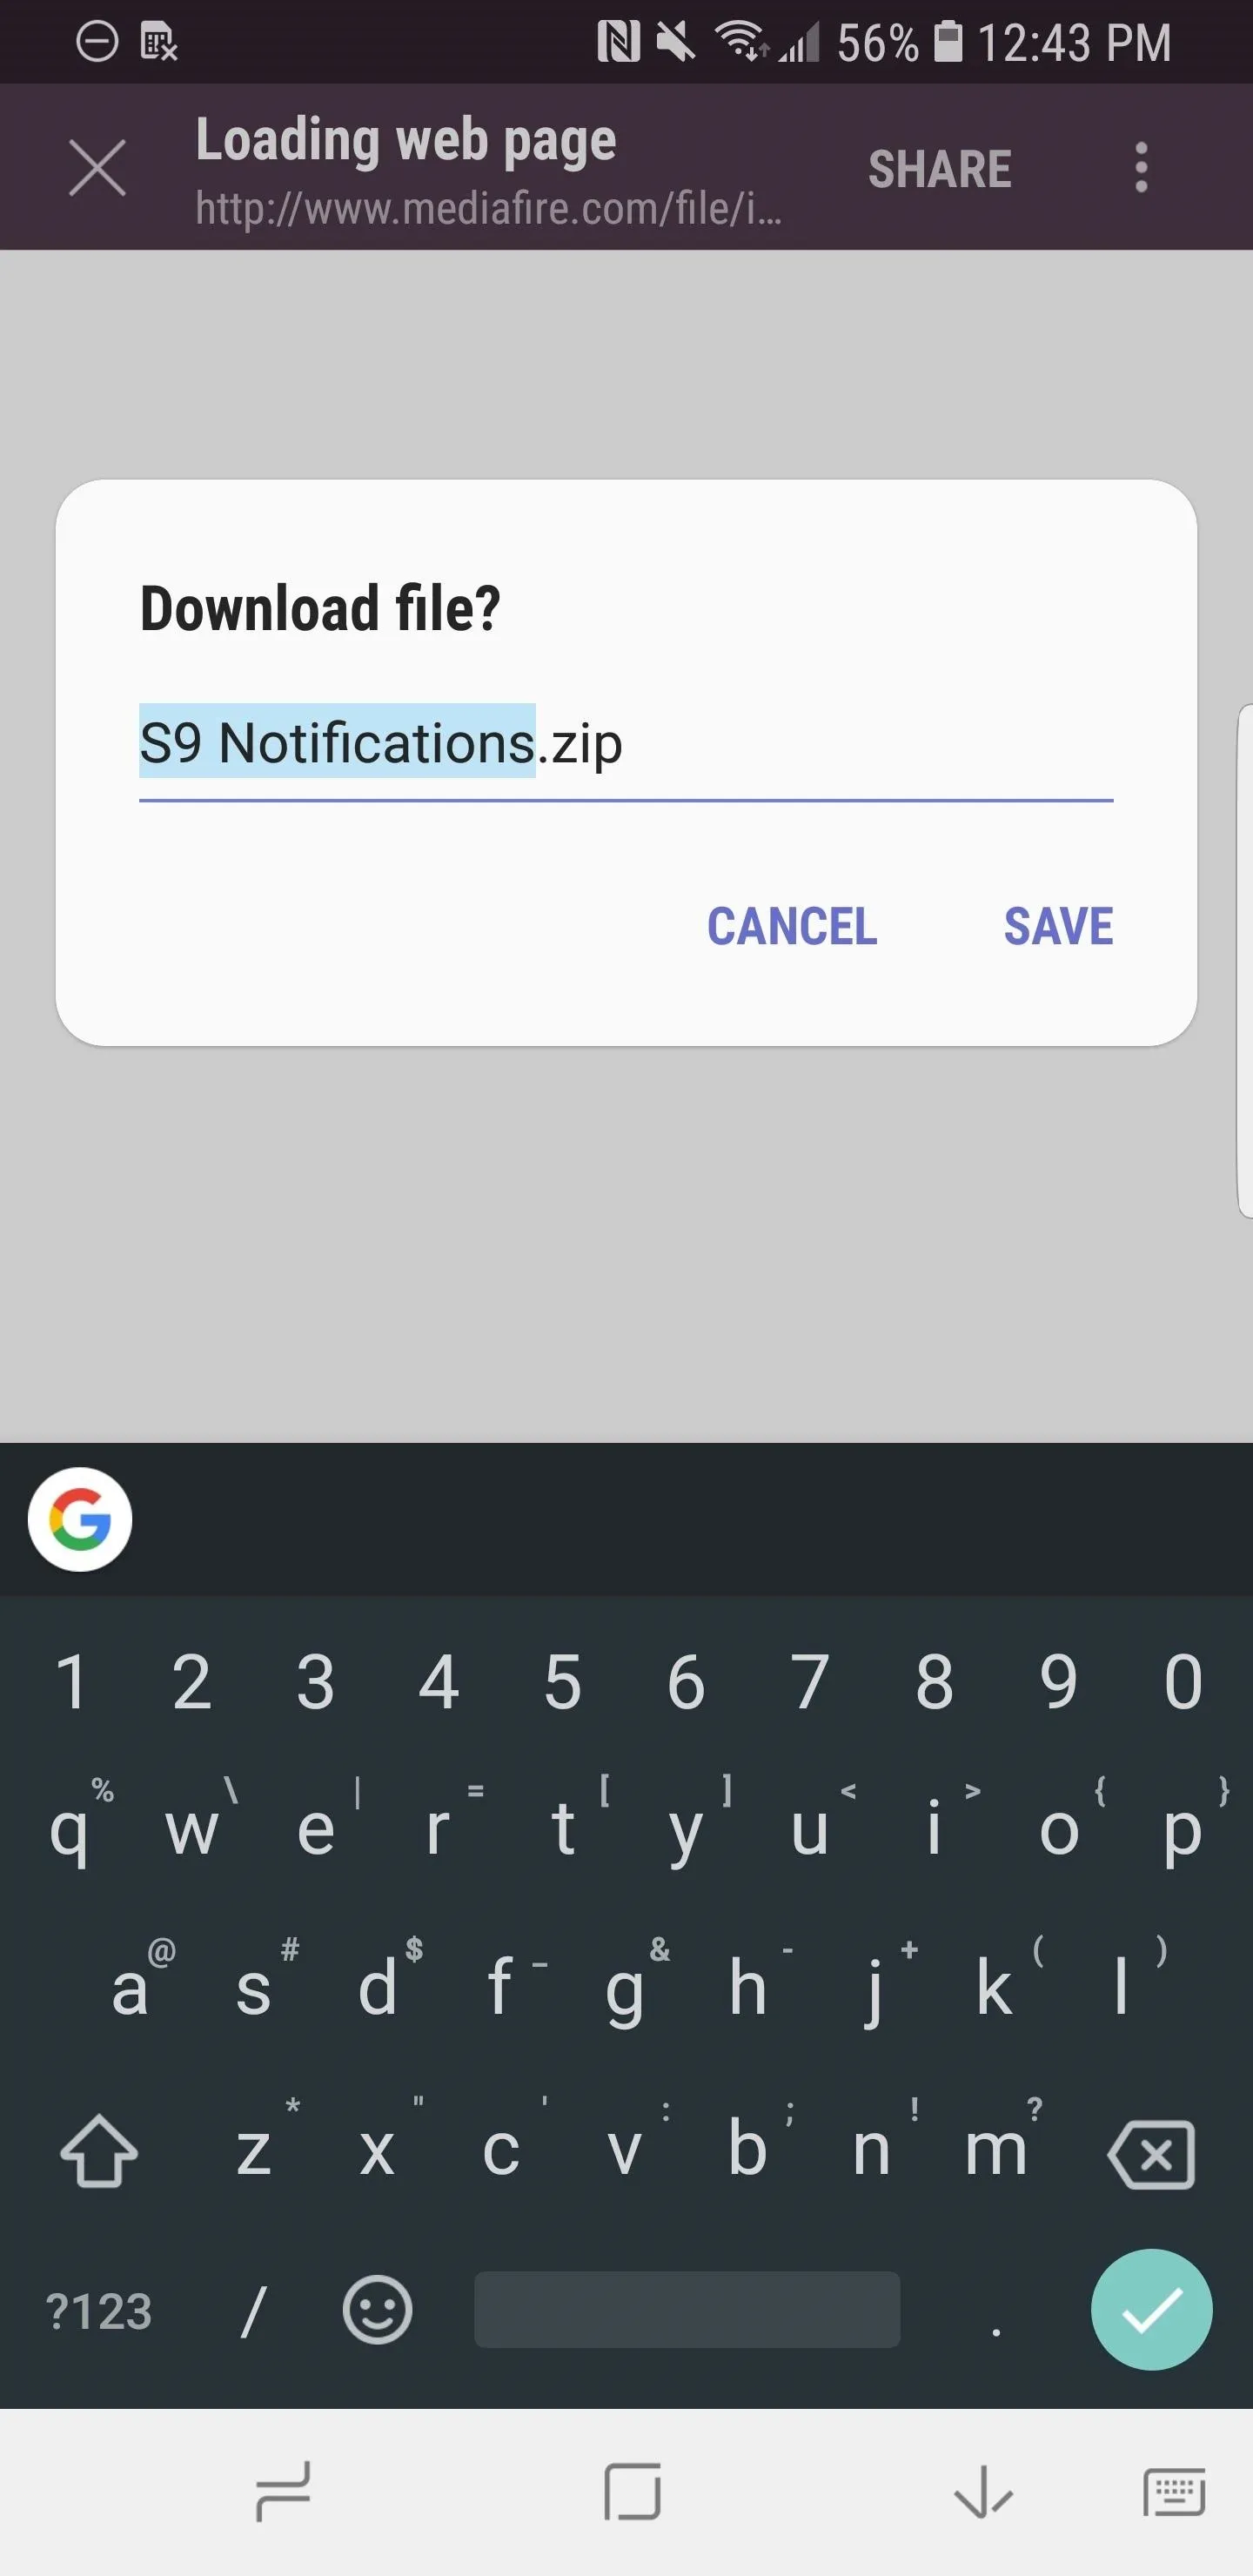
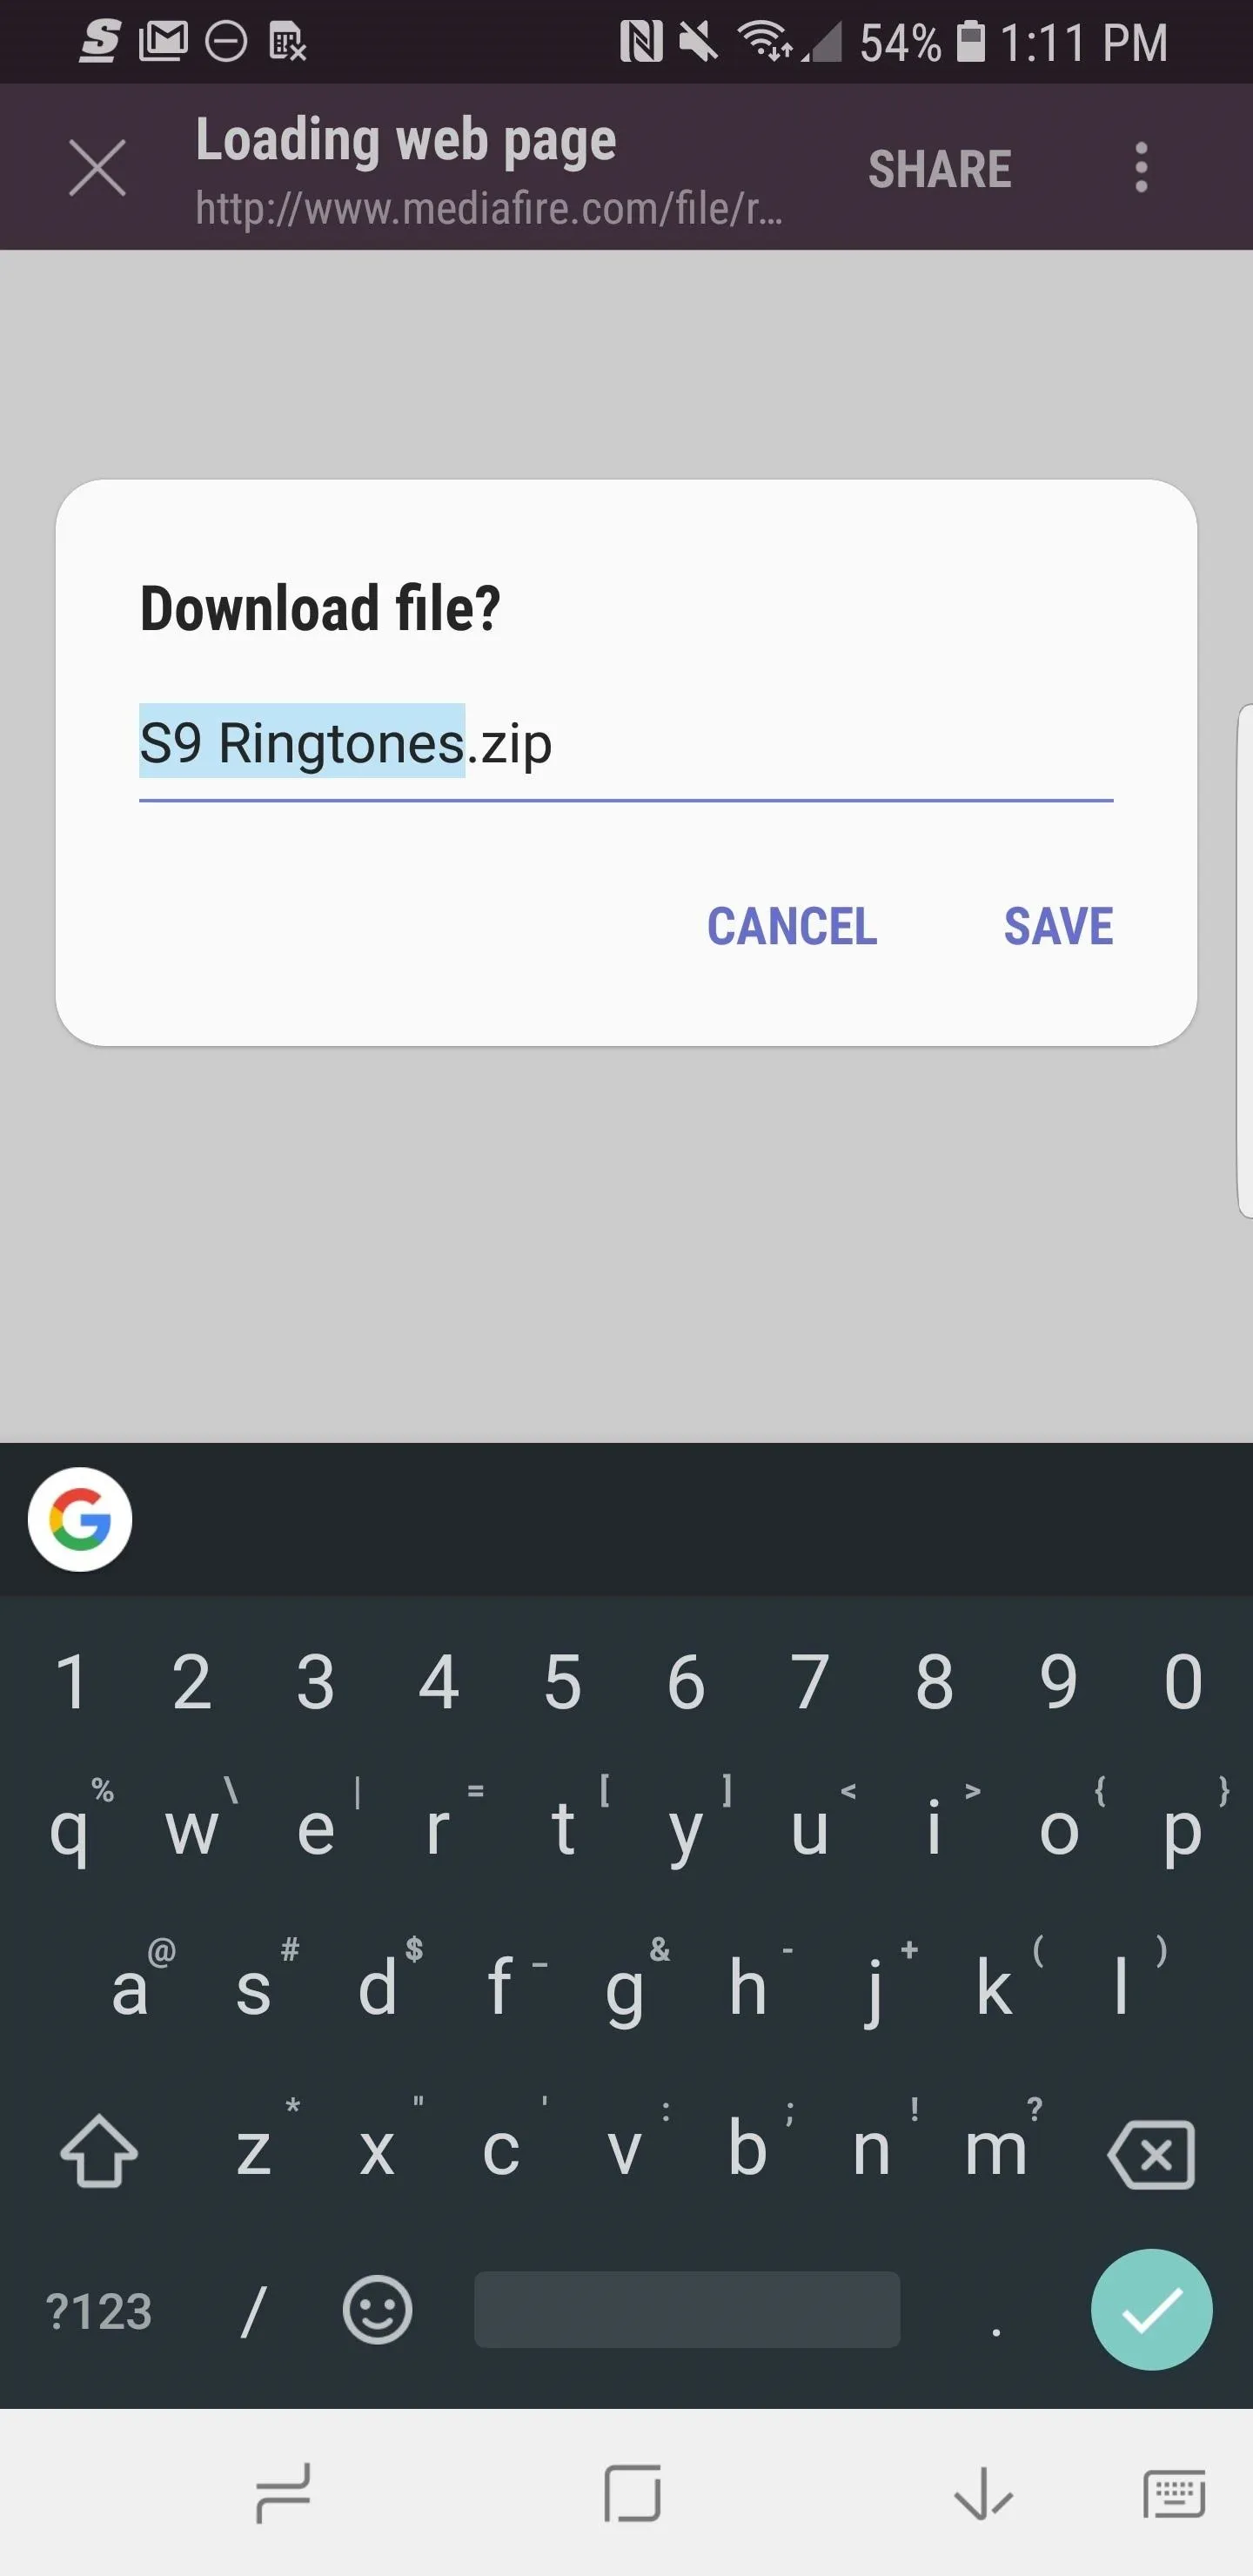
On your Android phone, download the notification sounds and ringtones. You need to get them separately, but adding them to your reservoir of smartphone sounds is easy enough after that.
Tap those links, then hit either "Download" or "Save" once the page is opened up on your phone. You can also rename the file if you want, just don't change the ".zip" extension.


Step 2: Extract the Files
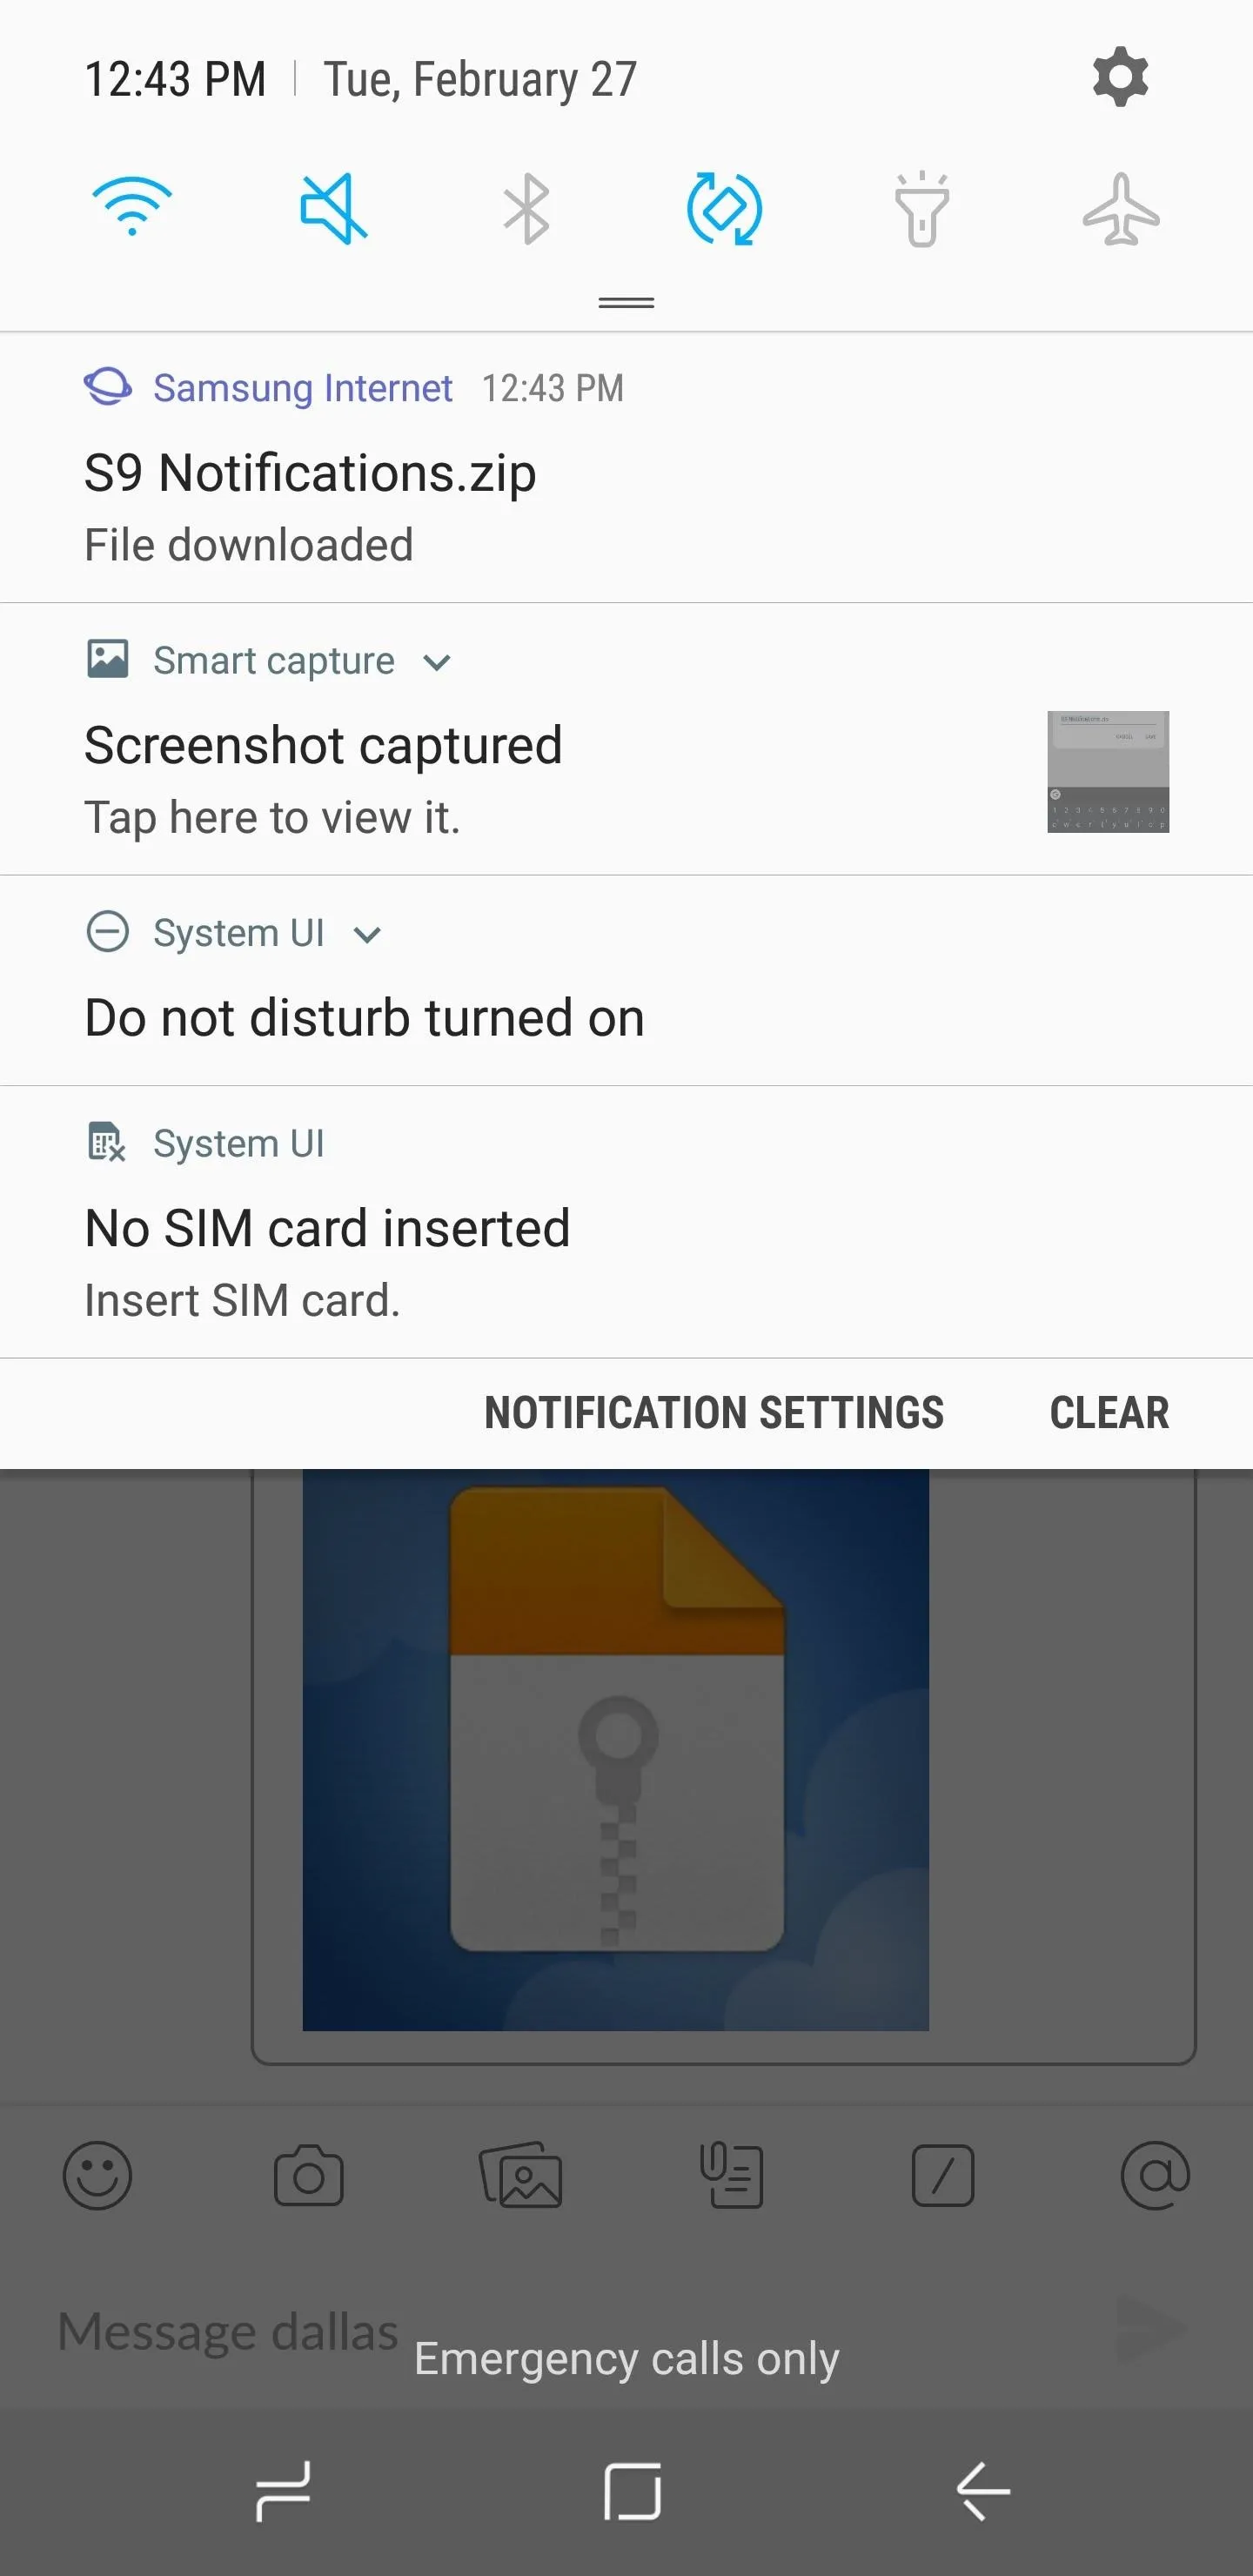
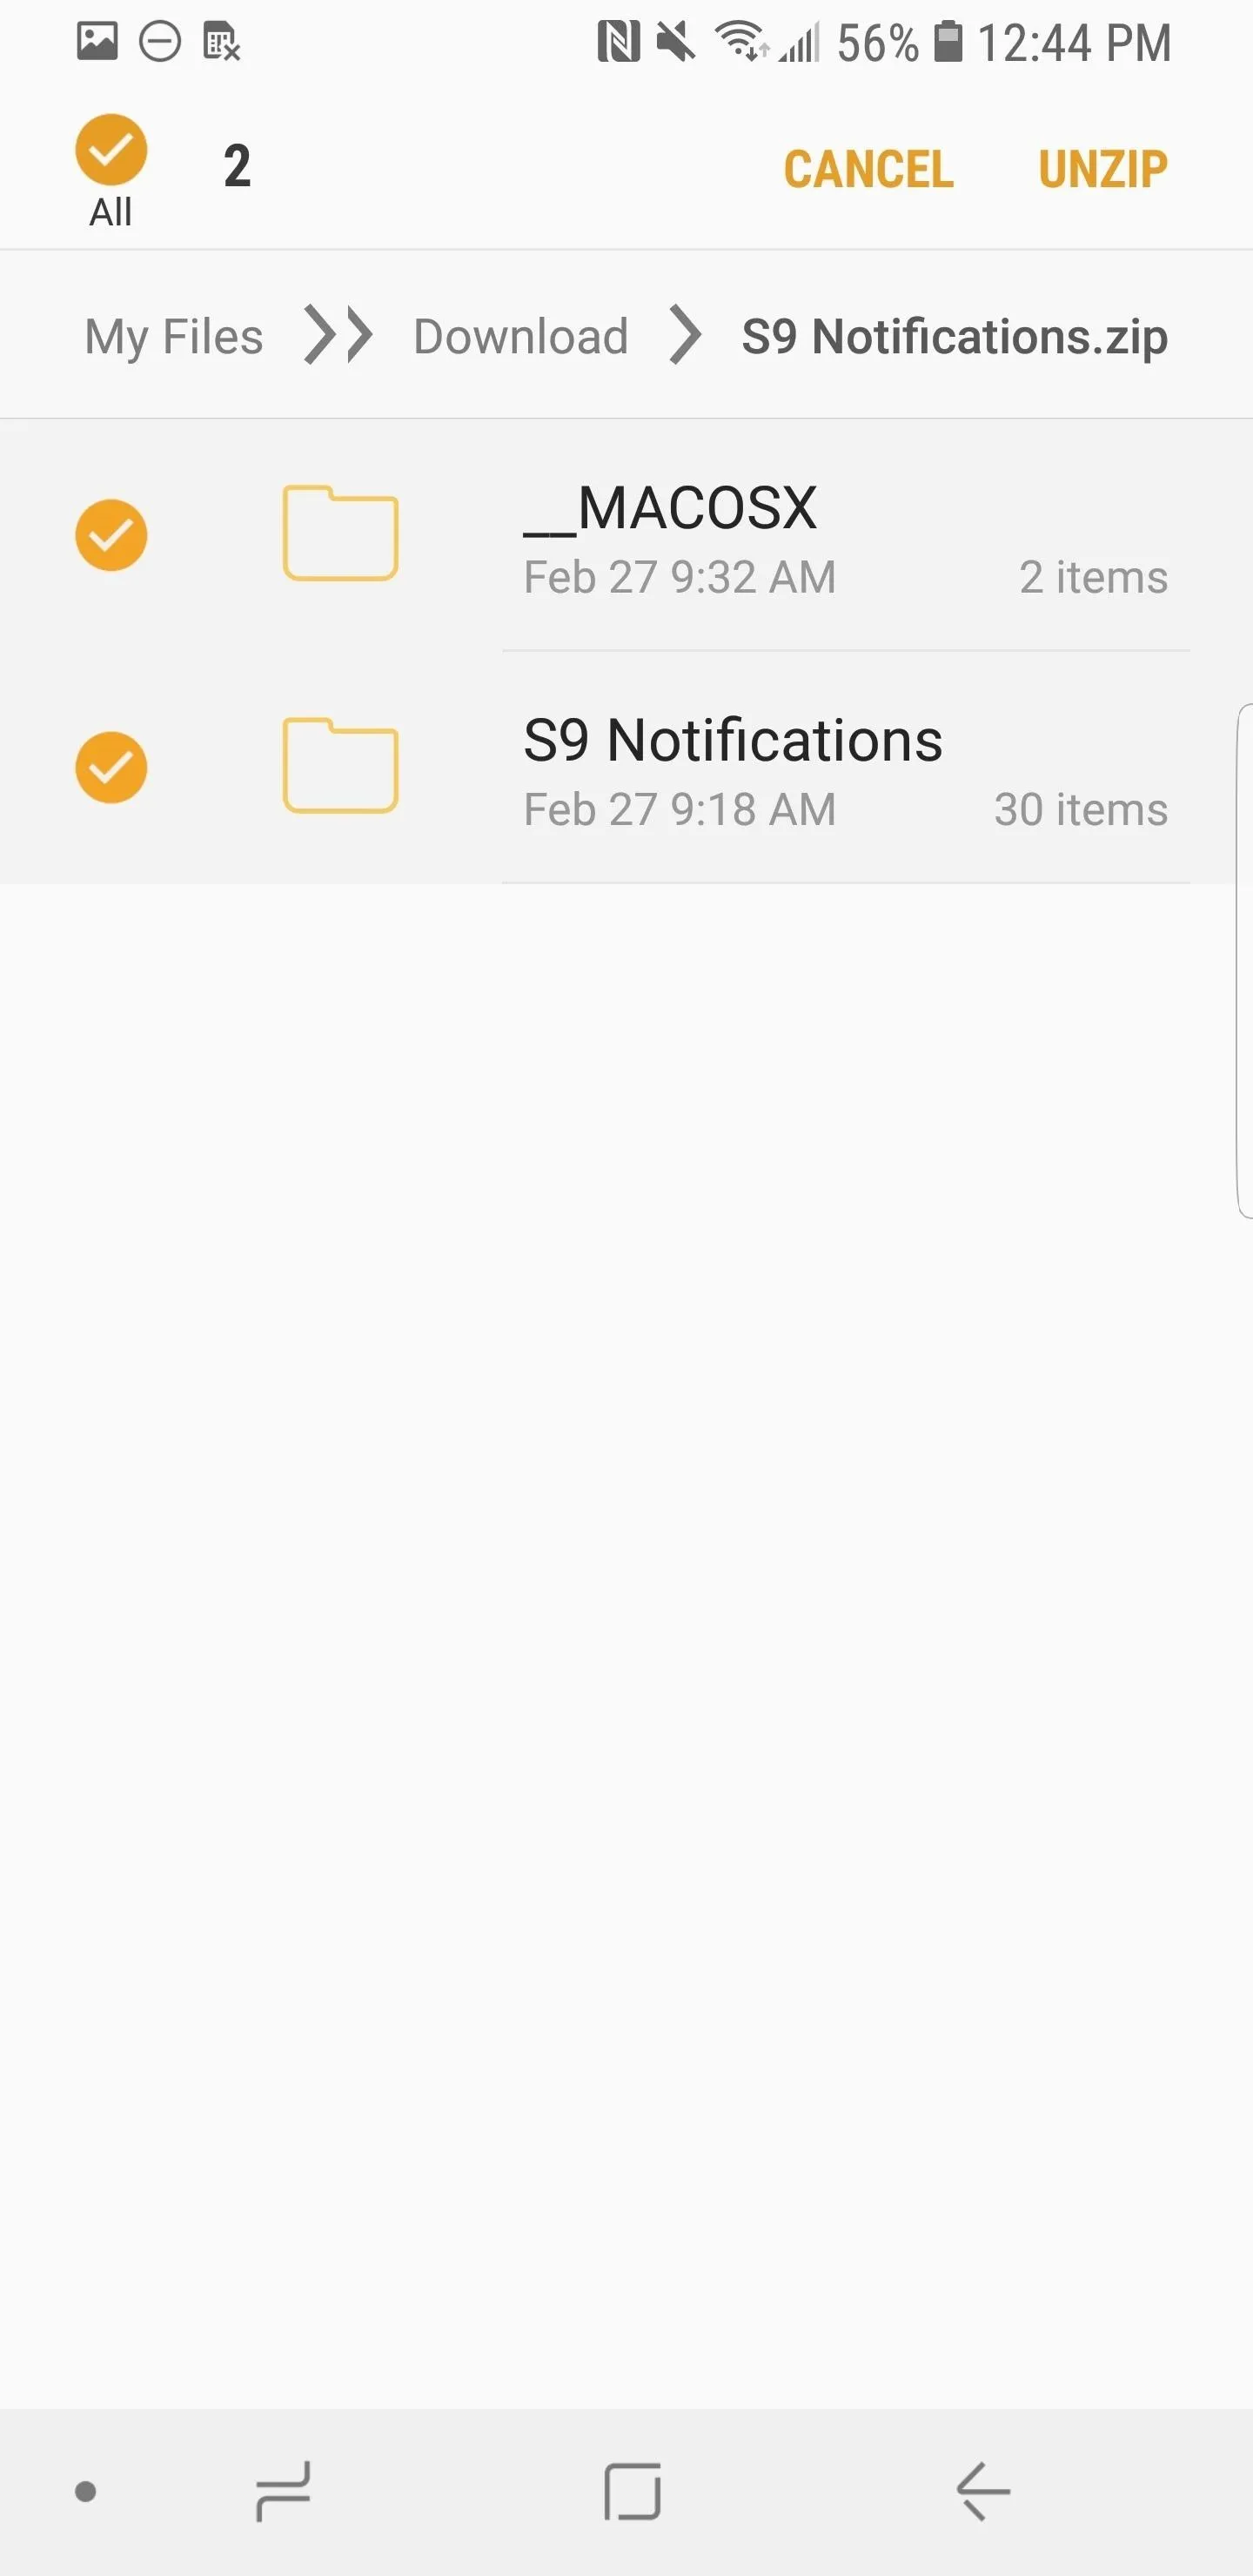
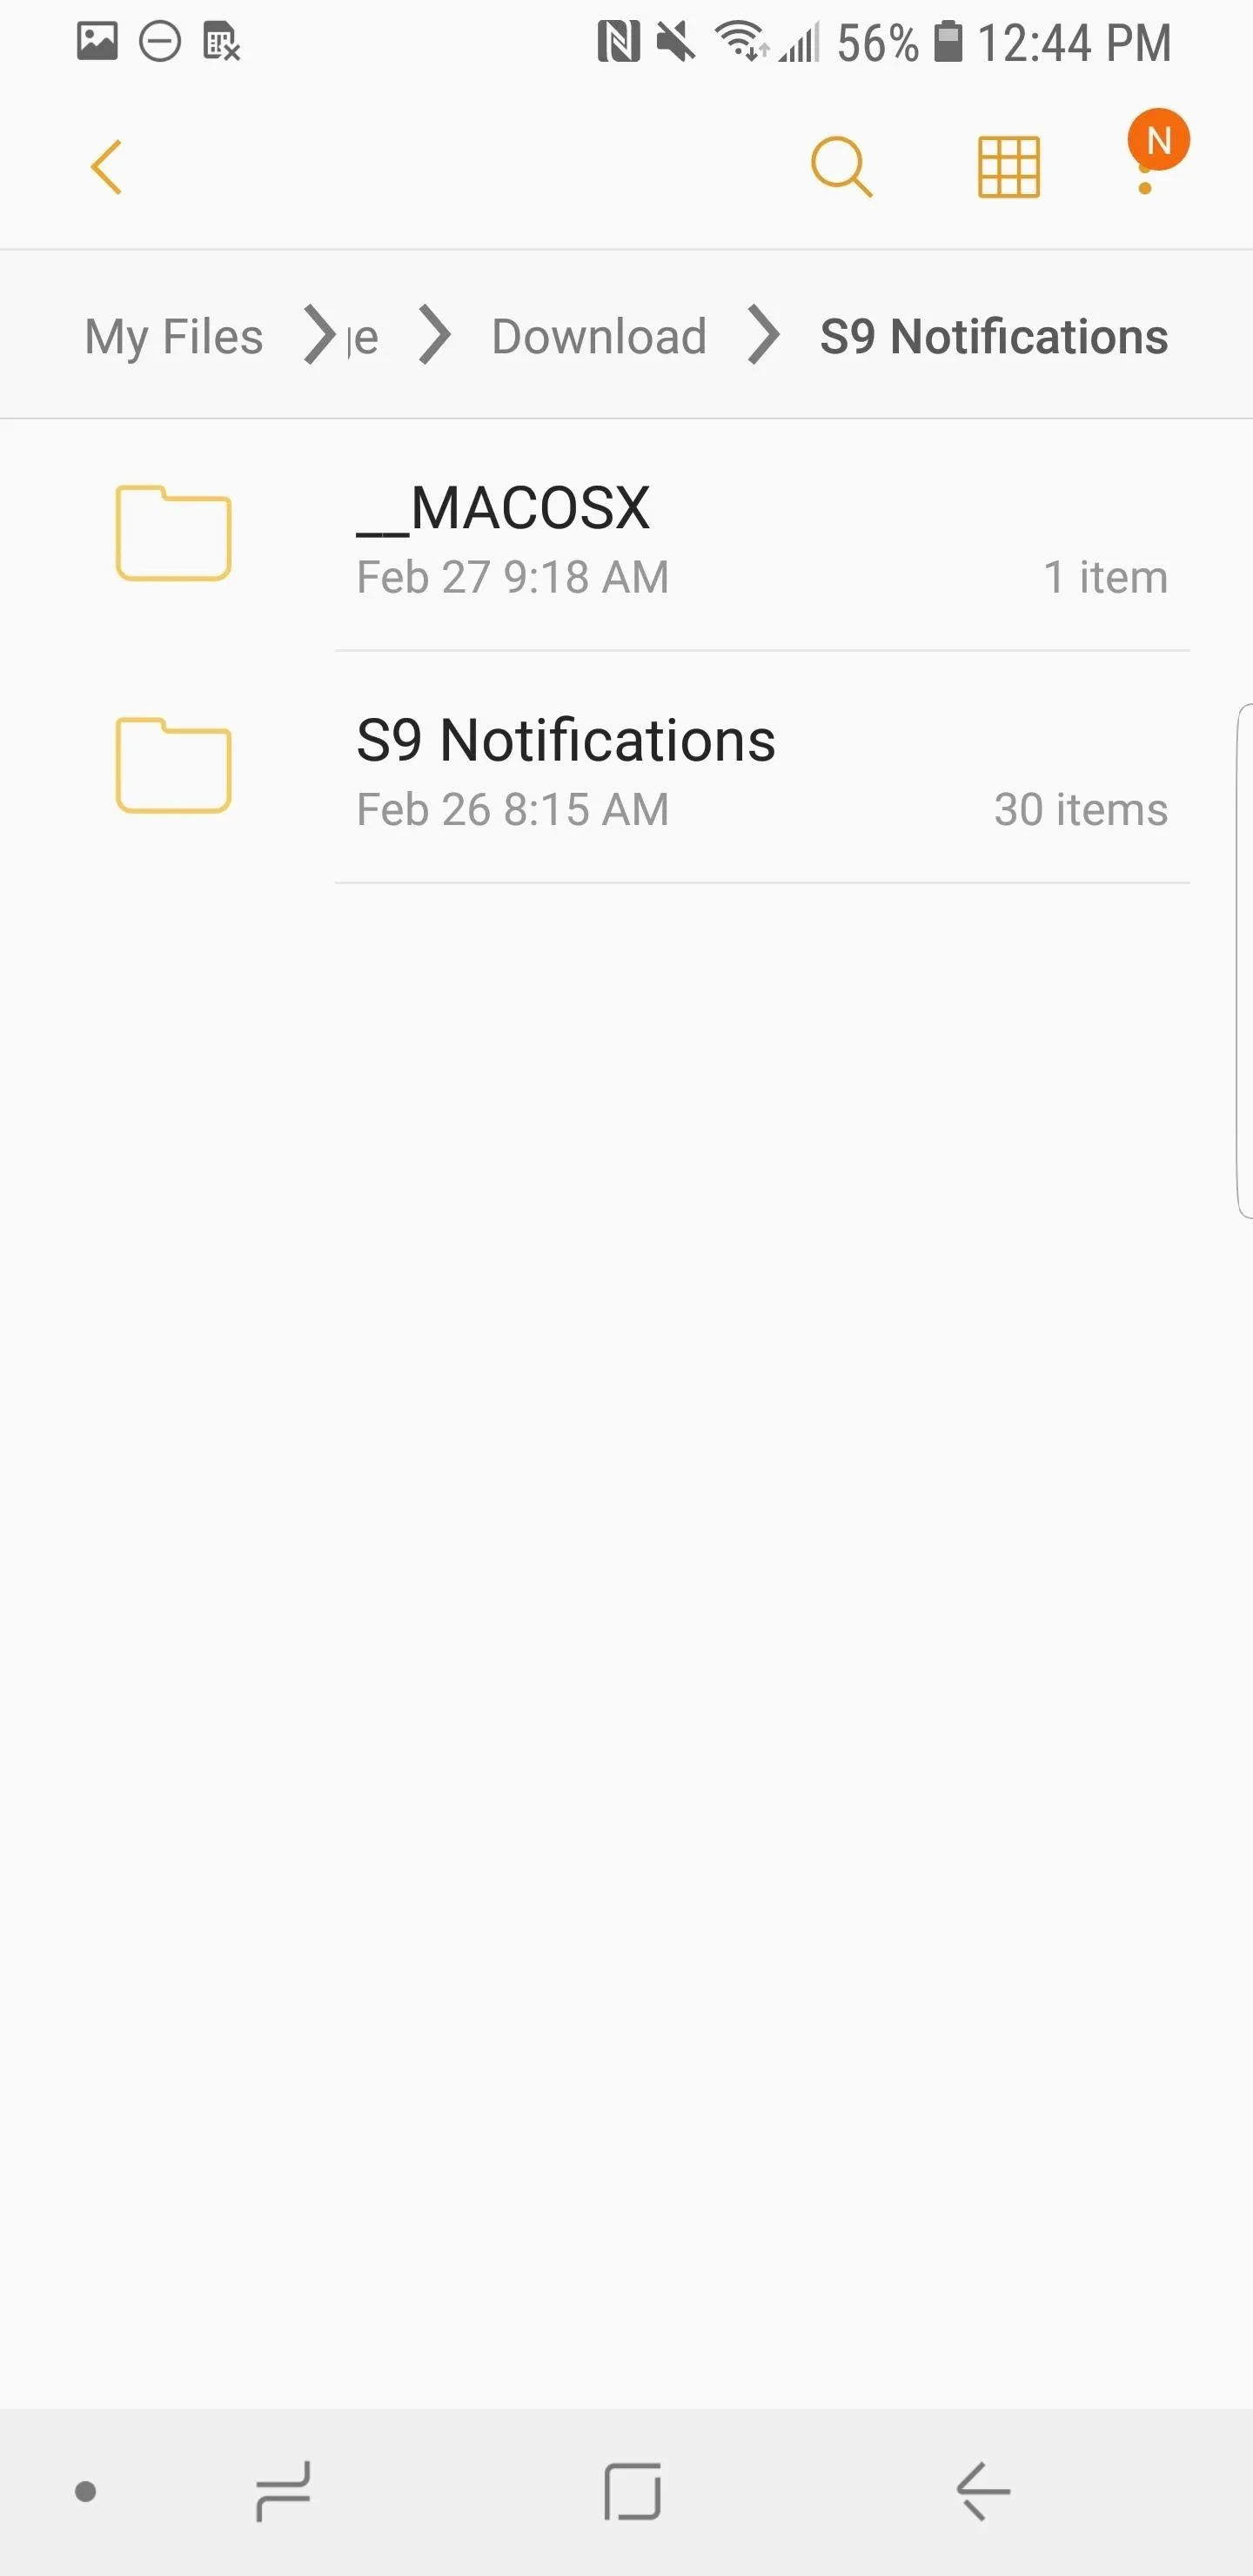
Once you download the files, they should appear in your notification panel. Tap on one of them to open it up, and you'll be taken right to the .zip file on your phone in the "Downloads" folder. Find a word like "extract" or "unzip" (the exact word varies by phone), and tap that. Your phone will then extract the files, but they'll be in the same location (Downloads).
If your phone does not automatically extract the files, you can use any third-party file explorer app to do it manually.


Step 3: Use a File Manager to Put Them in the Right Folder
The rest of the setup is fairly simple — just move the notification sounds to the Notification folder on your SD card or internal storage partition using any file browser. Then, repeat the process for the ringtones, which should go in the Ringtones folder on your SD card or internal storage. After that, reboot your phone, then head to the Sounds and Notifications (or similar) menu in Settings to set any of these ringtones or notification sounds as your default.
For a more in-depth guide on setting these files as your ringtone or notification sound, check out our full guide on the topic.
Are you looking forward to using your Galaxy S9 ringtones and notification sounds? Are you planning on upgrading to the Galaxy S9 one day? Let us know in the comments below.
- Follow Gadget Hacks on Facebook, Twitter, YouTube, and Flipboard
- Follow WonderHowTo on Facebook, Twitter, Pinterest, and Flipboard
Cover image by Dallas Thomas/Gadget Hacks, screenshots by Brian Lang/Gadget Hacks


Comments
No Comments Exist
Be the first, drop a comment!