There are a few different ways to install Magisk. If you're already rooted and you just want access to Magisk modules, you can use Magisk Manager to install the Magisk framework. Or, if you want to pass SafetyNet on a rooted device, you can switch from SuperSU to Magisk SU. But the best way to do it is to start fresh by installing Magisk on a non-rooted phone using TWRP.
The main reason we prefer this method is because it's the cleanest. No need to remove old root binaries, just flash the Magisk ZIP and you'll be good to go. In doing so, you'll actually root your phone and install Magisk in one shot, plus you're far more likely to pass SafetyNet's CTS Profile check this way.
Step 1: Install TWRP
This method works by flashing the Magisk ZIP in TWRP, so you'll need to install the custom recovery before you begin. Much like Magisk itself, there are multiple ways to install TWRP. If you're rooted, you can use this method, but note that you'll have to do a full unroot in SuperSU after you're done.
If your phone has a Fastboot interface (most phones do), you can use this guide to install TWRP. Just follow steps 1–5 exactly as they're depicted, then use Method 2 in Step 7 to flash the TWRP image file for your particular model.
If your phone does not have a Fastboot interface, the instructions for installing TWRP will vary. We've covered many of these methods in separate tutorials that are linked out in the following guide, so this is a perfect place to start:
Step 2: Install Magisk Manager
Once you've got TWRP installed successfully, boot into Android and install the Magisk Manager app. This isn't the Magisk framework, which provides root access and the ability to install Magisk modules. It's simply an app for downloading and updating the Magisk framework and managing modules.
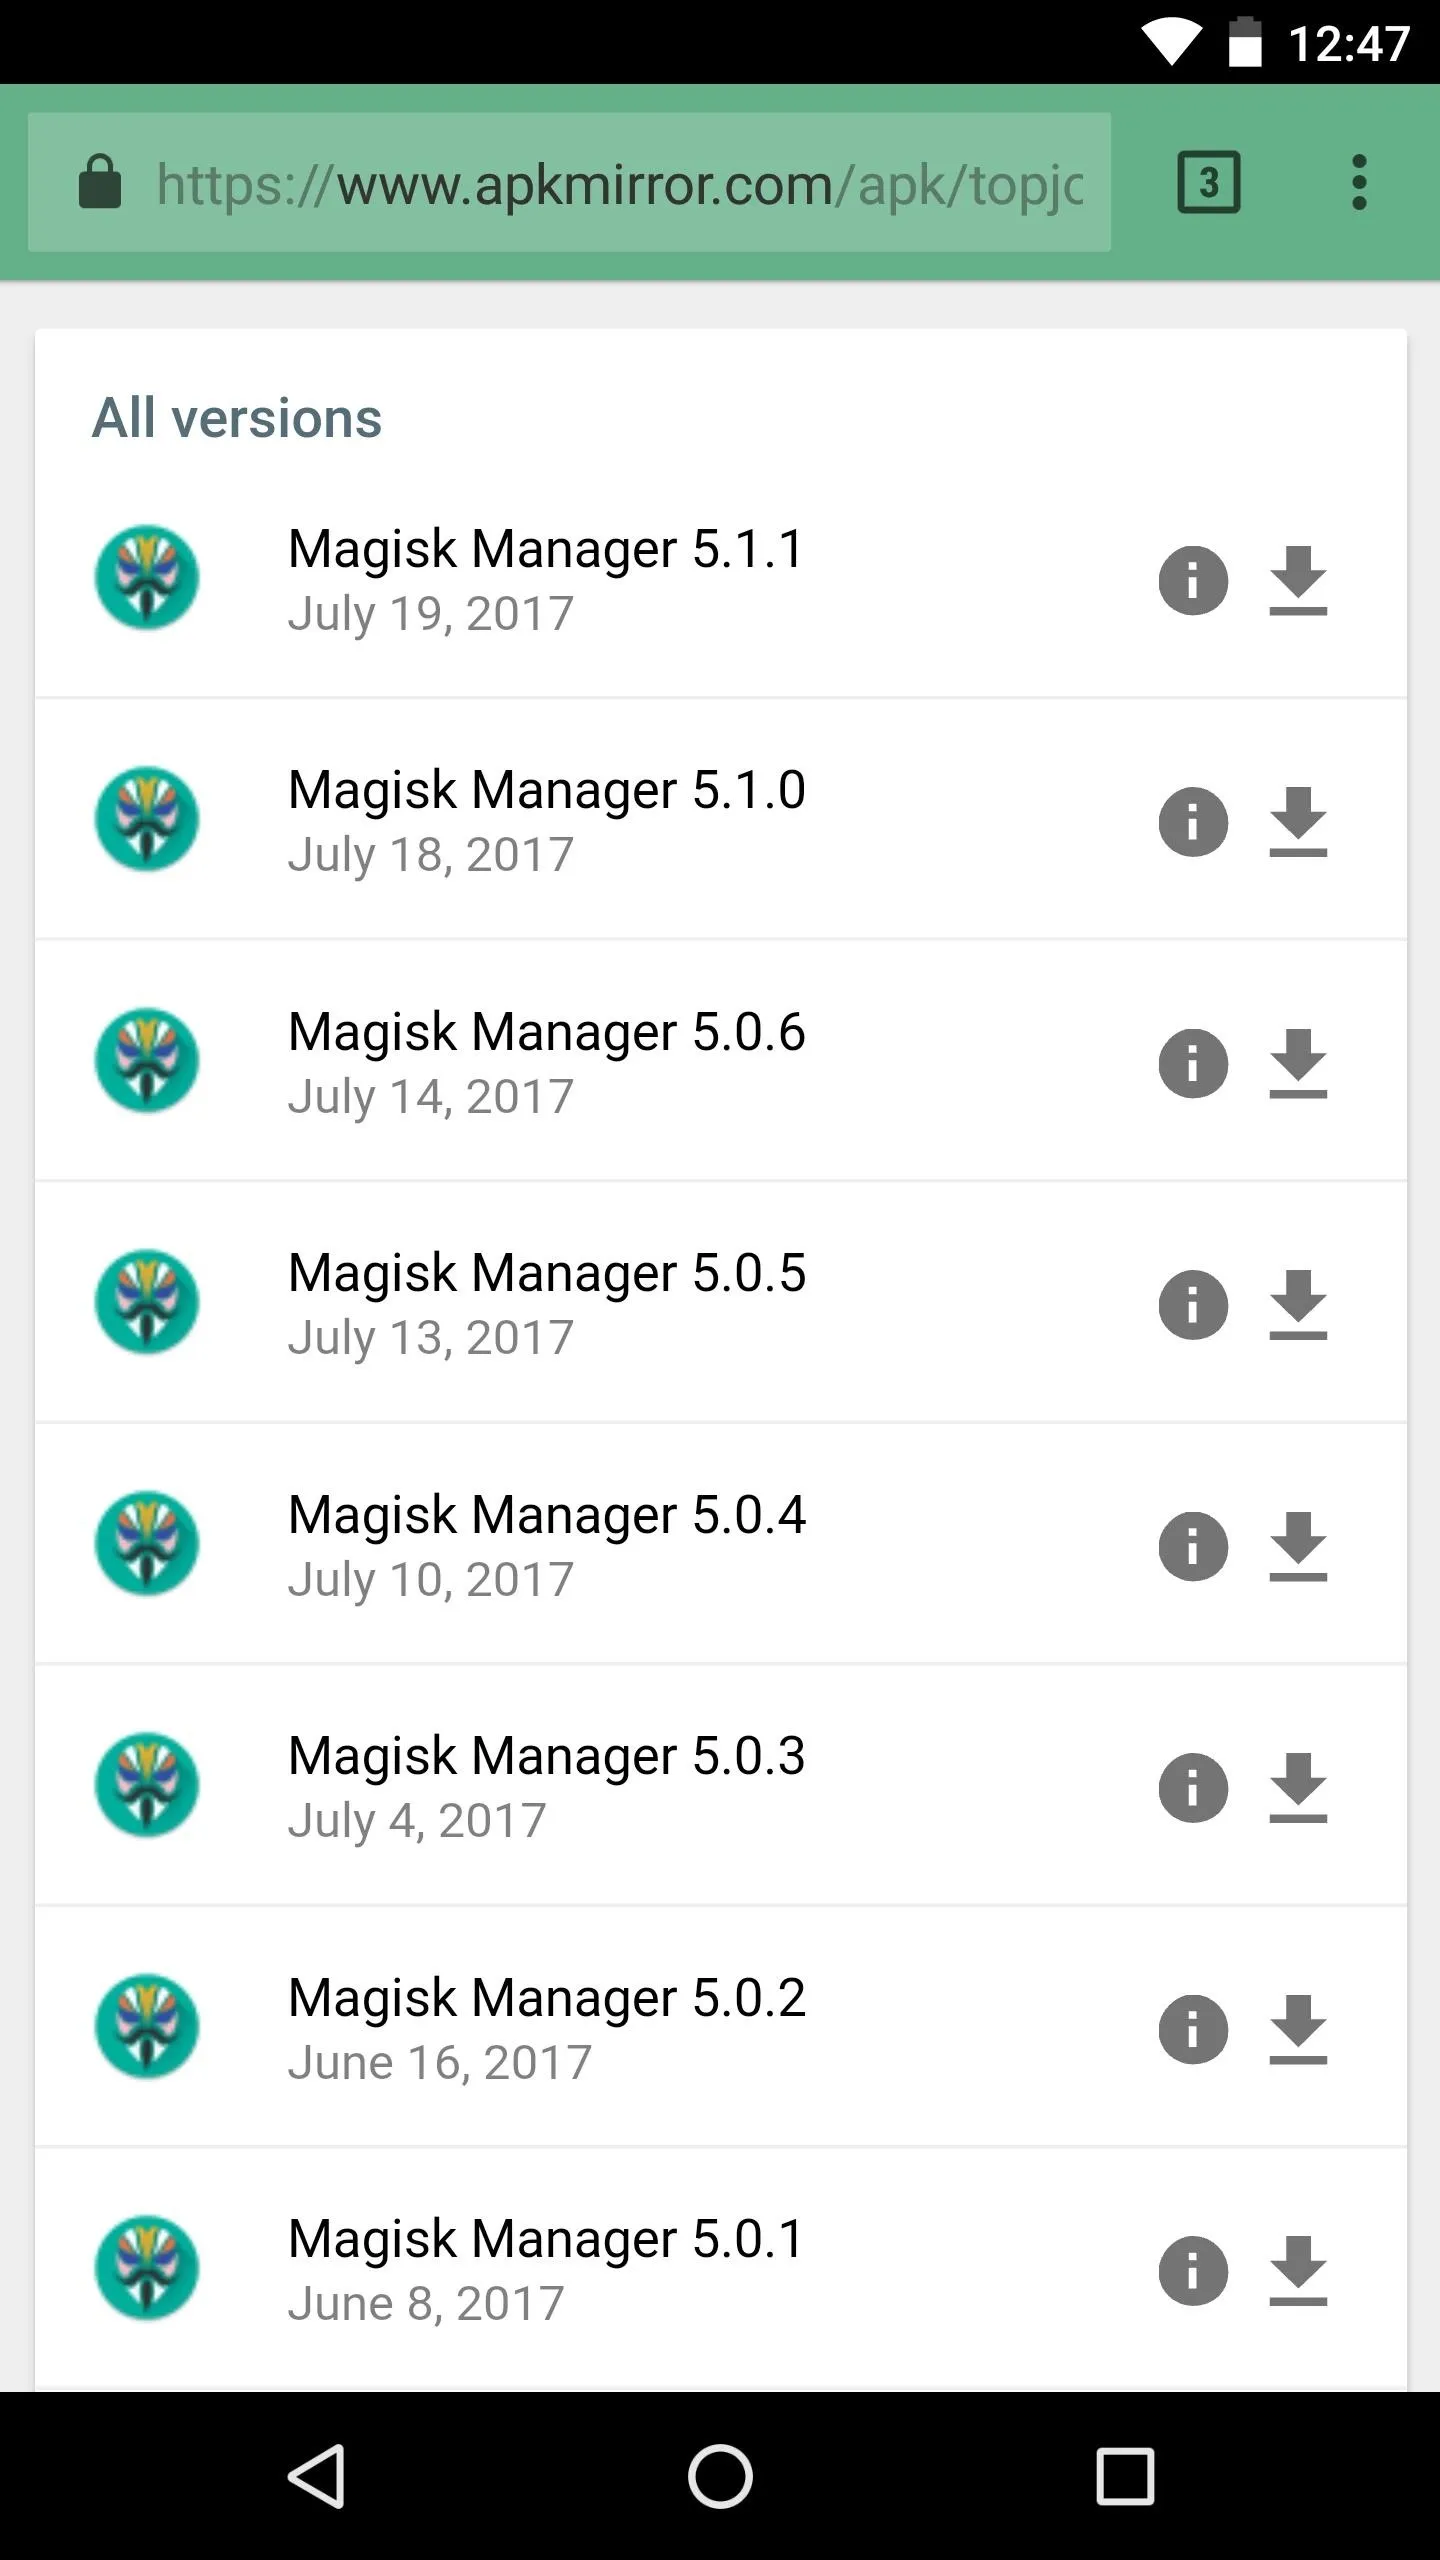
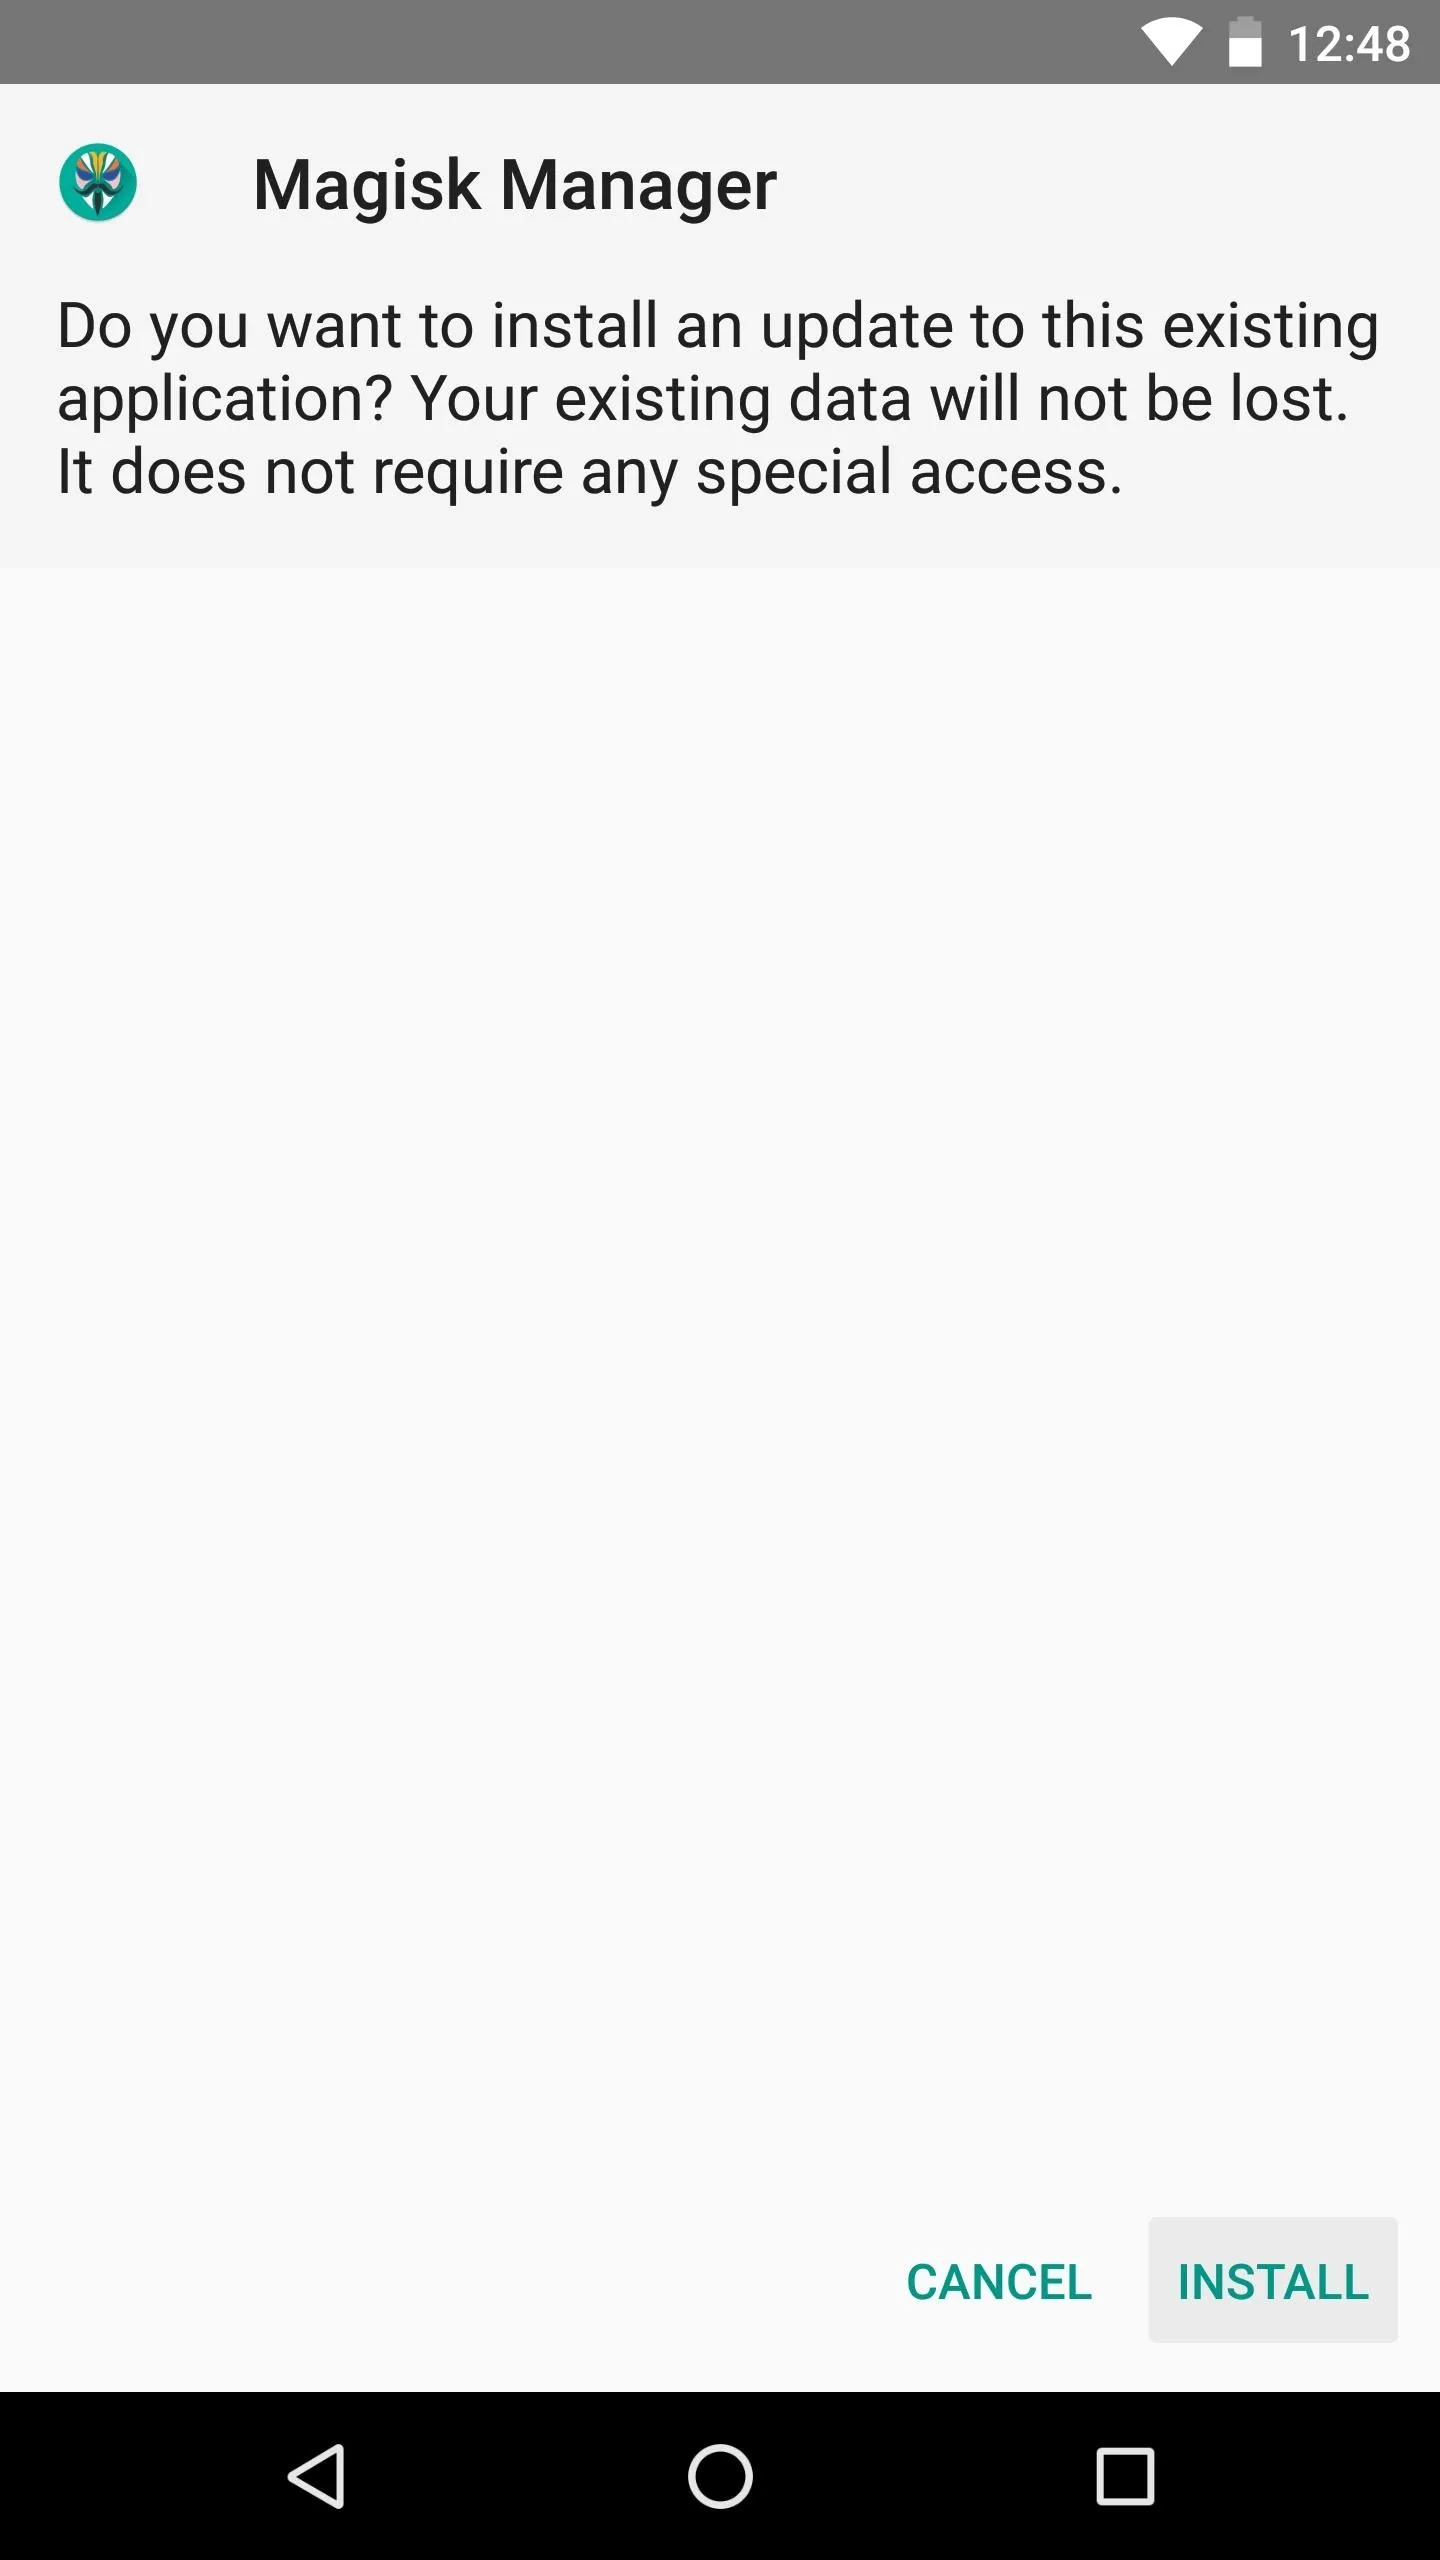
The Magisk Manager app is no longer available on the Play Store, so you'll need to have "Unknown Sources" enabled to install it. Other than that, just head to the following link, which will show you all available versions of the Magisk Manager app. Download the newest version, then when that's finished, tap the Download complete notification to launch the APK. Finally, press "Install" when prompted.


Step 3: Download the Magisk ZIP
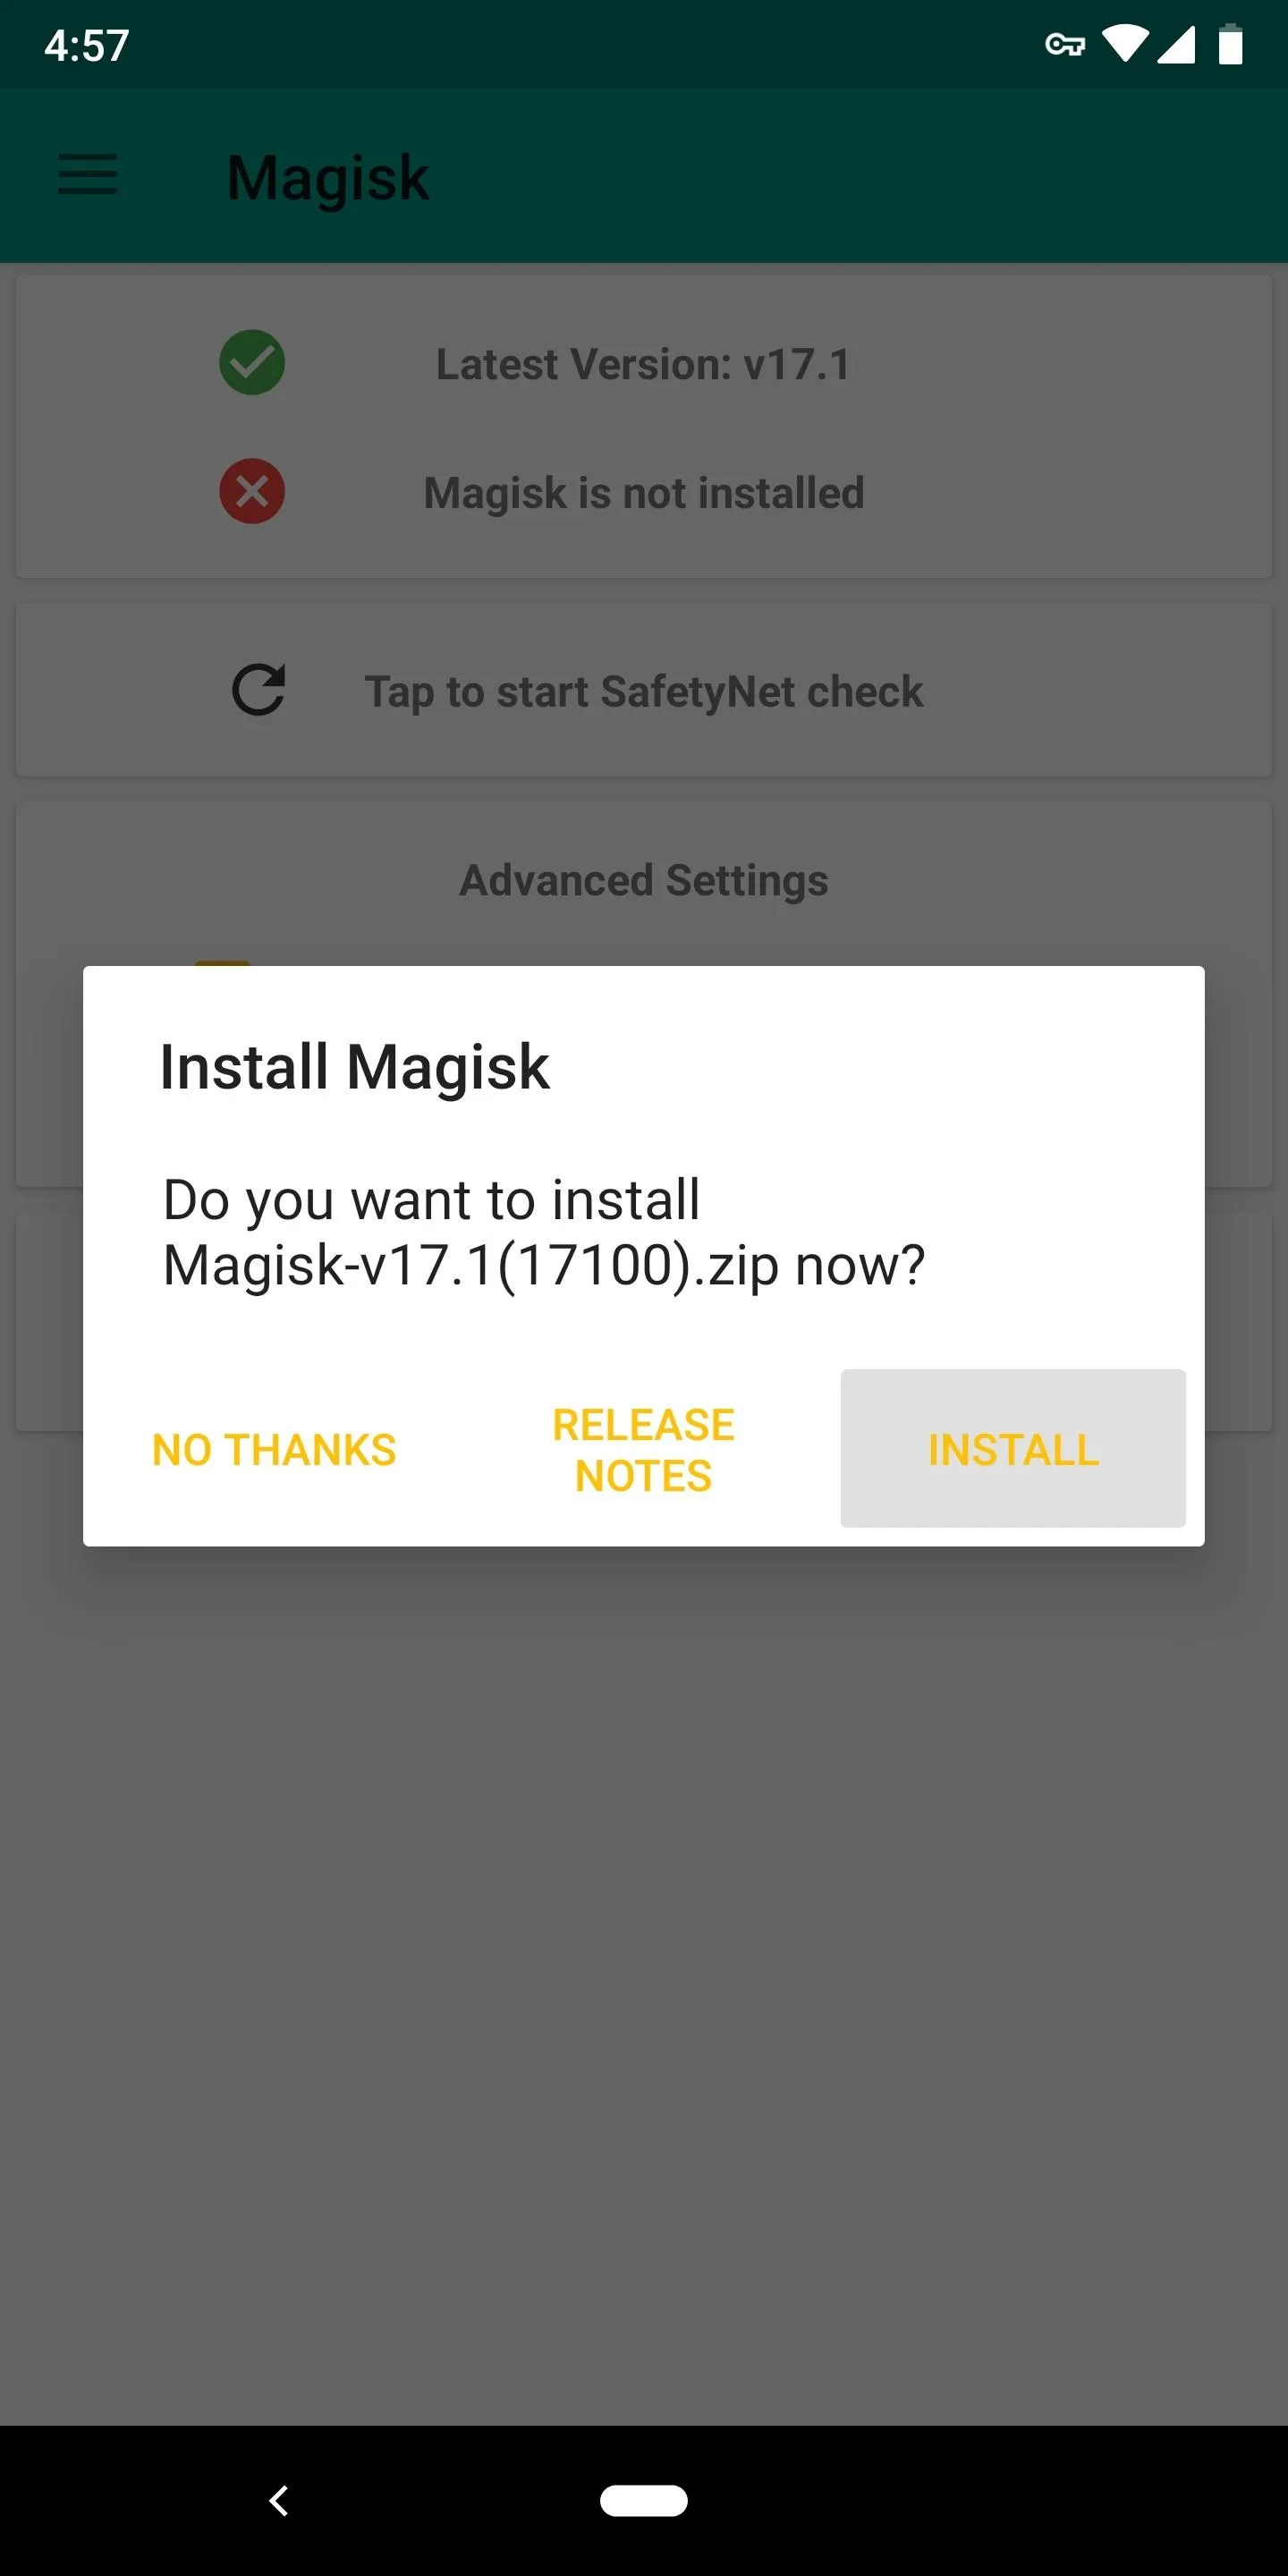
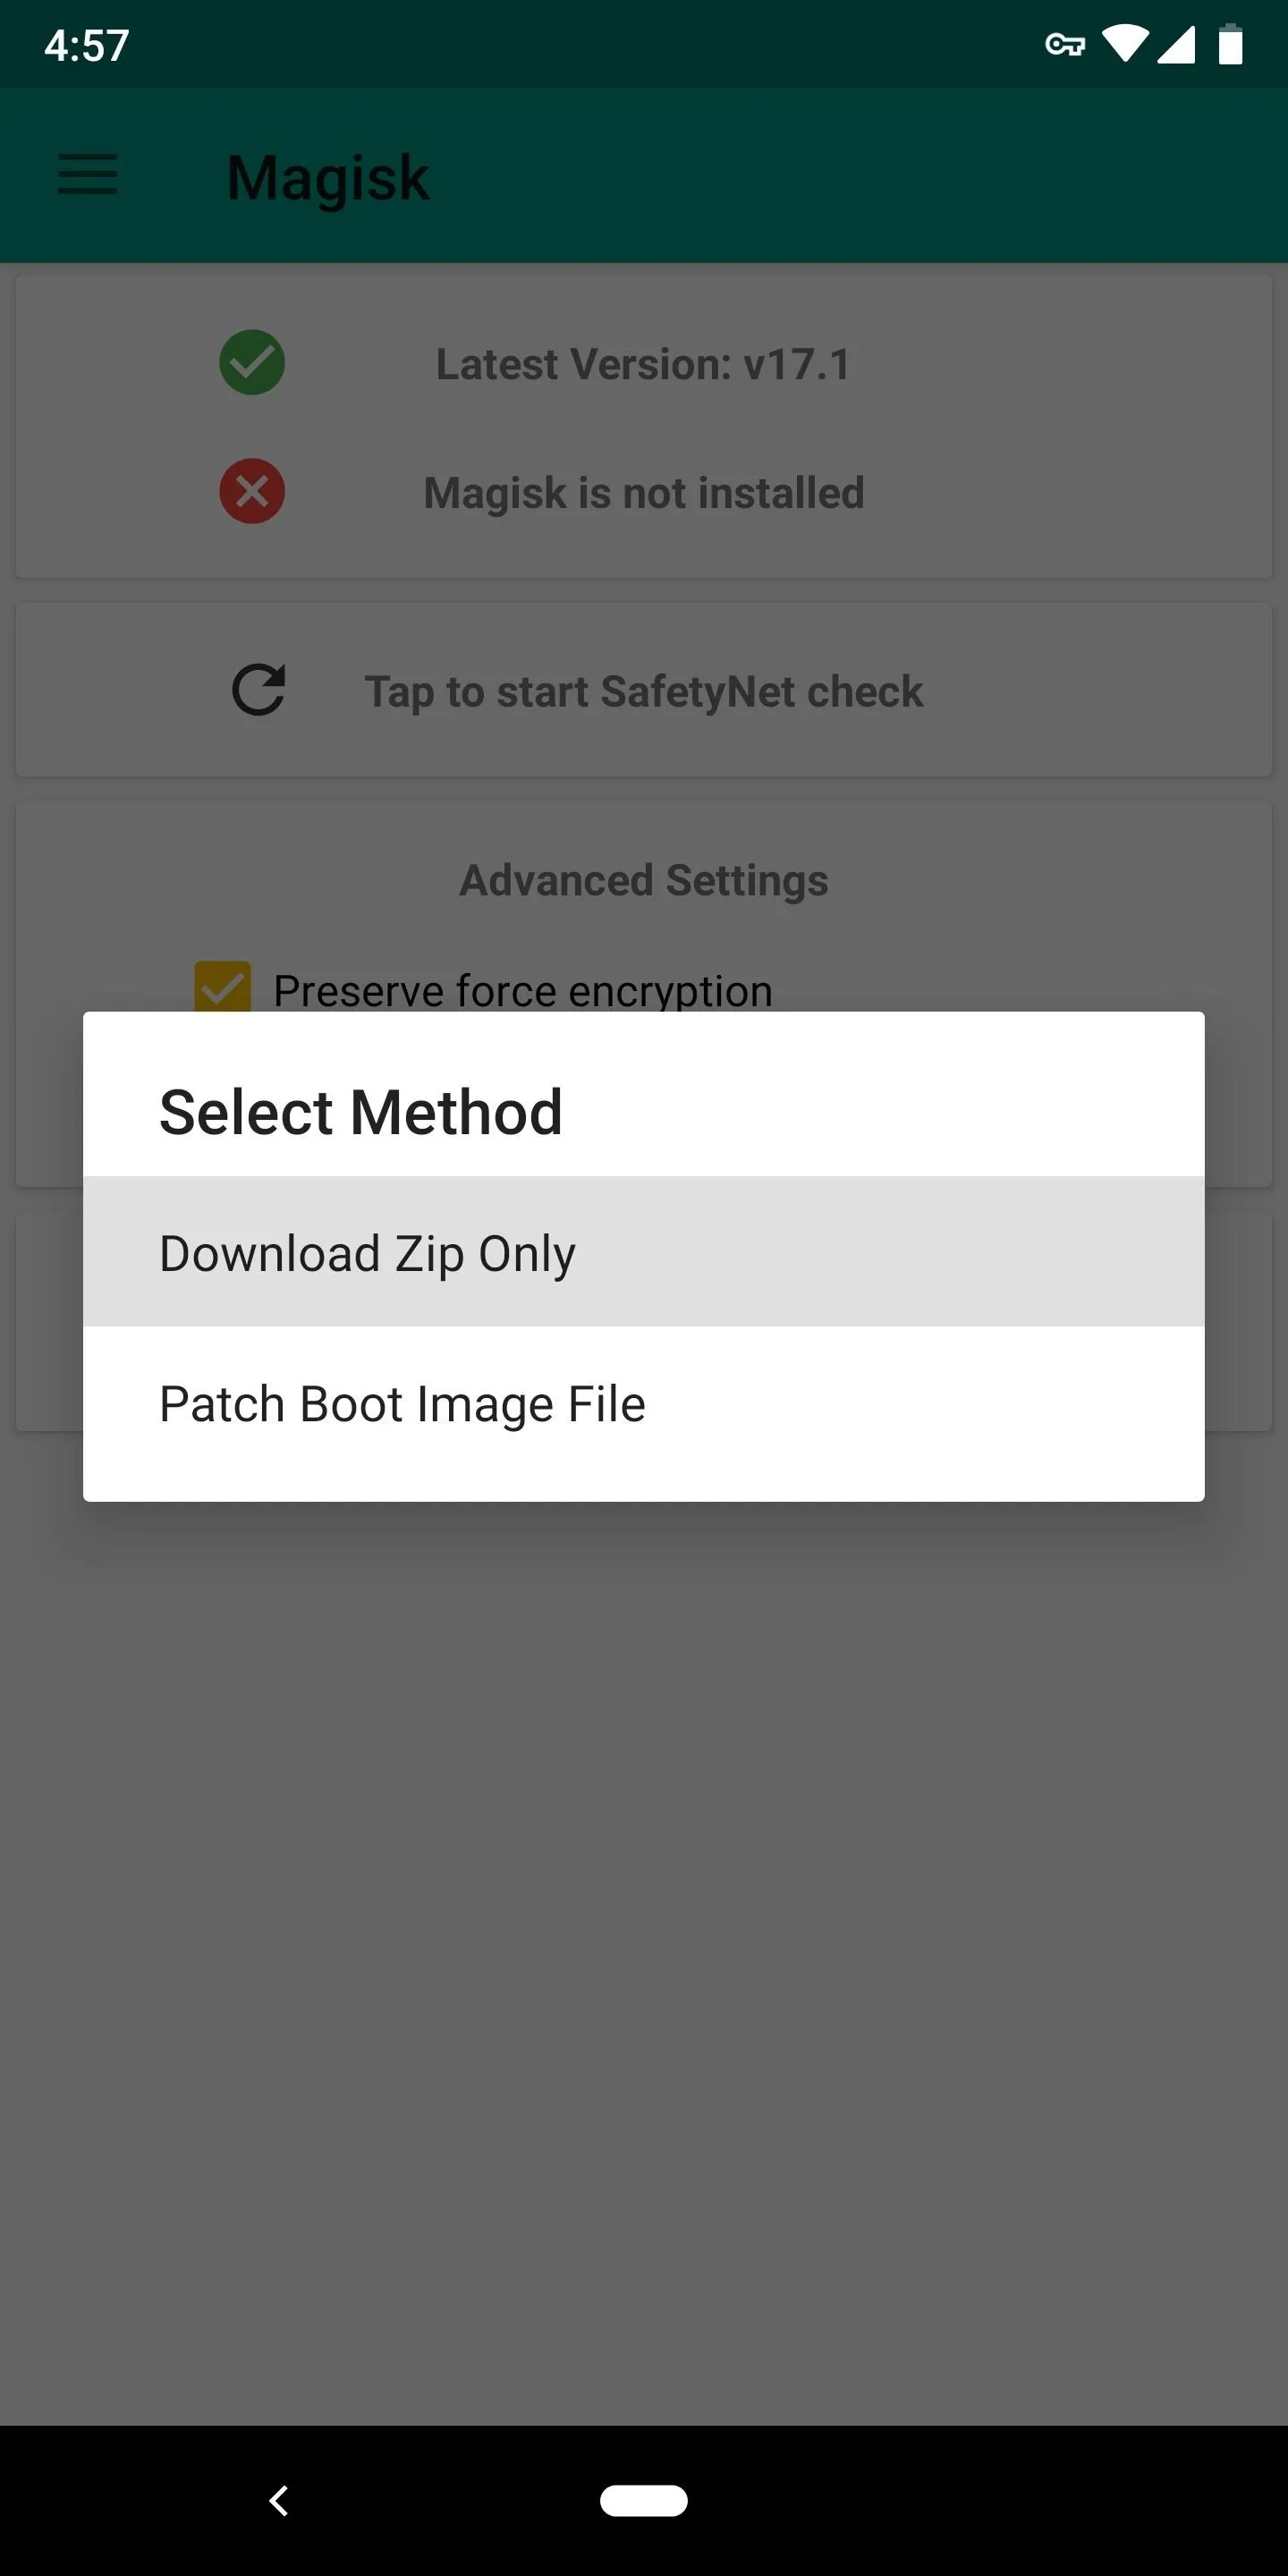
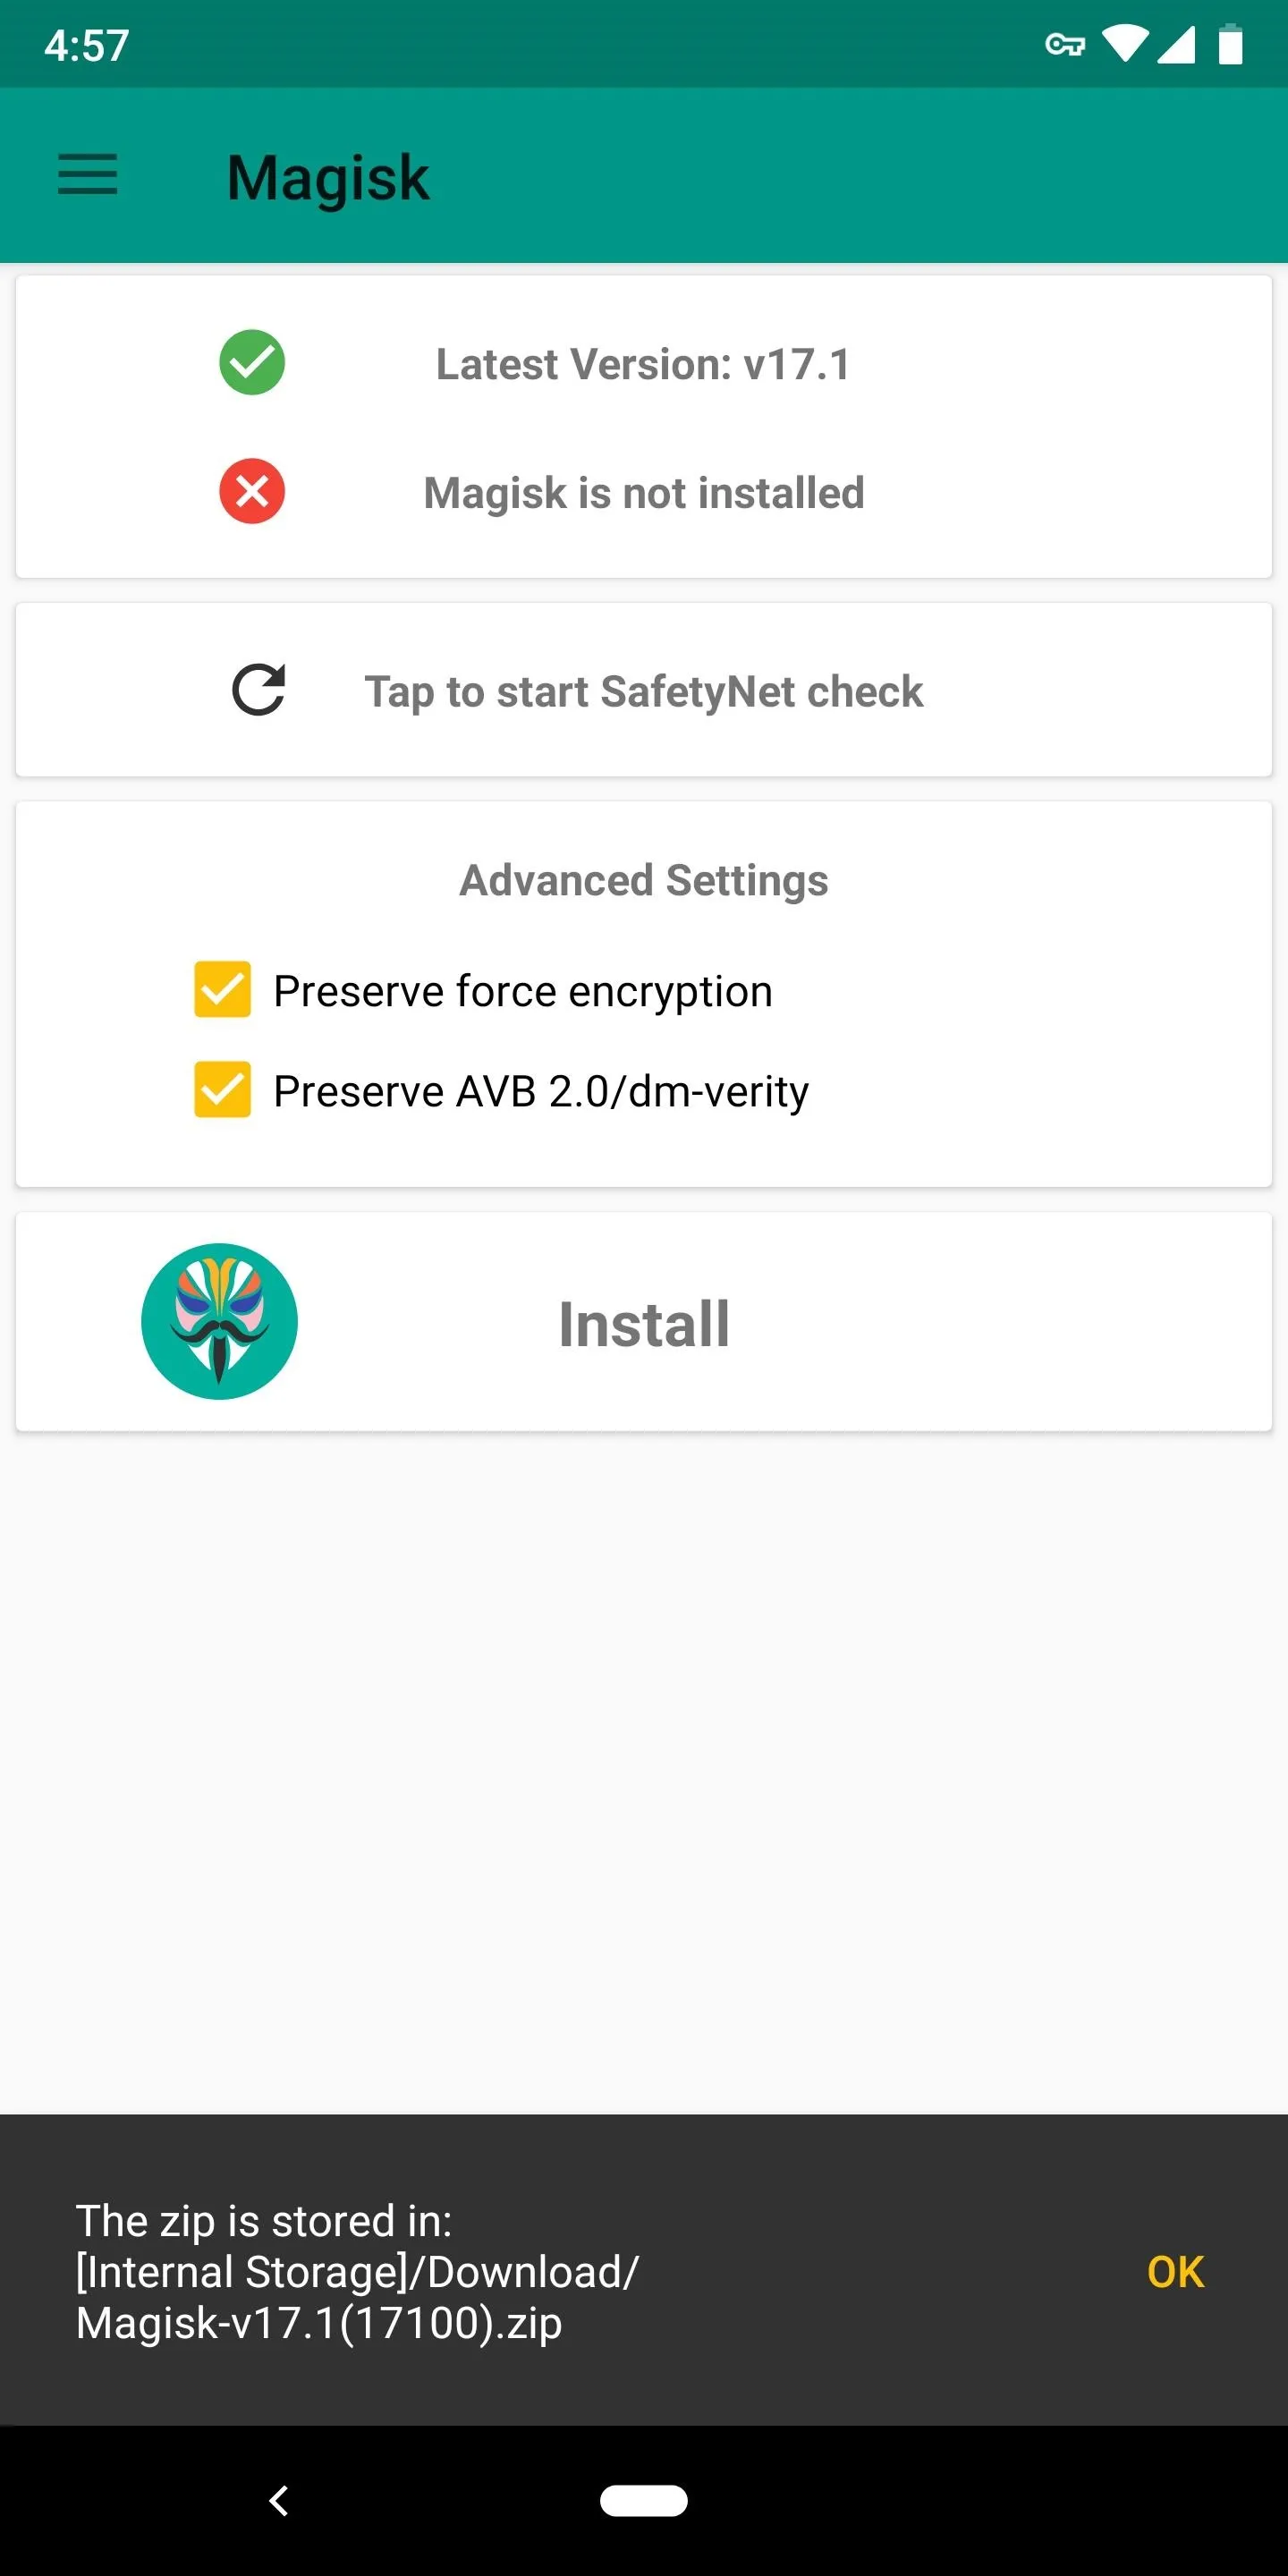
Next, open the Magisk Manager app. You'll get a popup asking if you'd like to install the Magisk framework. Tap "Install" here, then hit "Download Zip Only" on the subsequent popup. Wait until you see a message at the bottom of the app's main menu stating that the file has been downloaded.


Step 4: Flash Magisk in TWRP
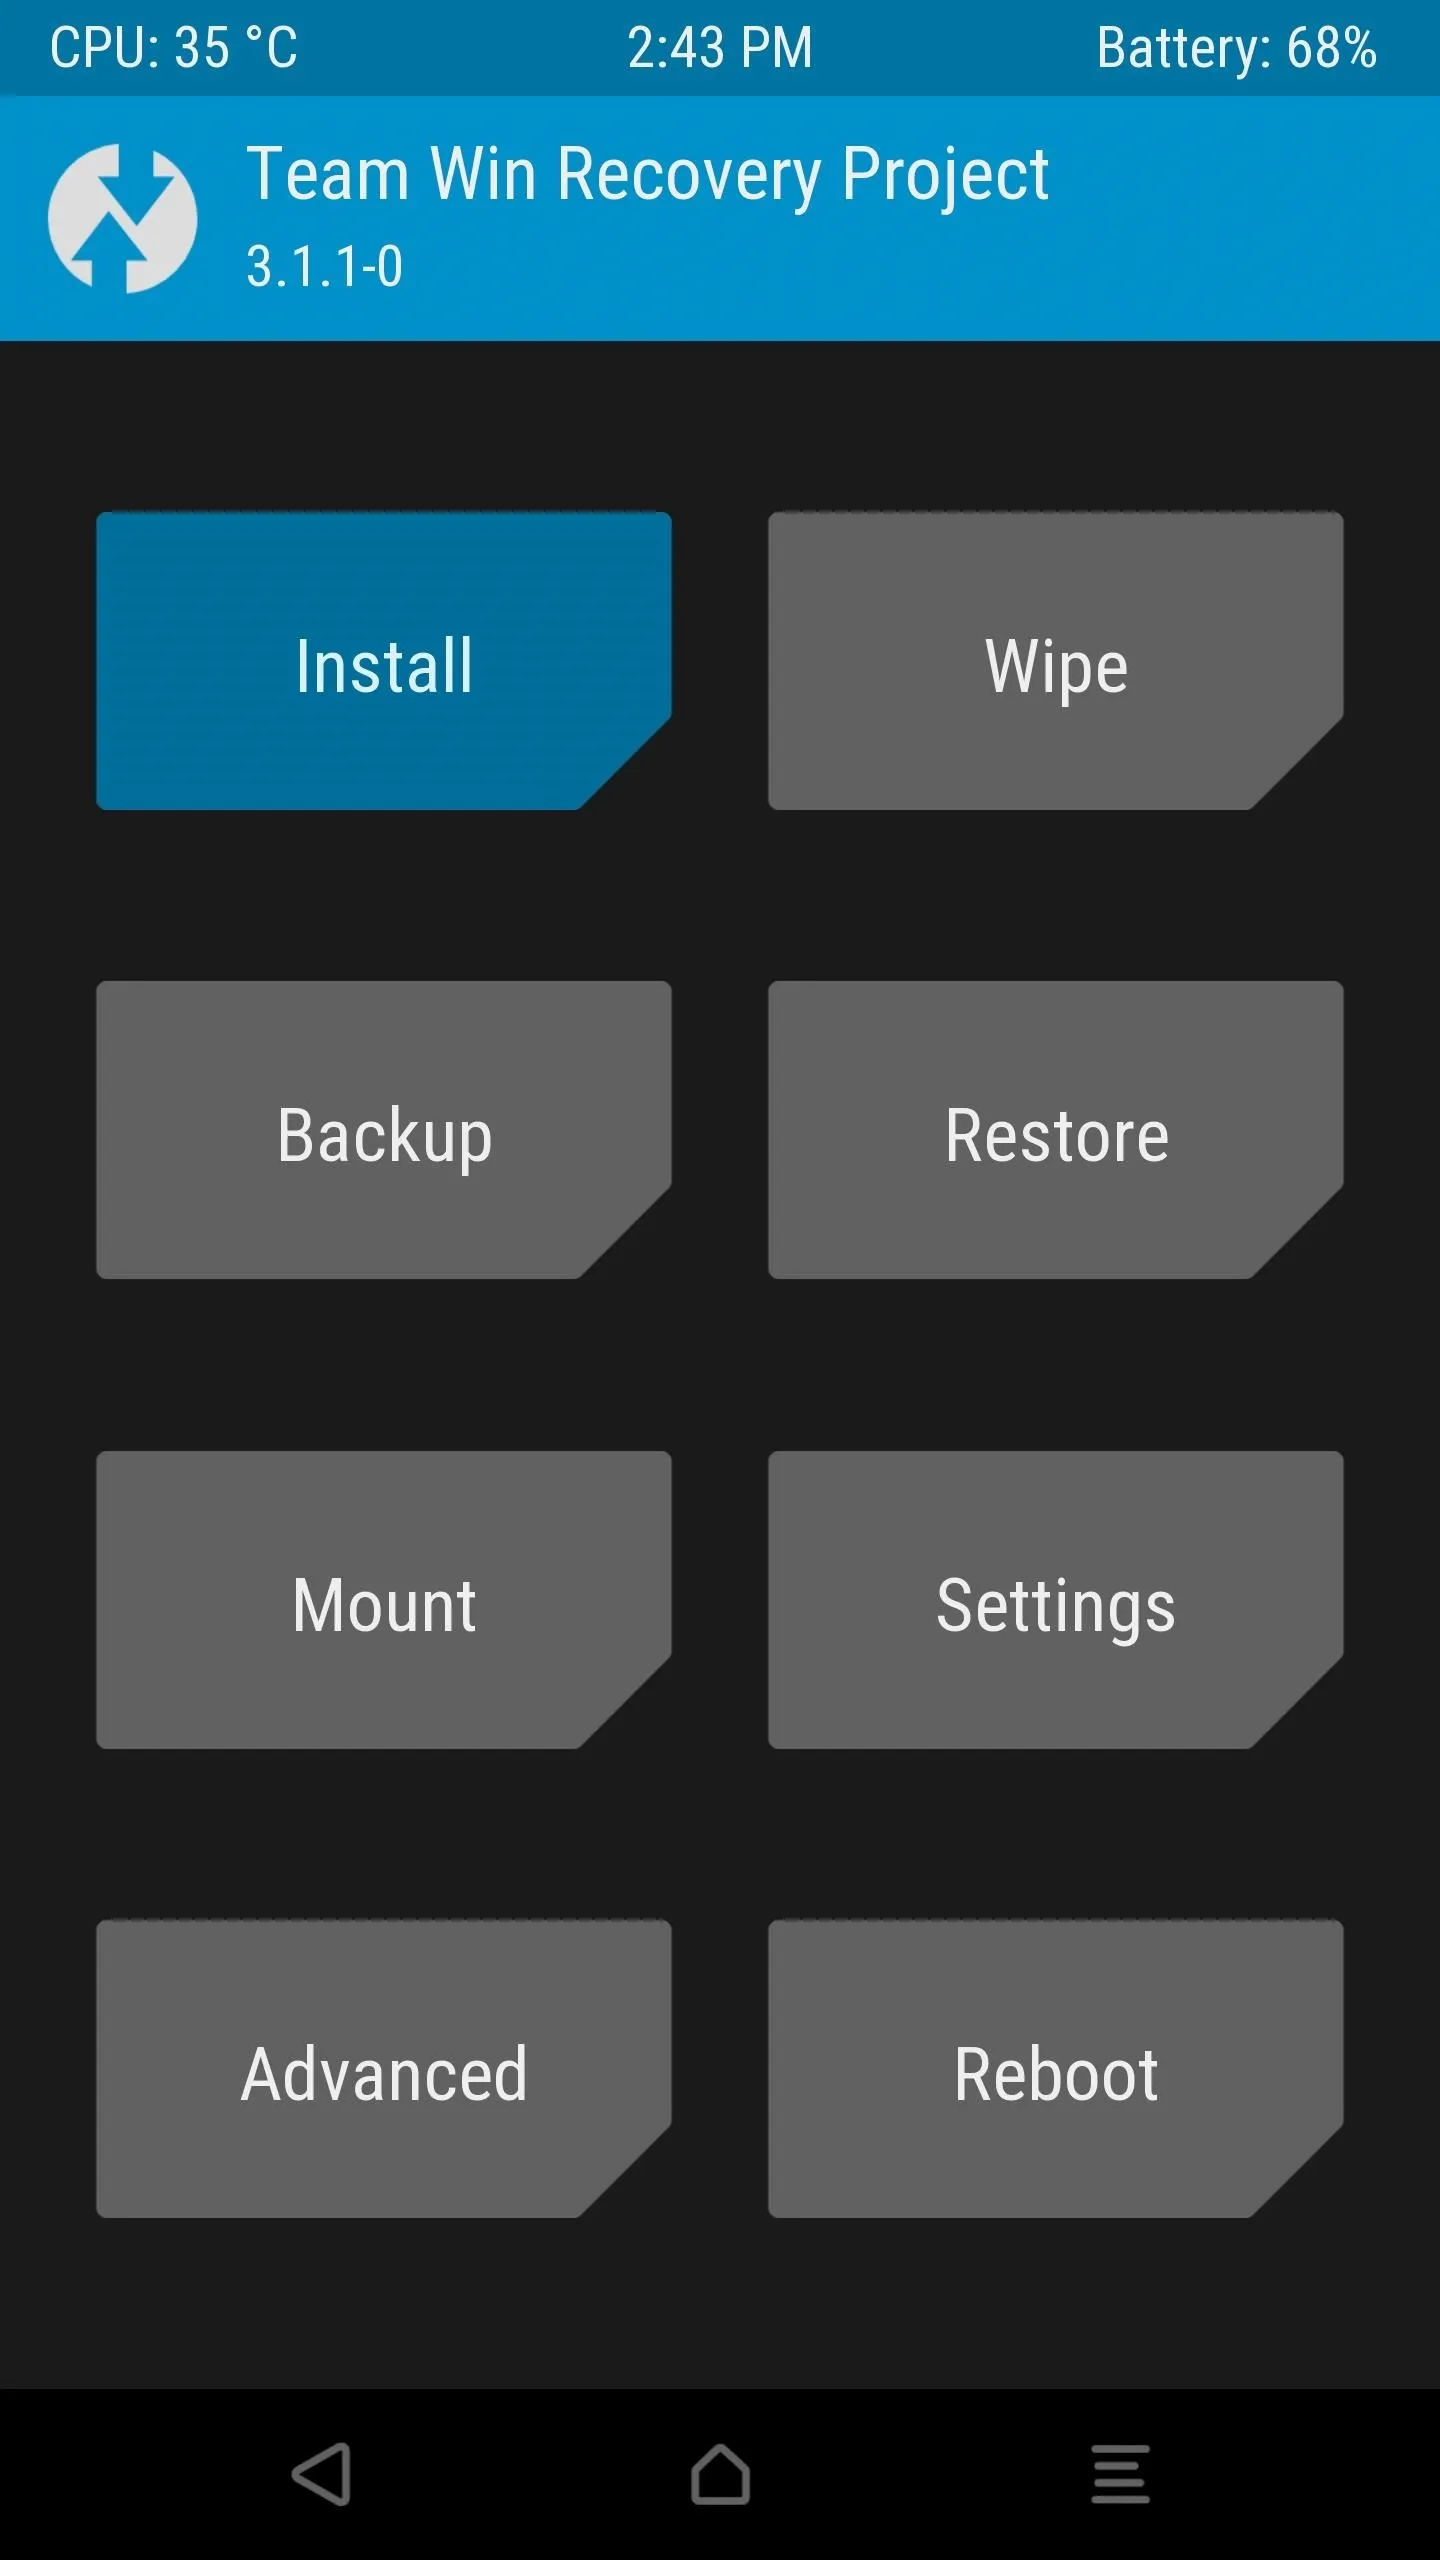
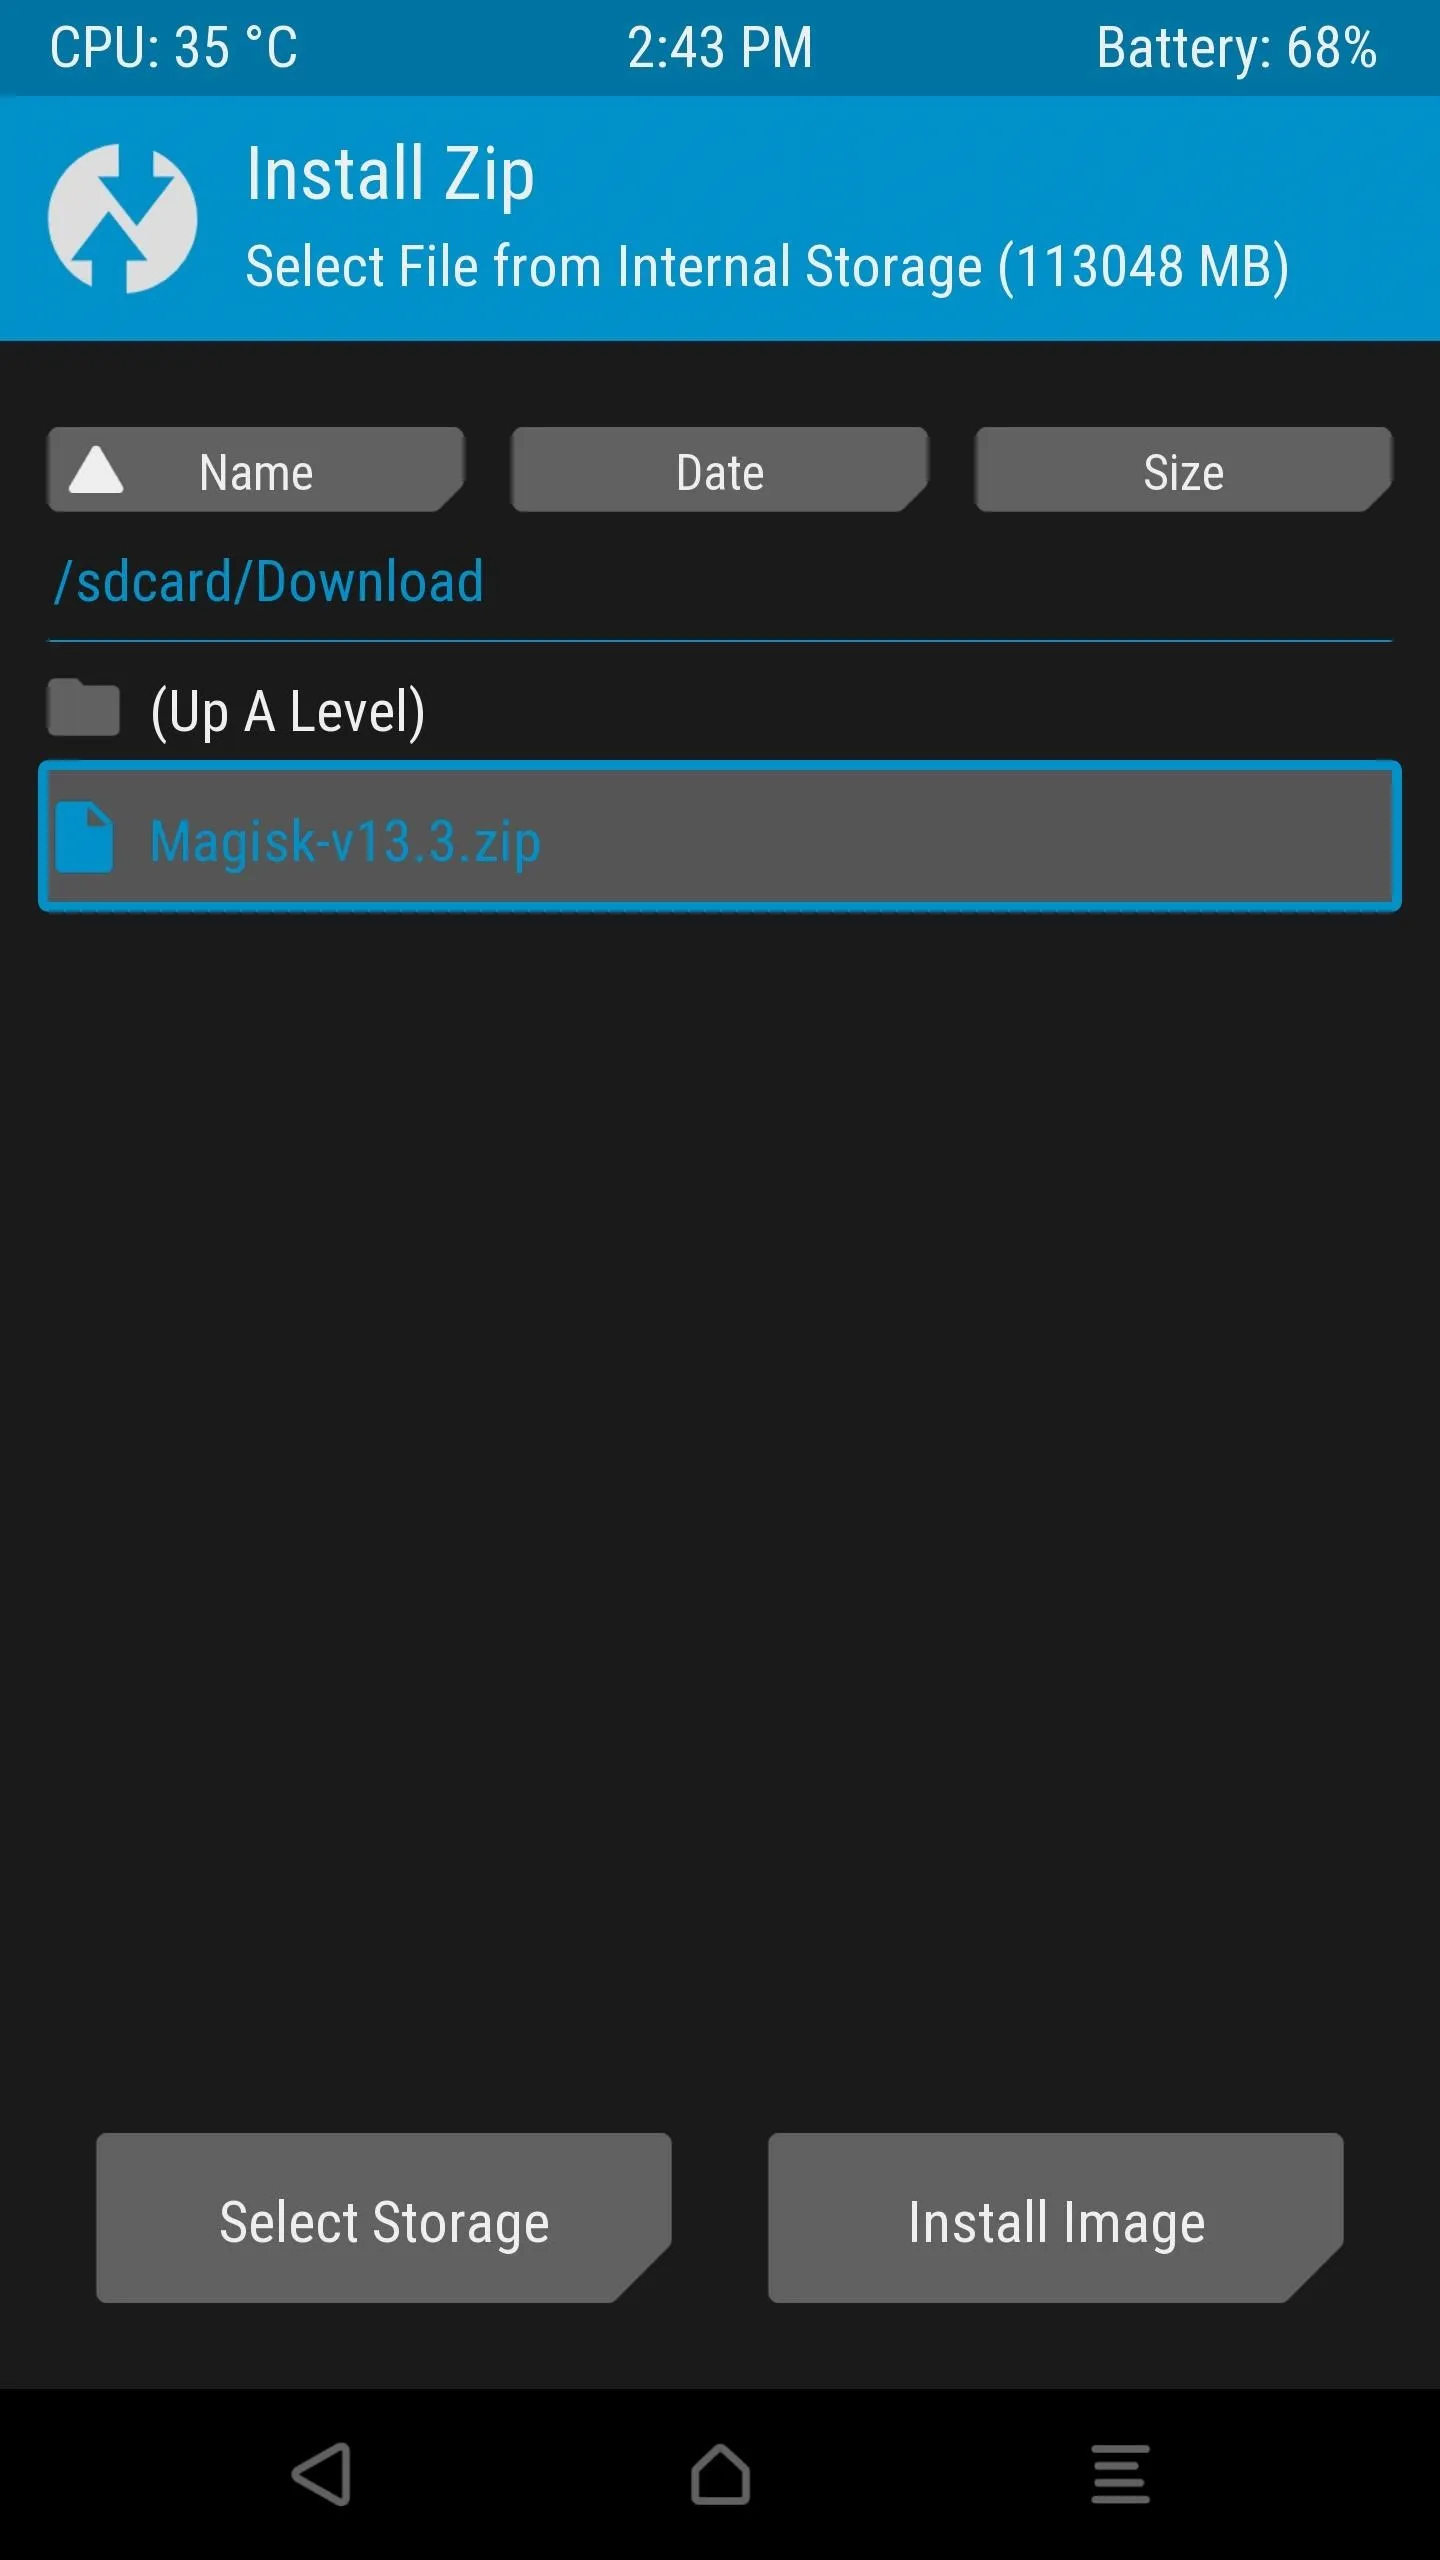
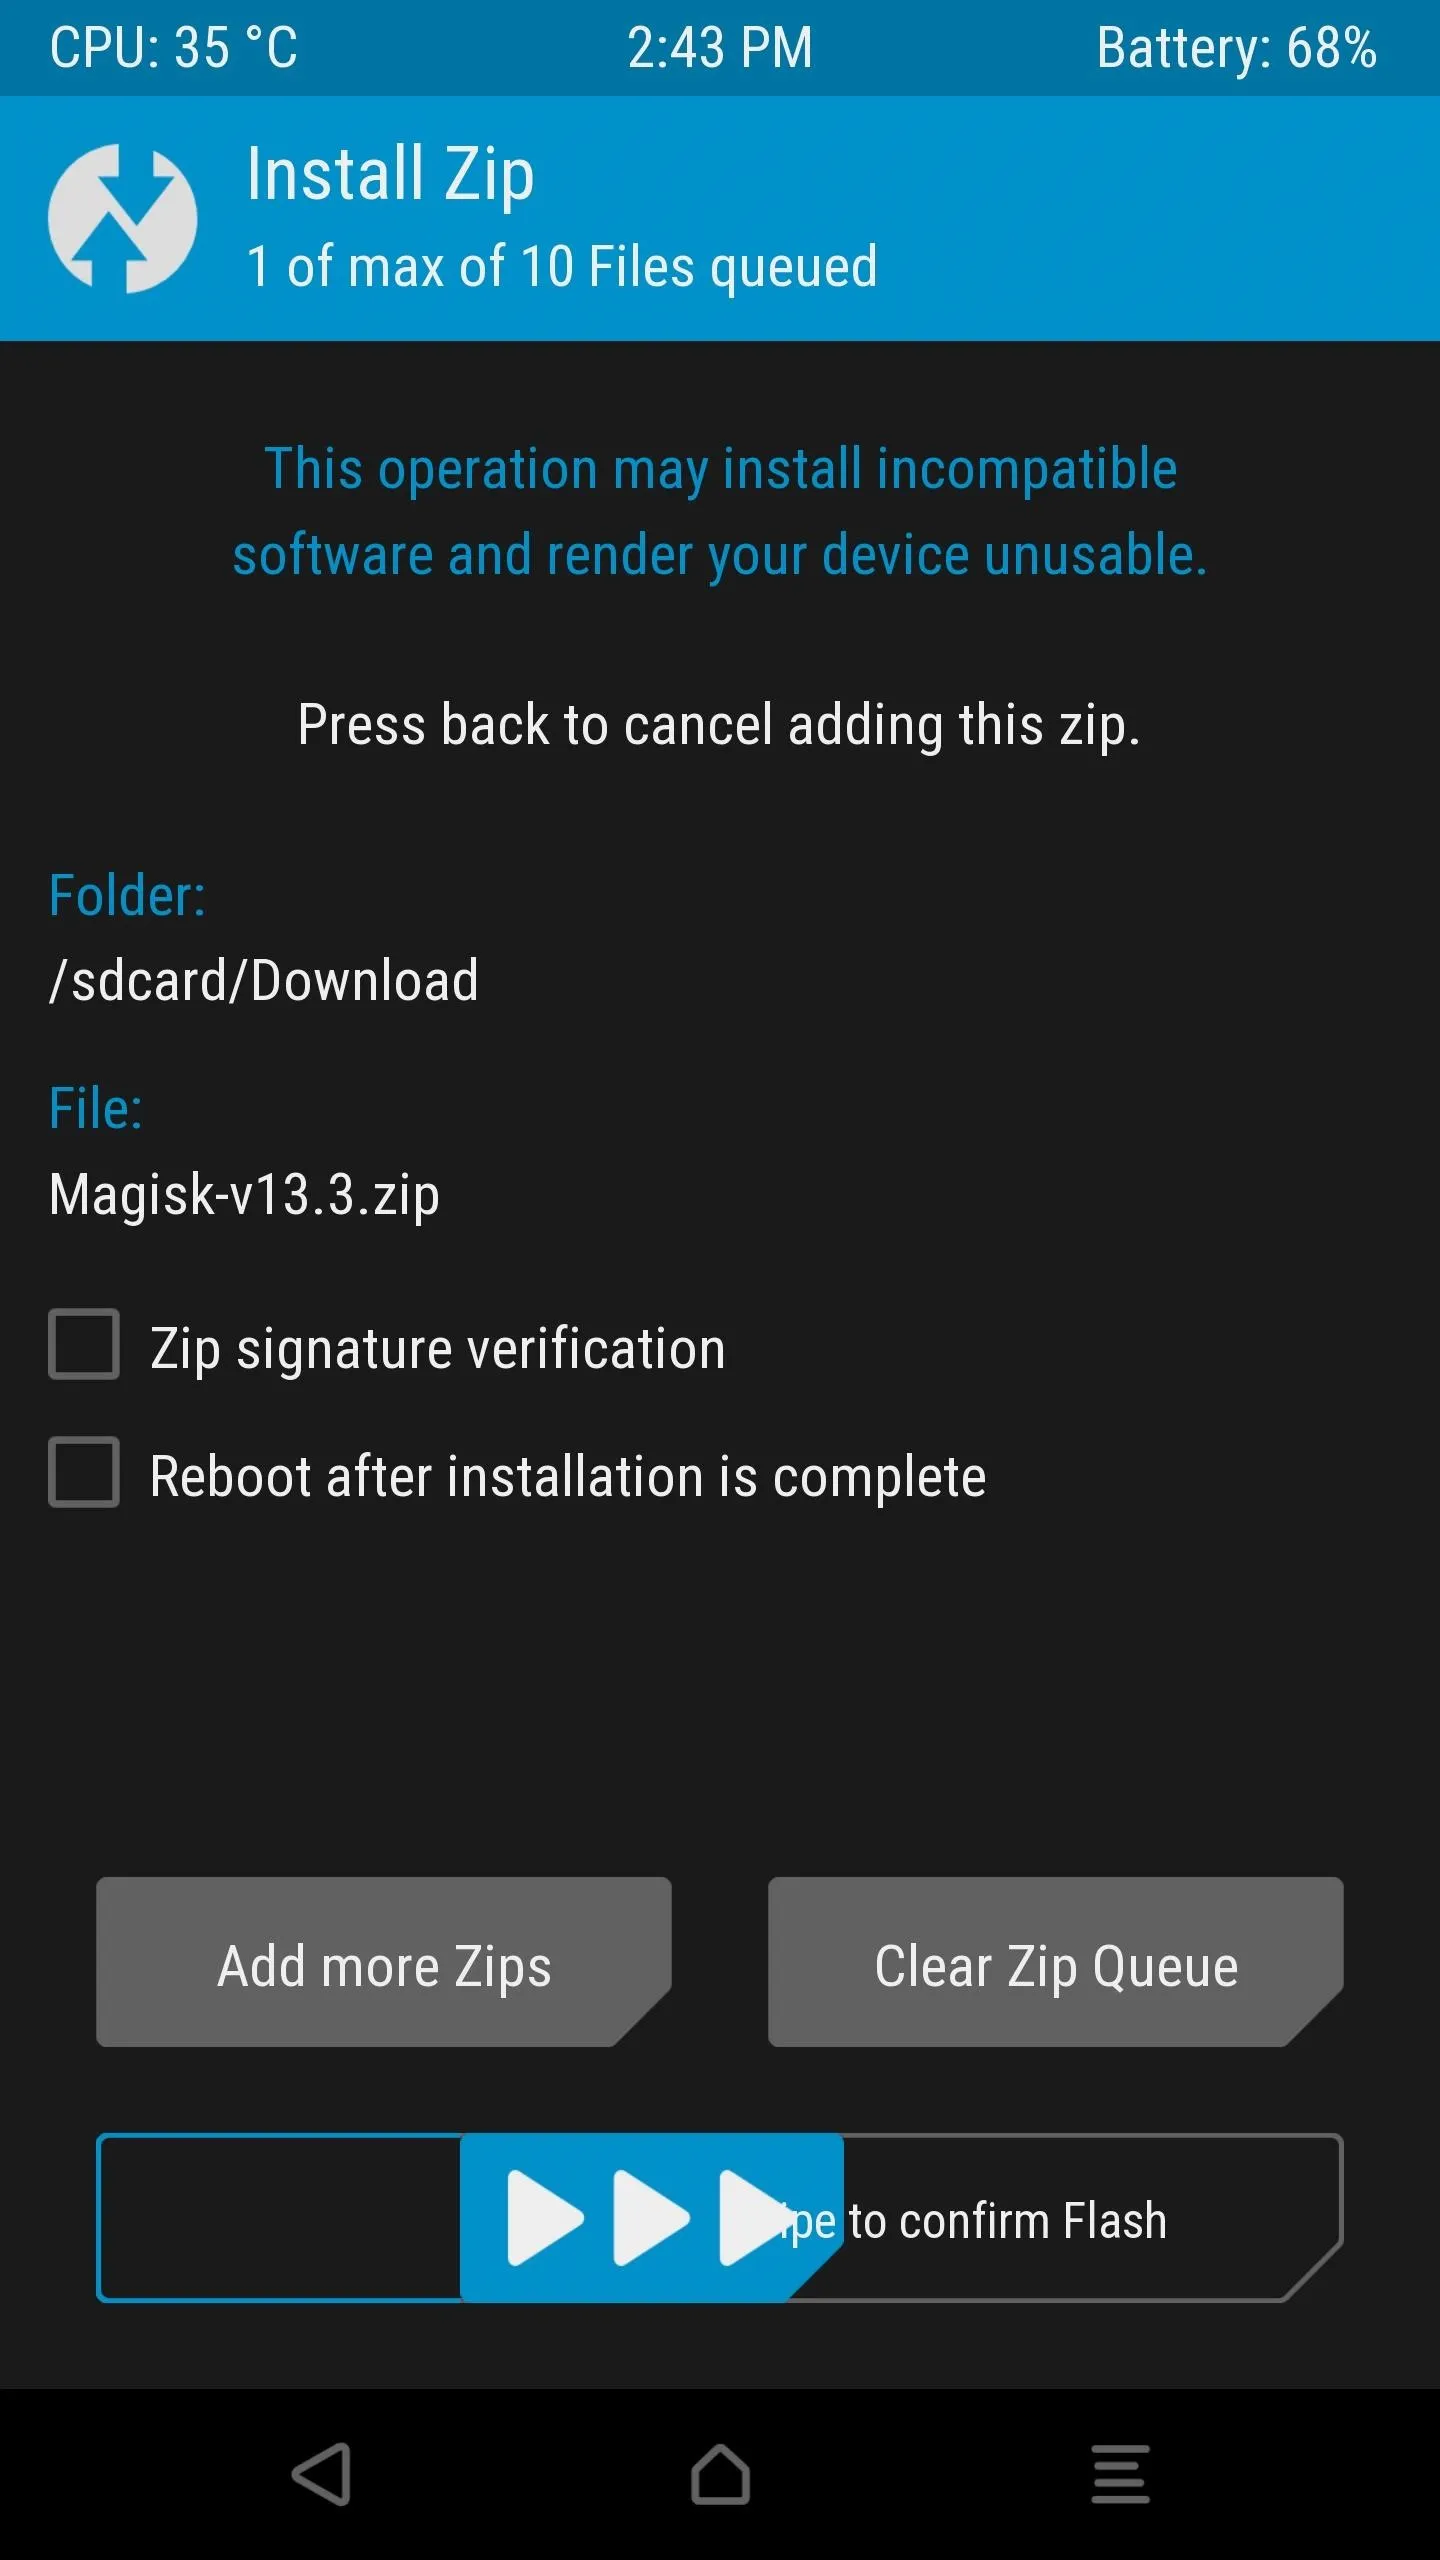
Next, boot your phone into recovery mode, then tap the "Install" button in TWRP's main menu. From there, navigate to your device's Download folder, then select the Magisk ZIP. After that, just swipe the slider at the bottom of the screen to install Magisk, then tap "Reboot System."


Step 5: Verify Root & SafetyNet Status
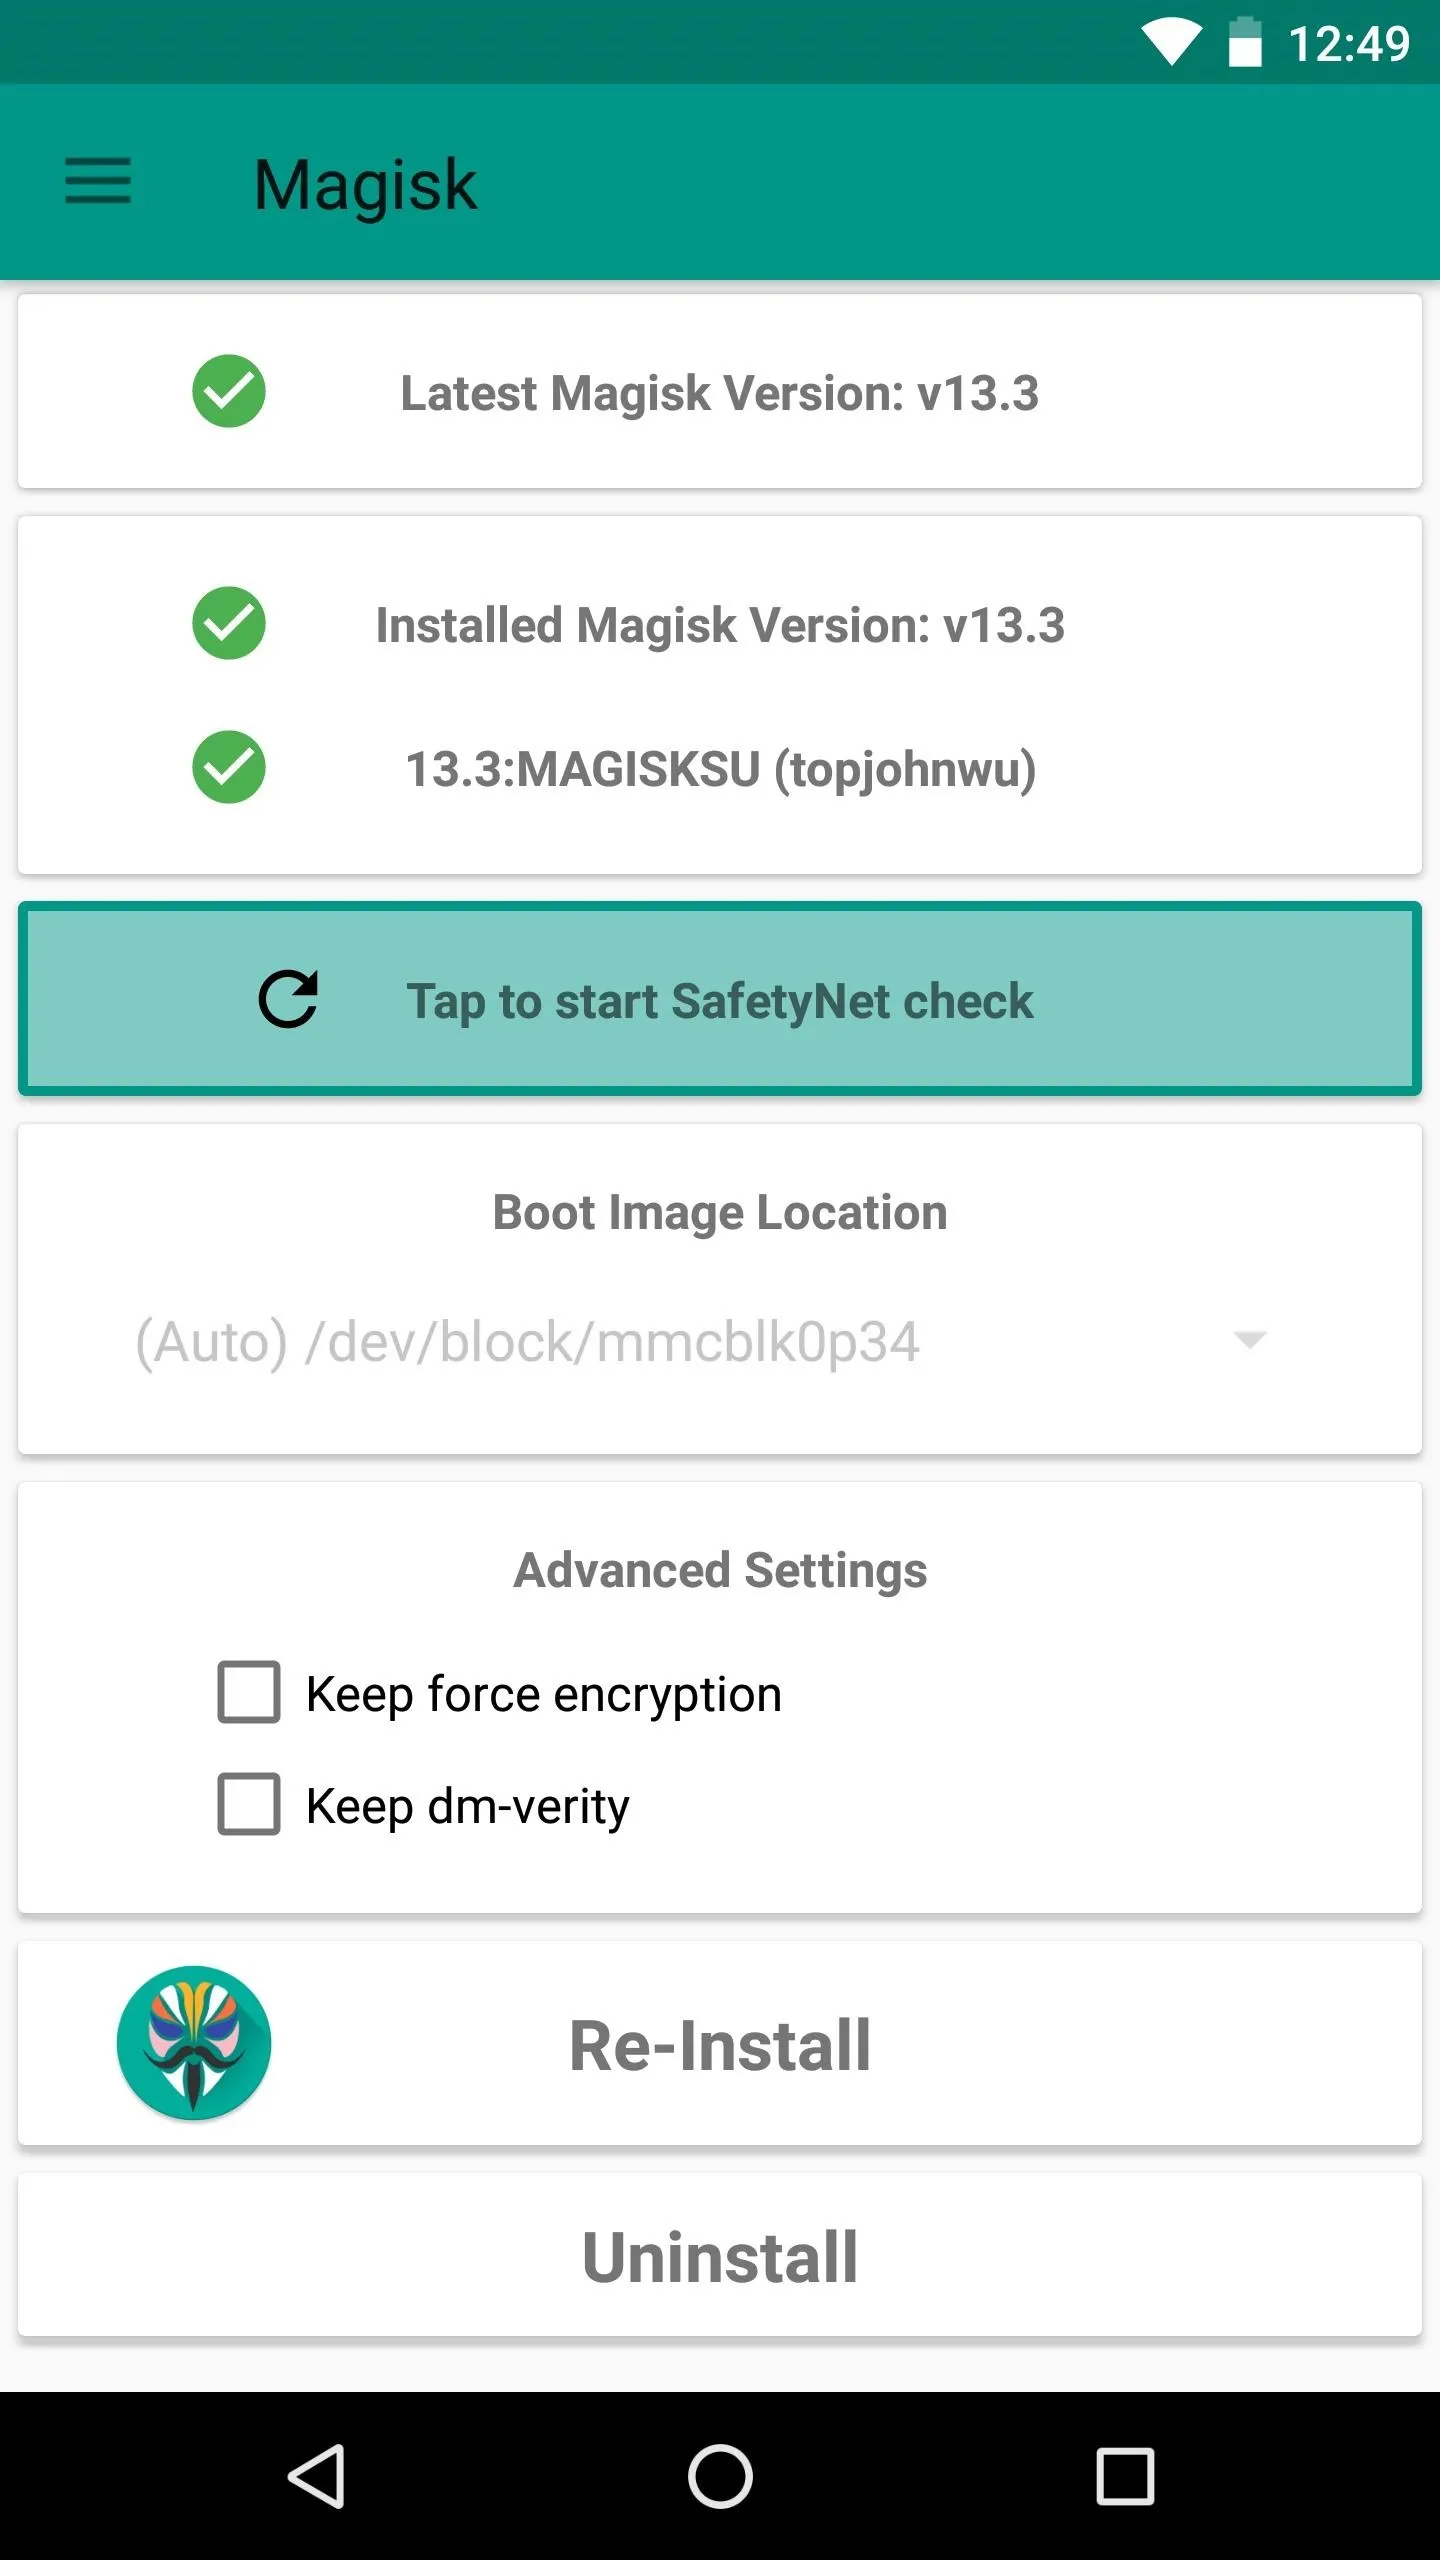
Next, go ahead and open the Magisk Manager app. If everything went off without a hitch, you'll see a message towards the top of the screen that says "MAGISKSU (topjohnwu)" with a green check mark next to it. This means your phone is now officially rooted, and since it was done with Magisk, it's a systemless root.
Aside from that, the main advantage of Magisk is that you can have root without tripping SafetyNet. To verify that your phone still passes Google's SafetyNet check, press the corresponding button towards the top of the screen. If you see two extra green check marks after this test is run, you're all set to go!
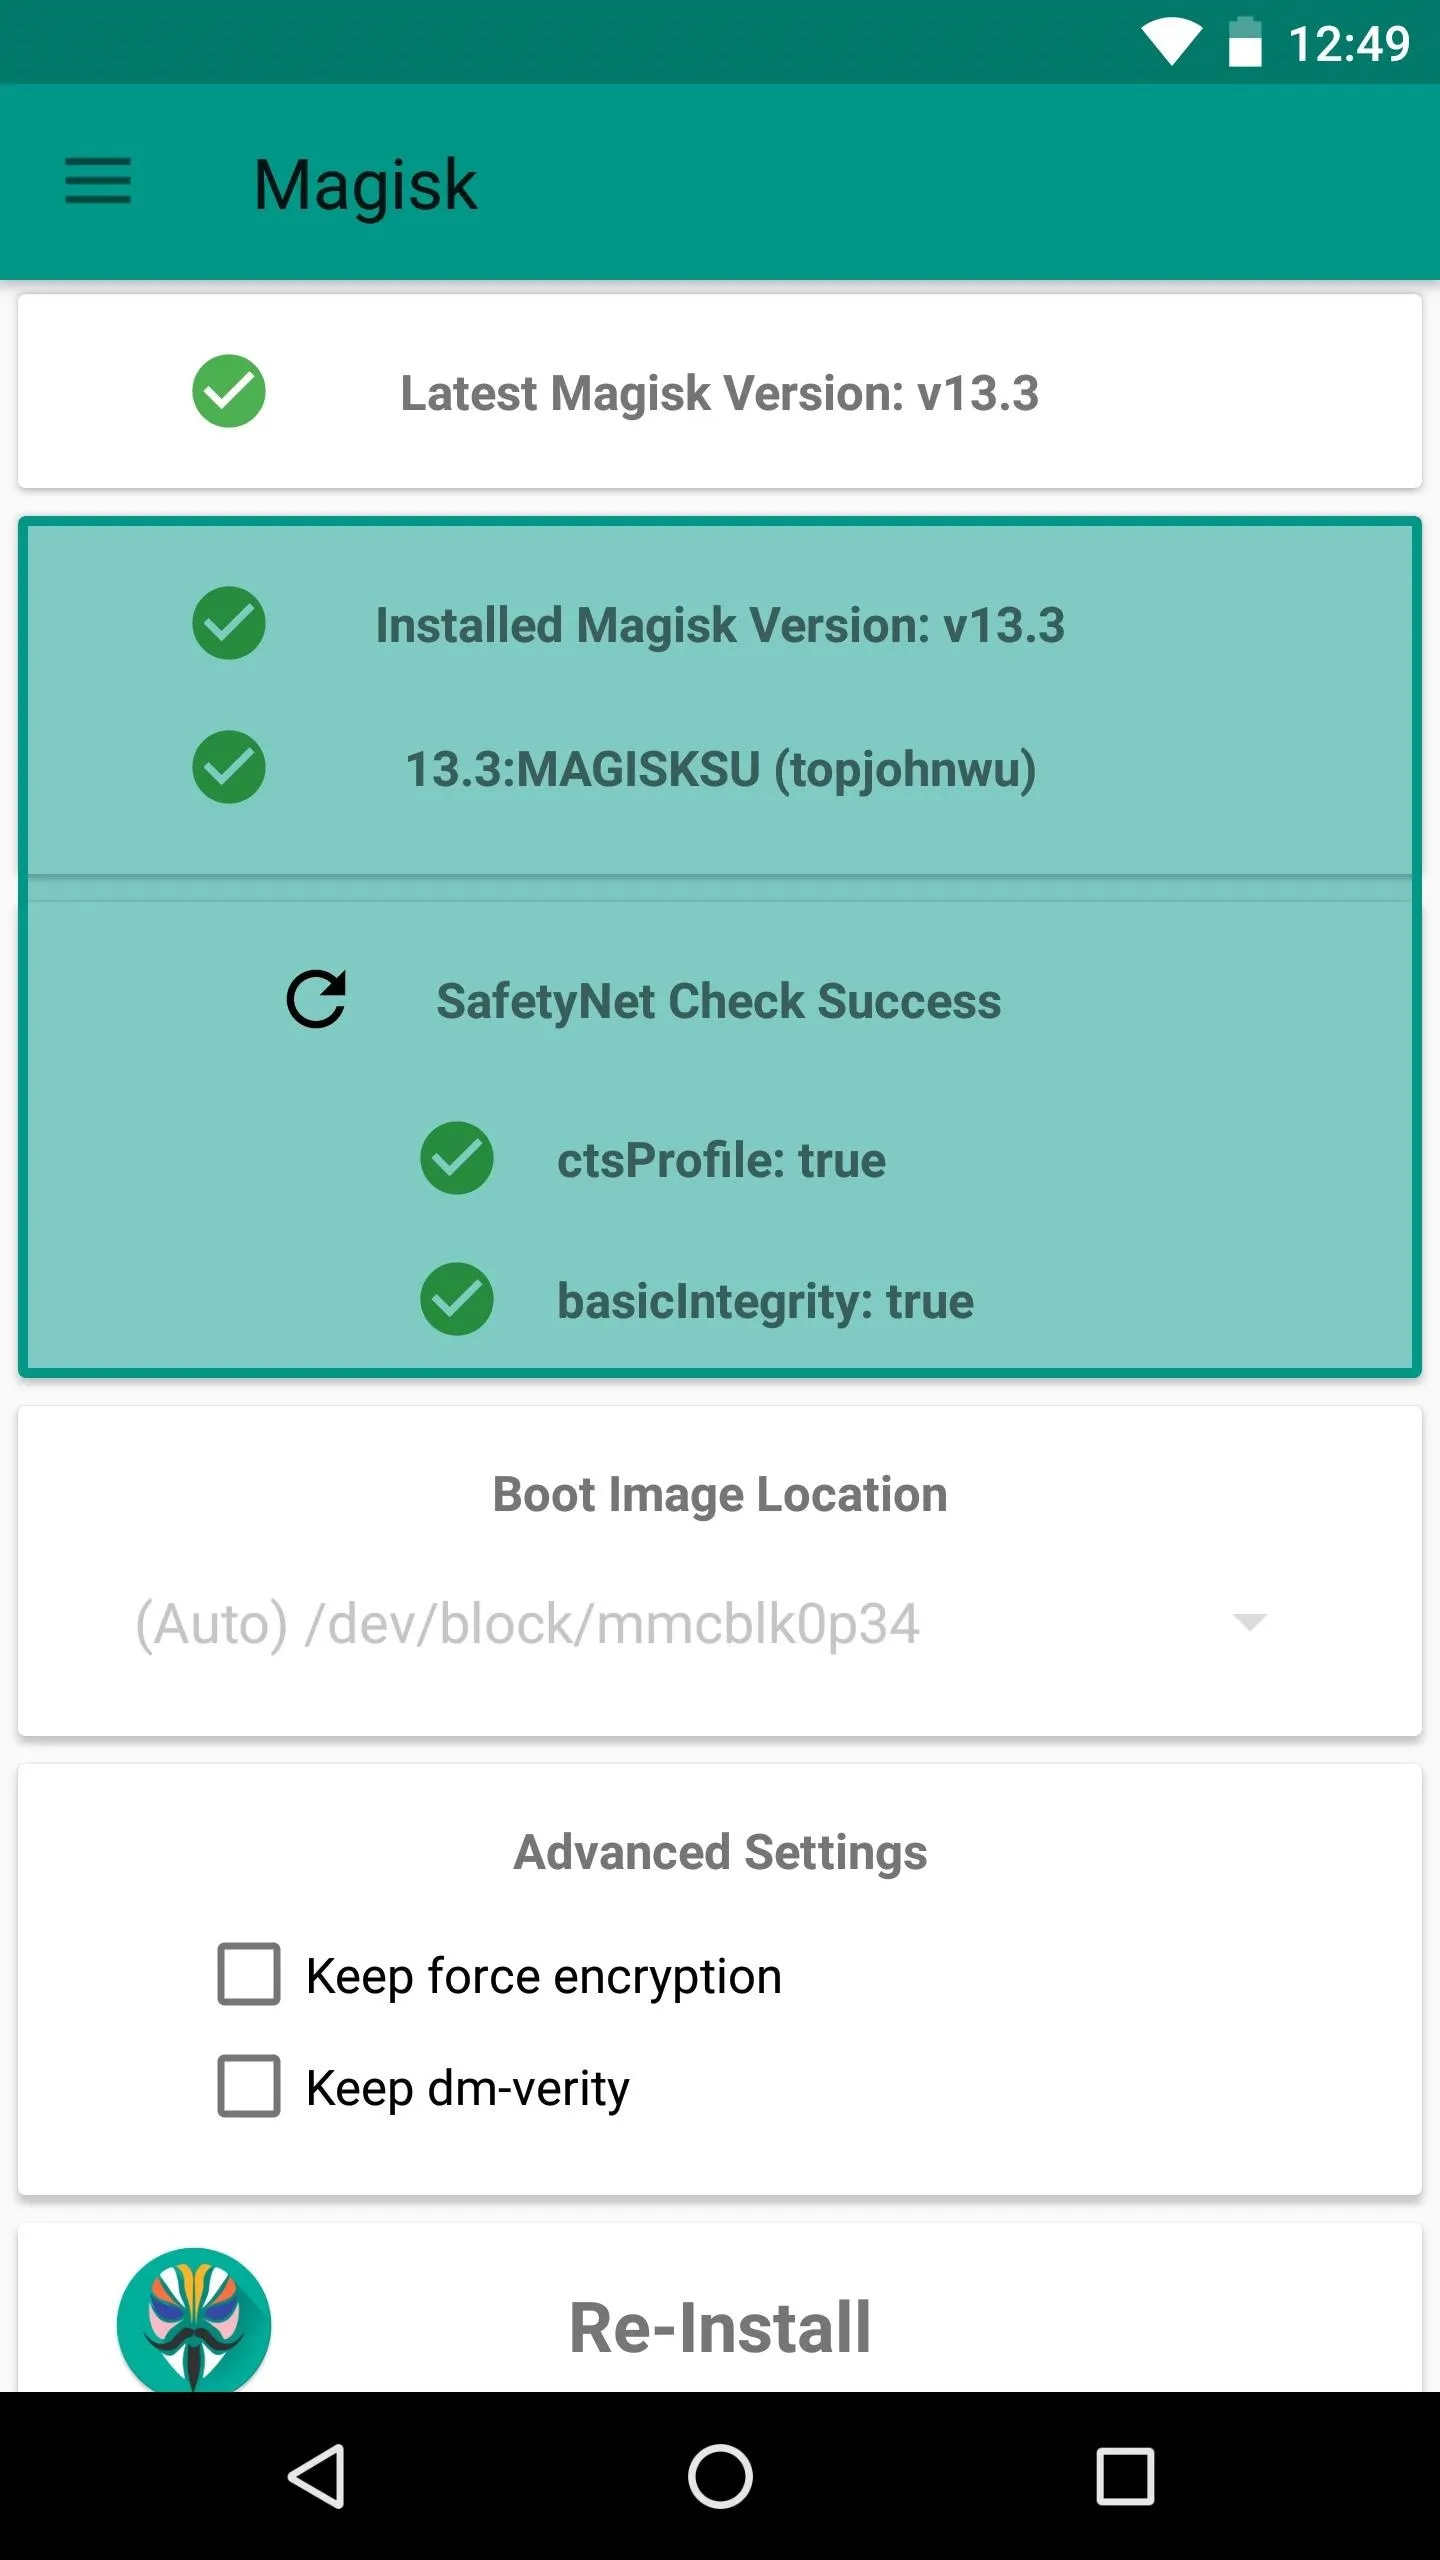


If your phone doesn't seem to want to pass the SafetyNet test at this point, it's likely because of leftover modified files from a previous root method or system mod. You'll have to do a bit of troubleshooting to fix it, but we've got you covered — just follow each of the steps at the following link:
- Follow Gadget Hacks on Facebook, Twitter, Google+, YouTube, and Instagram
- Follow WonderHowTo on Facebook, Twitter, Pinterest, and Google+
Cover image and screenshots by Dallas Thomas/Gadget Hacks


Comments
No Comments Exist
Be the first, drop a comment!