Over the years, Nova Launcher has widened its audience. No longer is it simply a tool to return your home screen to a more stock look. With Nova, you gain customization tweaks and functionality unavailable with the stock launcher. One example of this is all of the cool stuff you can do to organize your app drawer.
Within a few months of owning a device, our app drawers become cluttered thanks to the large number of apps we install. Like most launchers, Nova offers the ability to move apps to the home screen either individually or within a group using folders. However, unlike its competition, Nova provides a third option to organize your app drawer using tabs.
Step 1: Create a Tab
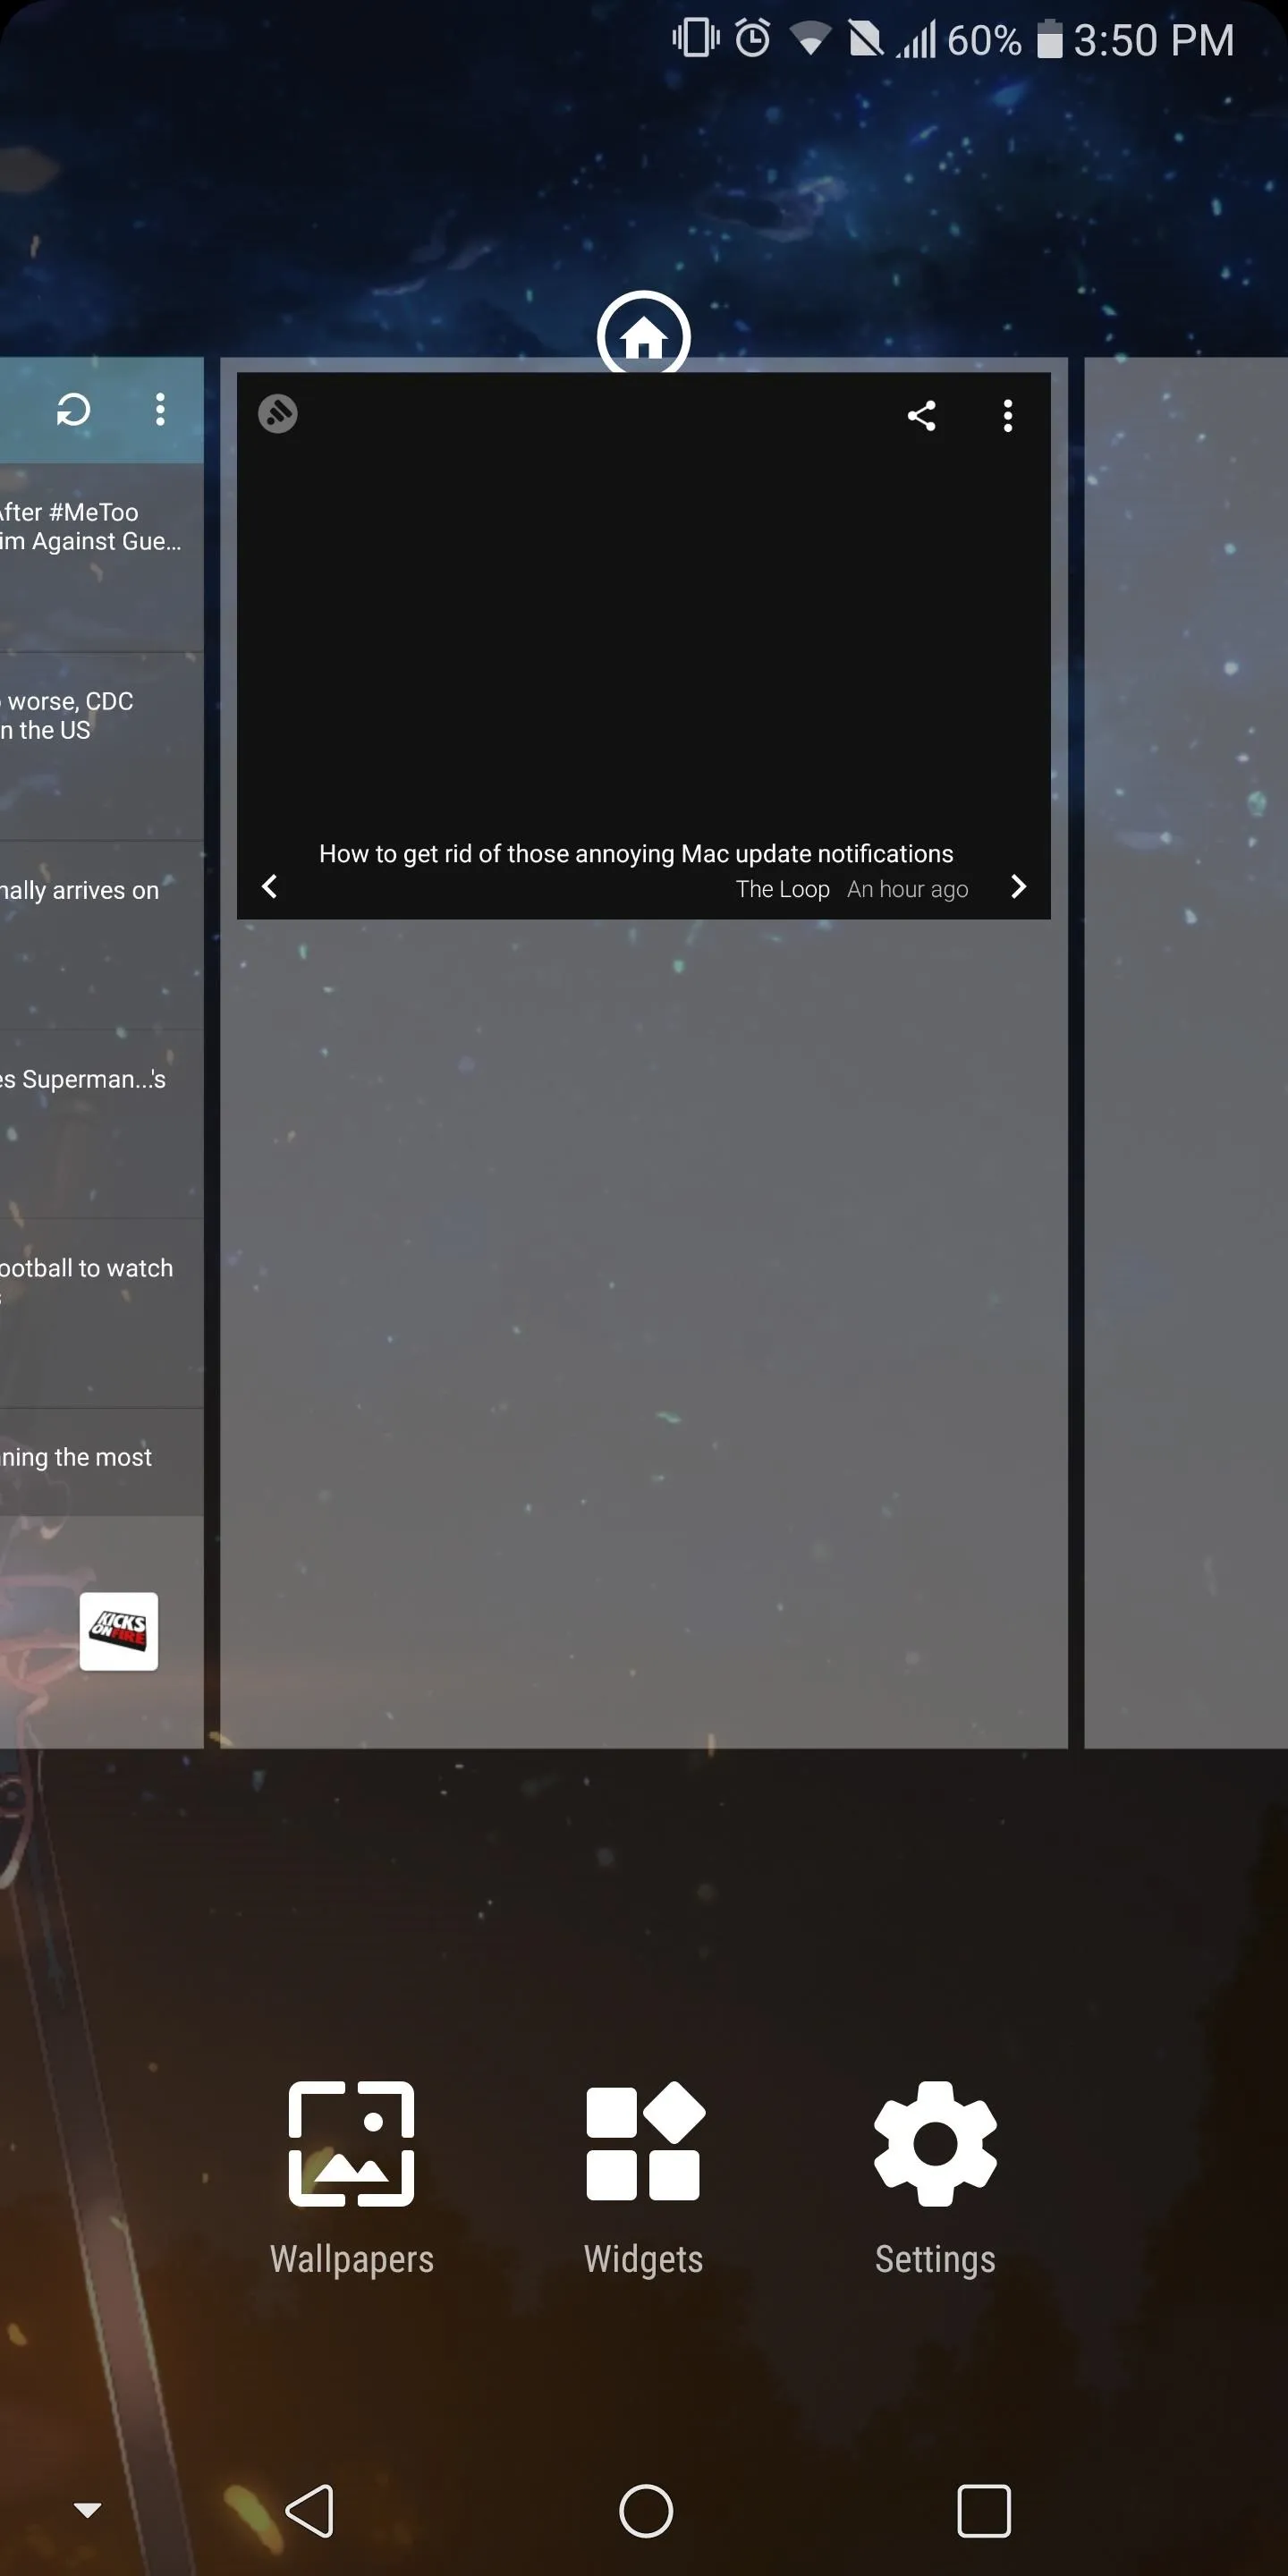
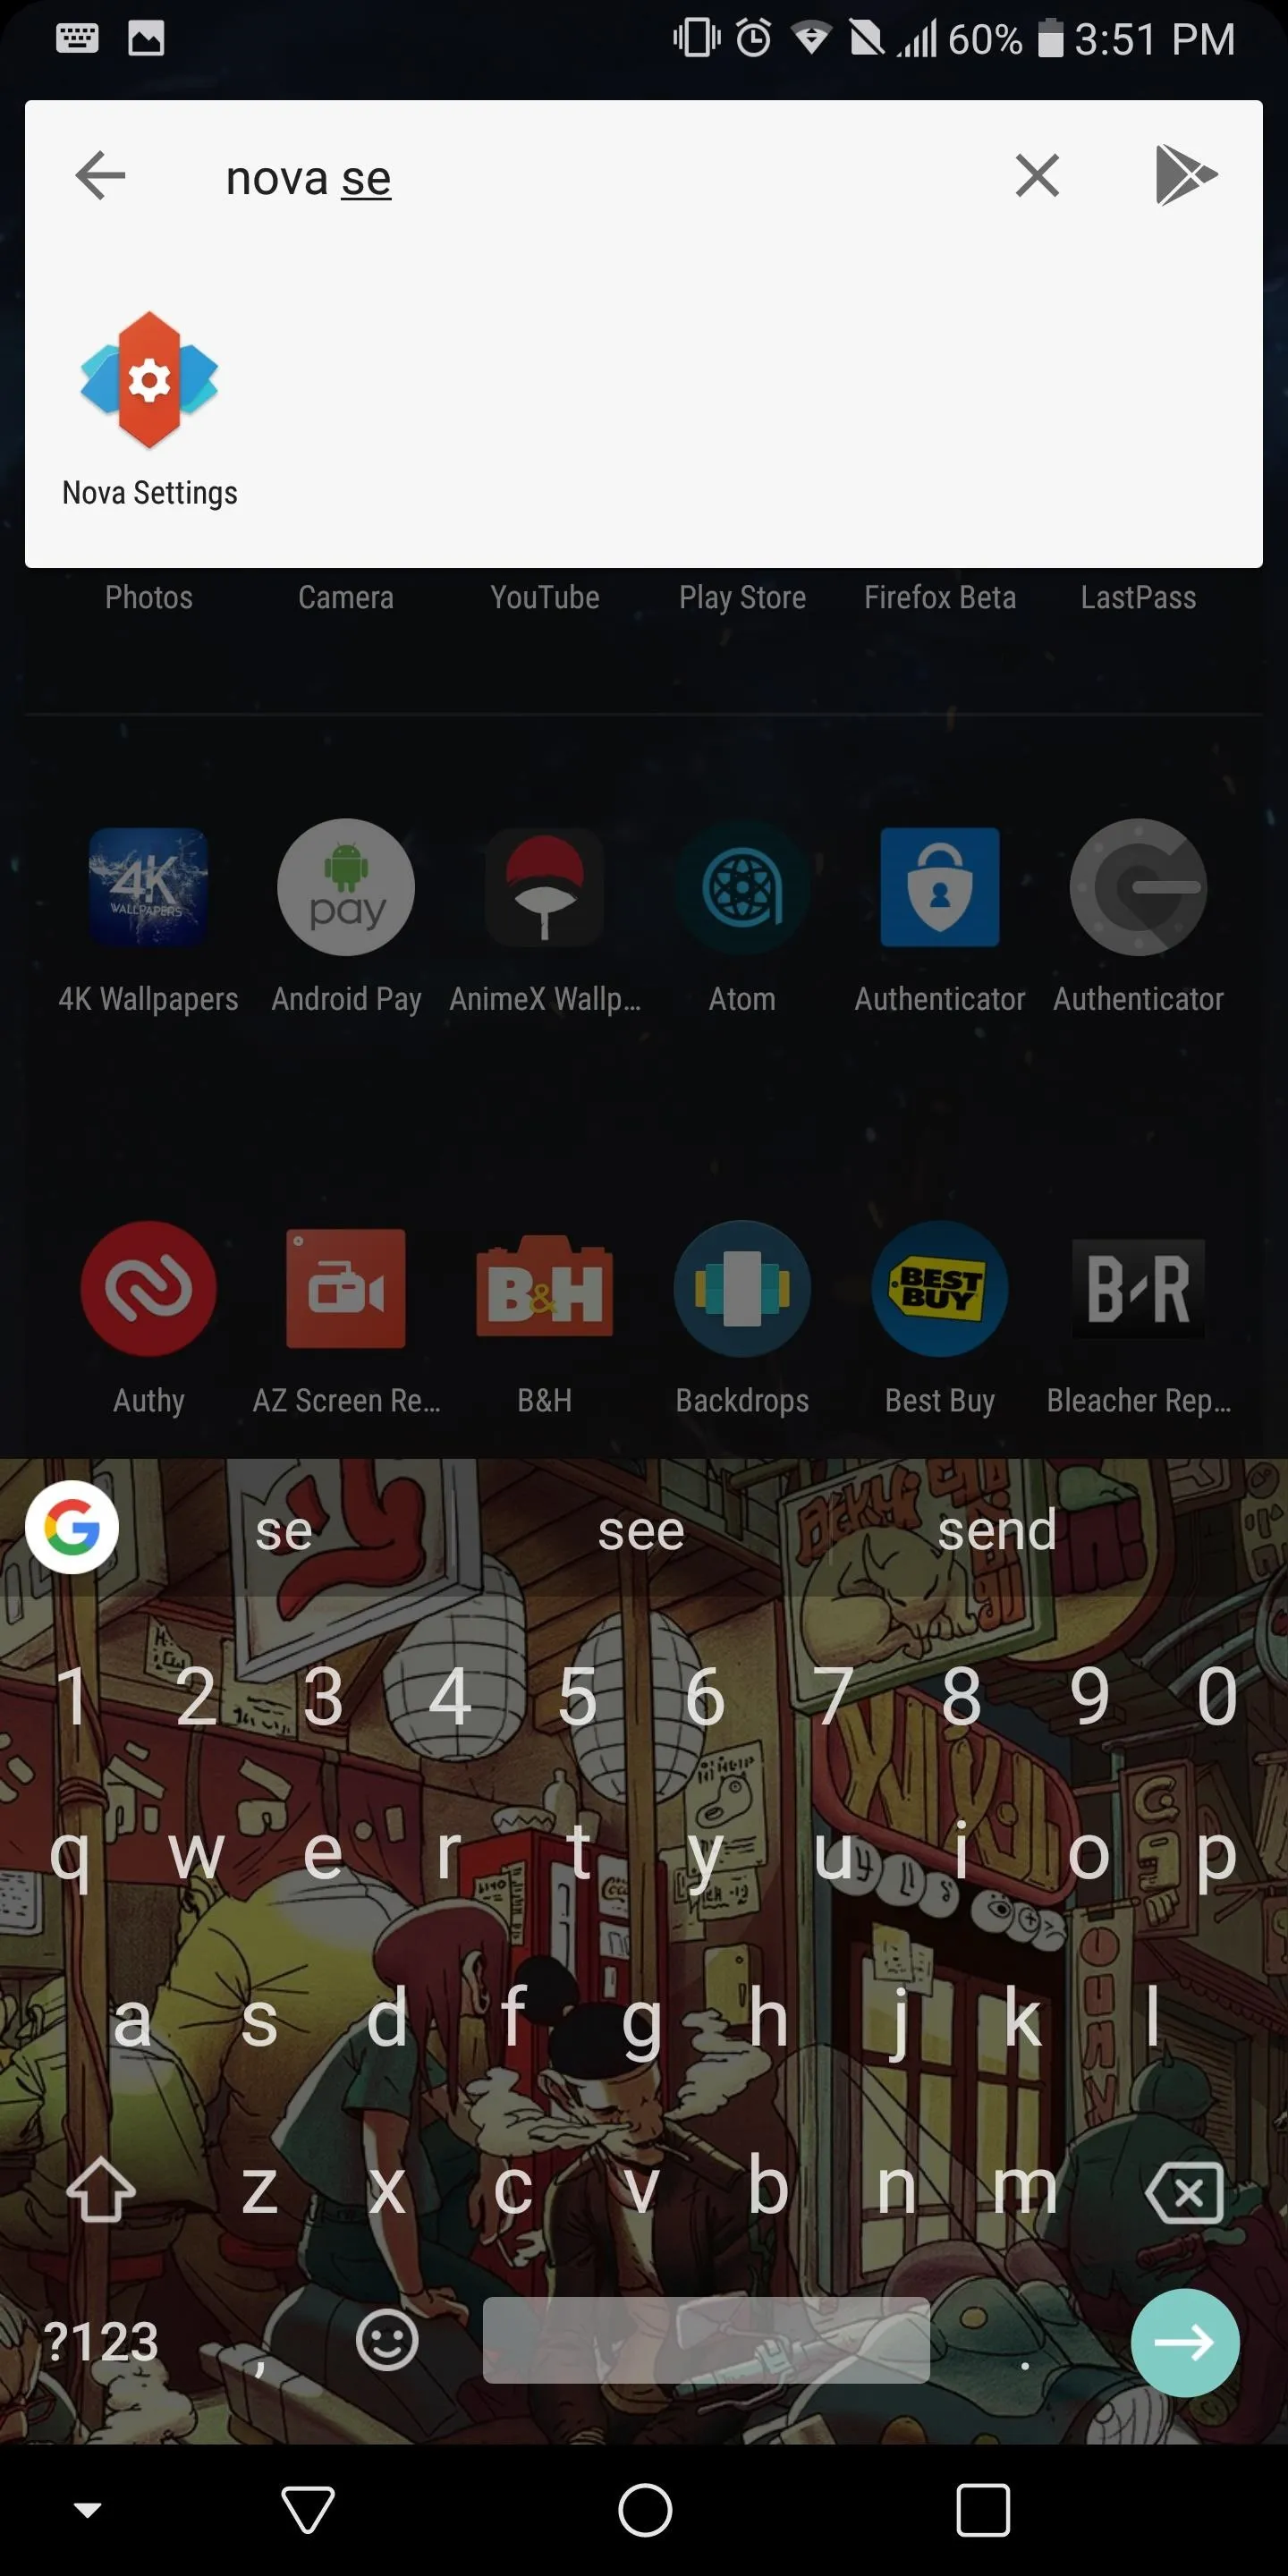
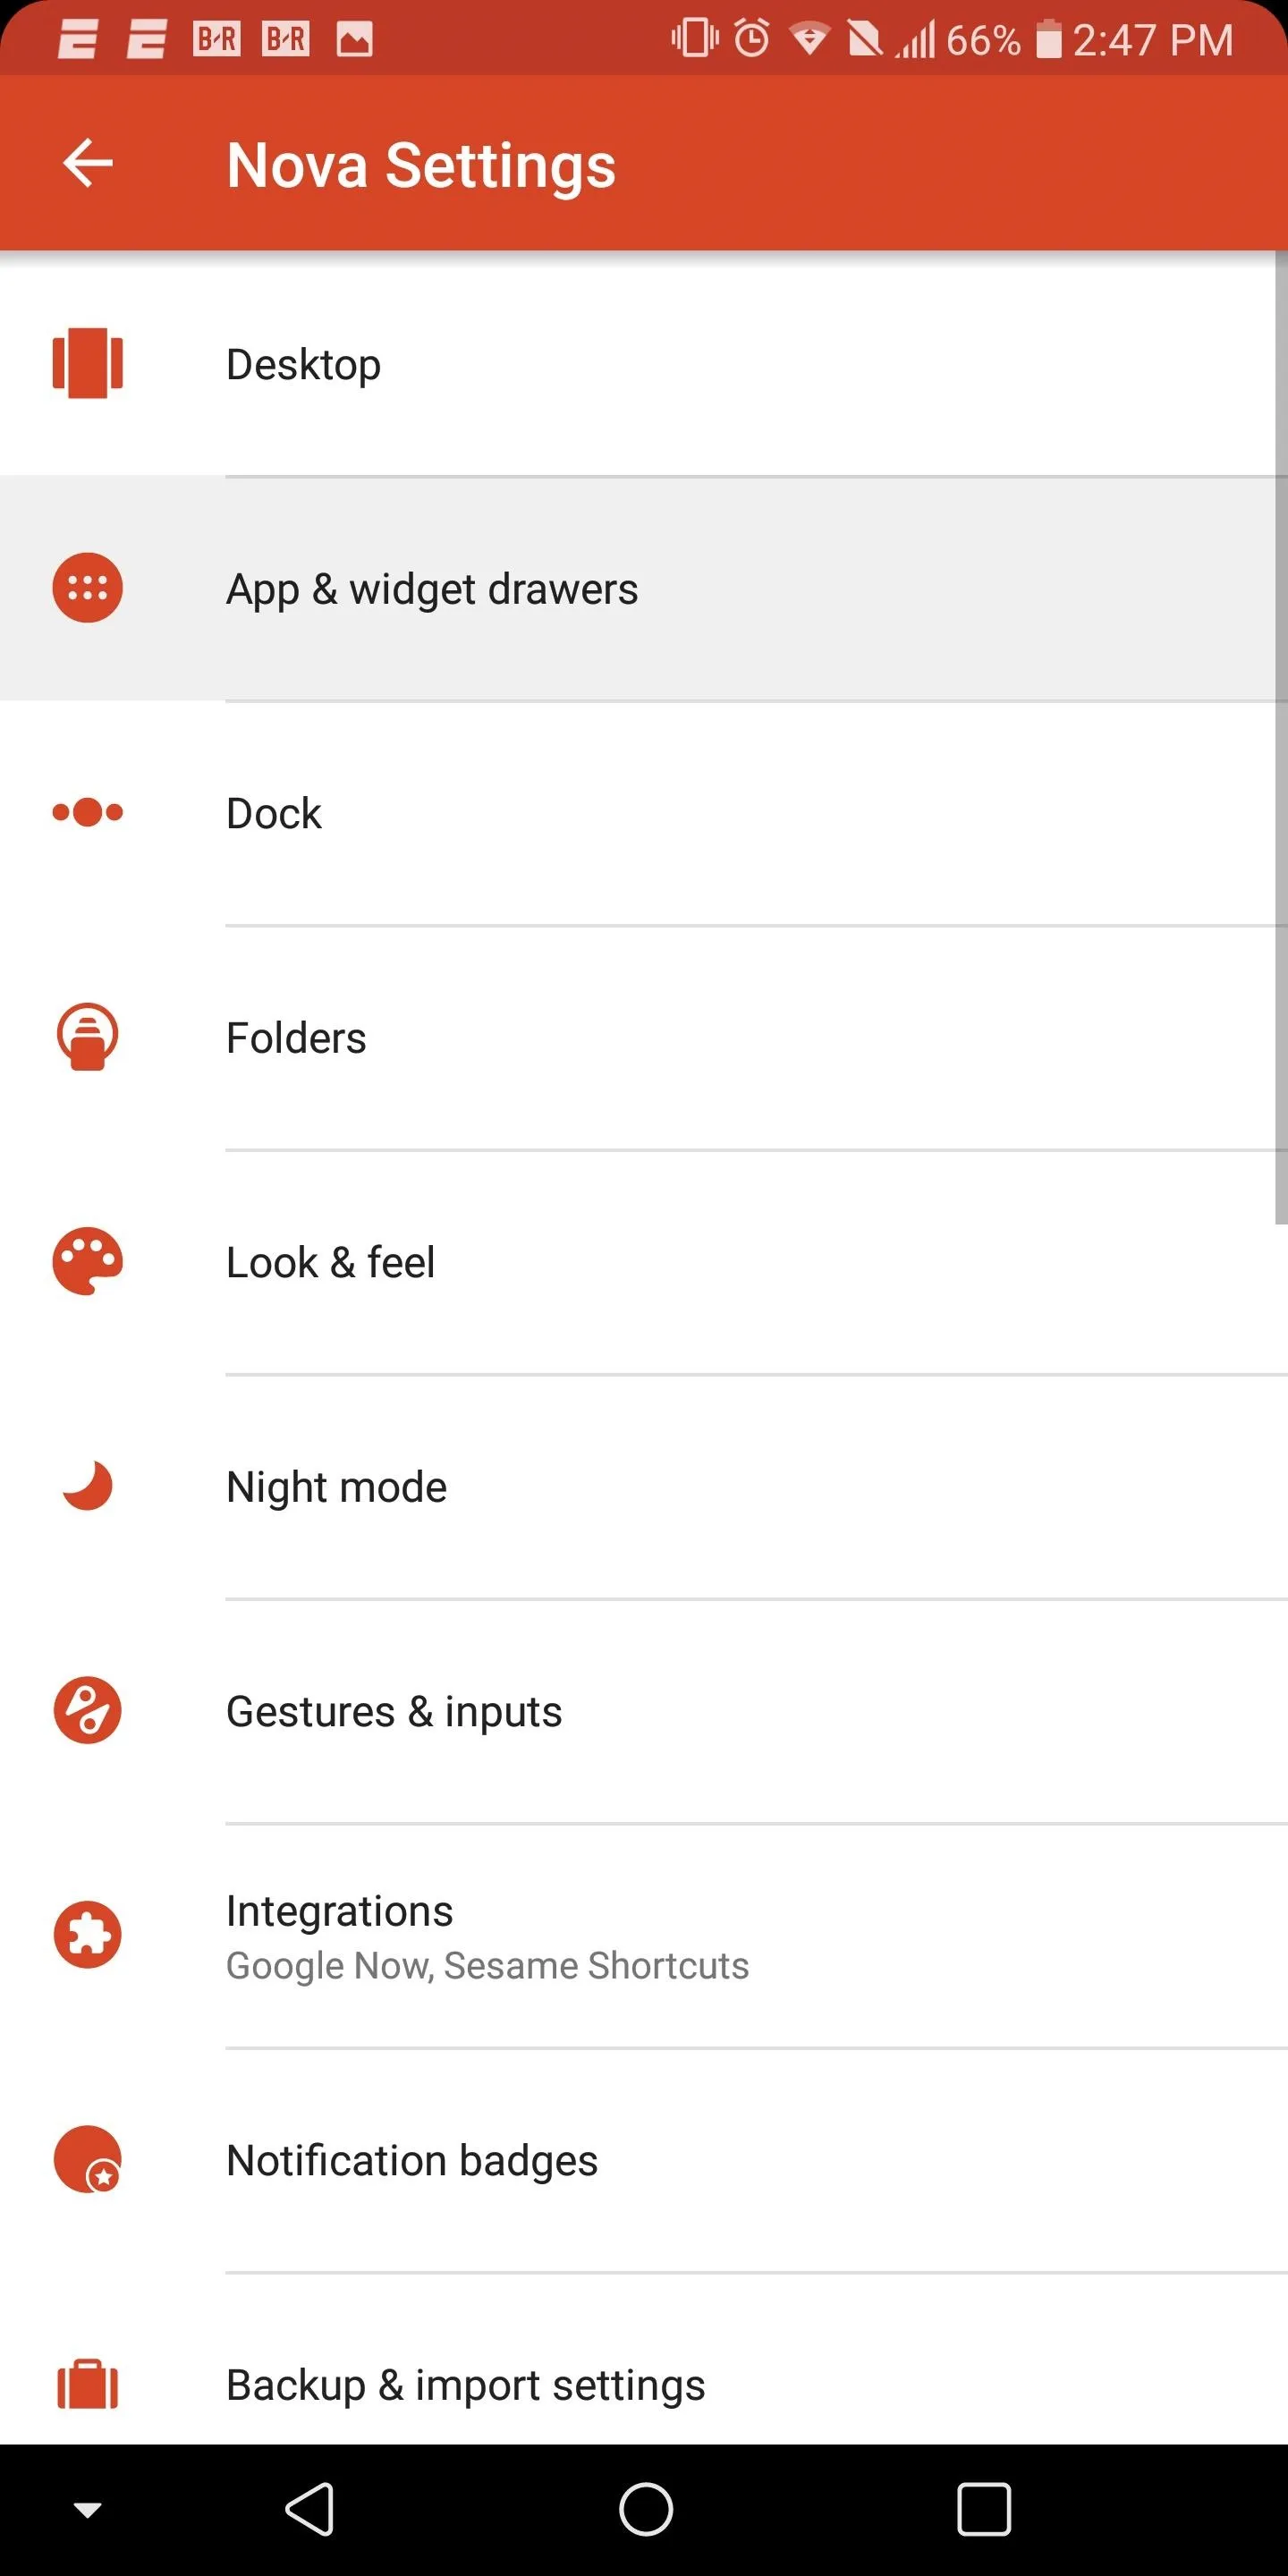
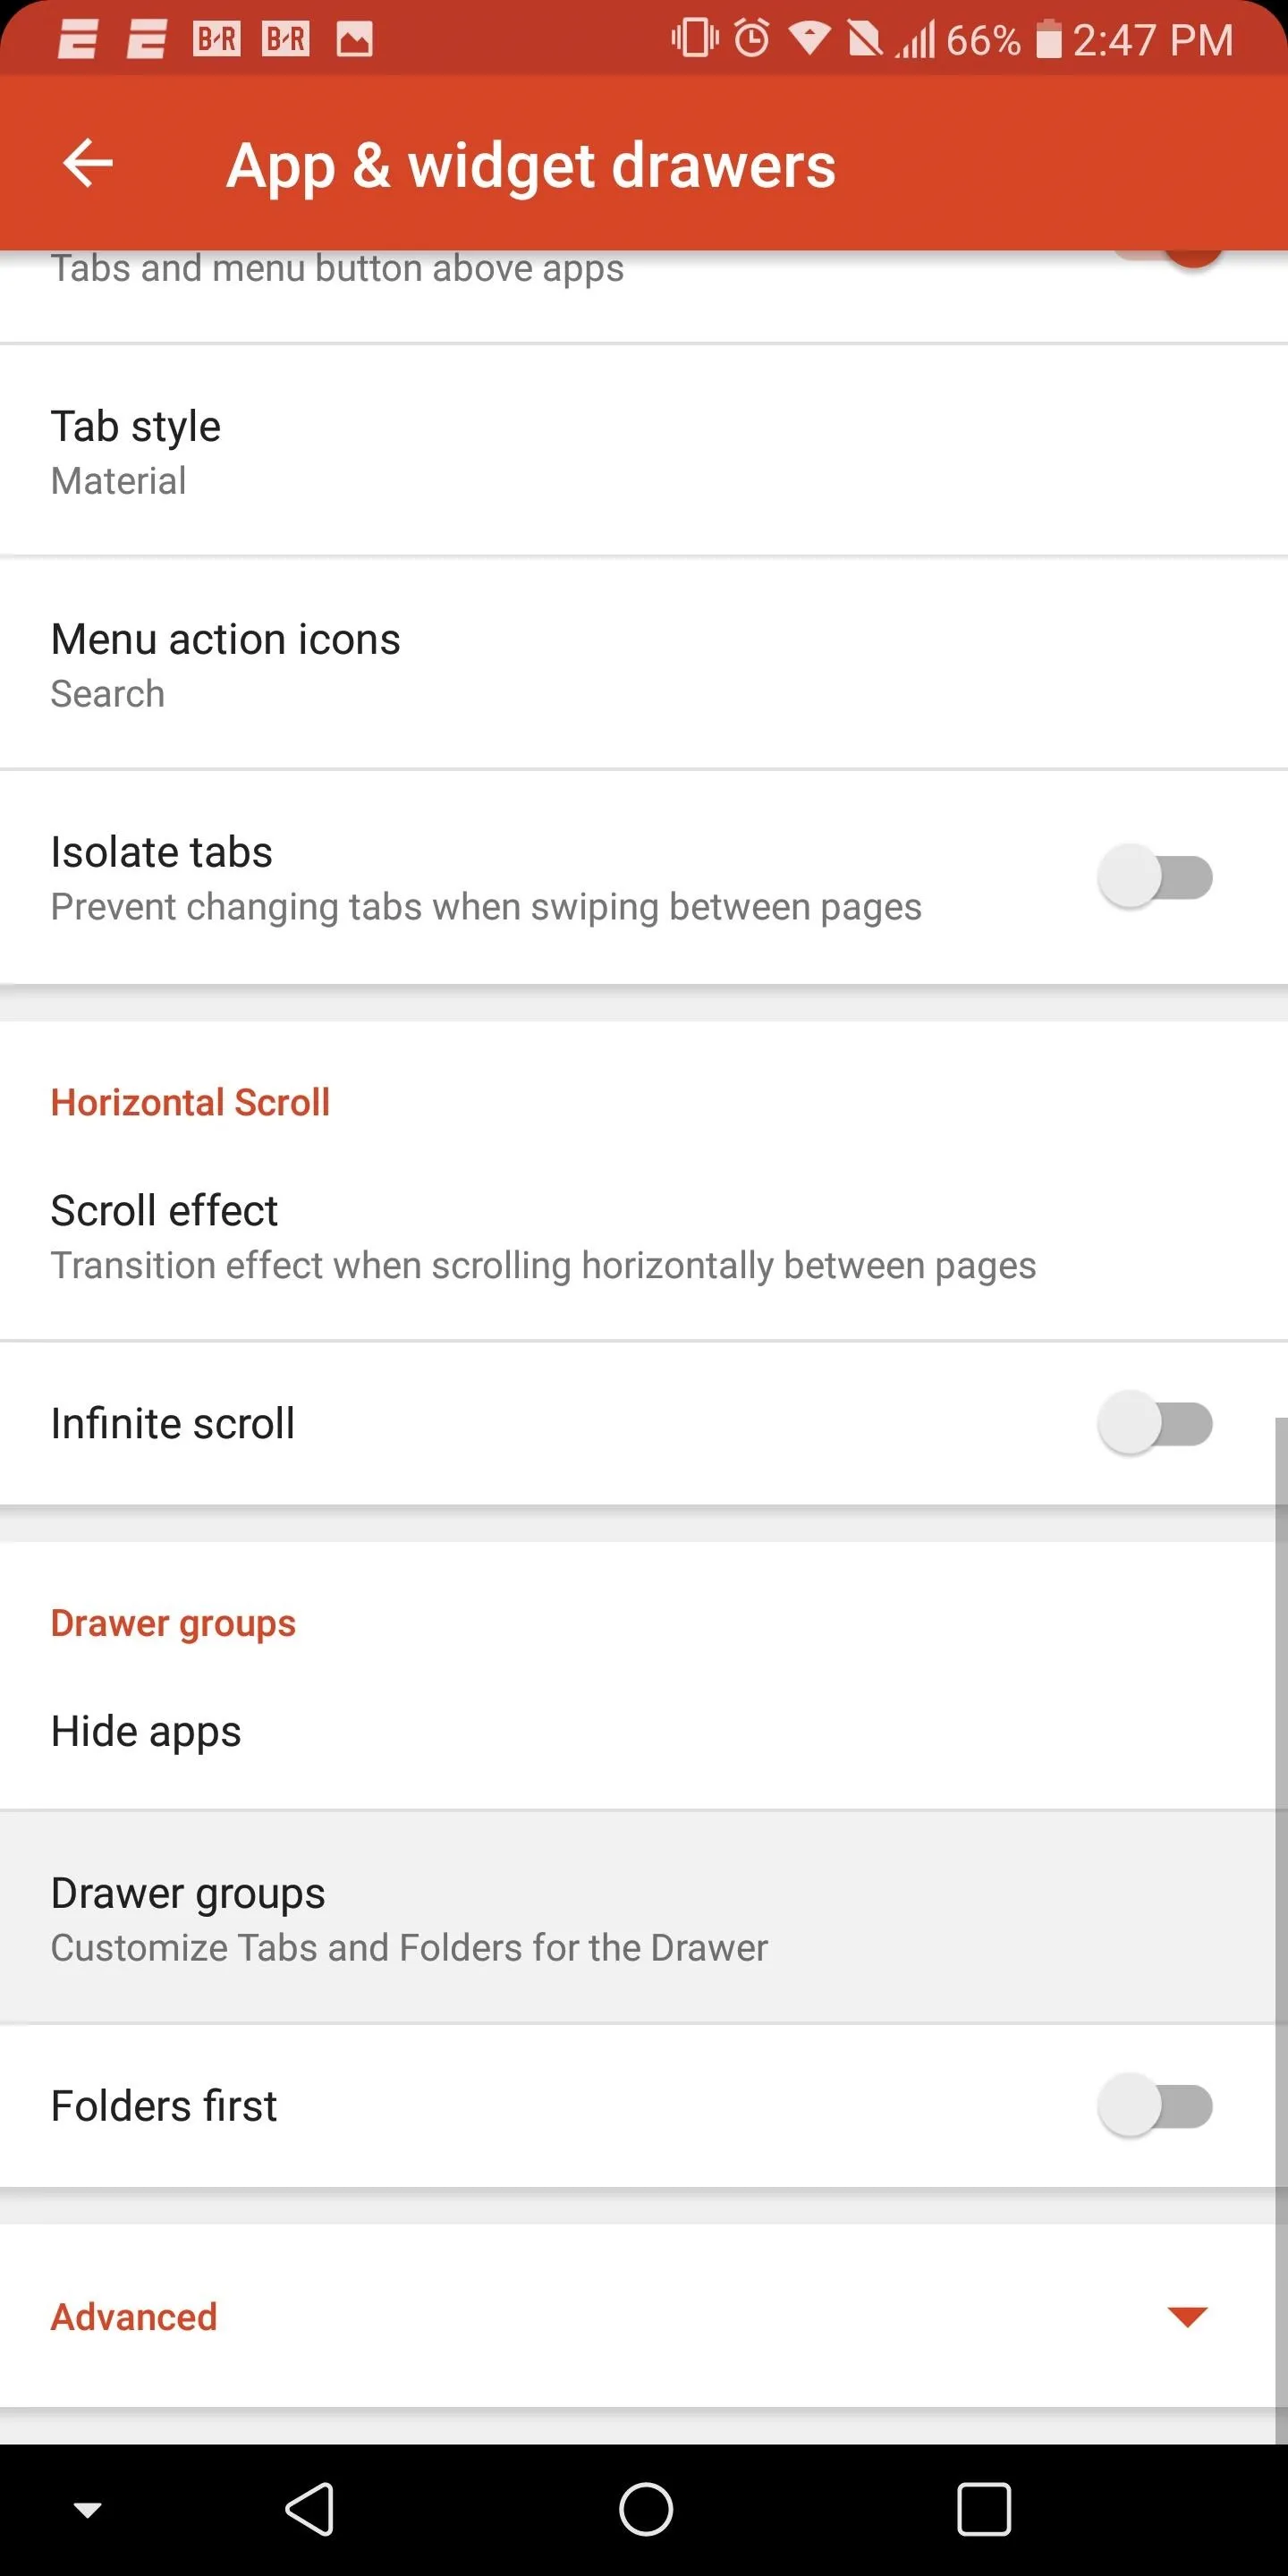
With Nova Launcher open, either long press an unoccupied area of the home screen and choose Settings or select the Nova Launcher icon in the app drawer. Once in settings, choose "App & widget drawers" and scroll to the bottom of the list. Locate the option labeled "Drawer groups" and select it.


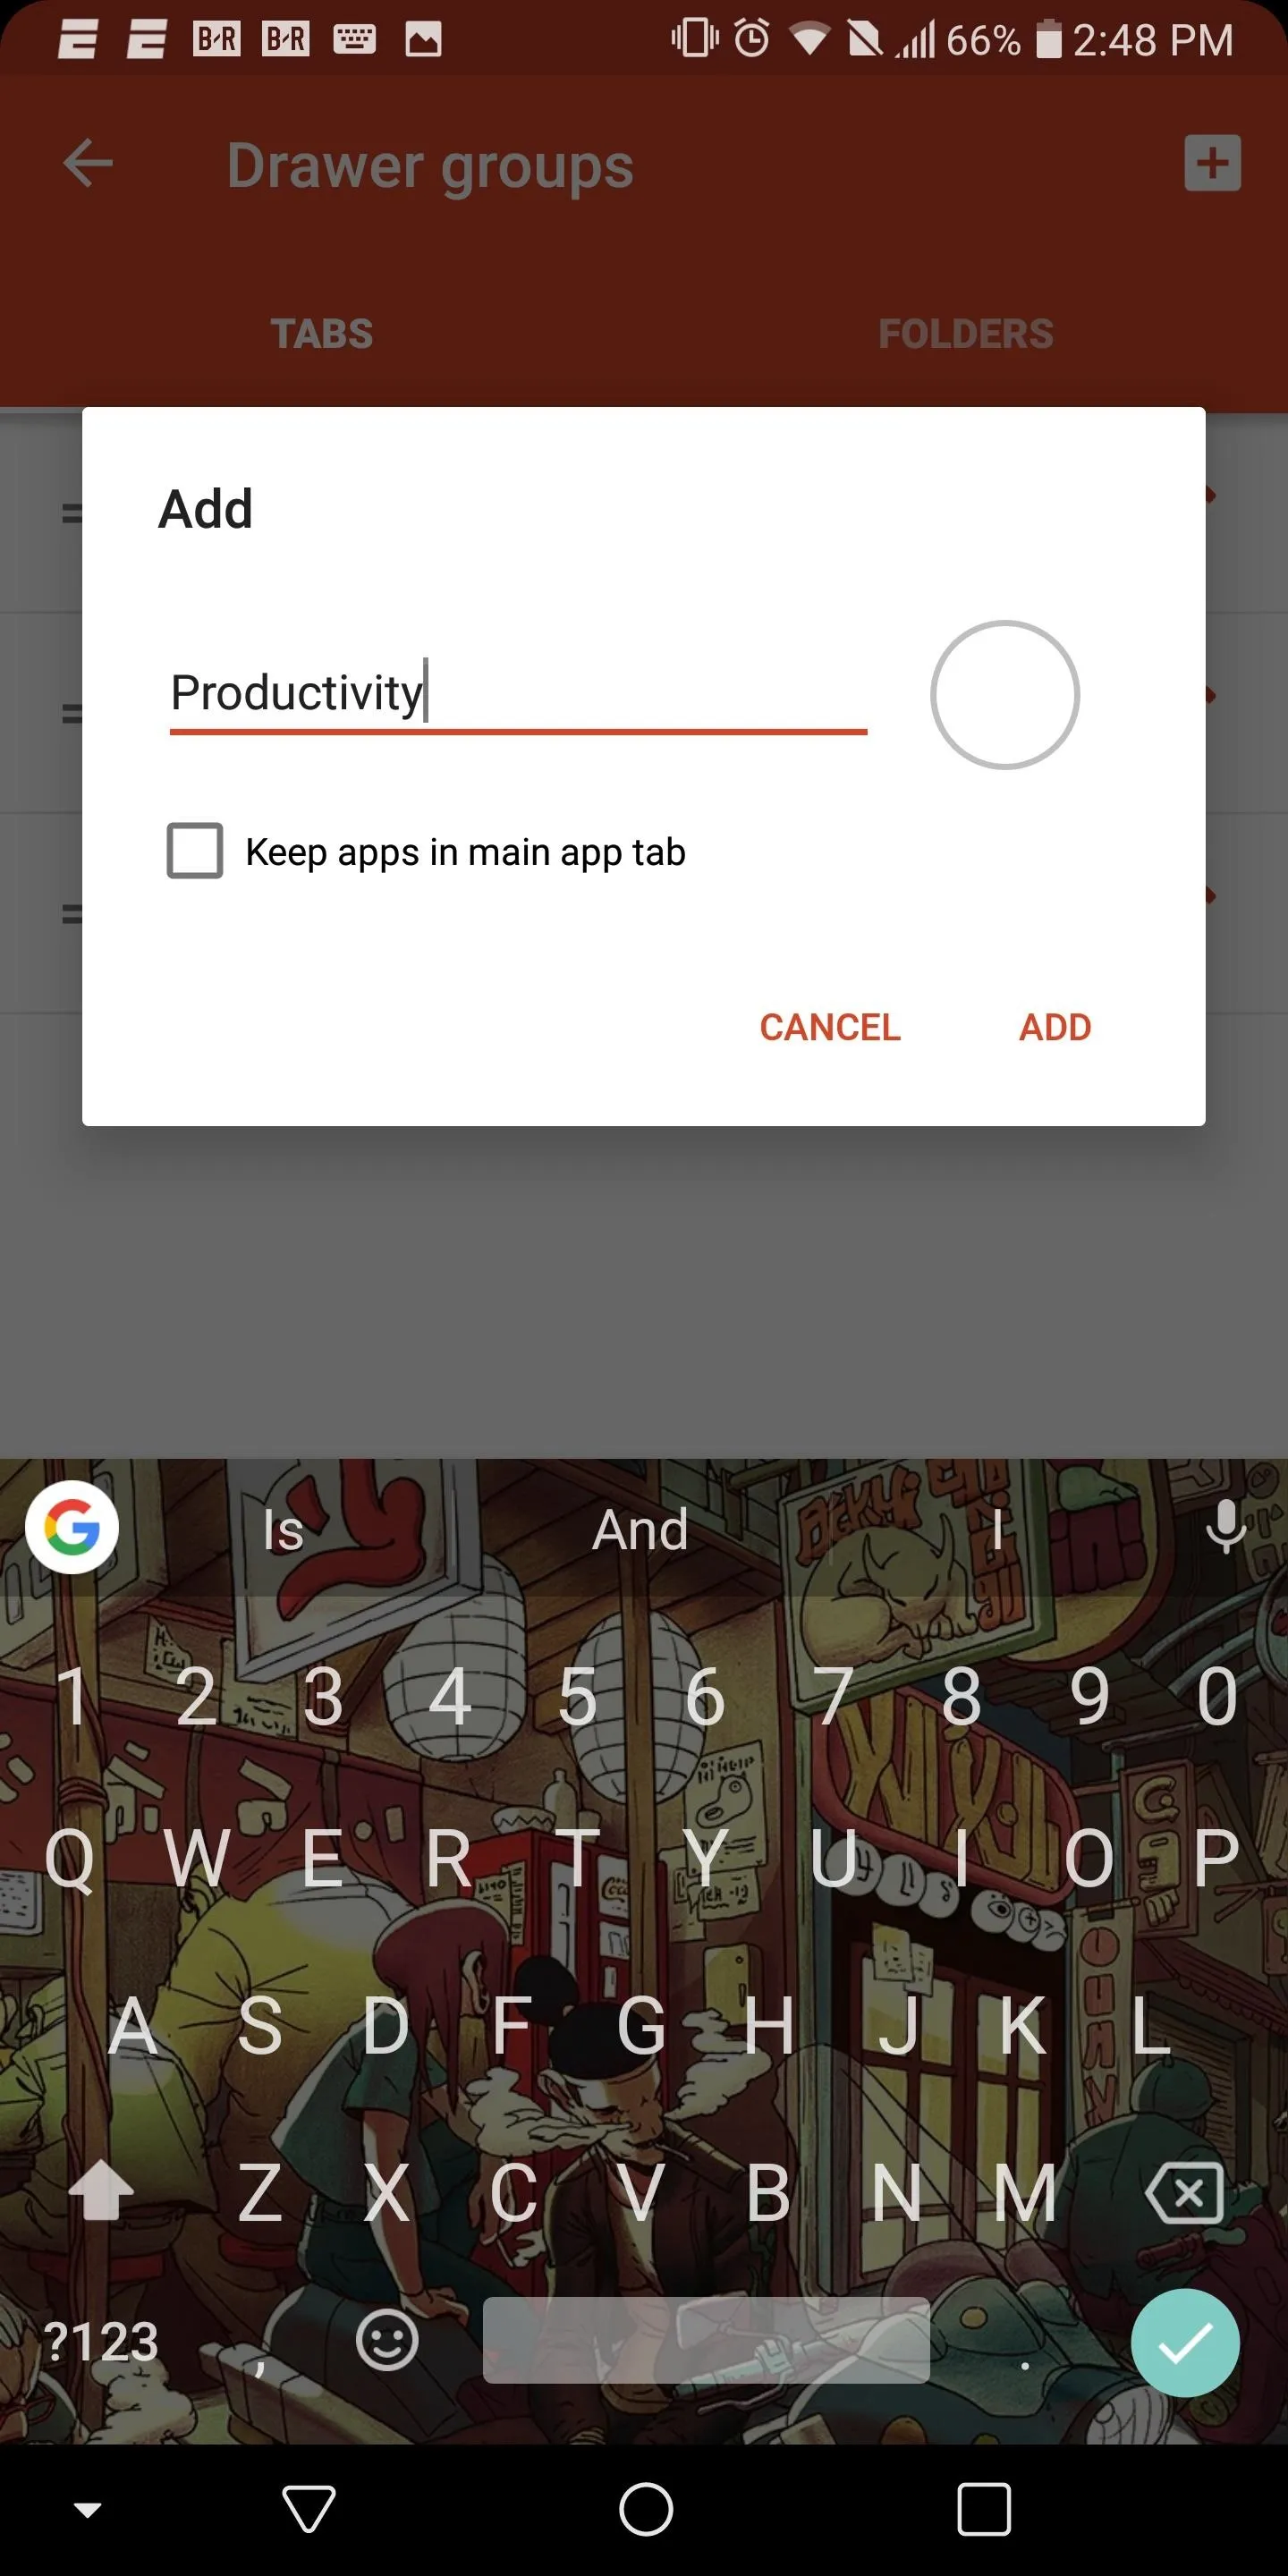
Select the crossed square in the upper-right corner of your display, which brings up a popup asking for you to input a title. This title will be the name of the tab, which is used to describes the collection of apps within it. Below "Title" is a checkbox, which, when enabled, will keep two copies of the app — one in the main tab and one in the new tab. Leave this box blank to remove redundancy. Once you input a title, tap "Add".


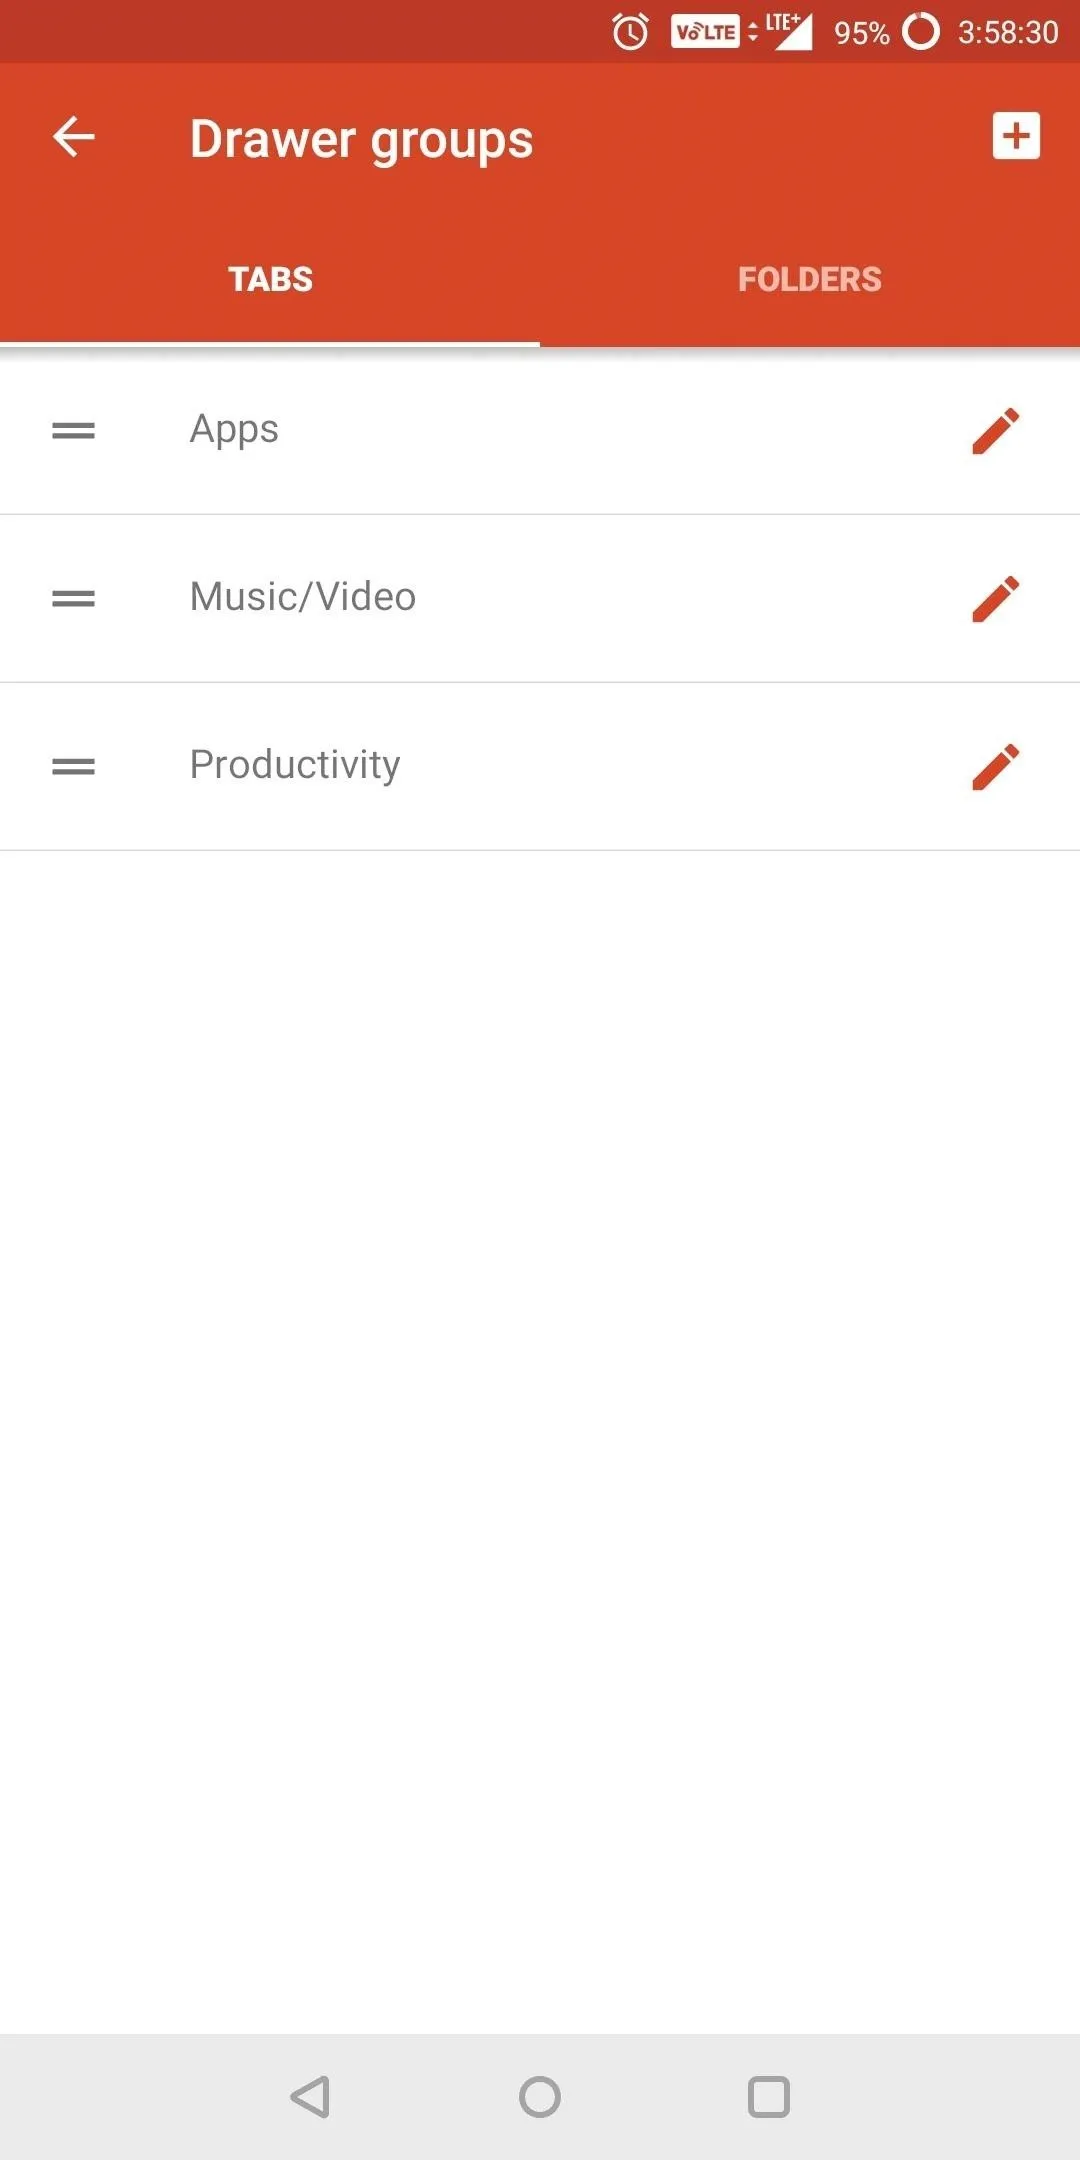
You will return to the previous screen with an updated list including the tab you just created. With this tab, you can organize your app drawer by moving apps of similar functionality to a separate place in your drawer.
Step 2: Add Apps to the Tab
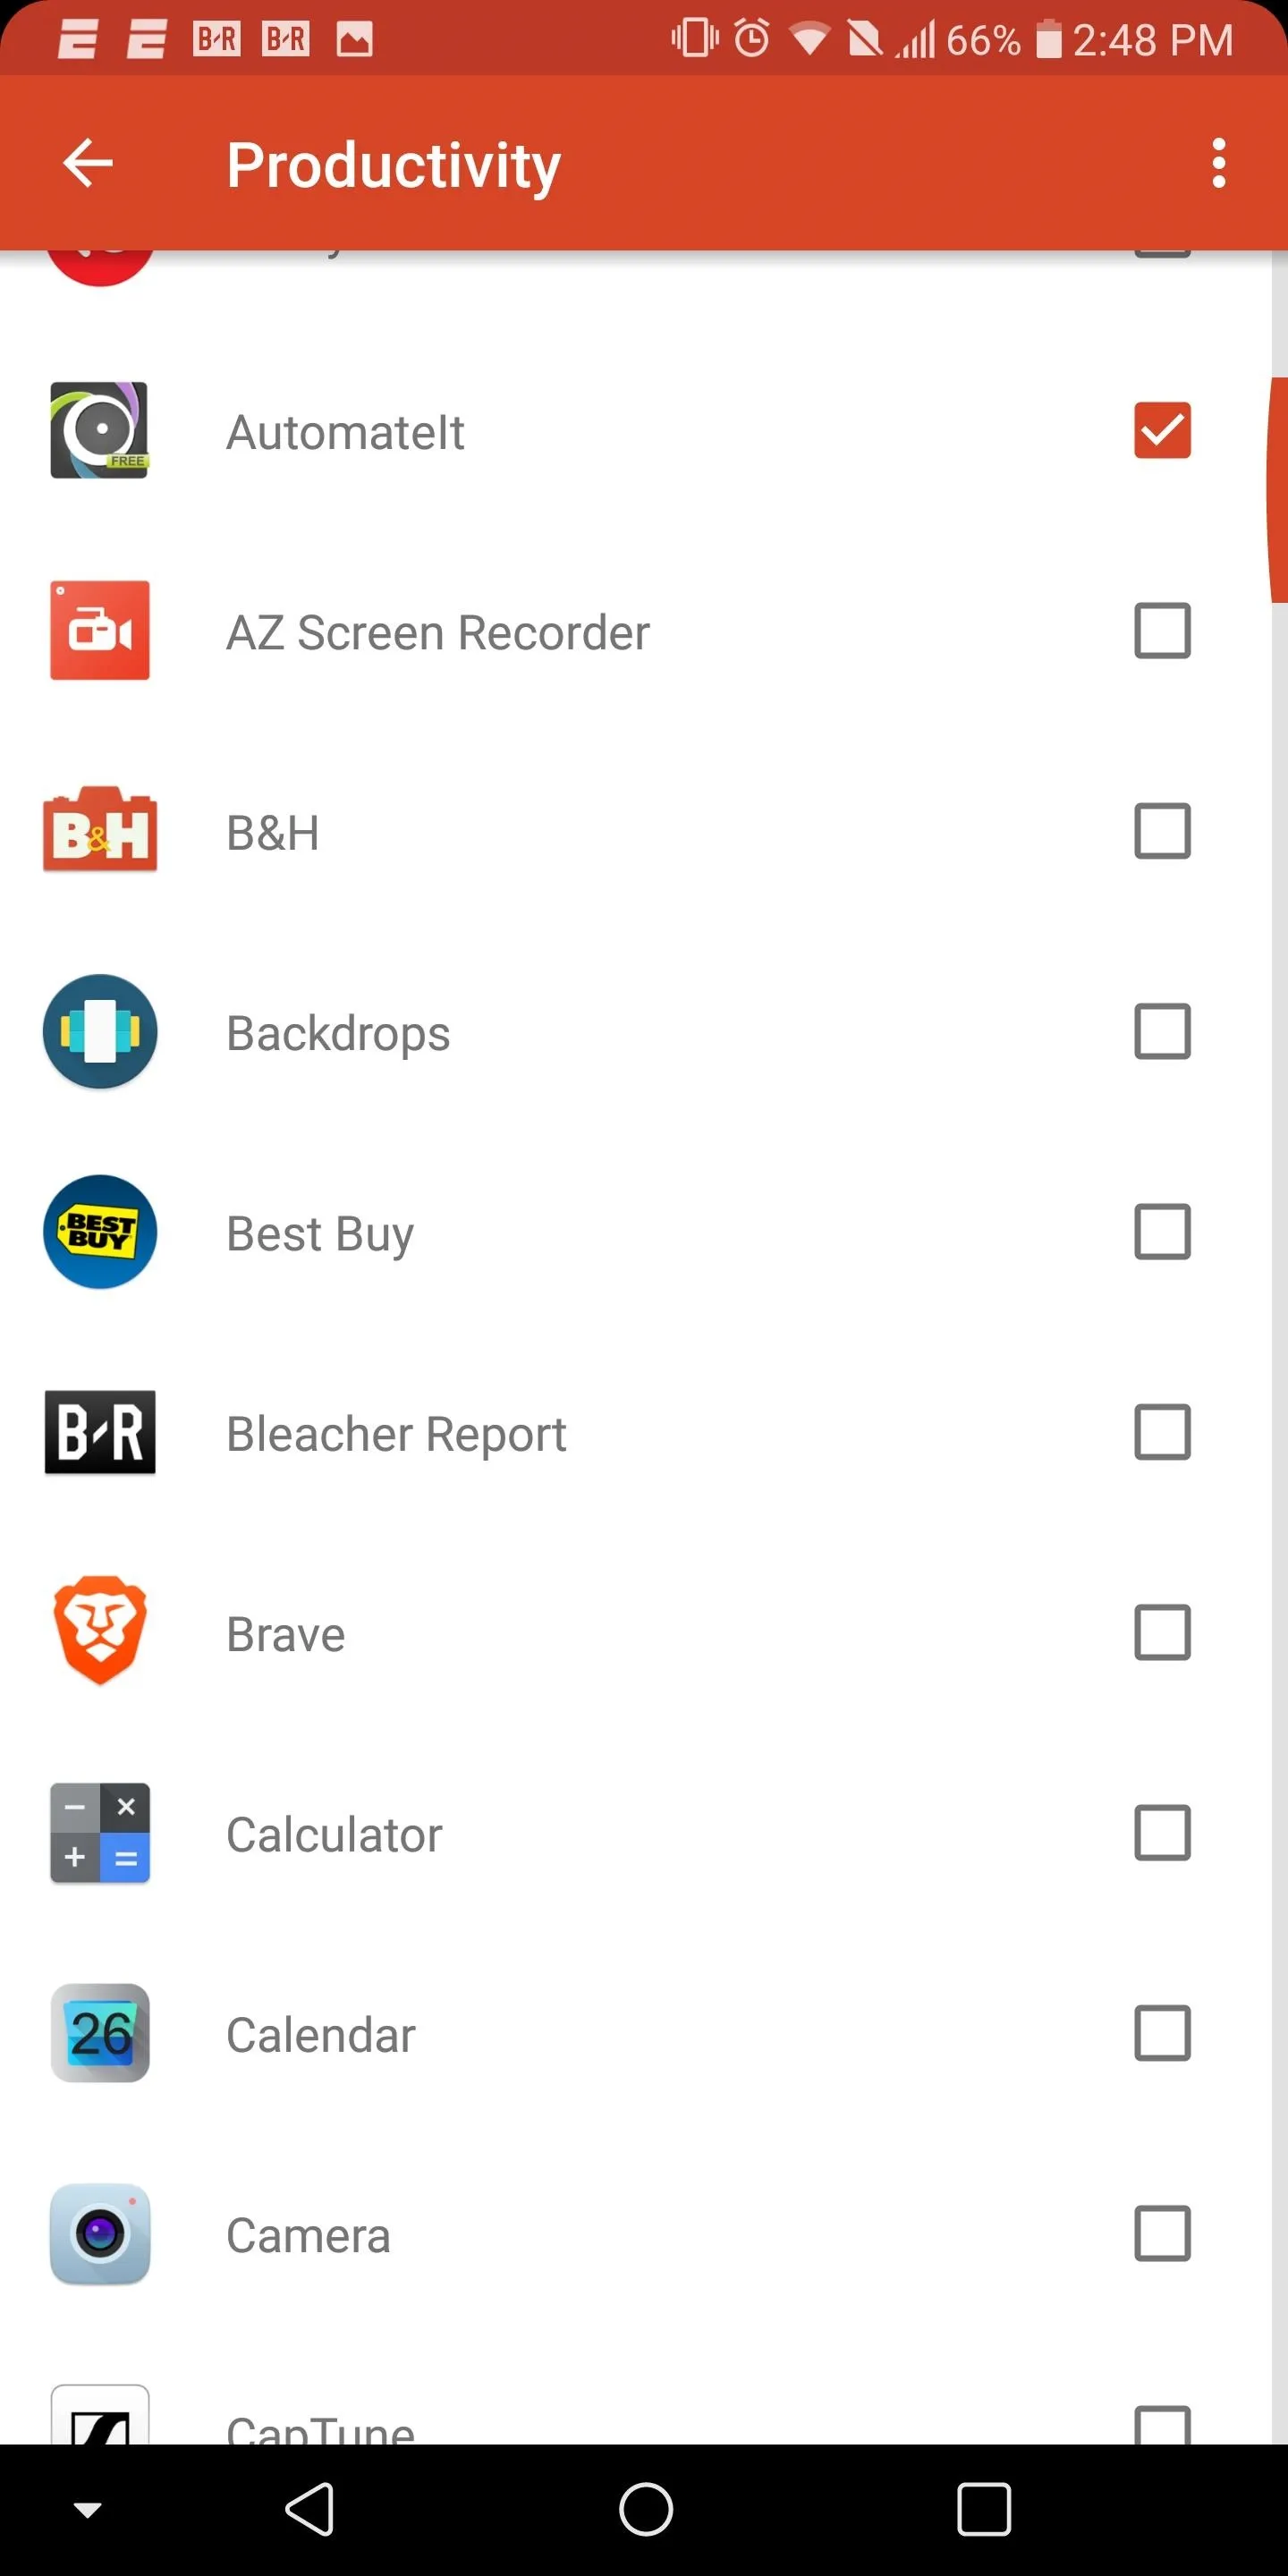
Next, while you're still in the "Drawer groups" menu in Nova's settings, elect the tab you just created. You'll be presented with a list of all the apps that are installed on your device. By selecting the checkbox next to any app's name, you will move the app from the main app drawer to the tab you created. Choose whichever apps you want to move, then tap your back button when you're done.


Step 3: Make Tabs Visible
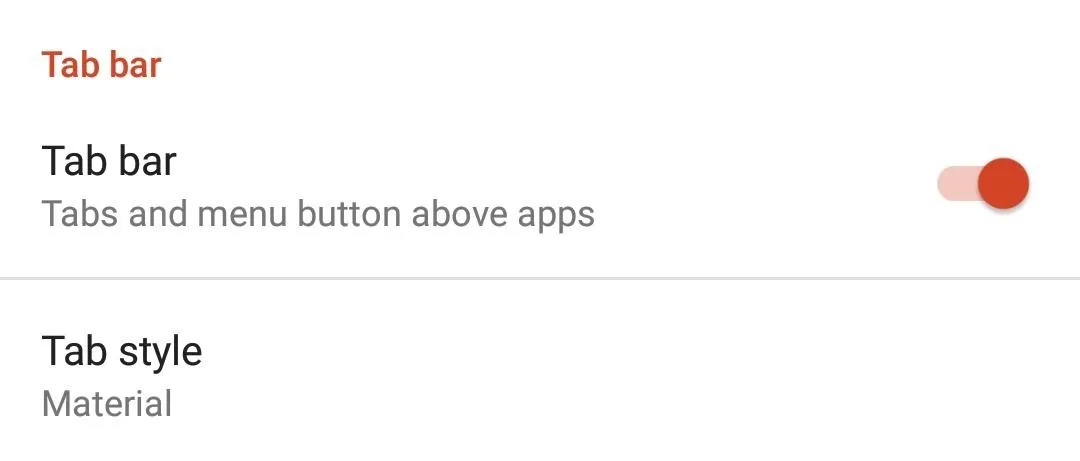
As it currently stands, even after you created the different tabs, they won't appear in the app drawer — you'll need to enable the feature which makes tabs visible. Select the back button to return to the "App & widget drawers" option in Nova Launcher Settings. Locate the toggle "Tab bar" and select it to enable the feature.
Step 4: Test Your Improved App Drawer
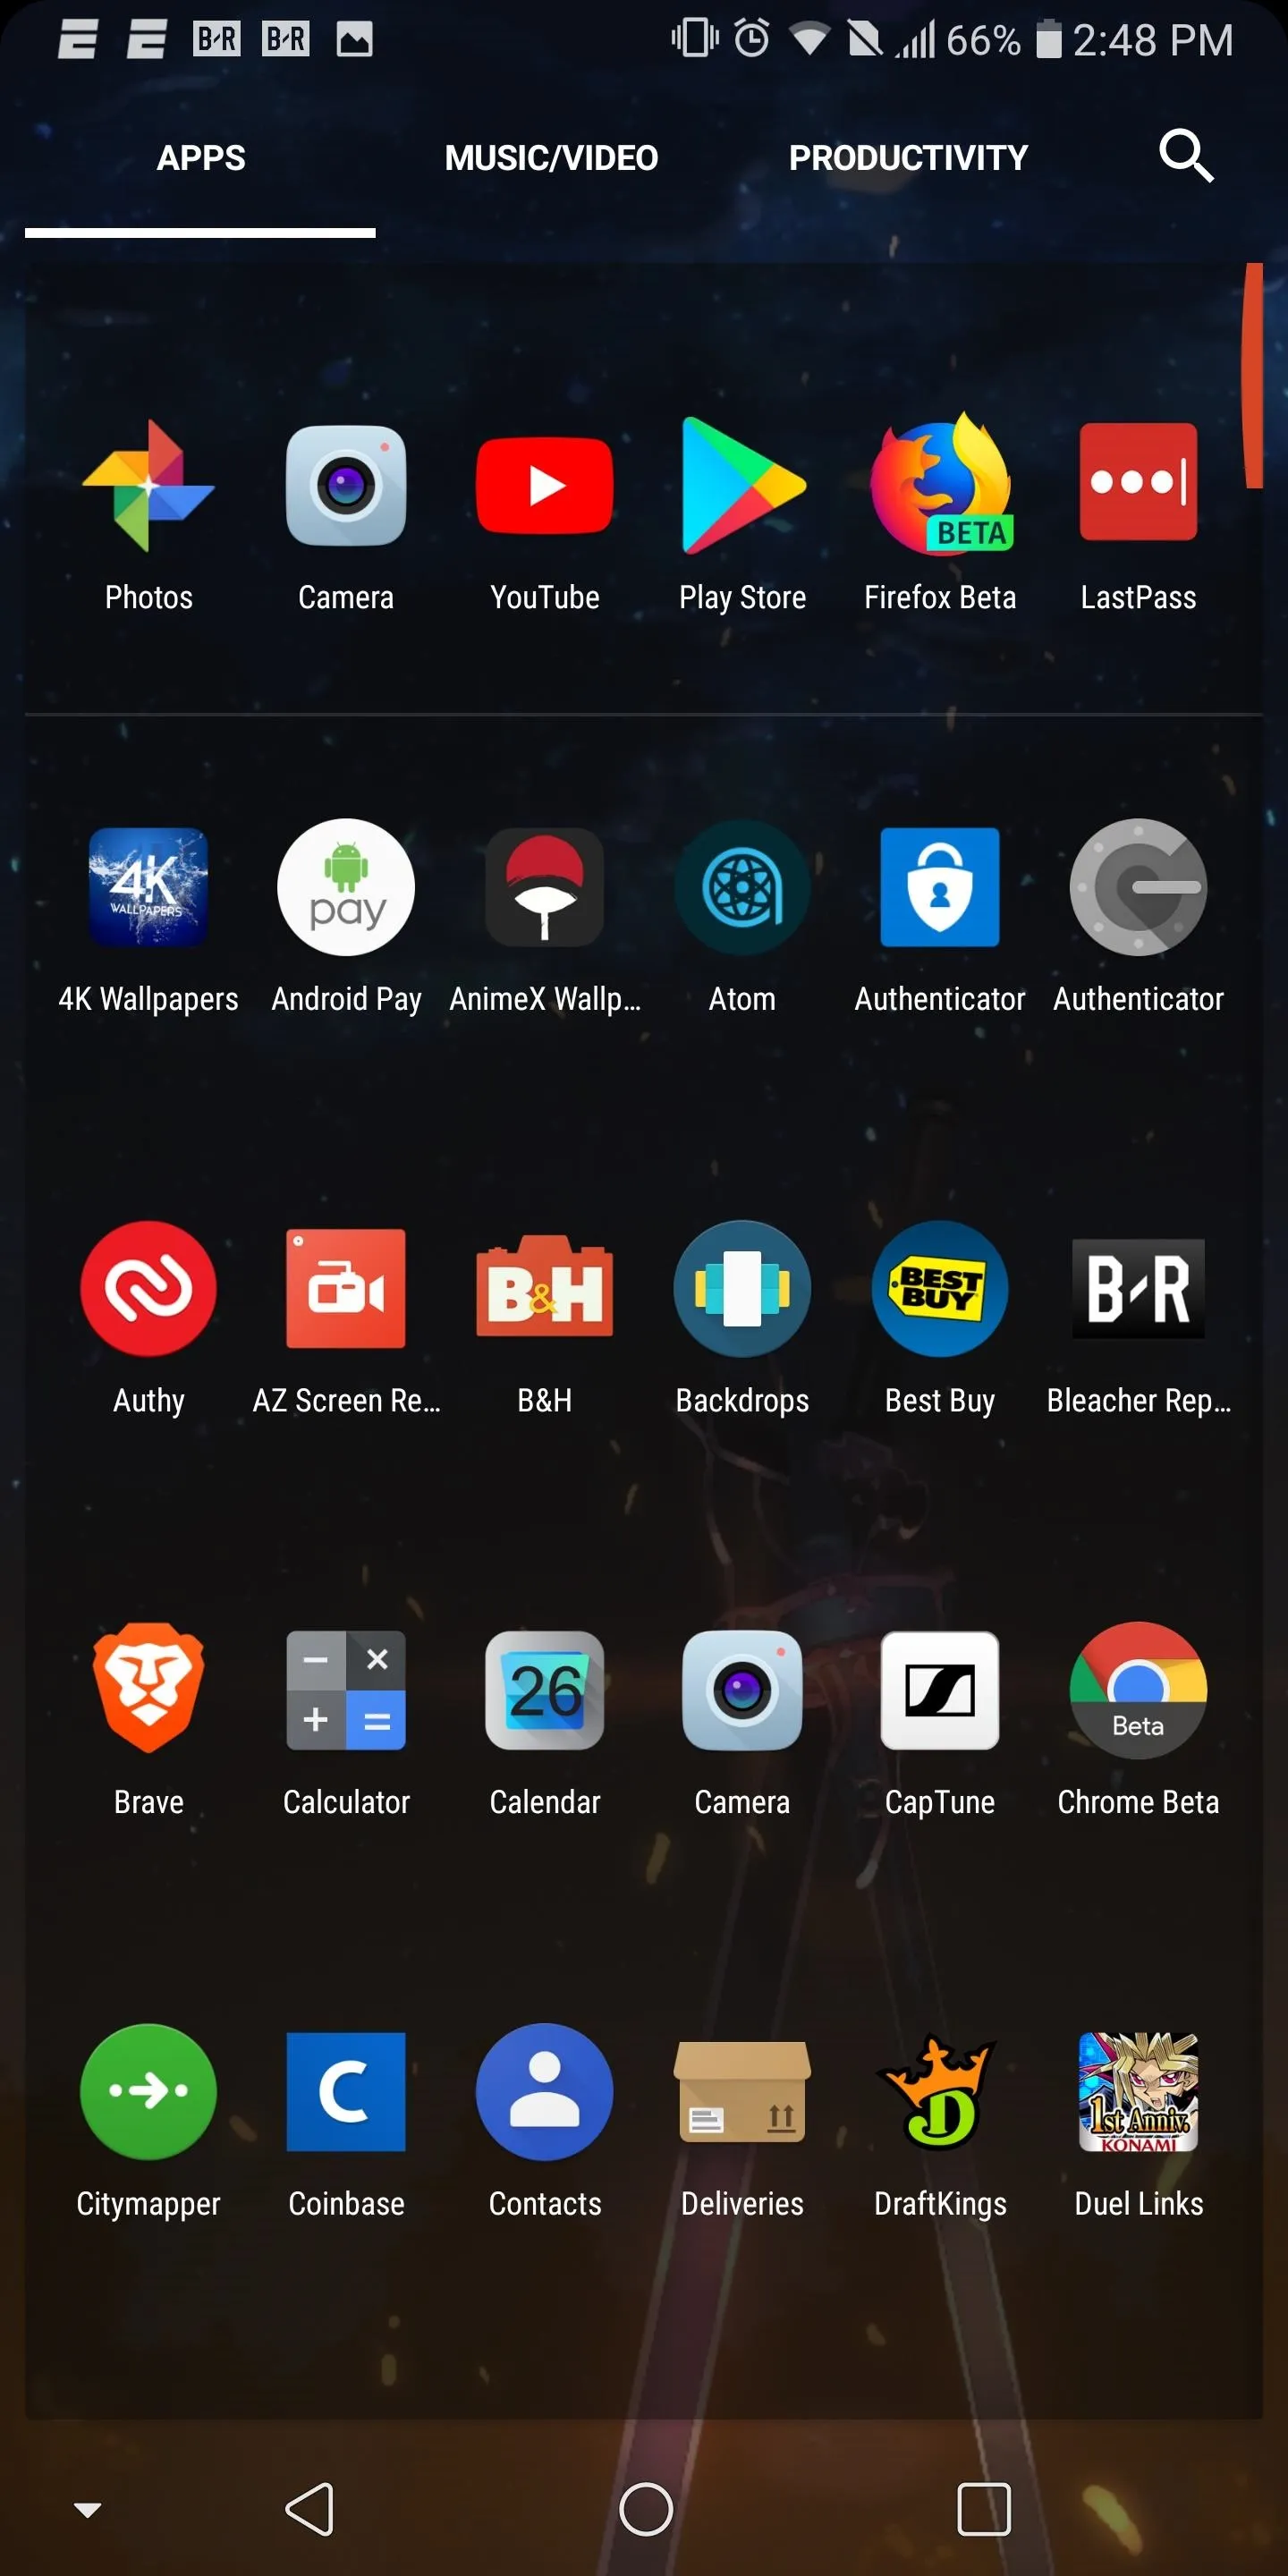
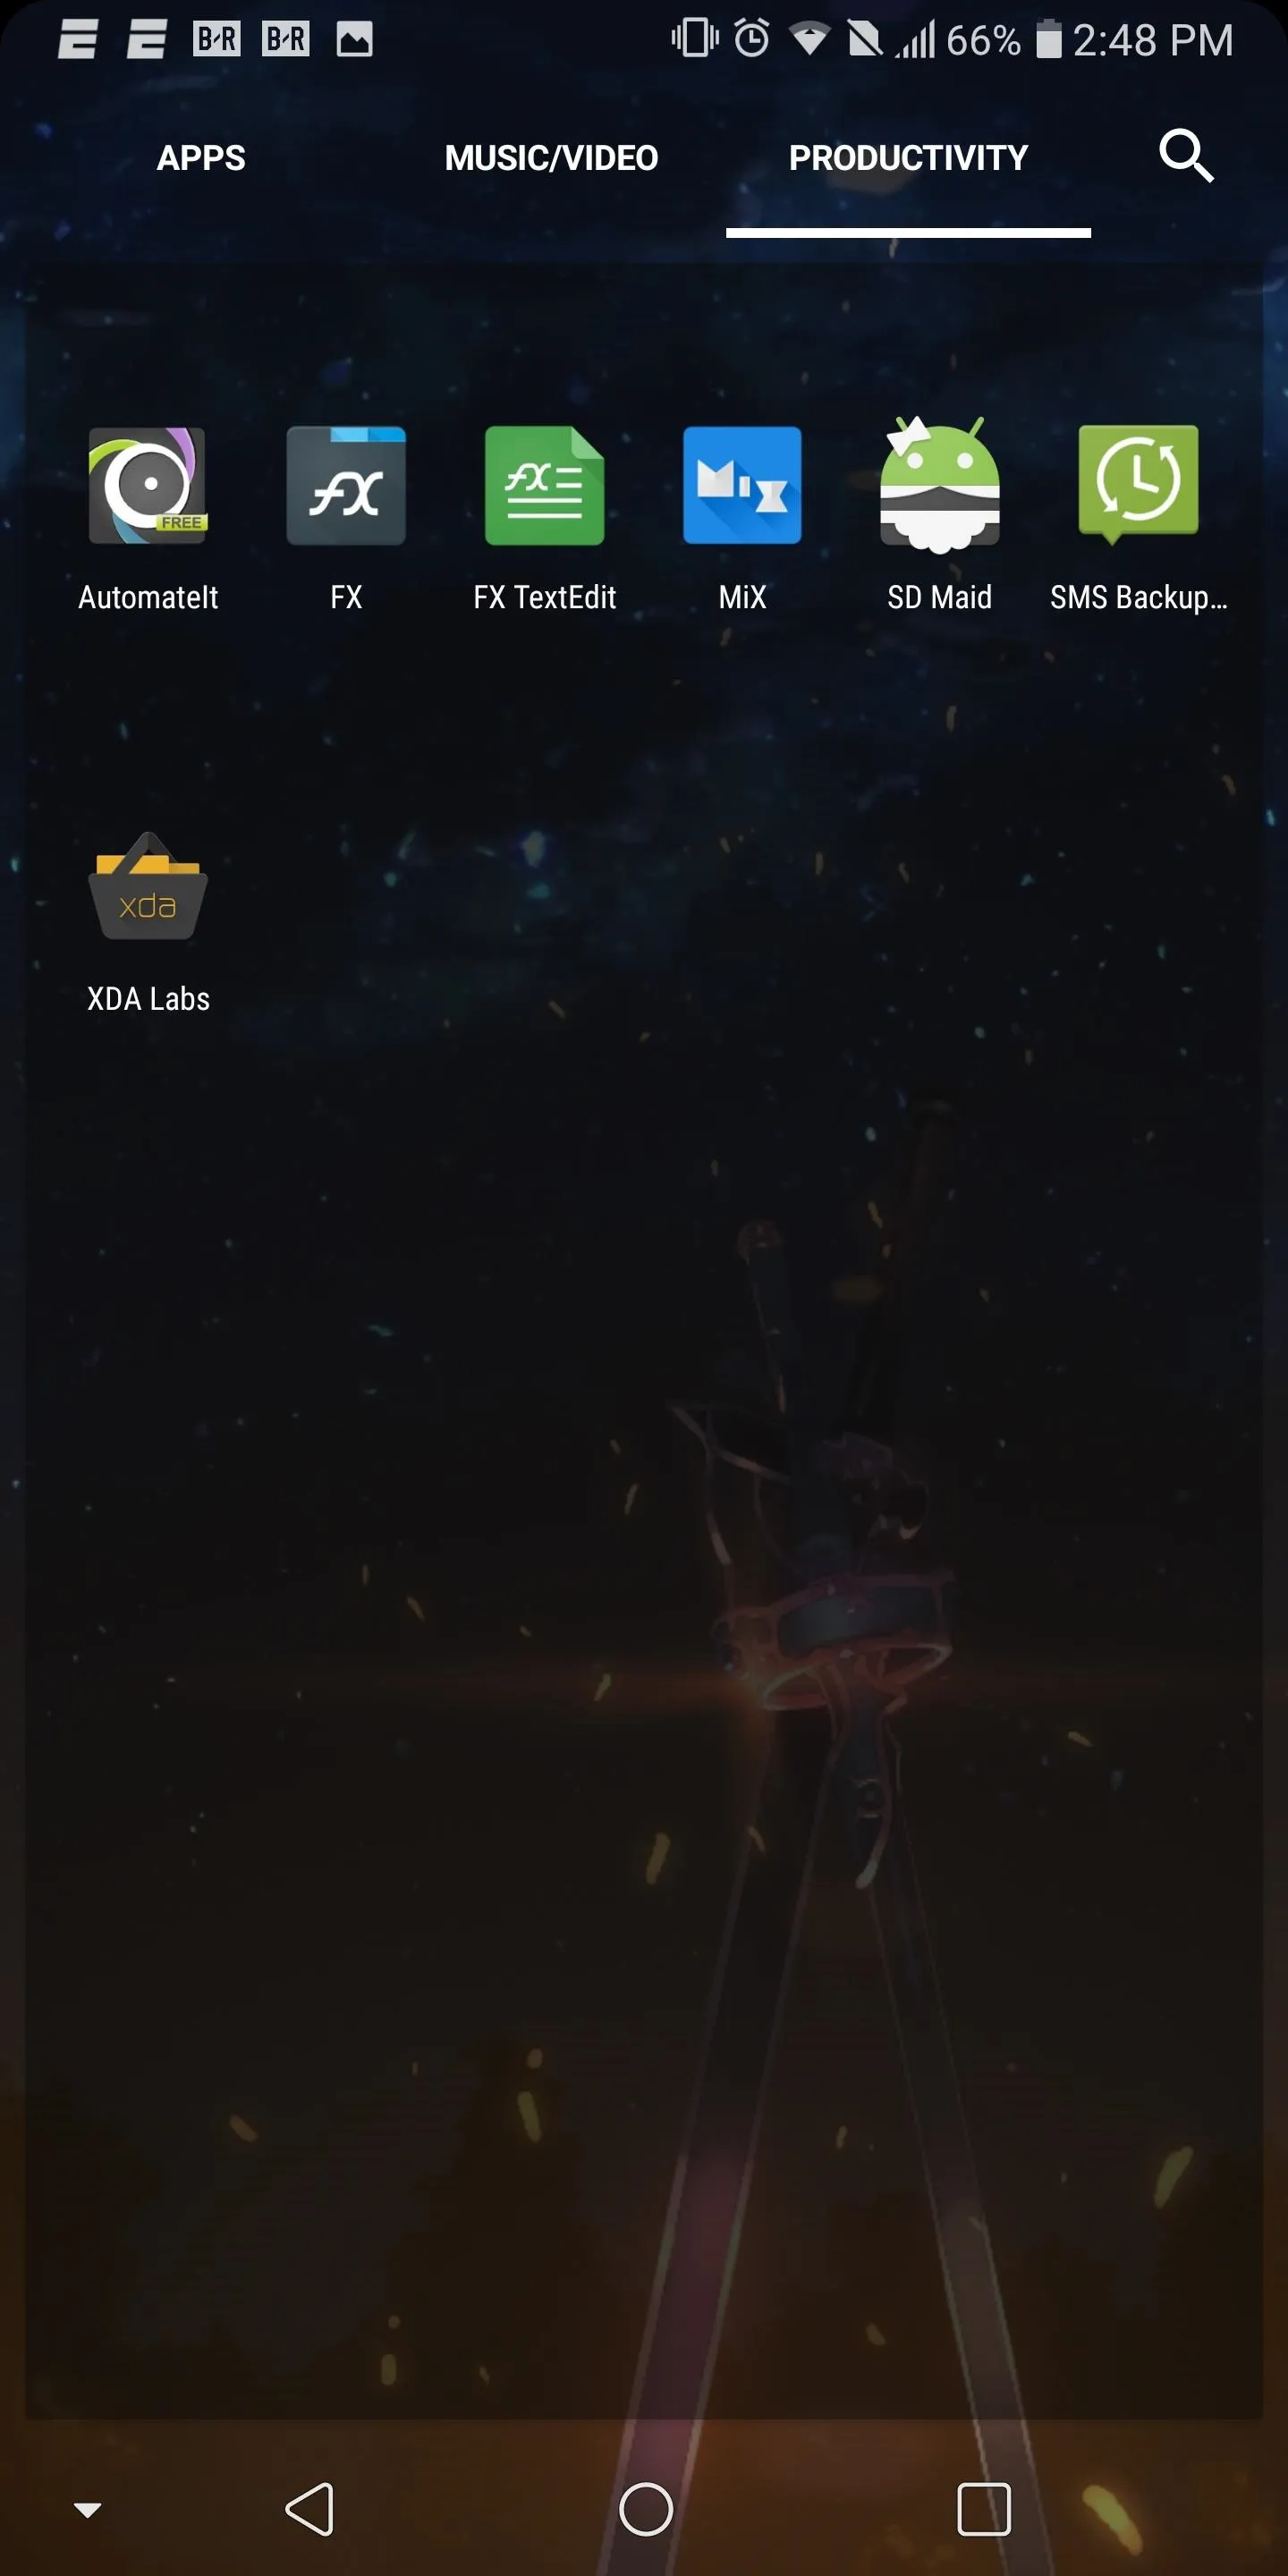
Now open up your app drawer. Along the top, you will notice two tabs. One tab will be labeled Apps and the other will be whatever name you gave it.
Under Apps, you will no longer find the apps you selected. To find those apps, you need to swipe right (over to your new tab). Alternatively, you can tap the tab's name at the top of your app drawer to select it.


Step 5: Customize Your Tabs with Emojis
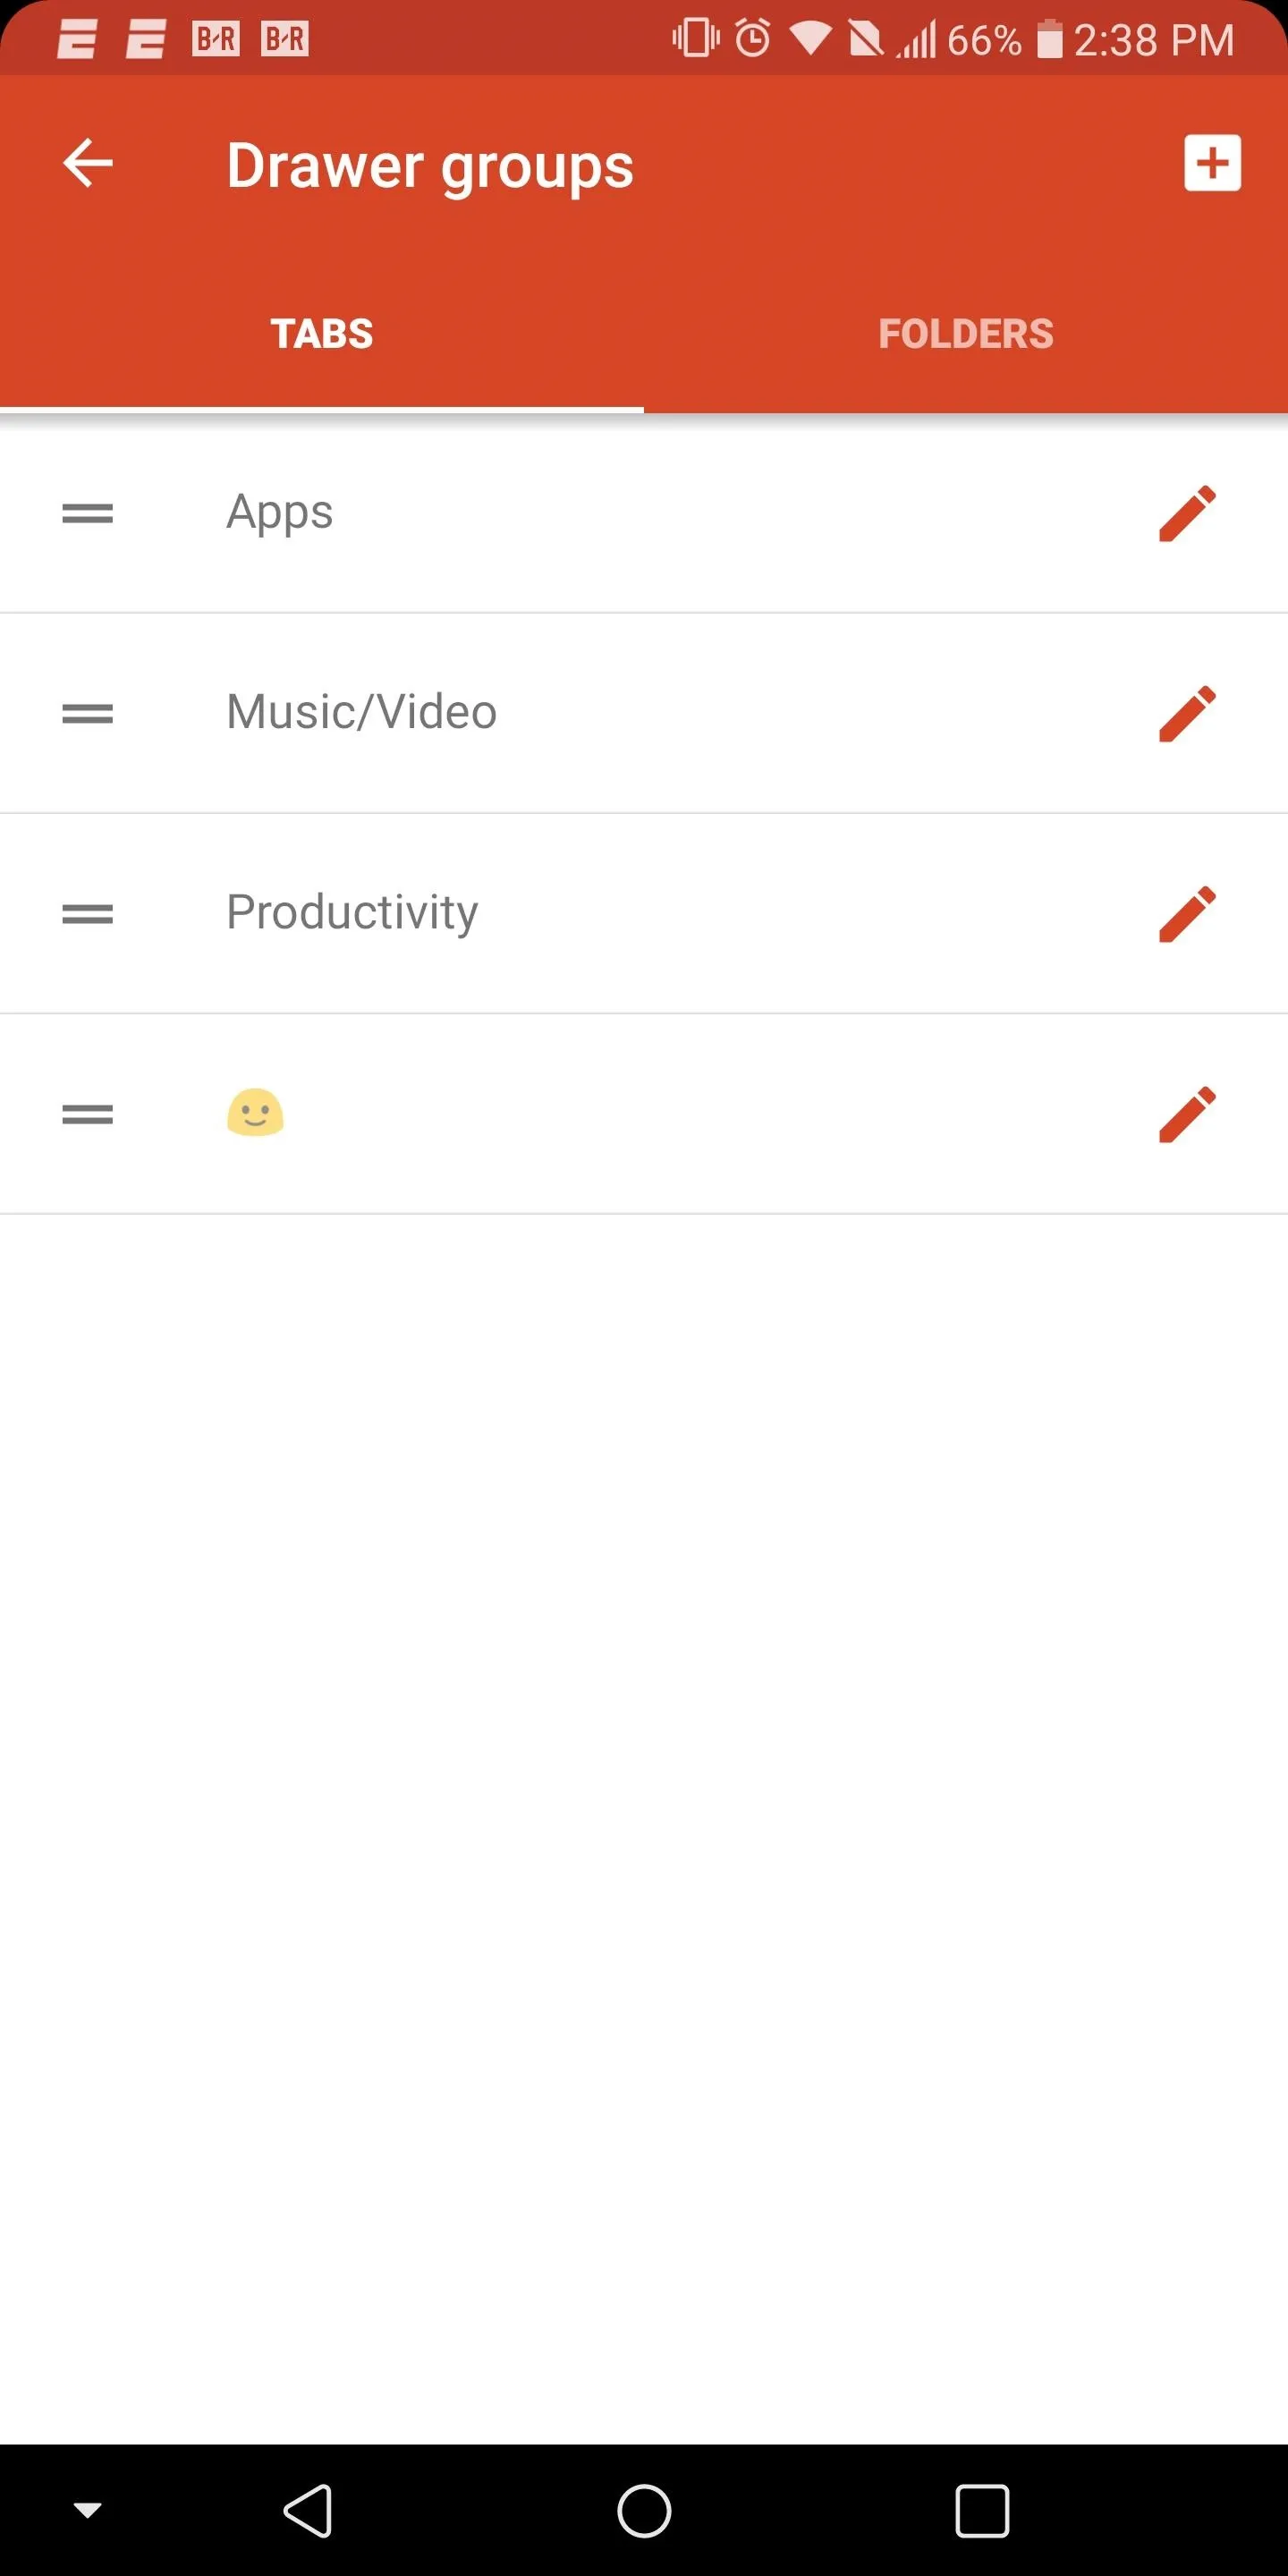
For a more personal touch, return to "Drawer groups" in Nova's settings and select the crossed square. Switch to the emoji key located on your keyboard (for Gboard, it's a smiley face to the left of the spacebar) and choose an emoji. After you choose one, select "Add."
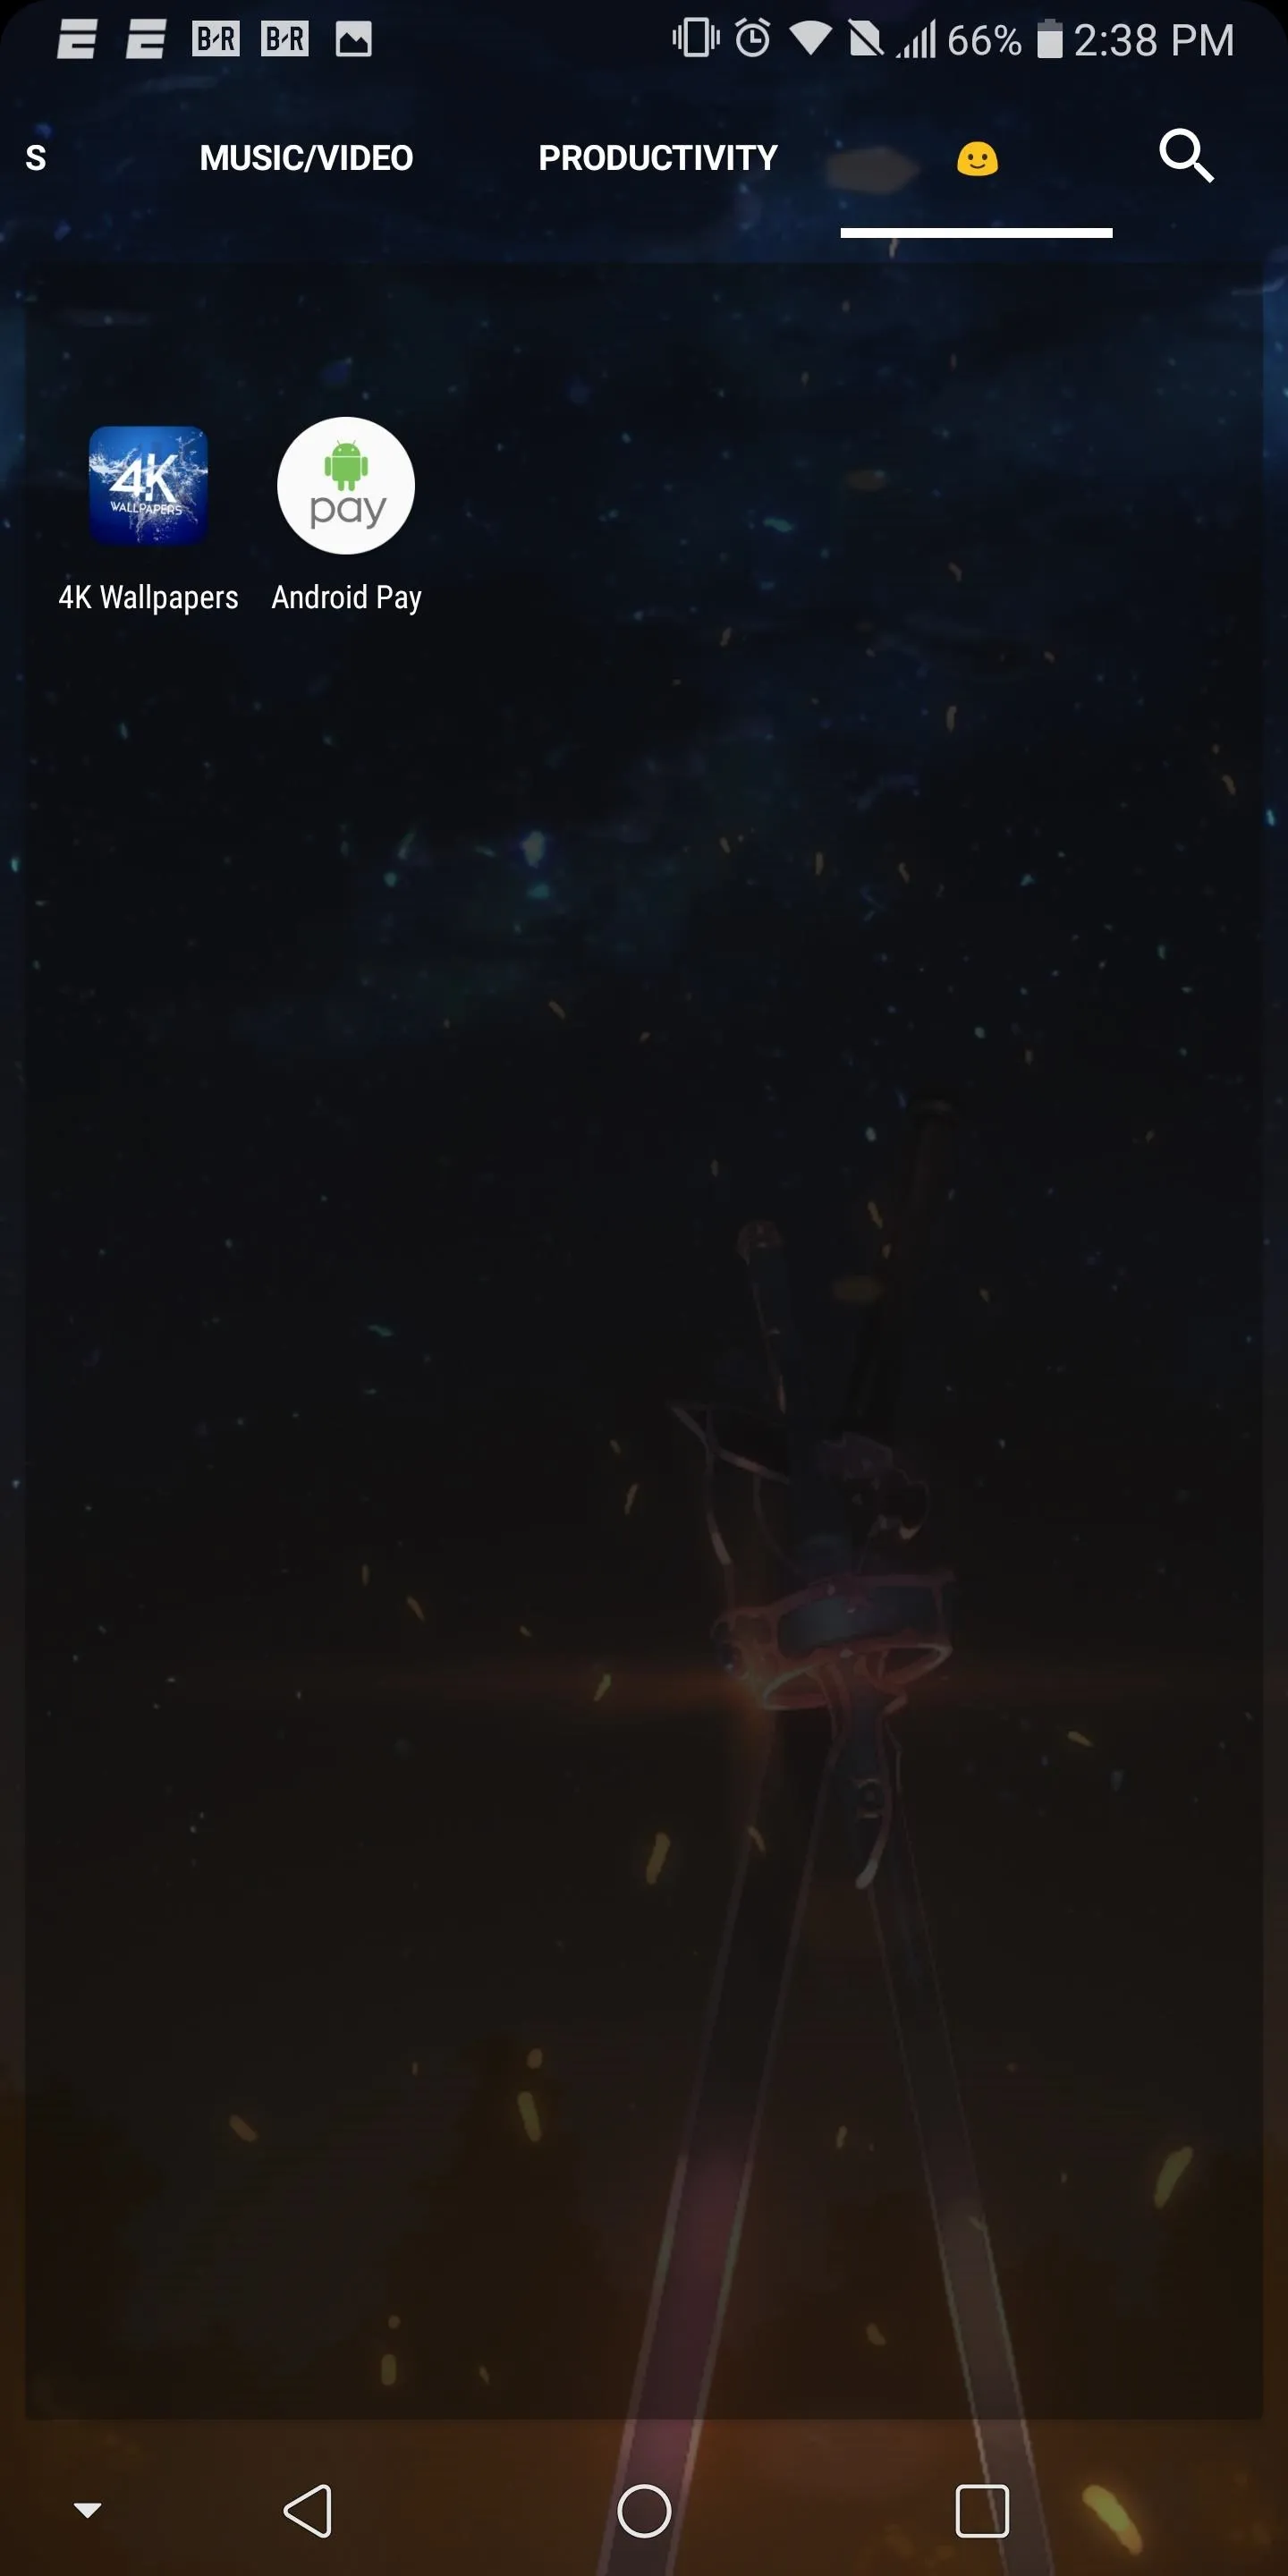
Now, in the app drawer, you should see three tabs, including the emoji labeled tab you just created. This is great for using emojis as icons to label your tabs as opposed to written names. For instance, you could do a speech bubble emoji for messaging apps, a controller emoji for games, and so on.


With tab groups, Nova gave users another alternative. While some users may prefer folders, by adding this feature, they've broadened their audience by addressing the preferences of many different individuals. What do you think of Tab Groups? Do you prefer text-based labels or emojis? Let us know in the comments below.
- Follow Gadget Hacks on Facebook, Twitter, YouTube, and Flipboard
- Follow WonderHowTo on Facebook, Twitter, Pinterest, and Flipboard
Cover image and screenshots by Jon Knight/Gadget Hacks



Comments
No Comments Exist
Be the first, drop a comment!