Unless you own an Exynos model, there won't be much development on the custom ROM front for the Galaxy S9. But that doesn't mean you have to put up with all of the UI quirks from Samsung Experience (née TouchWiz). With a little work, you can give your S9 a stock Android makeover, even without root.
To be clear, you can't remove TouchWiz. It's baked in to the Galaxy S9's framework, so it's not as simple as installing a custom launcher like Nova or Action. But if you apply several mods in that same vein, you can actually get the Galaxy S9 to look and behave quite similarly to the Pixel 2. From the home screen to the Google Dialer and the Pixel's wallpapers, the following tips will all but turn your S9 into a Pixel.
Tip 1: Install the Pixel 2 Launcher
Installing the Pixel 2 launcher is the biggest step you can take in turning your S9 to a Pixel 2, as it replaces the TouchWiz home screen app with Google's. The launcher isn't available on the Play Store though, so you'll need to sideload the app. To do so, tap on the link below to download the Pixel Launcher APK, then open the file and press "Install" when prompted.
Note: If you download the APK through Samsung Internet, you shouldn't have any issues. But if you use a different browser like Chrome, you may be prompted to grant the browser permission to install apps. If so, just tap "Settings" on the prompt, then enable the switch at the top of the next screen.
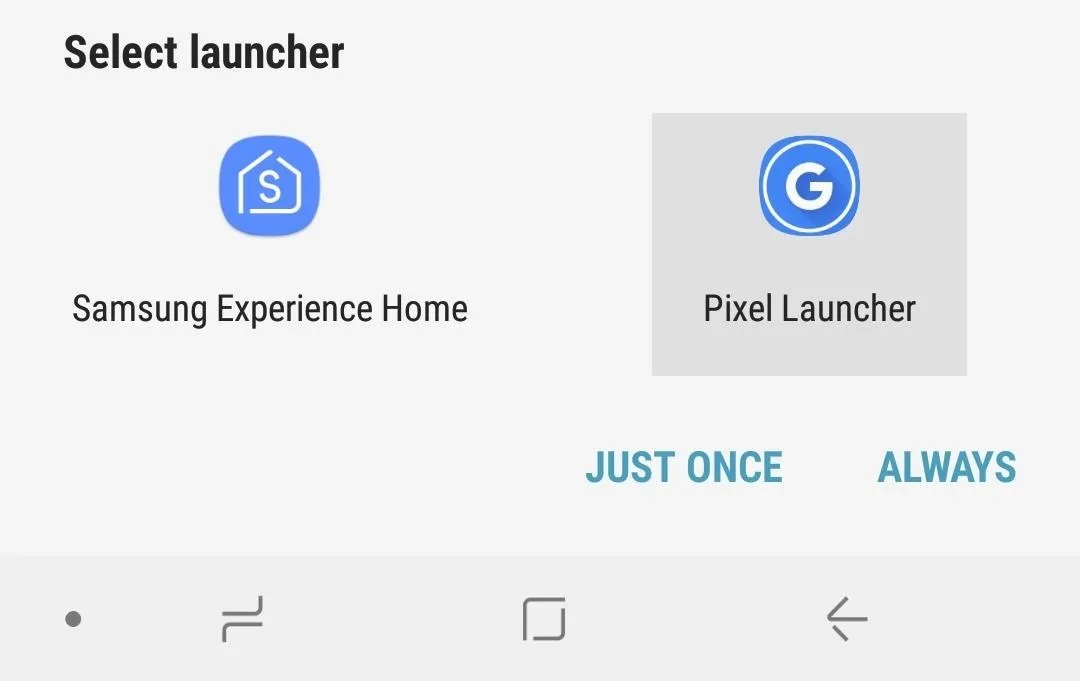
Press your home button after installing the launcher. A prompt should now appear on the bottom of the screen asking which launcher you'd like to use. Tap on "Pixel Launcher" and your home screen will now be almost identical to the one found on the Pixel 2.
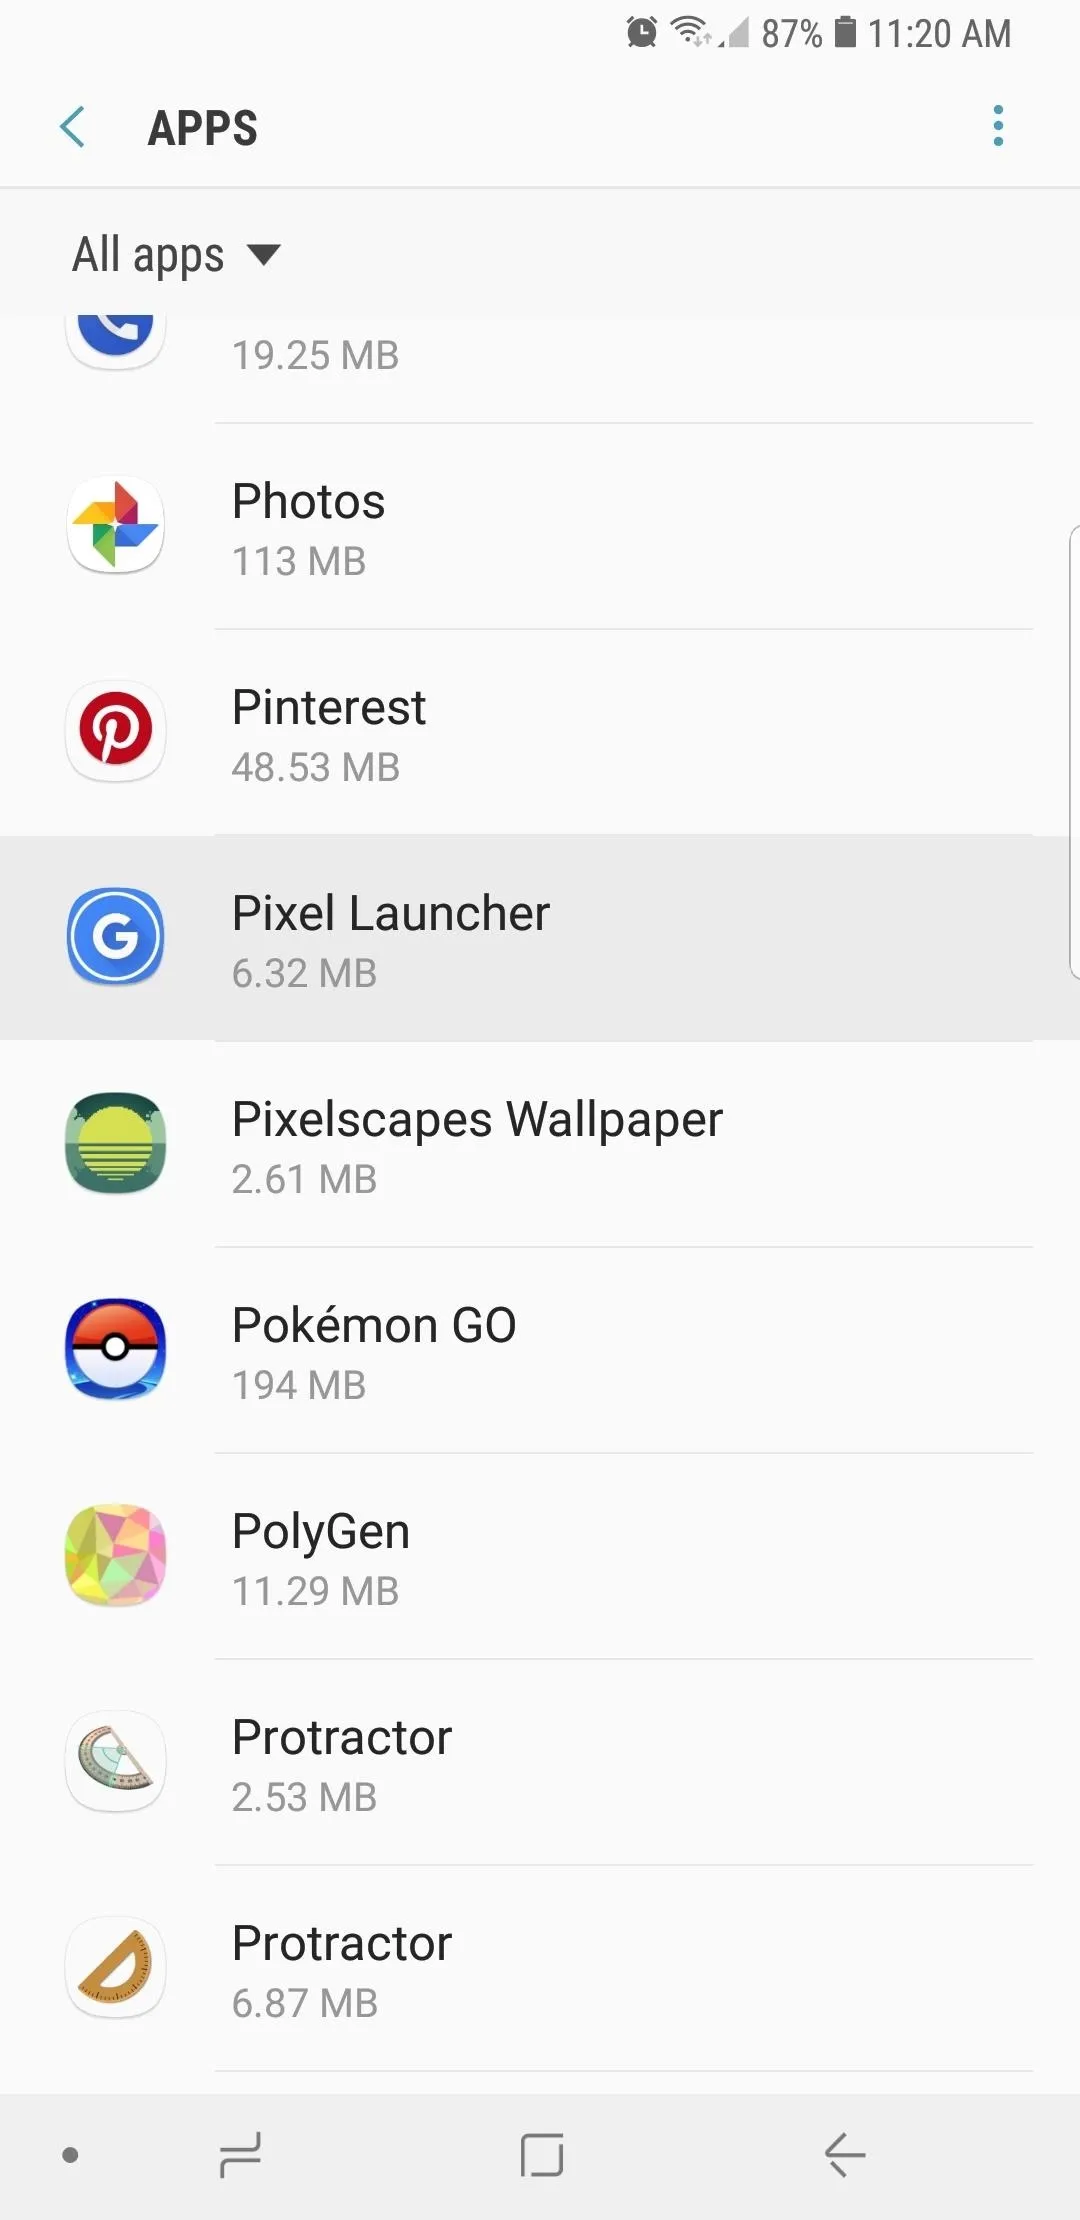
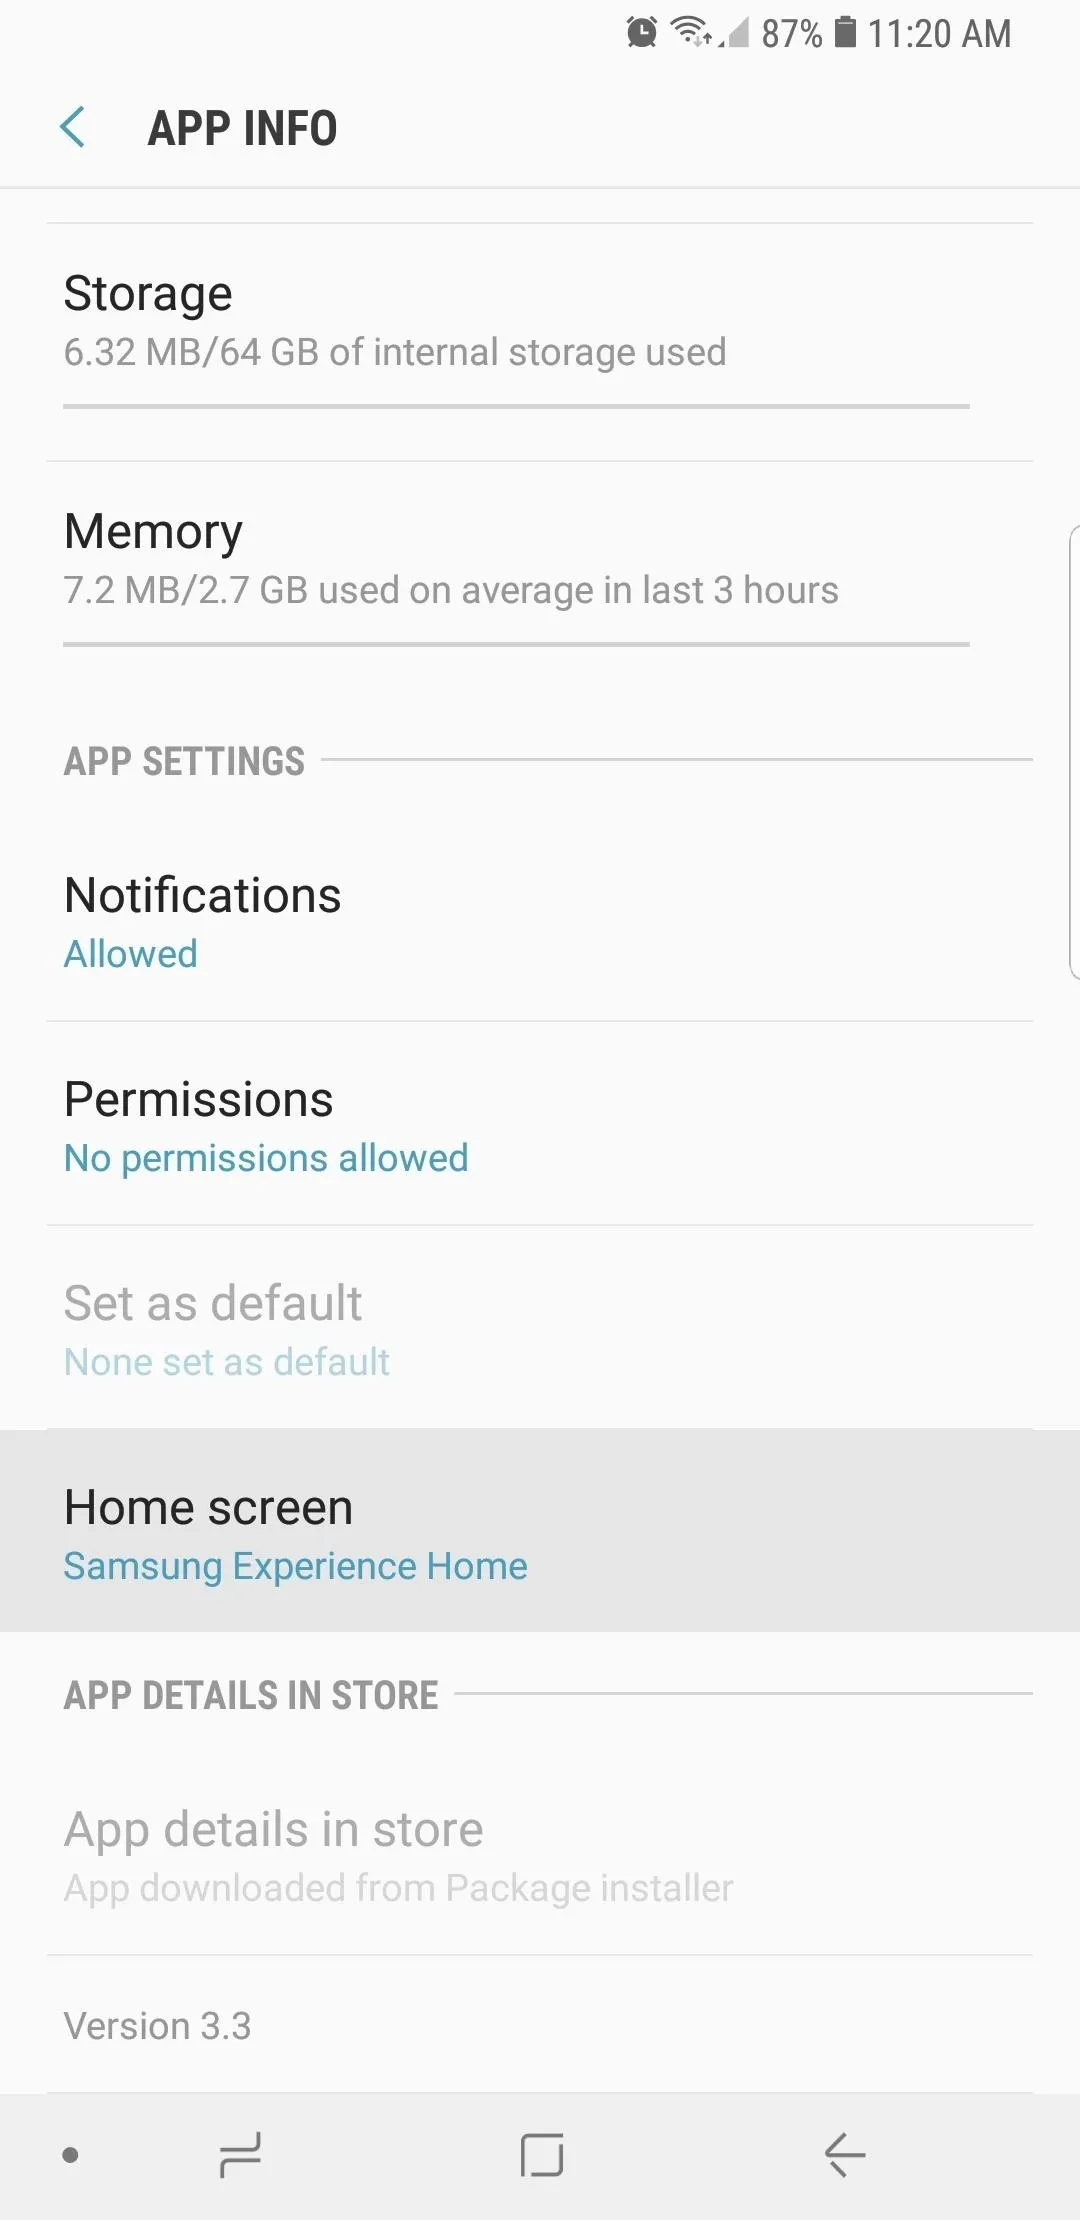
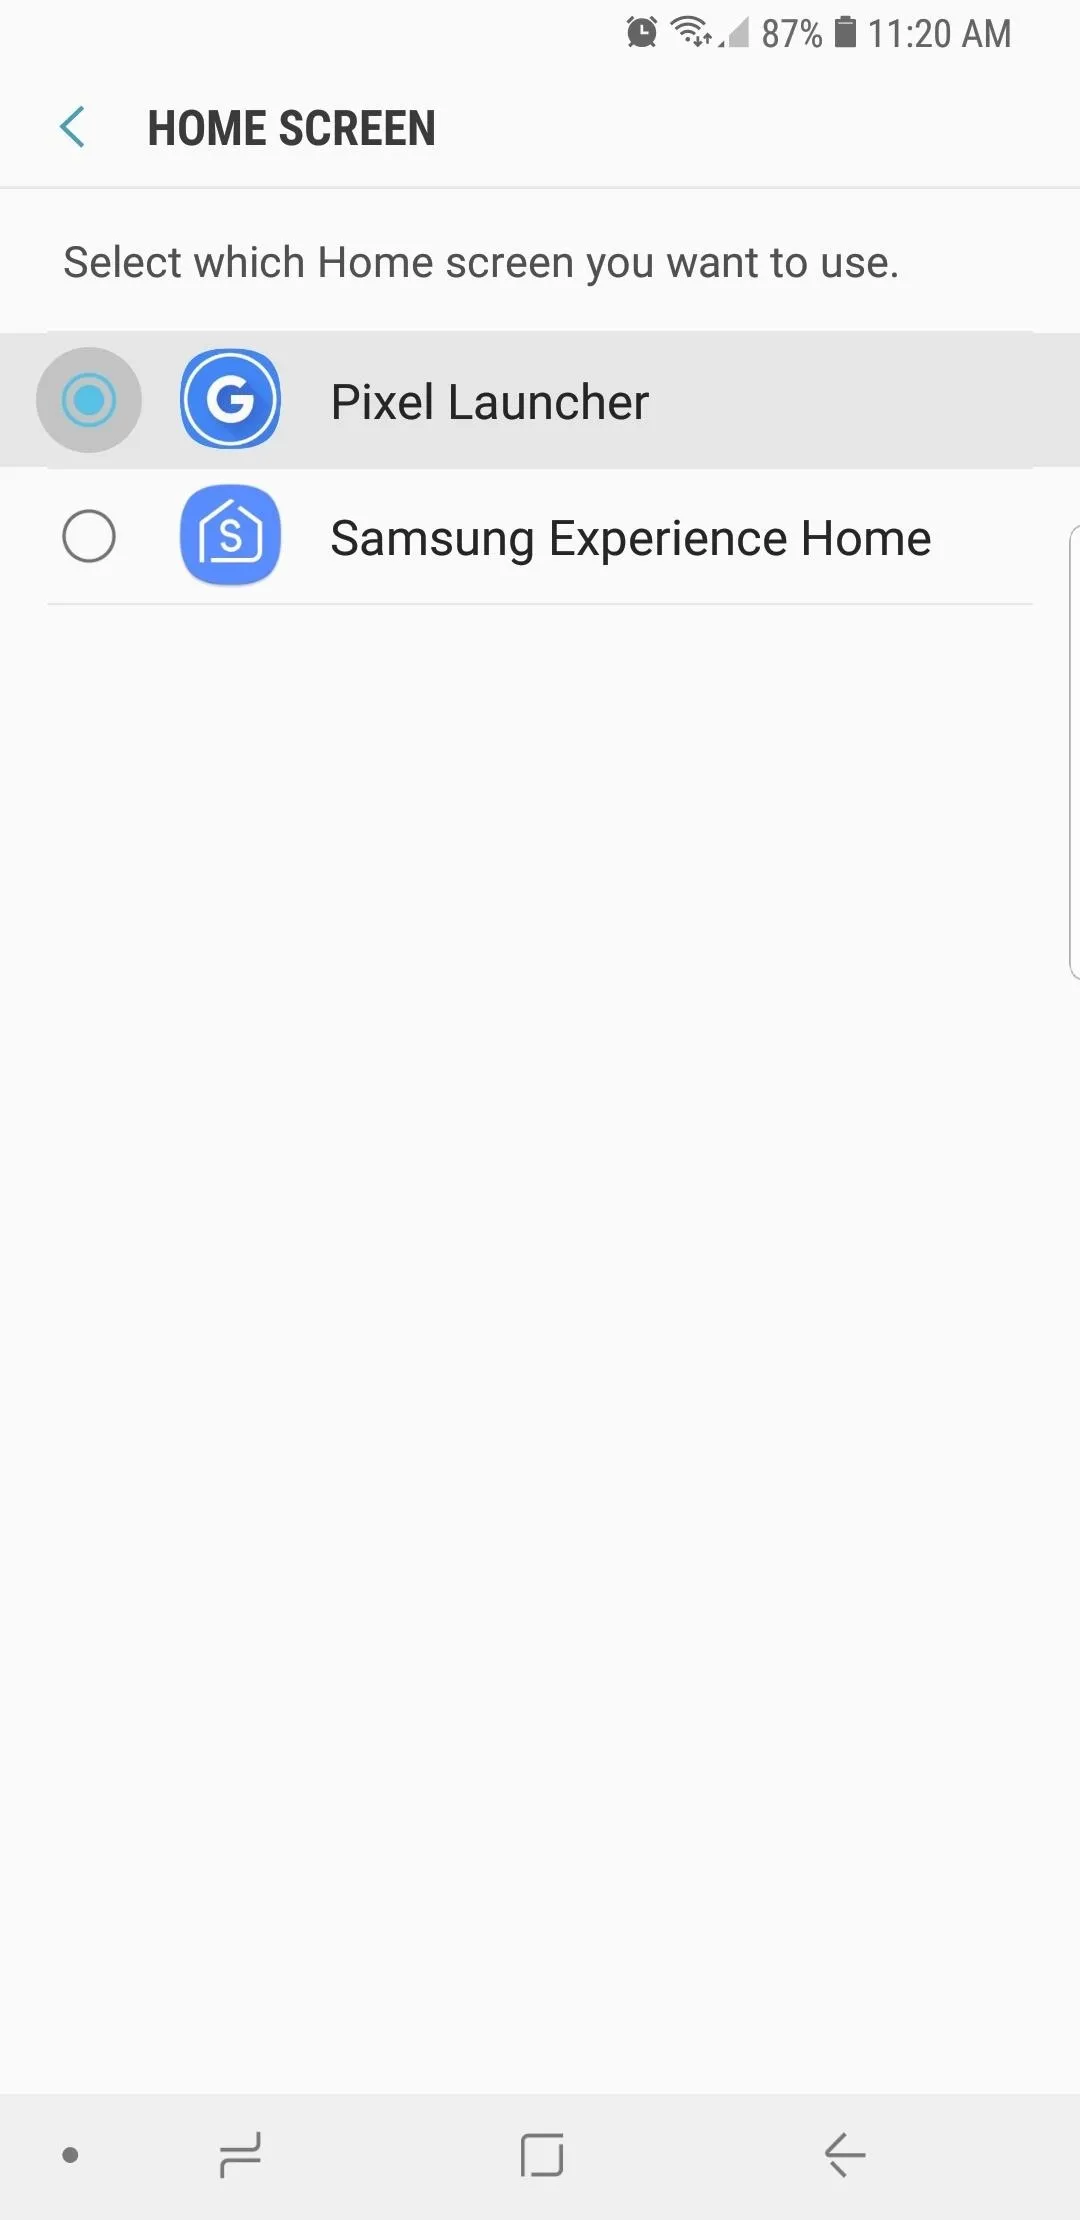
Alternatively, you can set Pixel Launcher as your default by going to the Apps menu within Settings if no prompts appear. From there, select "Pixel Launcher," then tap on "Home screen" and choose "Pixel Launcher."


It's worth noting that the newest Pixel 2 Launcher has the added bonus of featuring a functional At a Glance widget, along with Google Now integration, adding tremendously to the Pixel experience while on your Galaxy S9. For more information on this ported version of the Pixel Launcher, check out the link below.
Tip 2: Get the Google Dialer
The Pixel's stock phone app isn't available on the Play Store and will also need to be sideloaded. You can get the newest patched version of the stock Pixel phone app by tapping on the following link, then launching the APK and pressing "Install."
Once you've installed it, you'll now want to set Pixel's phone app as your default dialer, so head the Apps menu in Settings. Next, tap the three-dot menu icon and select "Default apps," then choose "Calling app." Finally, select "Phone" from the list, which uses a circular blue icon.
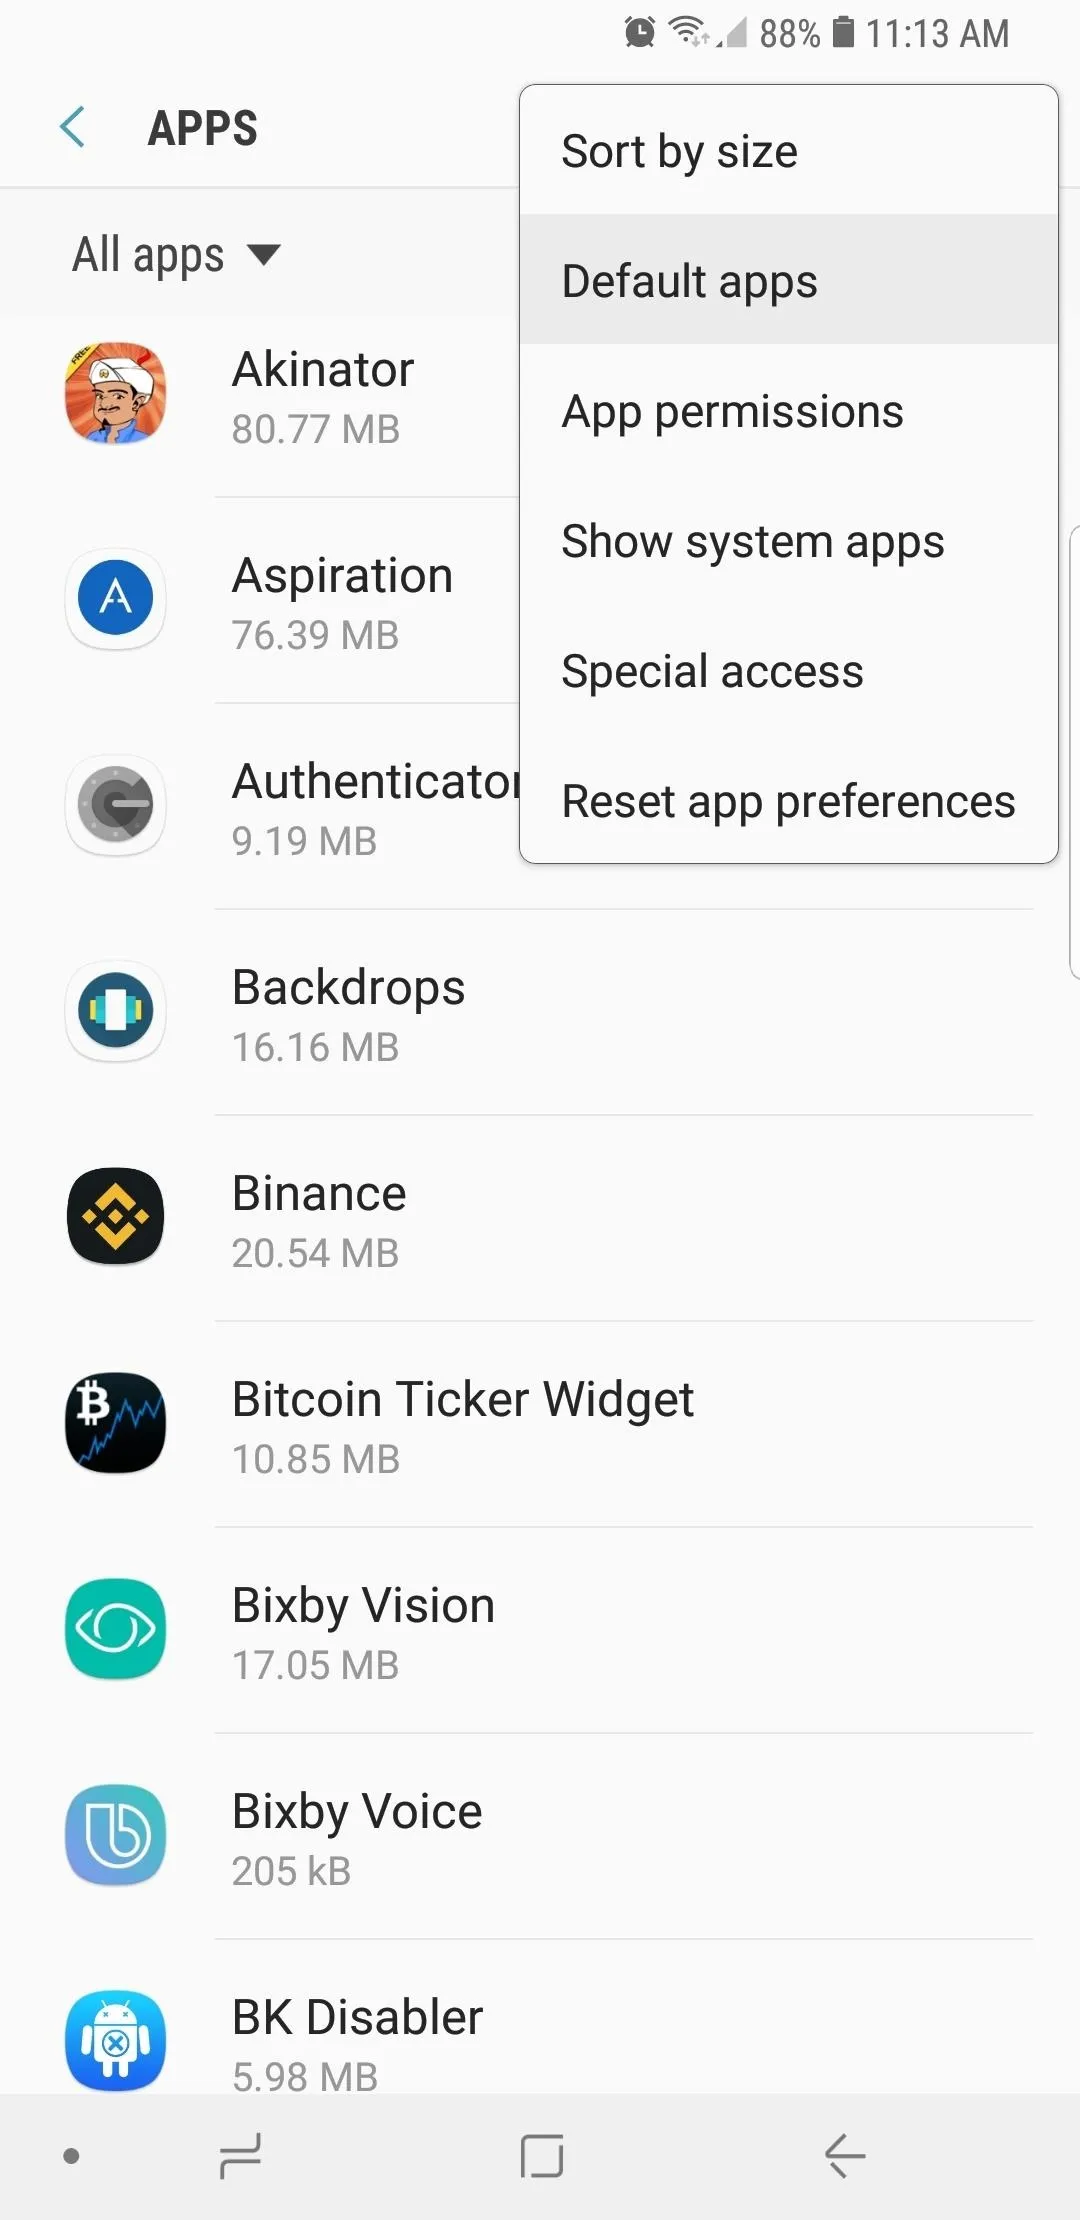
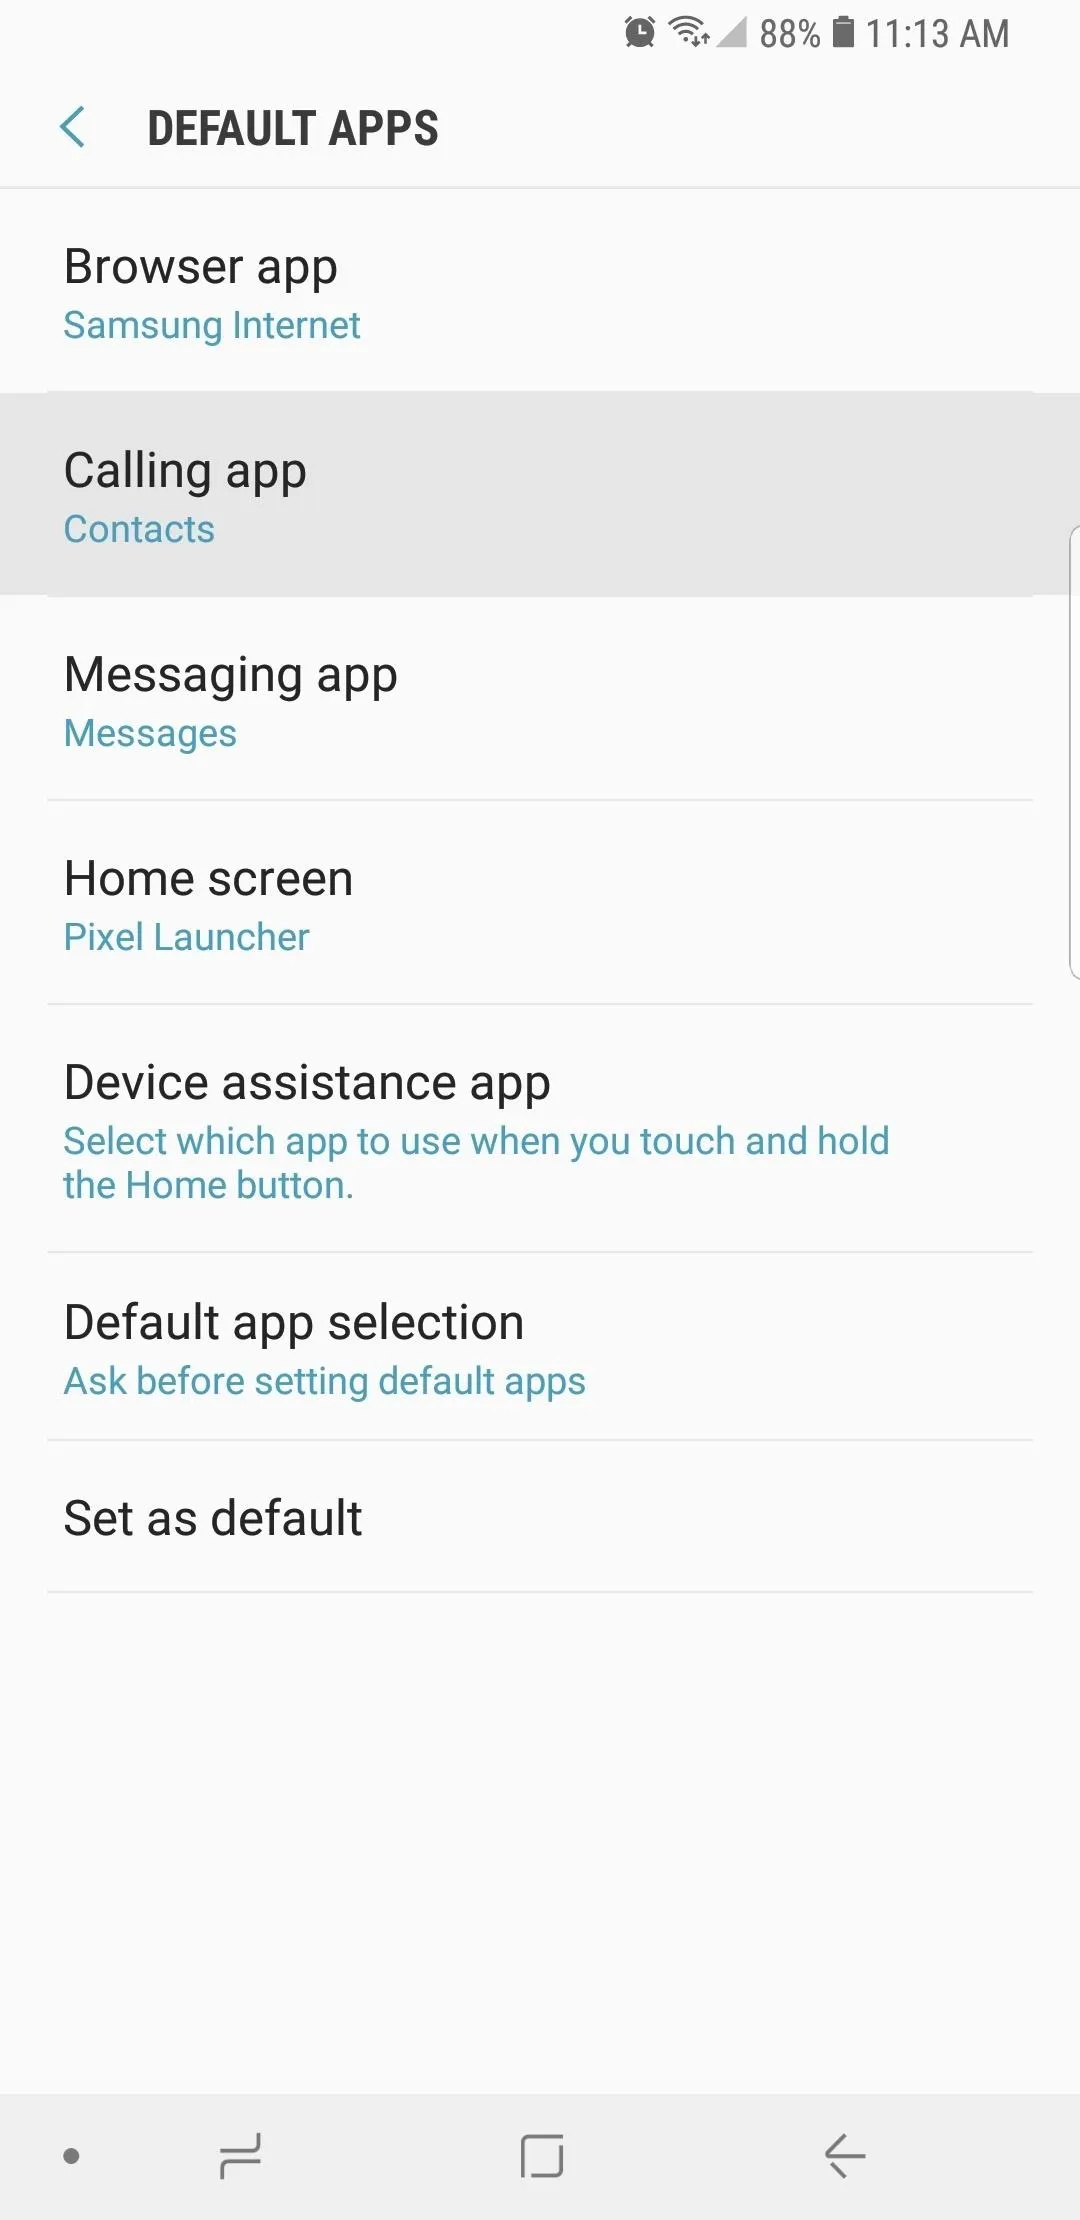
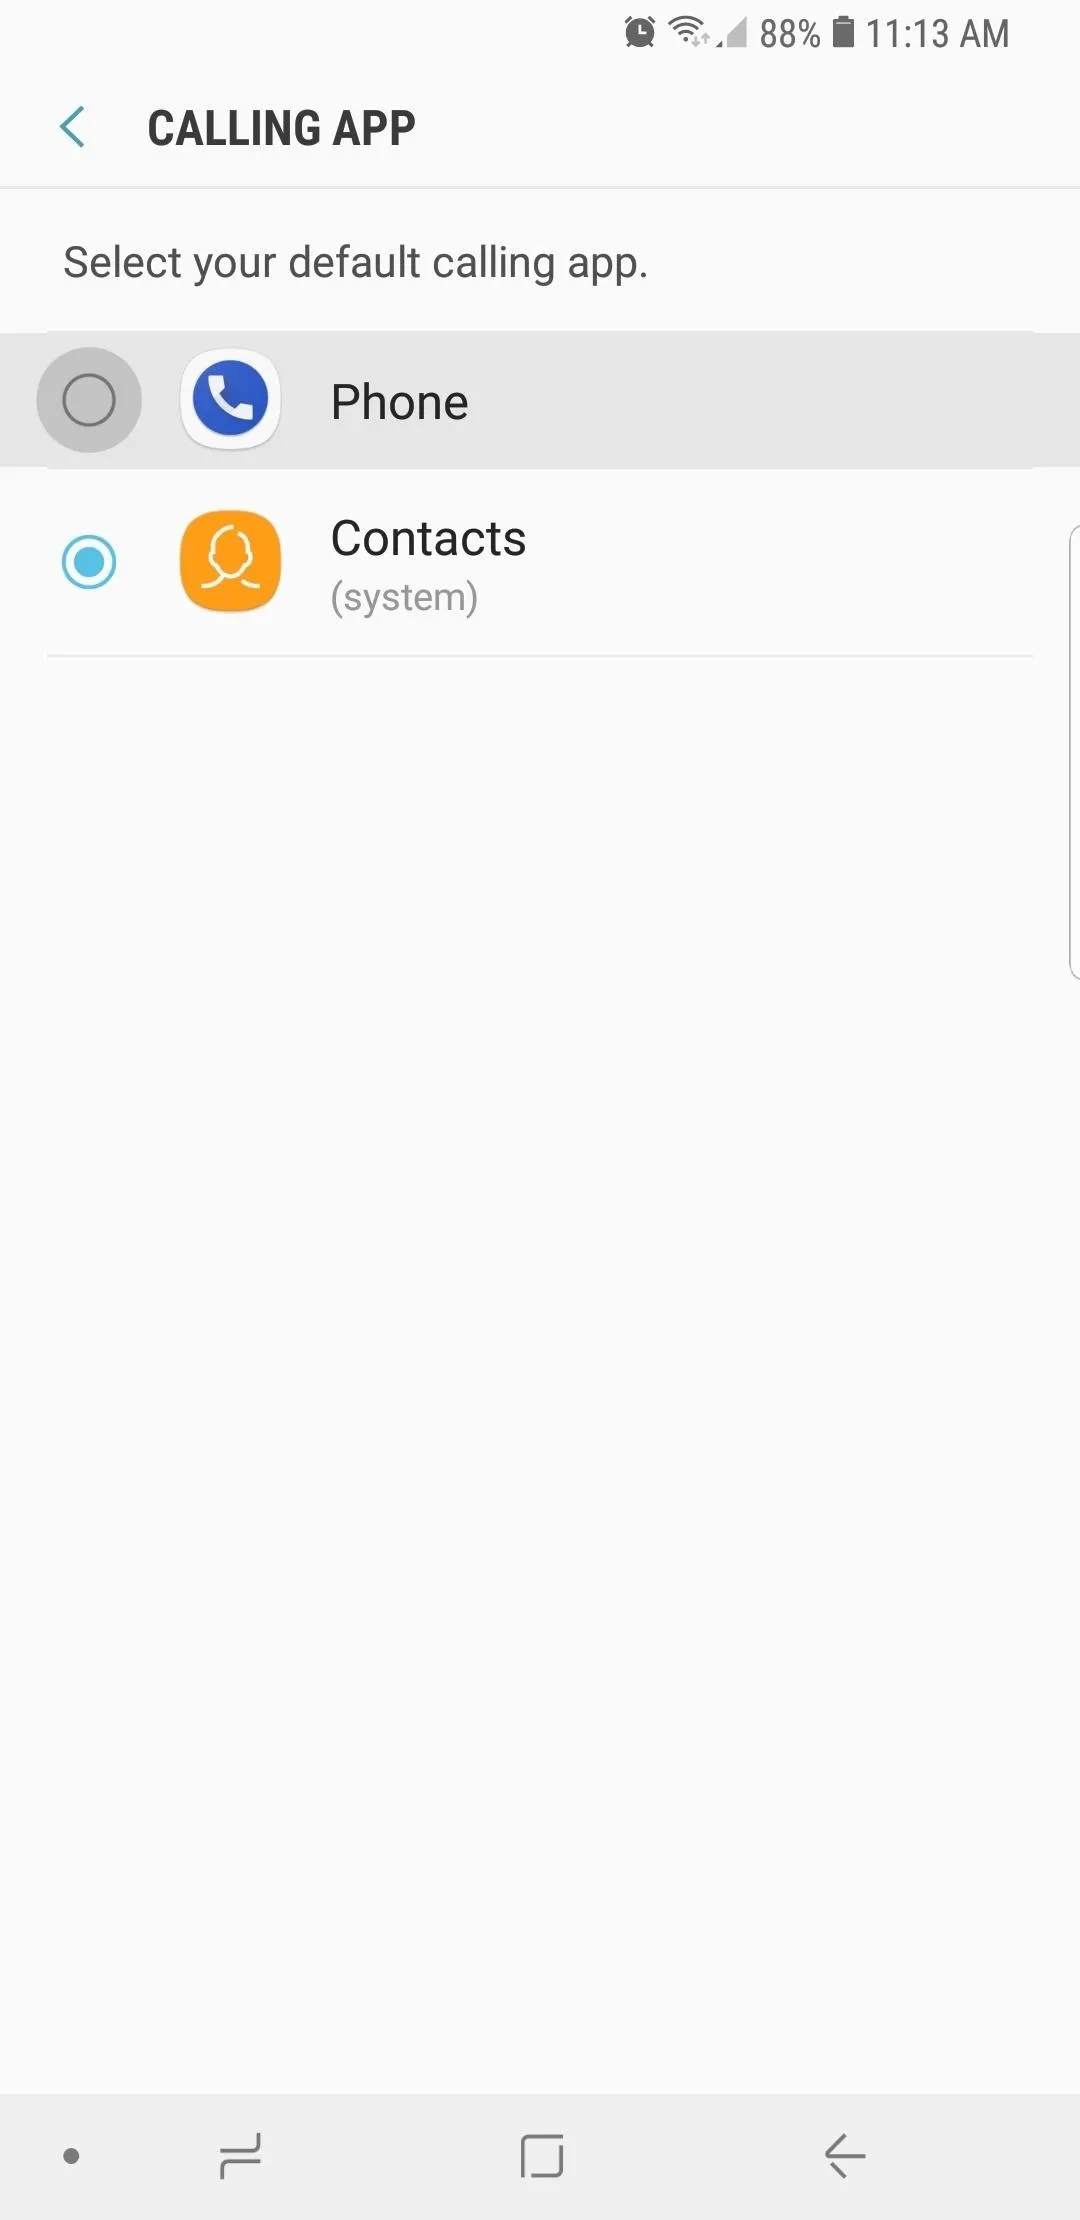


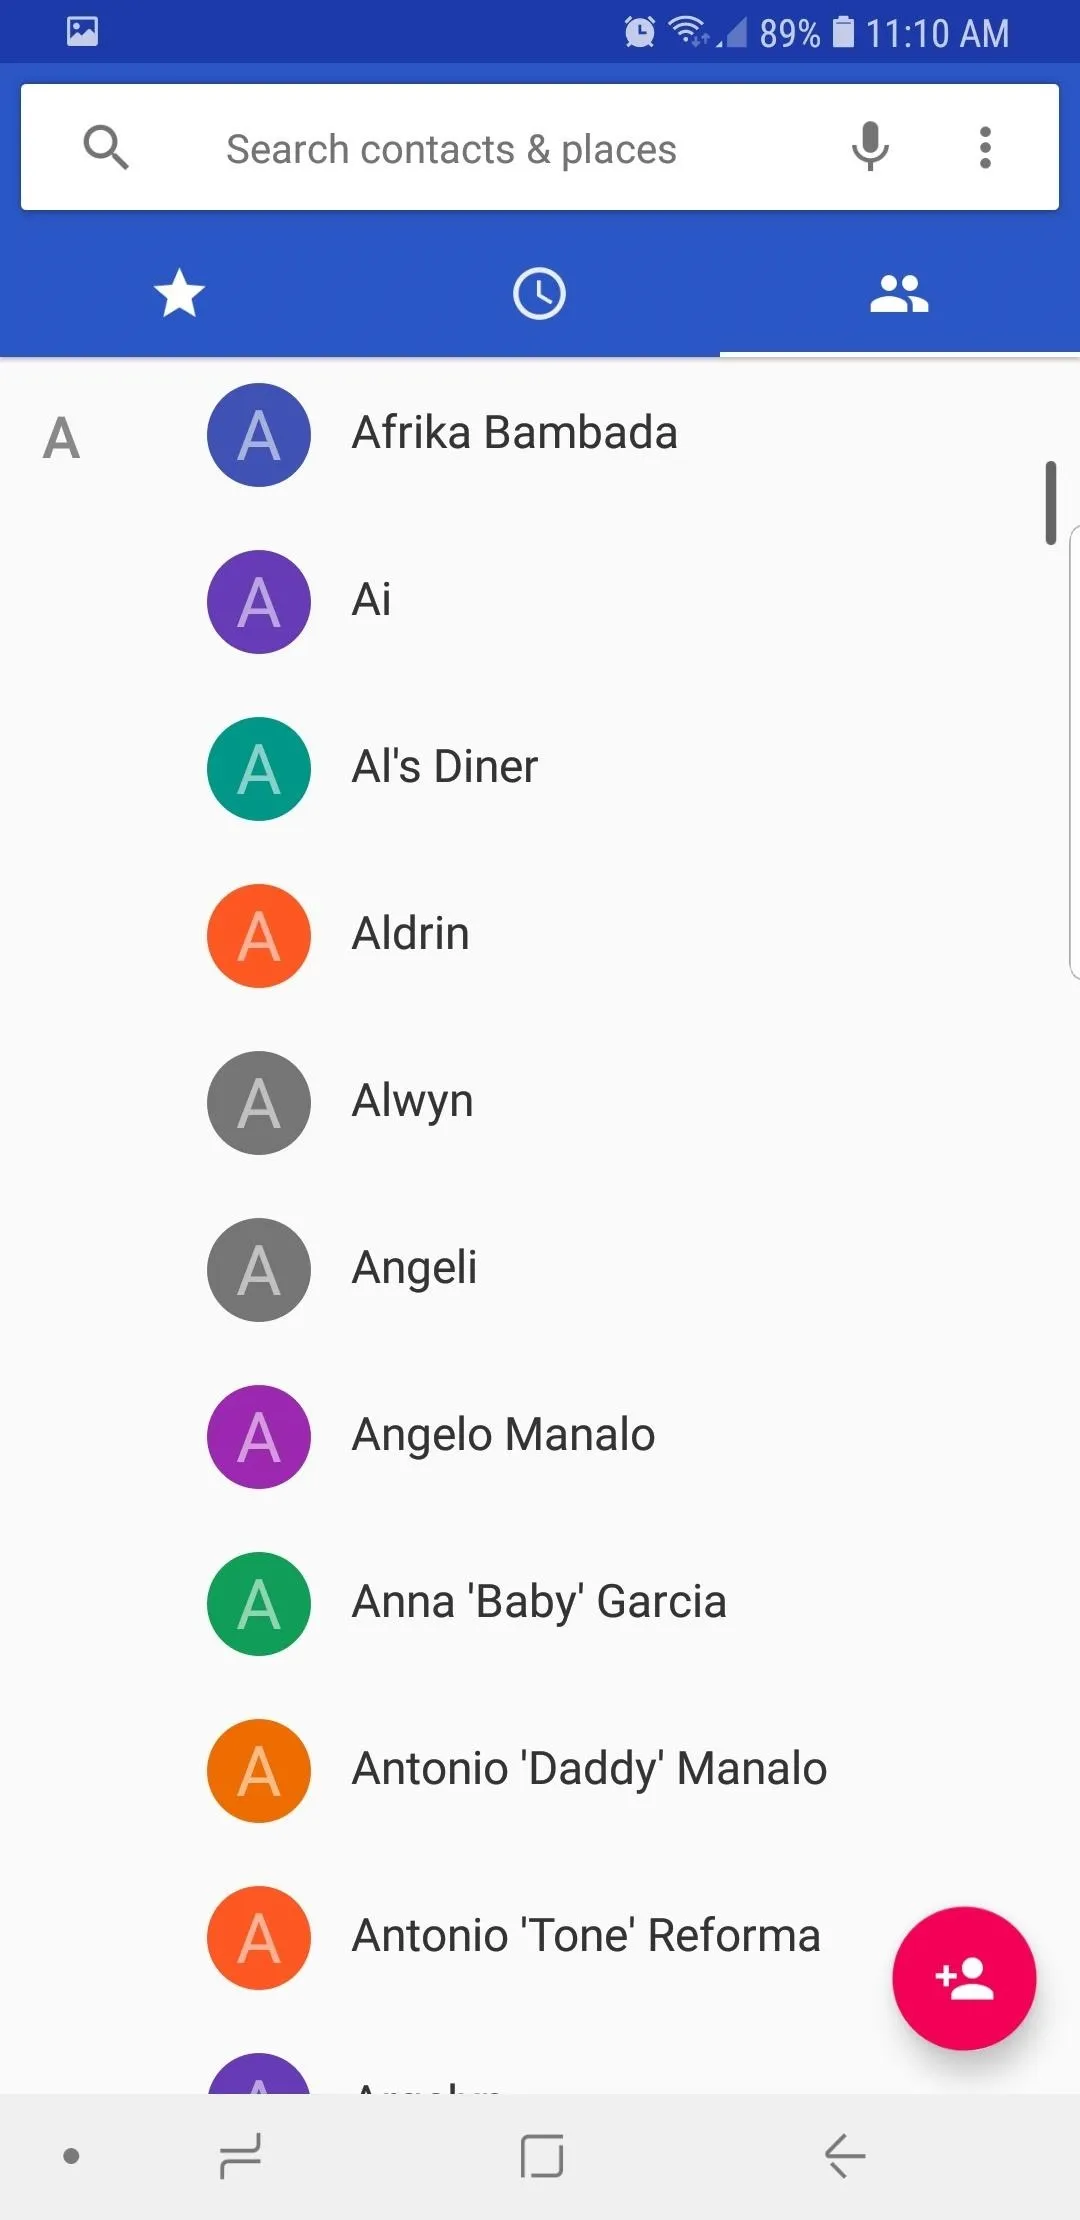
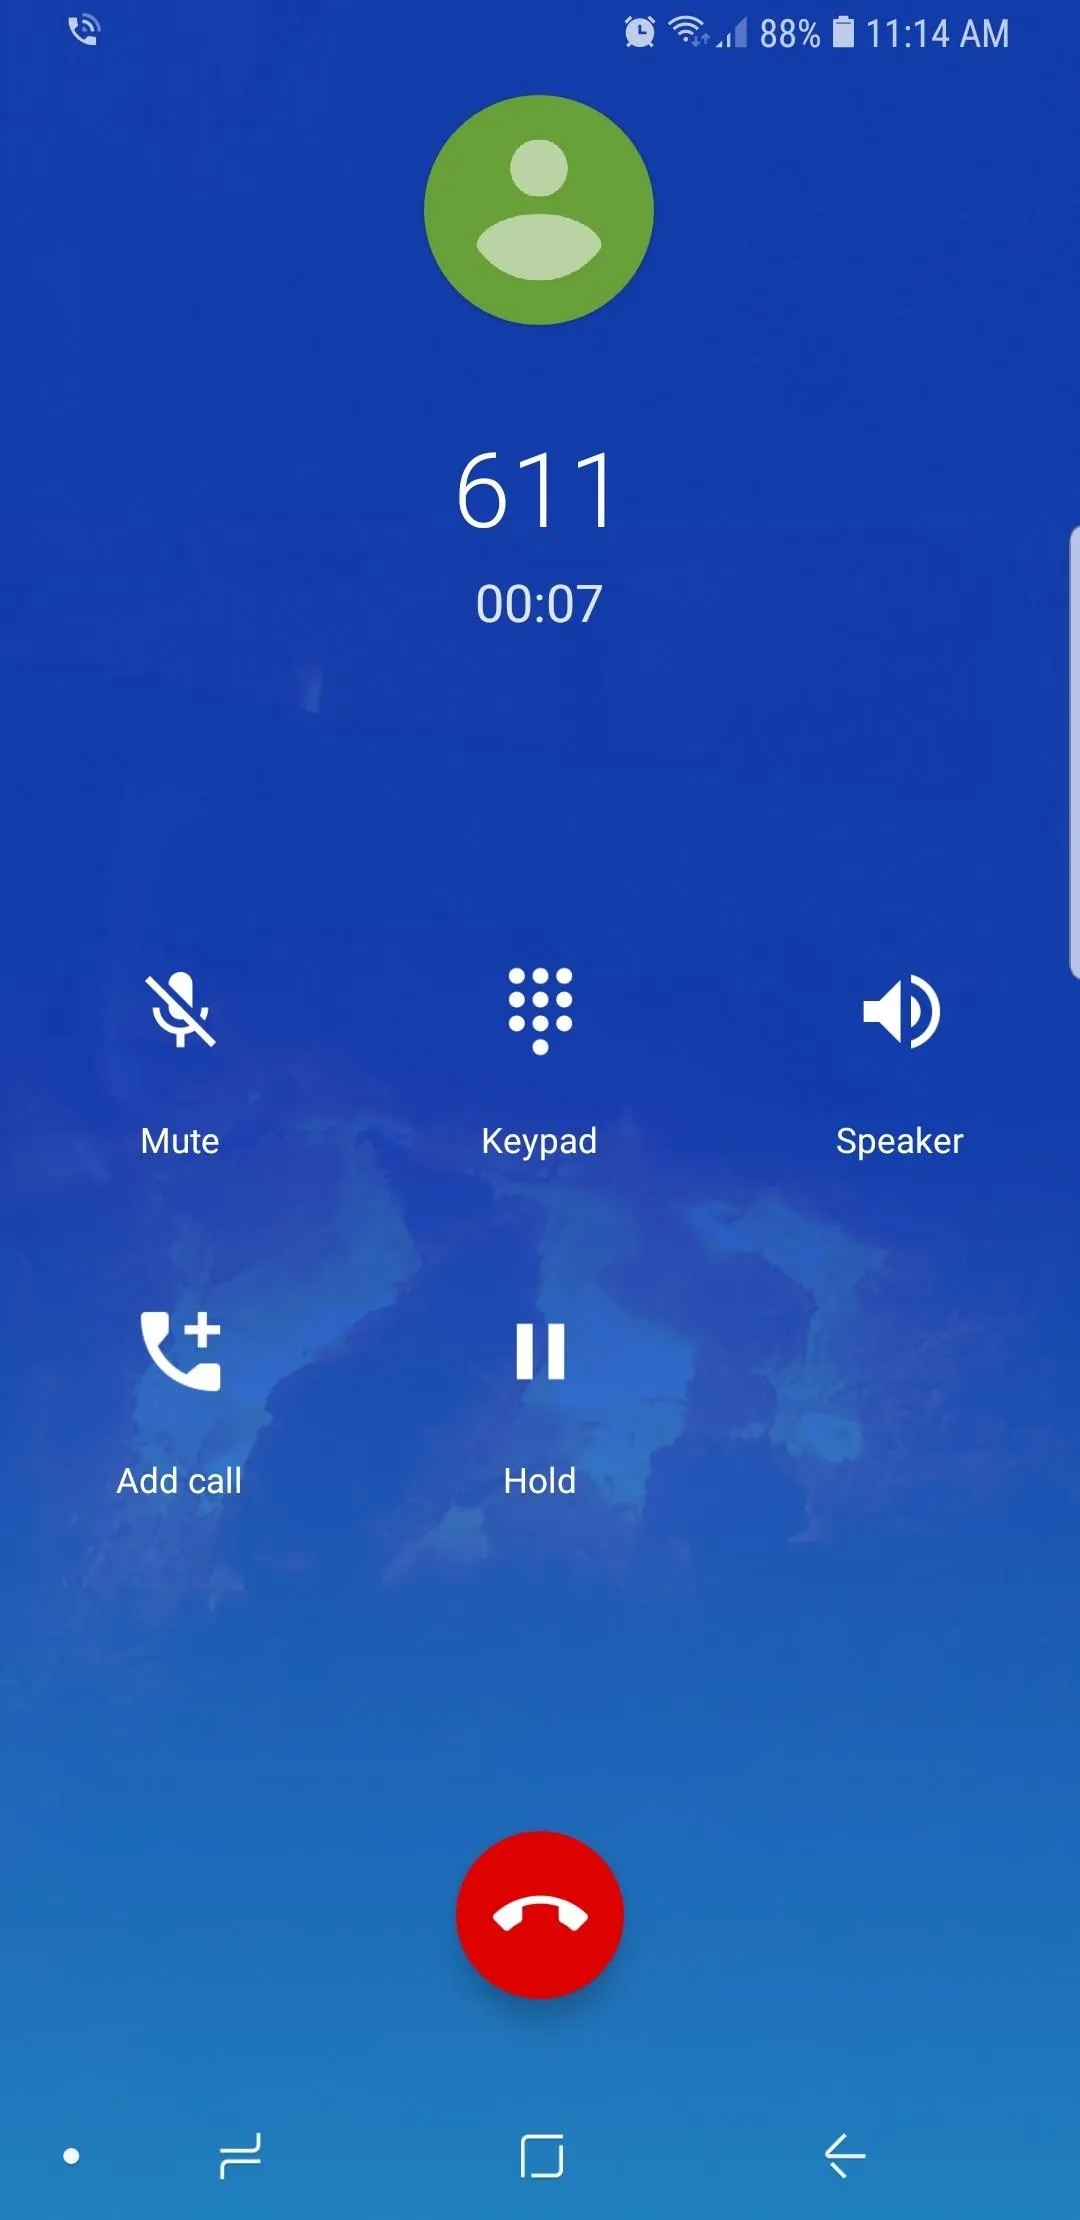
Now open the Google Phone app. You'll need to grant it a few permissions to allow the app to access your phone, contacts, and camera, so tap "Allow" when prompted. After granting it access, you'll now be able to make and receive calls through the Google Phone app. To learn more about your new dialer's features, check out our full guide below.


Tip 3: Use Android Messages
The Pixel 2 has another Google app called Android Messages to handle texting. While unimpressive at first glance, it features a clean Material Design interface and supports the new RCS Universal Profile for iMessage-like texting on T-Mobile and Sprint. Best of all, this app can be installed directly from the Google Play Store.
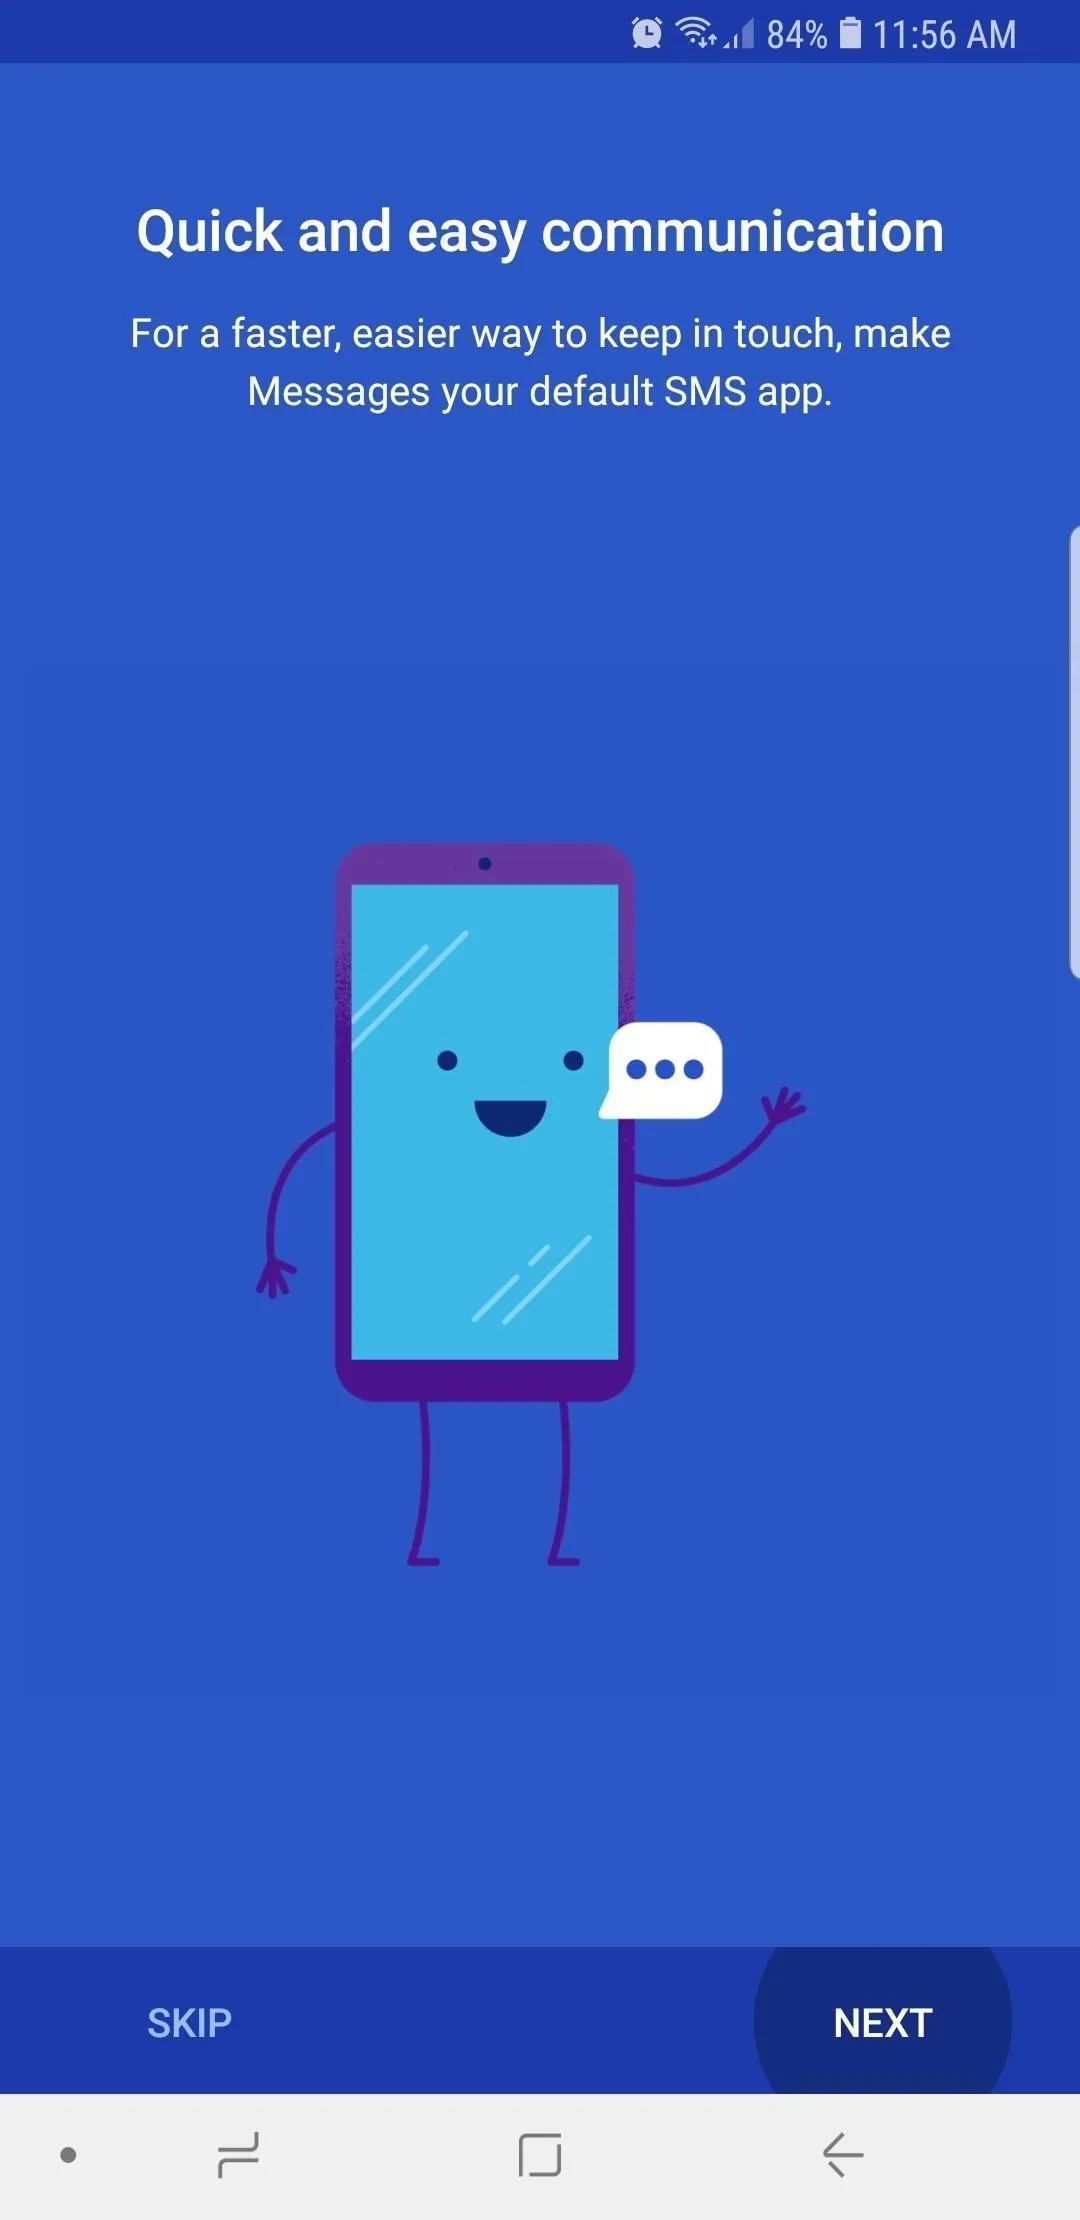
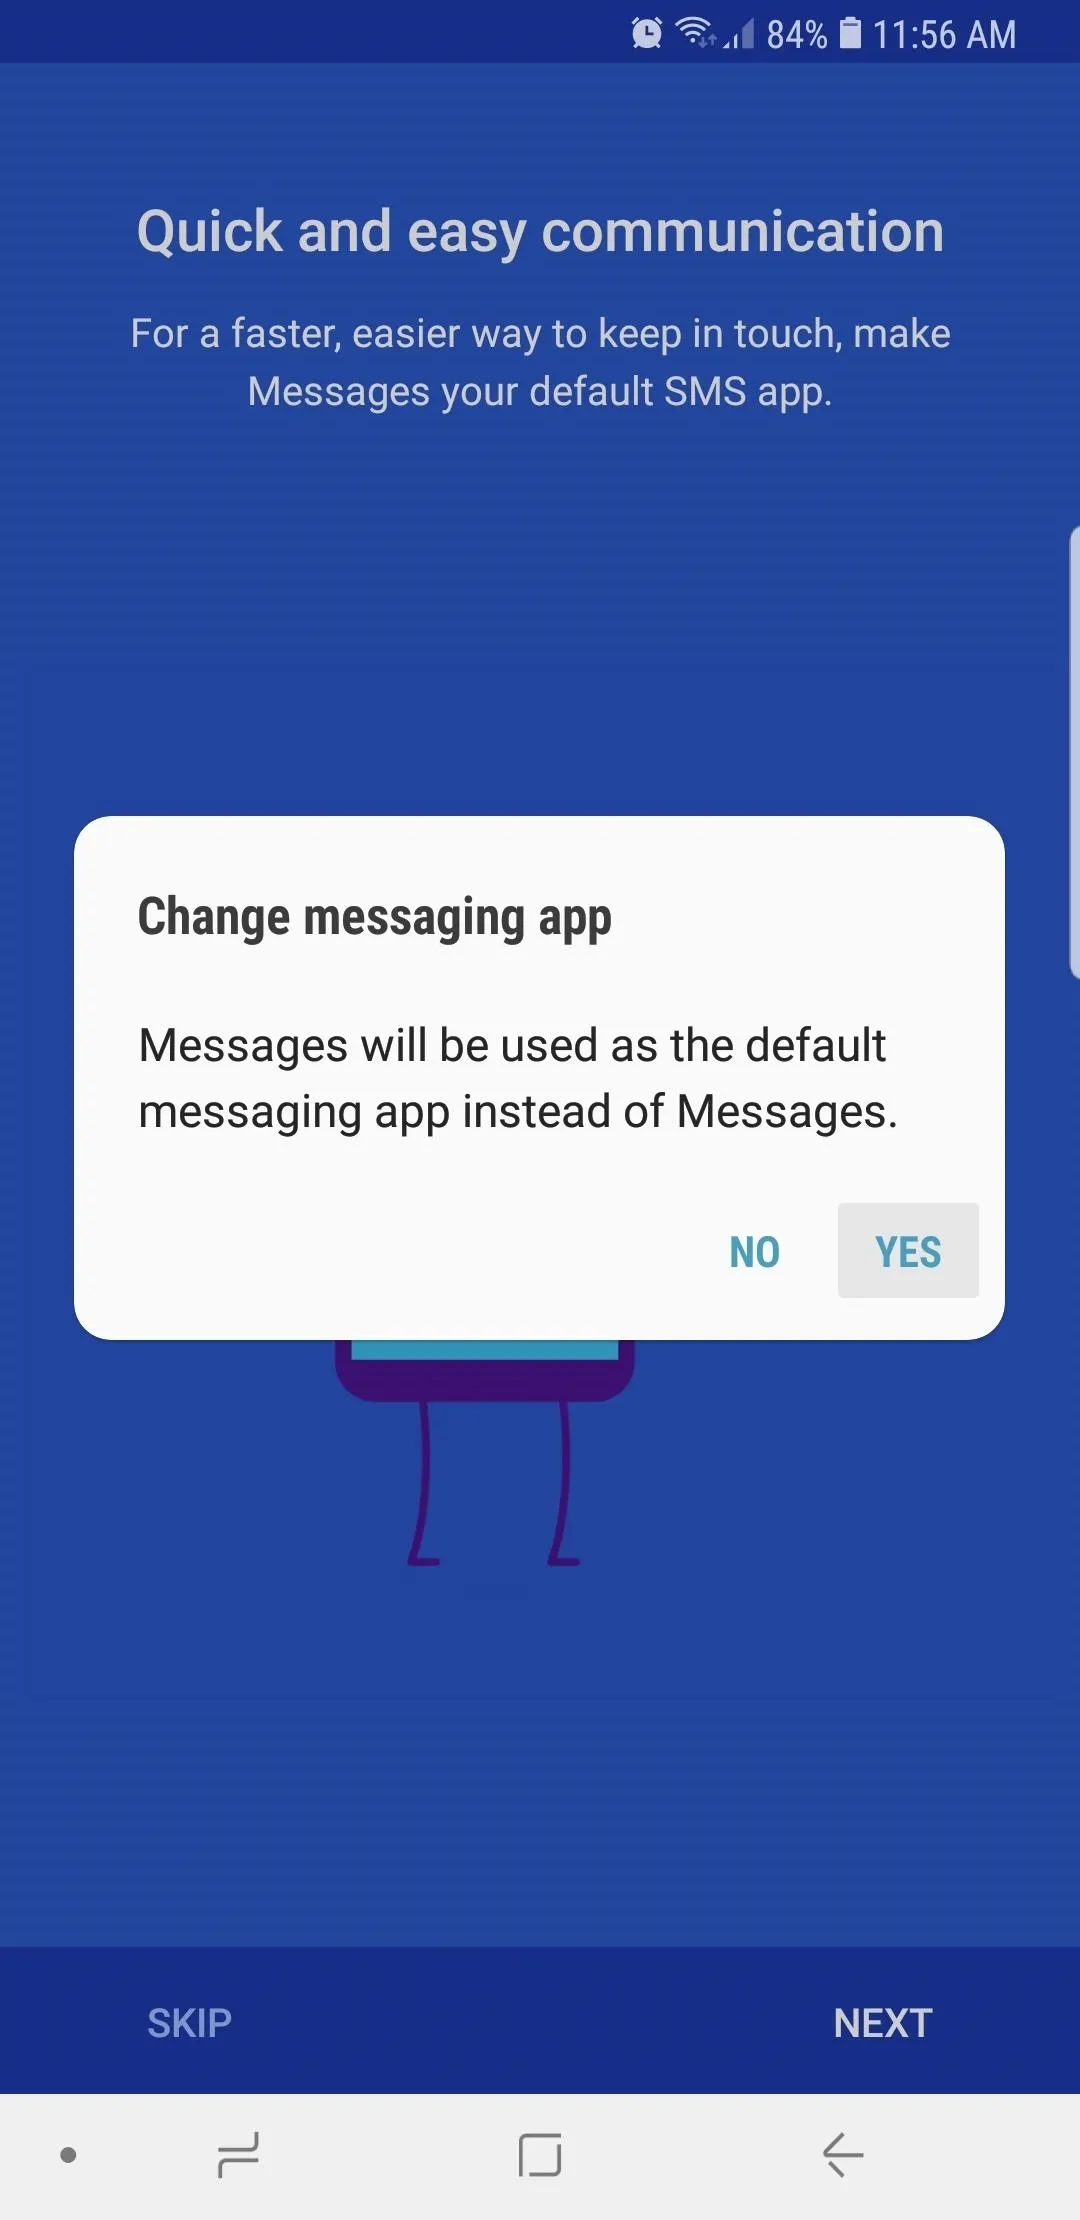
To set the app as your default messenger, simply open Android Messages once you've installed it, then follow the setup prompts. Tap on "Yes" on the confirmation prompt that appears, then you're good to go.
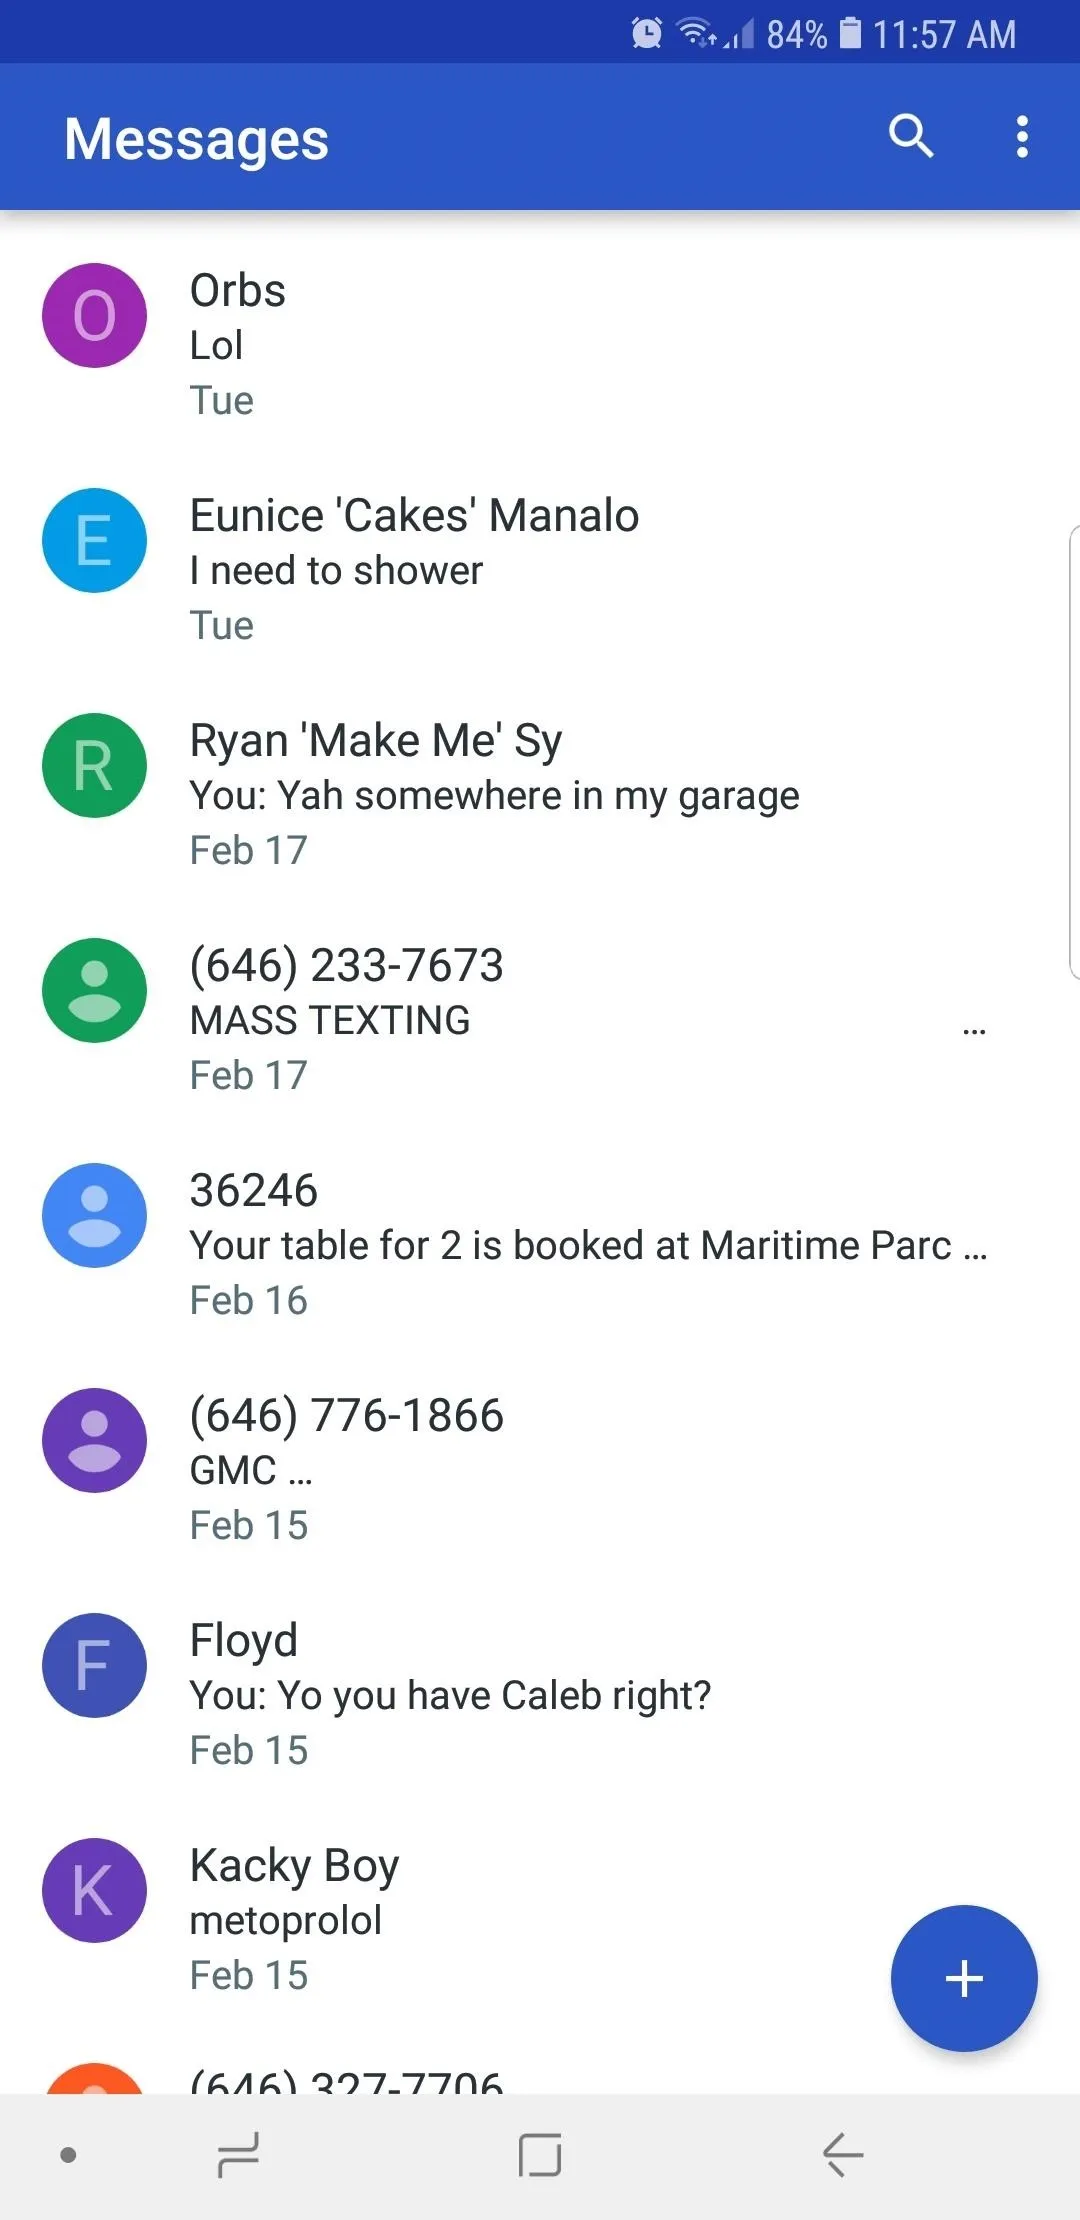


You can also perform the same steps that were done with the calling app to make Android Messages your default app for texting. So if you want to go this route, follow the steps you took in Tip 2 to make the phone app a default. This time select "Messaging app" and choose Android Messages as your primary means of handling SMS messages.
Tip 4: Set Gboard as Your Default Keyboard
The Pixel's primary keyboard, Gboard, is one of the best keyboard apps available right now. This awesome app lets you perform Google searches, share GIFs, and much more — all from within your keyboard. If you're not already using Gboard, now is the perfect time to make the switch, so head over the Play Store or tap on the link below to install the app.
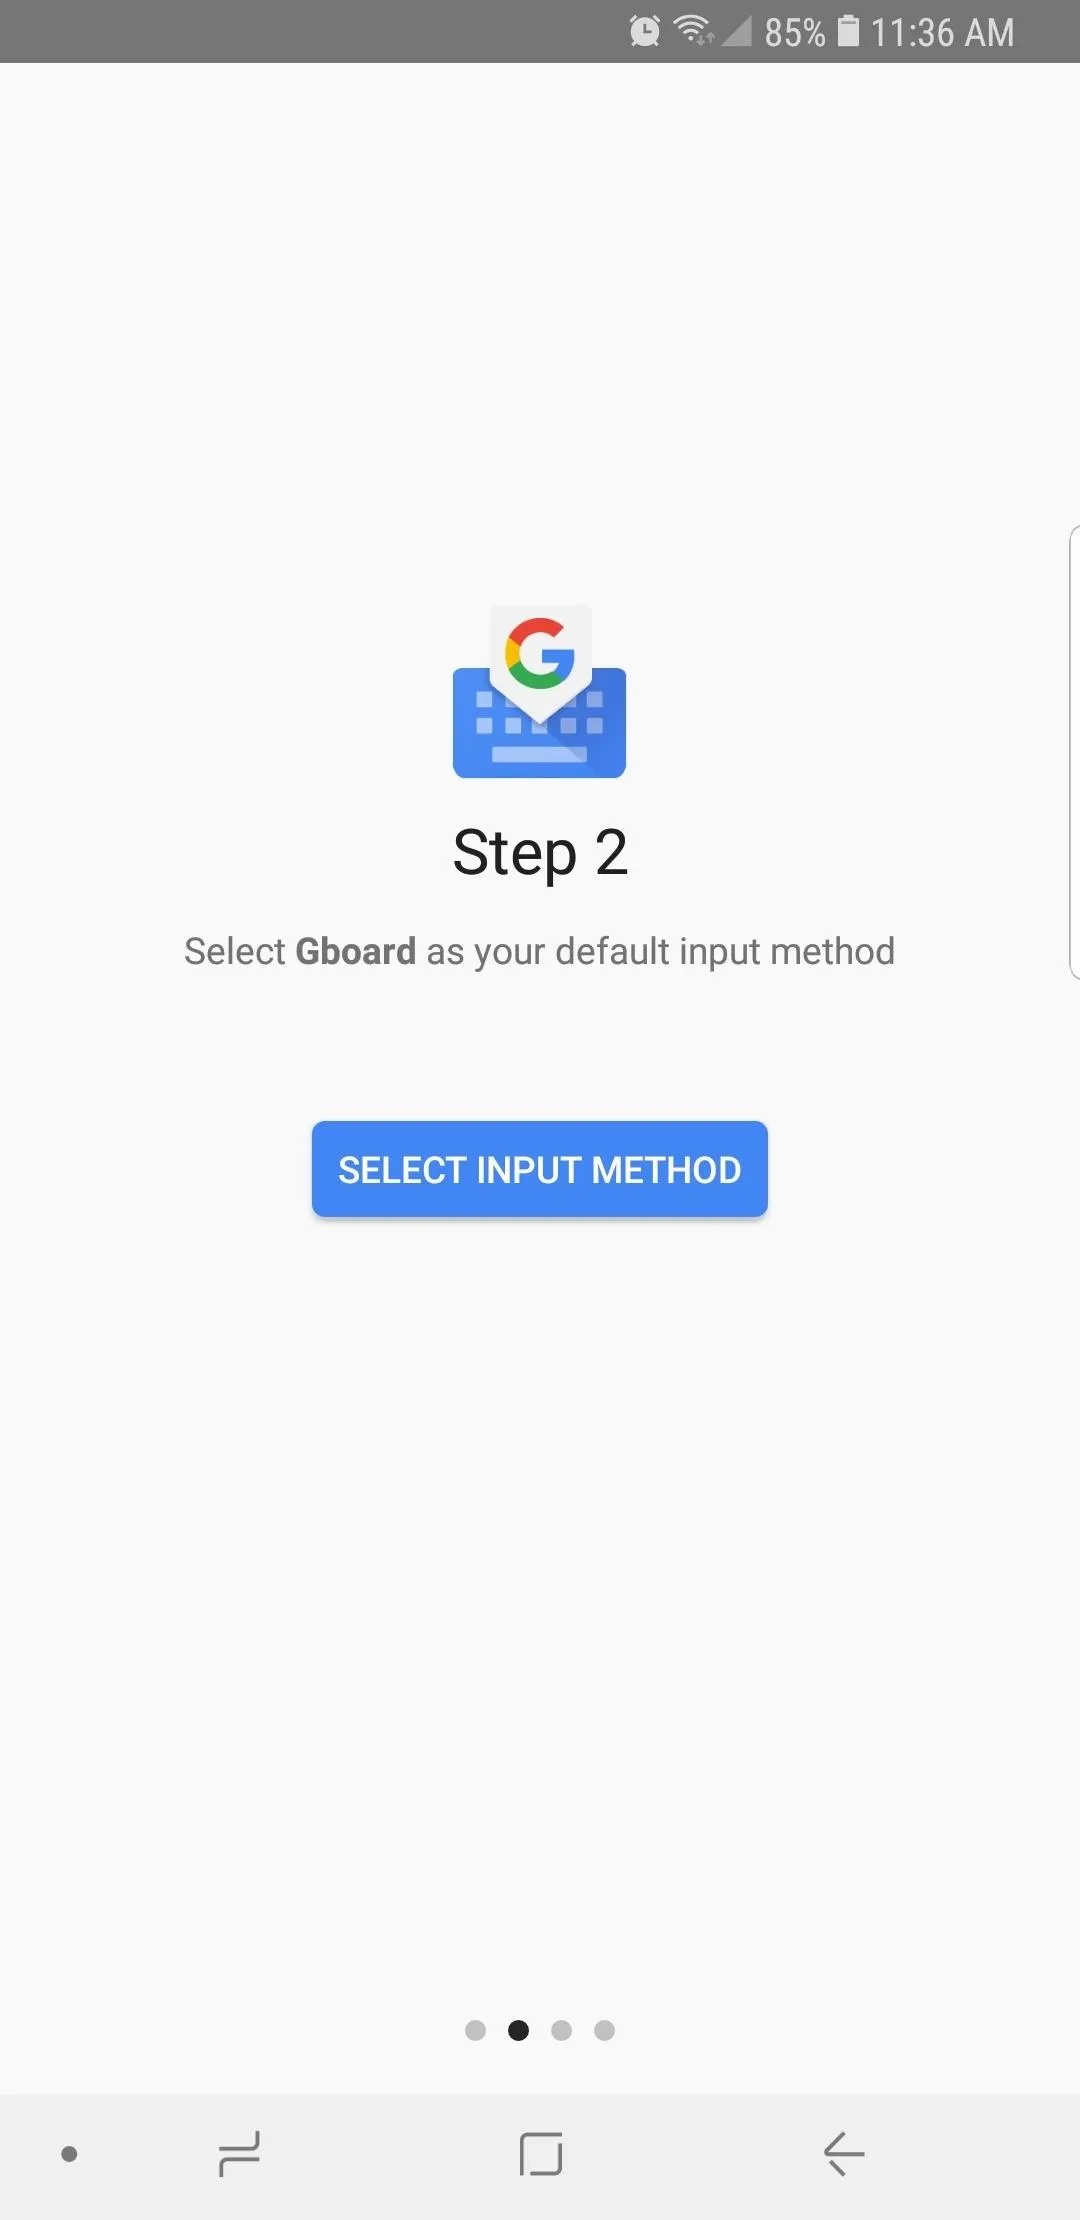
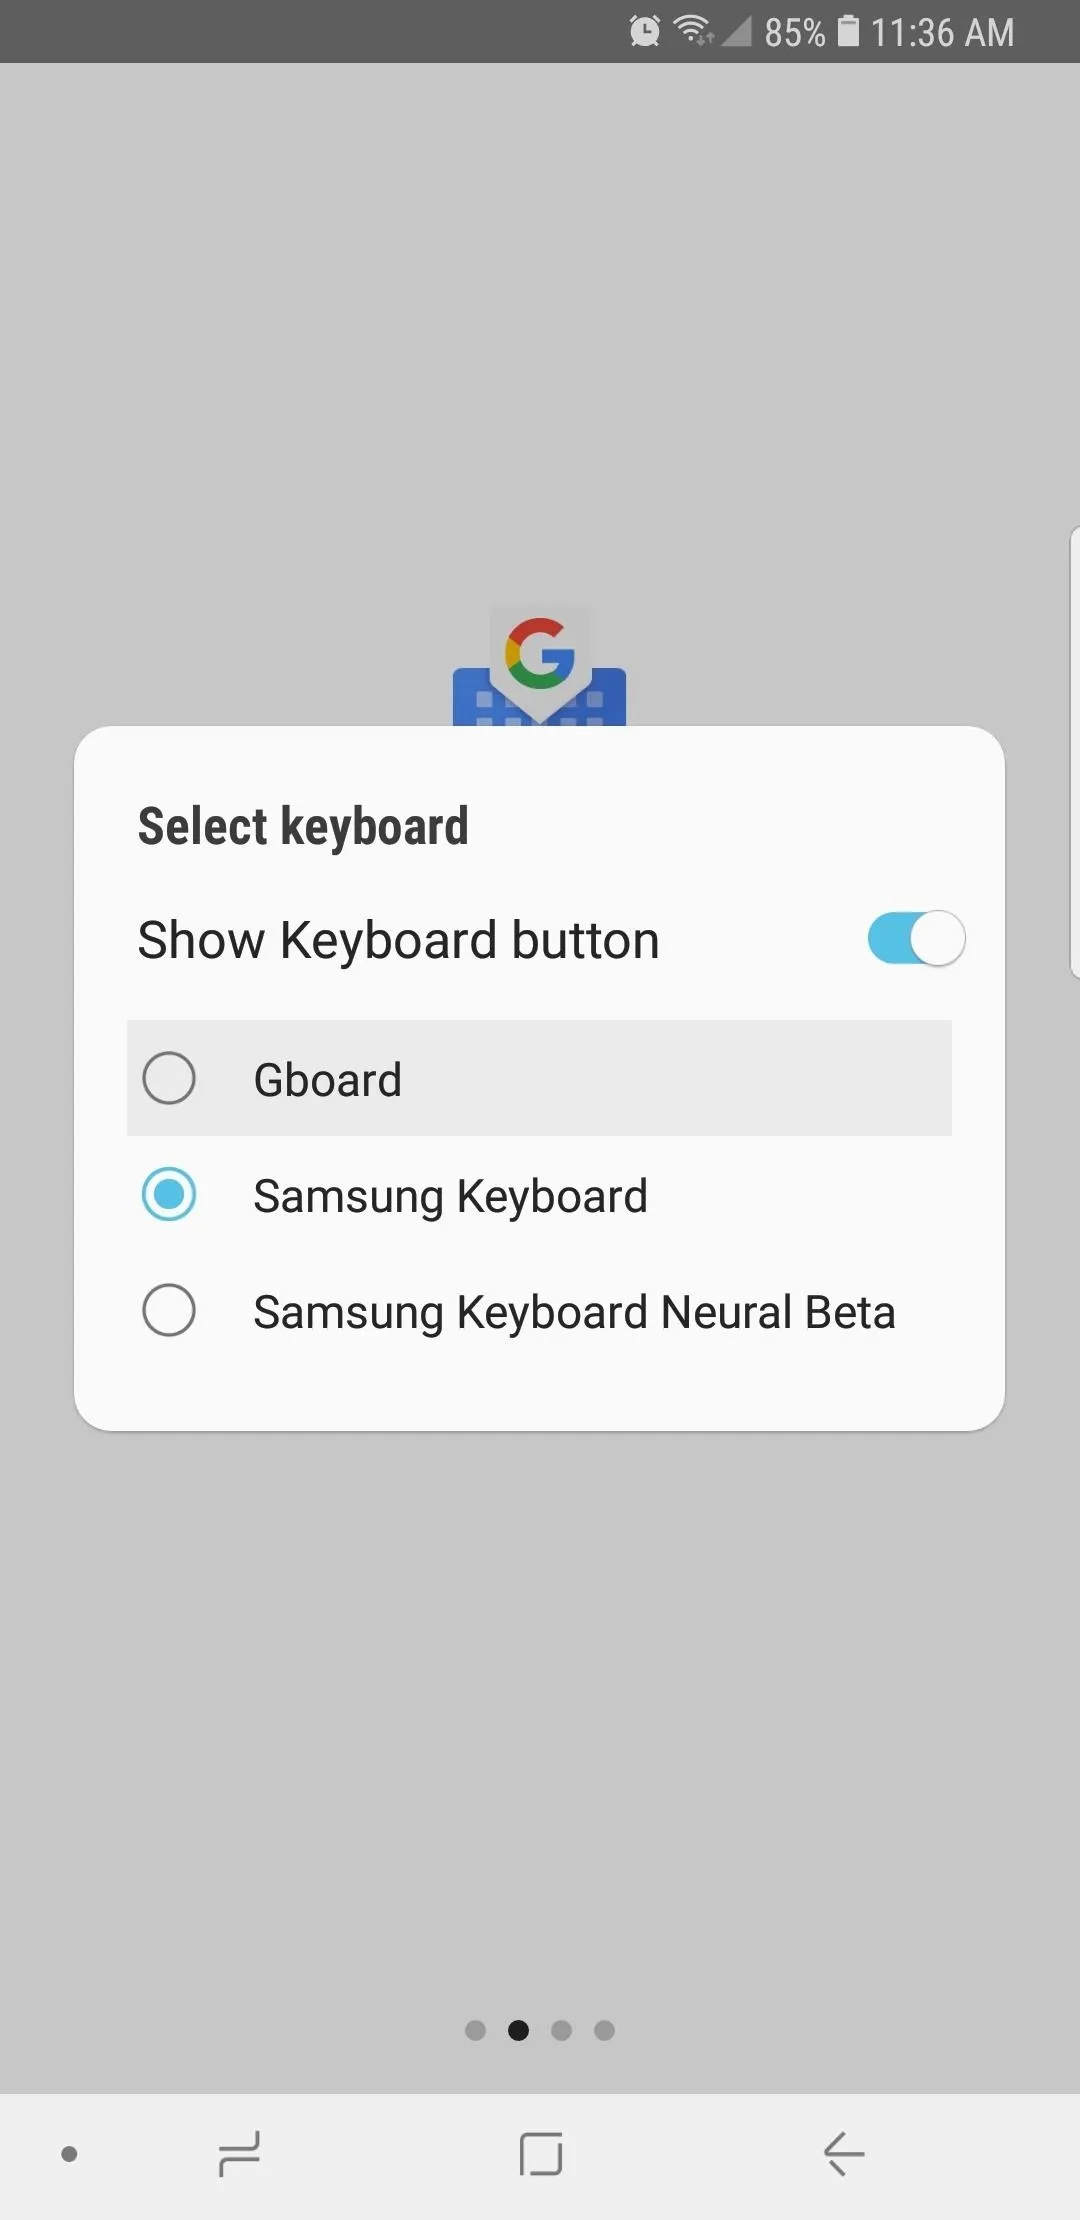
Now, open Gboard and follow the prompts. Tap on "Select Input Method" and choose the one labeled "Gboard" to make it your default keyboard. Finish up by giving it permission to access your contacts by tapping "Allow" on the prompt, then exit the app. After you're done, Gboard will now pop up automatically whenever you need to type something.
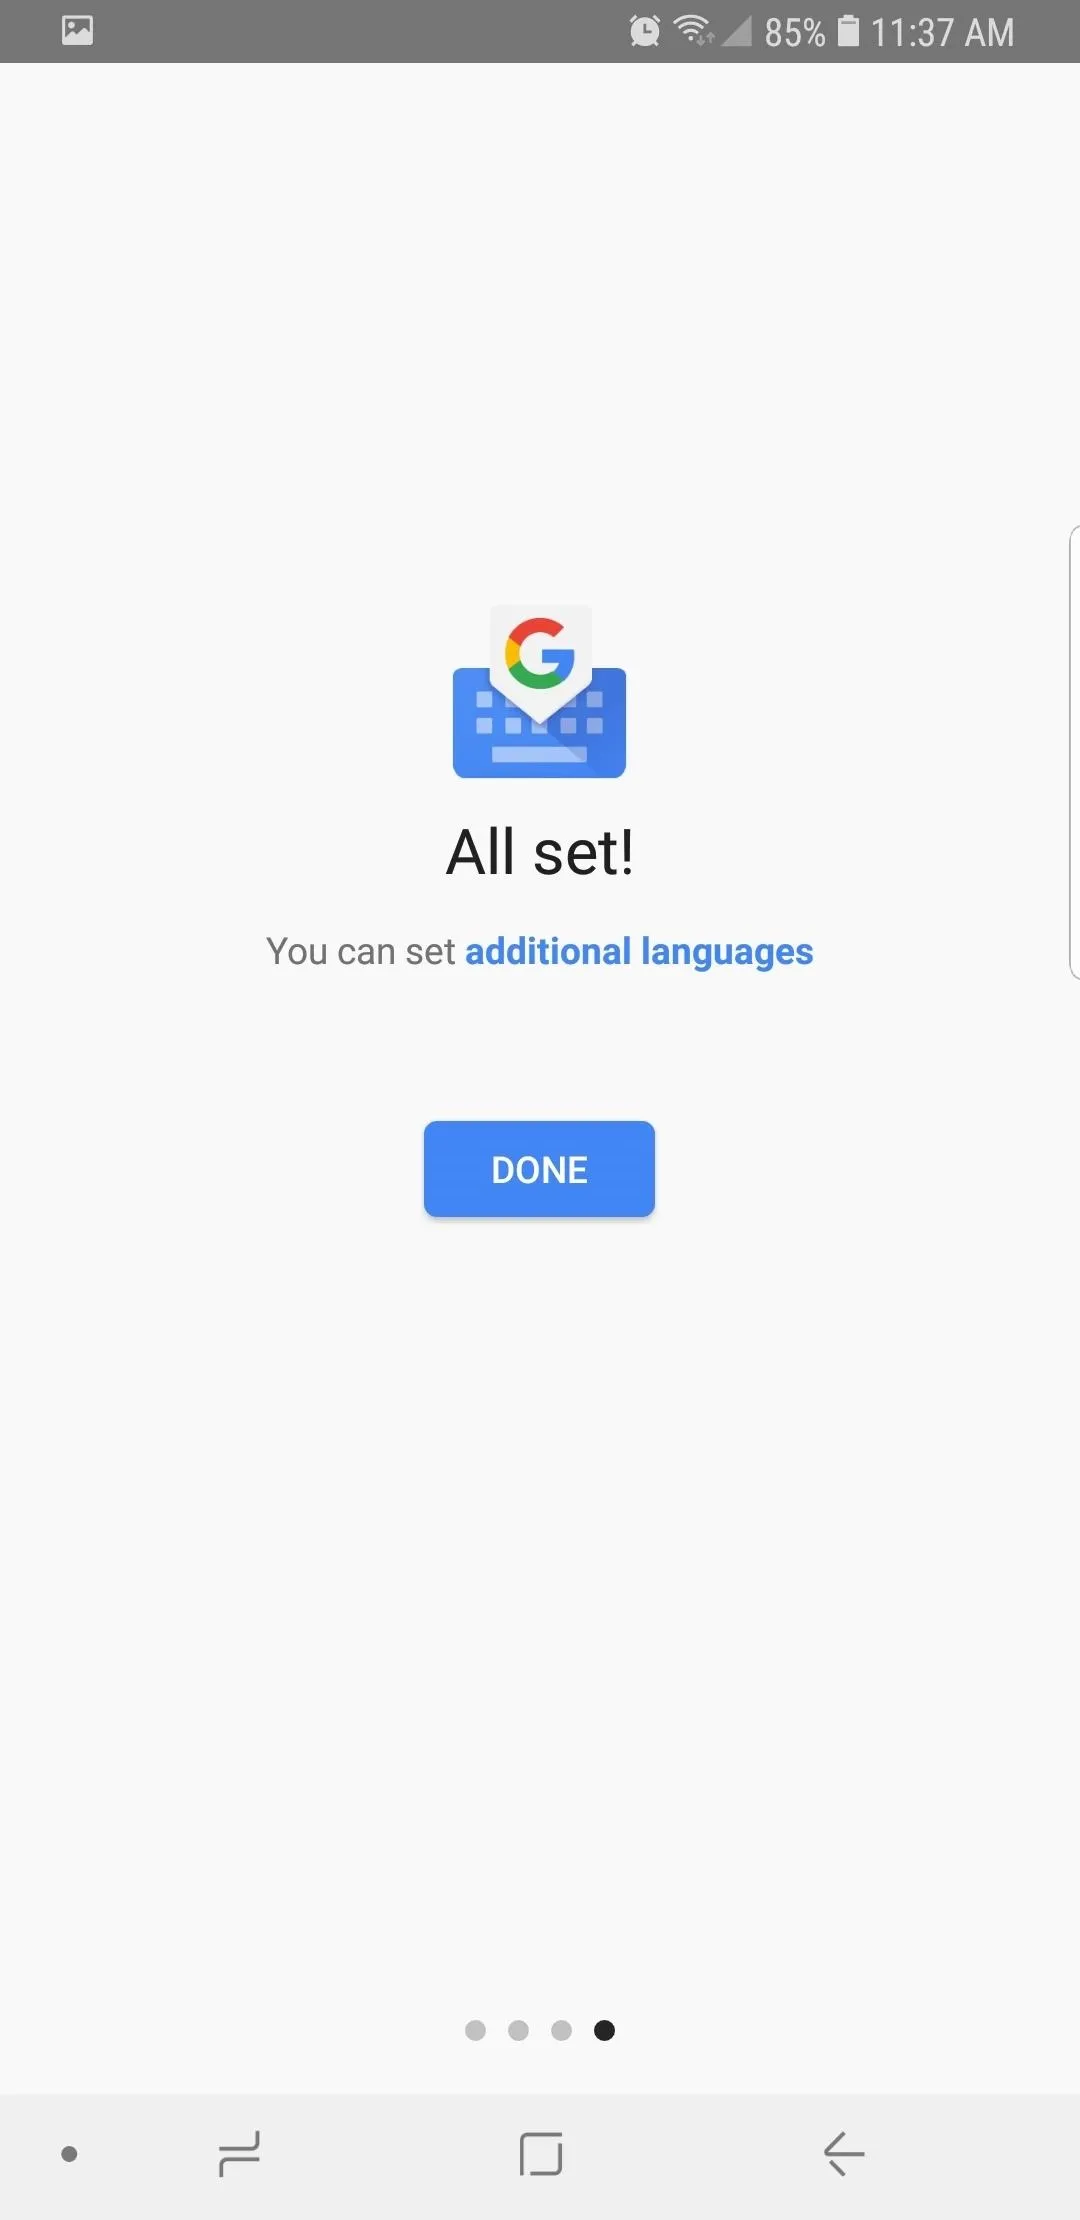


If you've grown accustomed to the built-in number row that comes with the Samsung keyboard, fret not, you can add it to Gboard in the app's settings. And that's just the tip of the iceberg, as Gboard has tons of cool features that's sure to impress once you've given it a try. Feel free to head to the link below if you'd like to learn more about Gboard.
Tip 5: Browse the Web with Chrome
The Pixel 2 uses Google Chrome as its default browser, so many of us who use it on our desktops and smartphones will instantly hit the ground running with this browser. If you're new to Chrome, however, this is the perfect opportunity to finally give it a try, so head over to the Play Store or tap on the link below to install the browser.
After installing Chrome, you can set it as your default browser by following the steps outlined in Tip 2 — but this time, select "Browsing app" from the Default Apps screen, then choose "Chrome." Once you've done that, all links will open in the same browser the Pixel uses.
Tip 6: Get Google's Wallpaper App
To complete your S9's transition to the Pixel 2, we'll need the add Google's very own wallpaper pack. The pack is available as a free download over at the Play Store, and it's fittingly called Google Wallpapers, so go ahead and install the app:
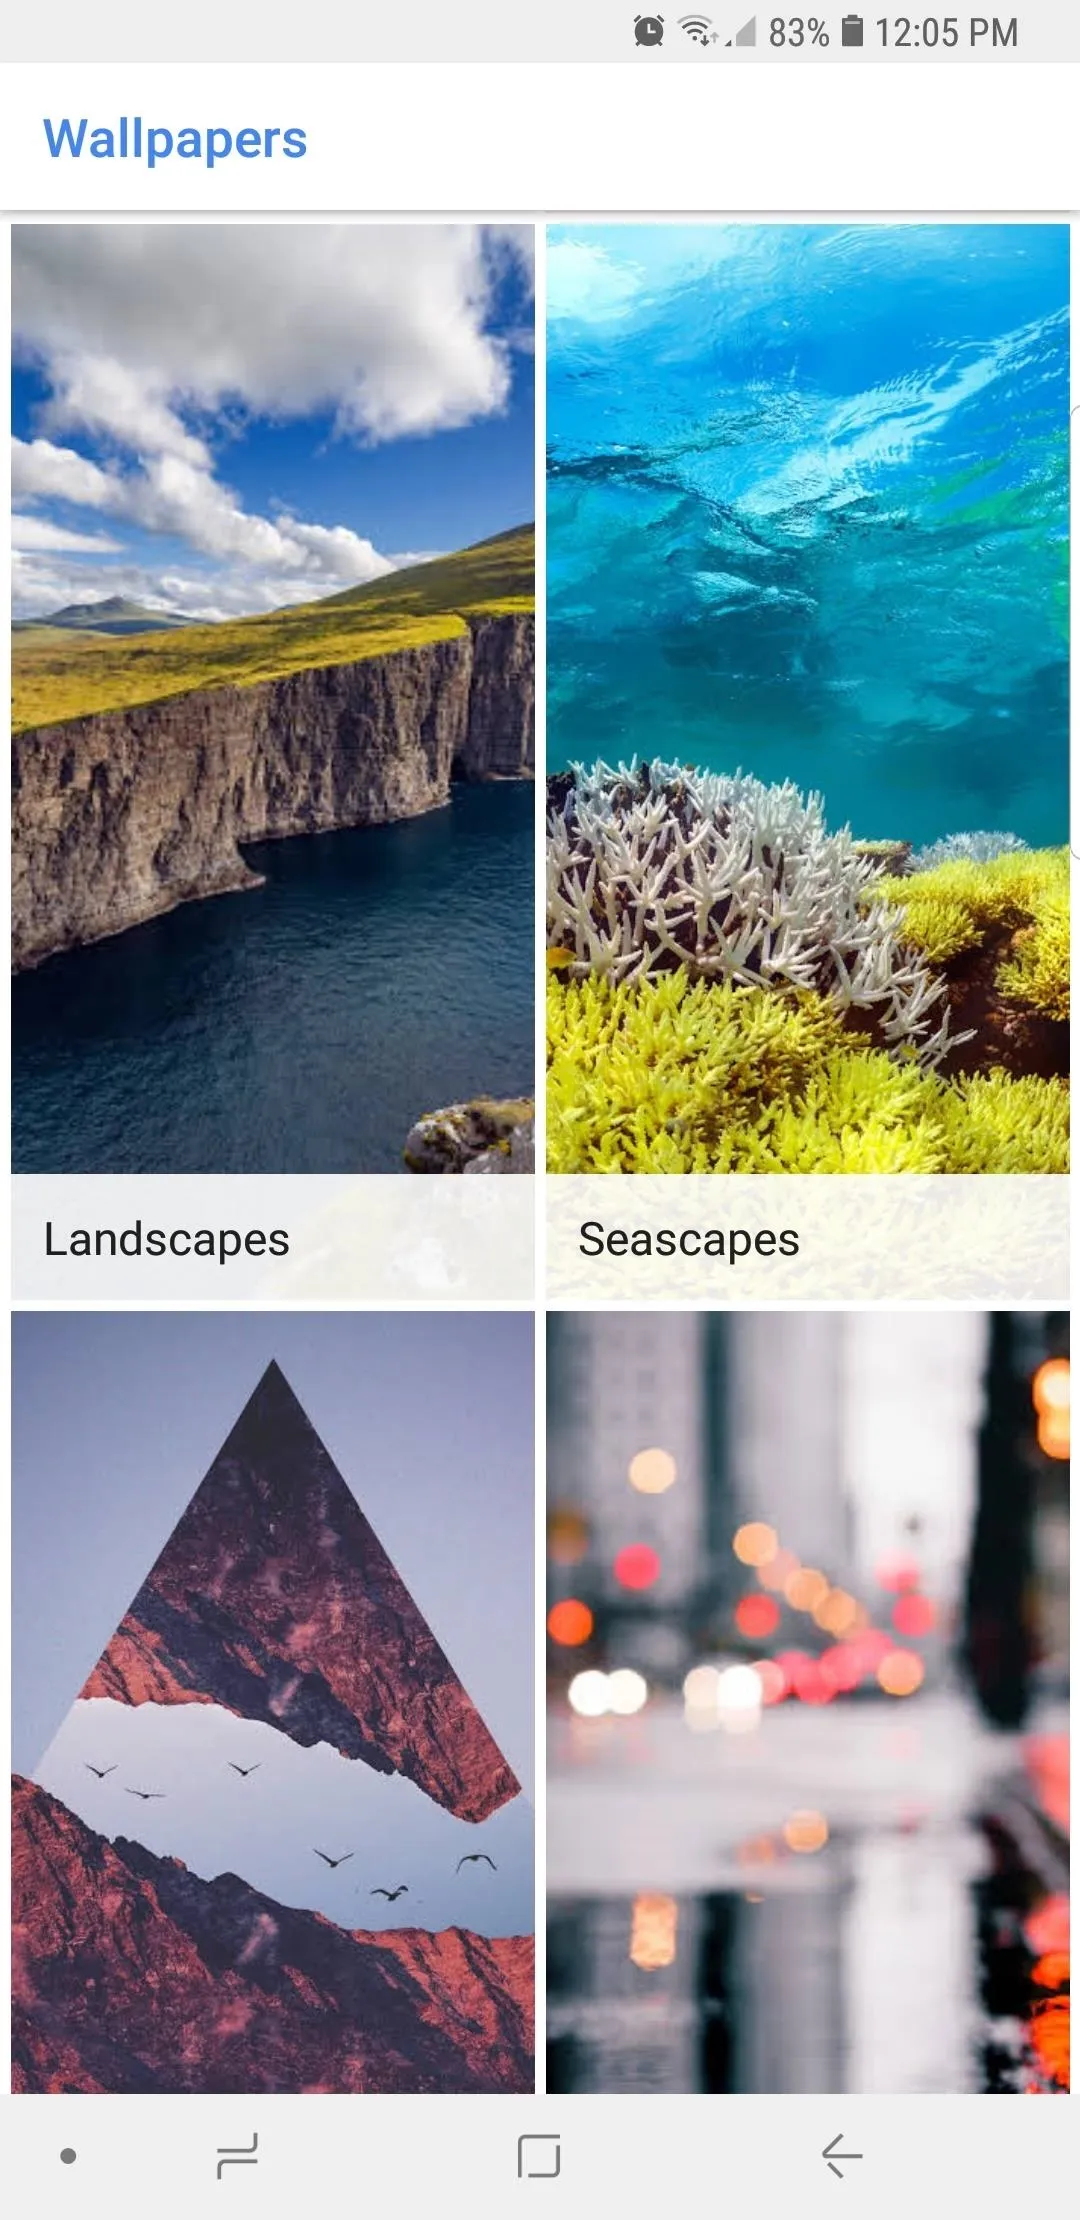
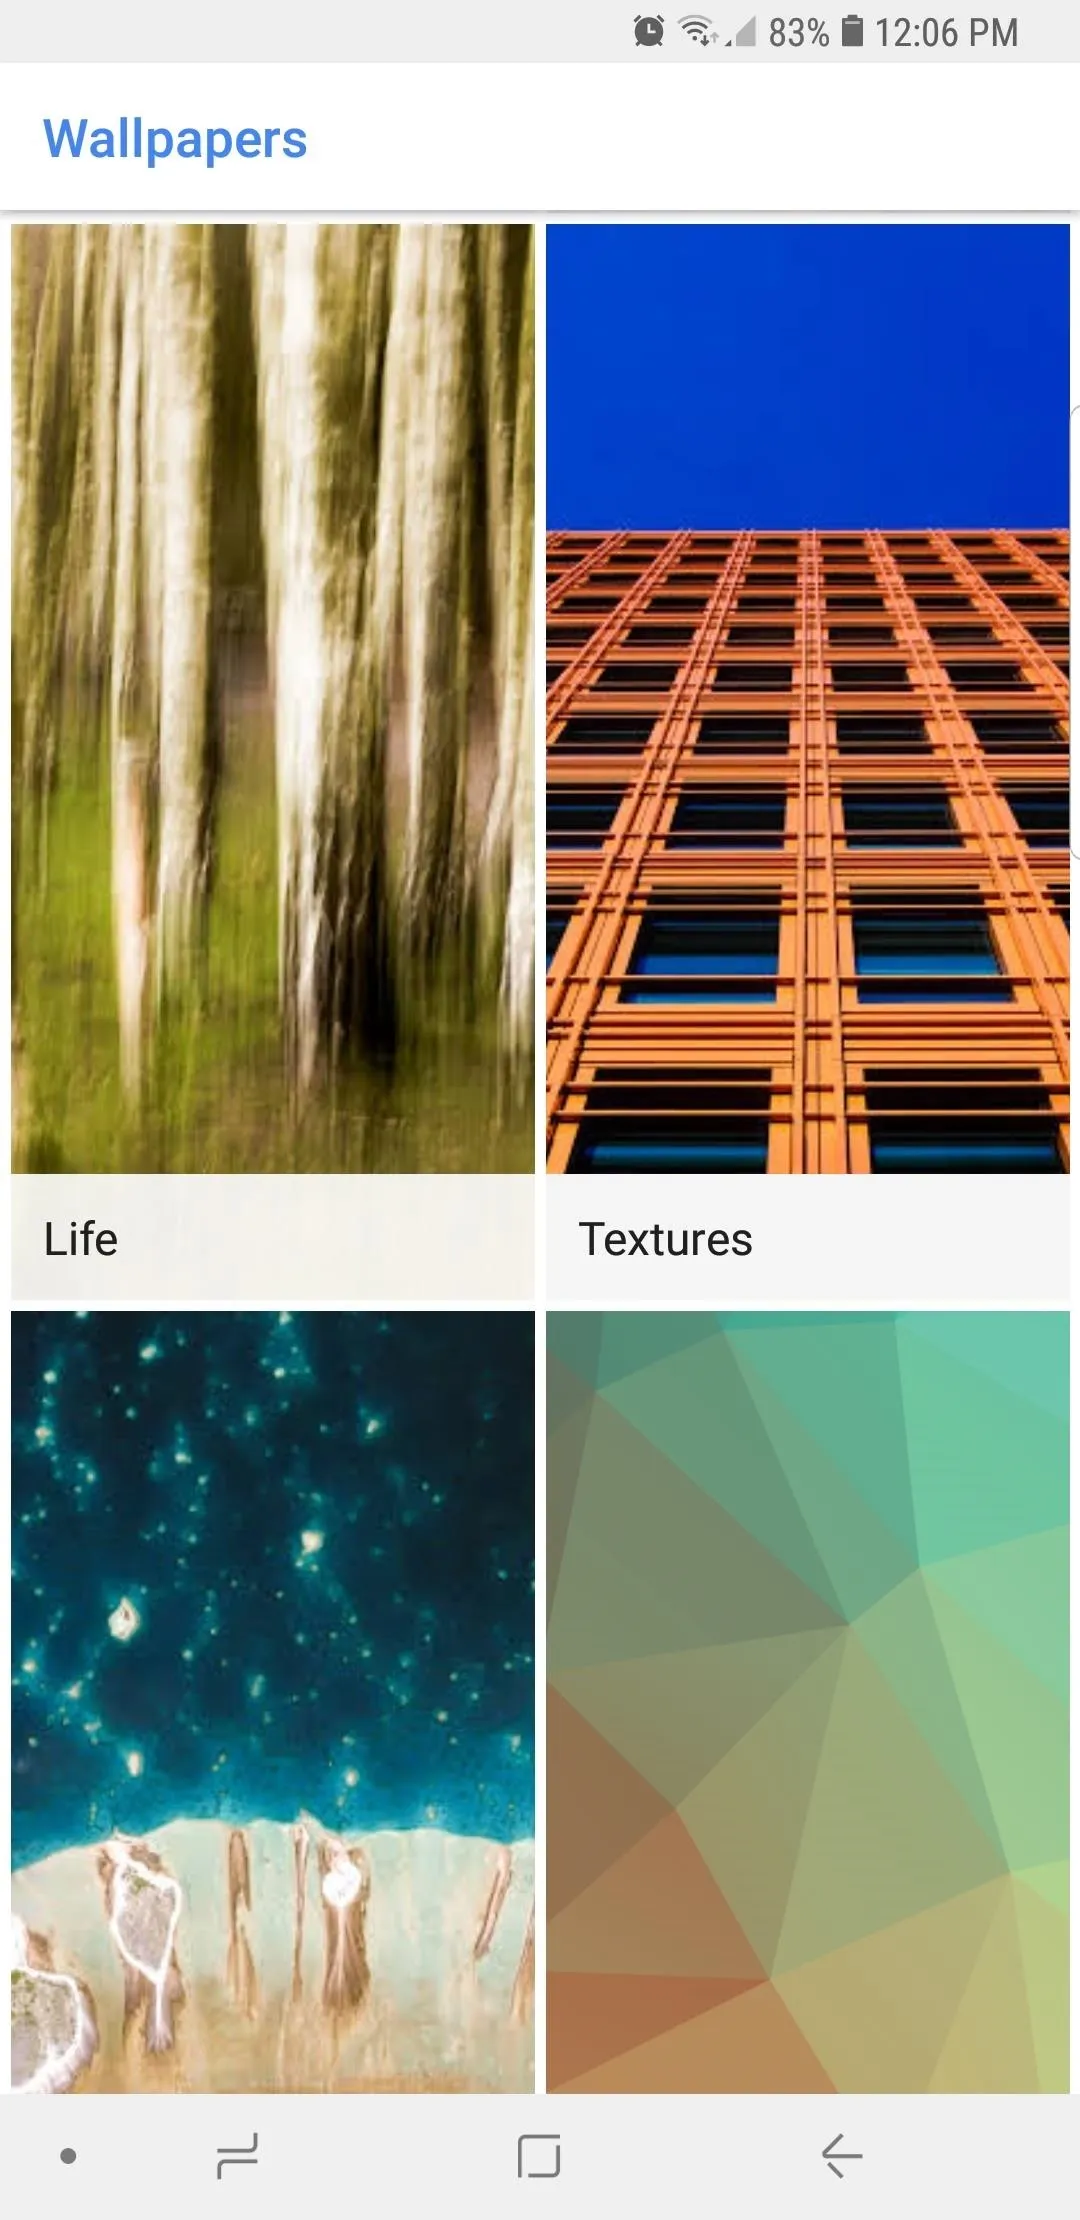
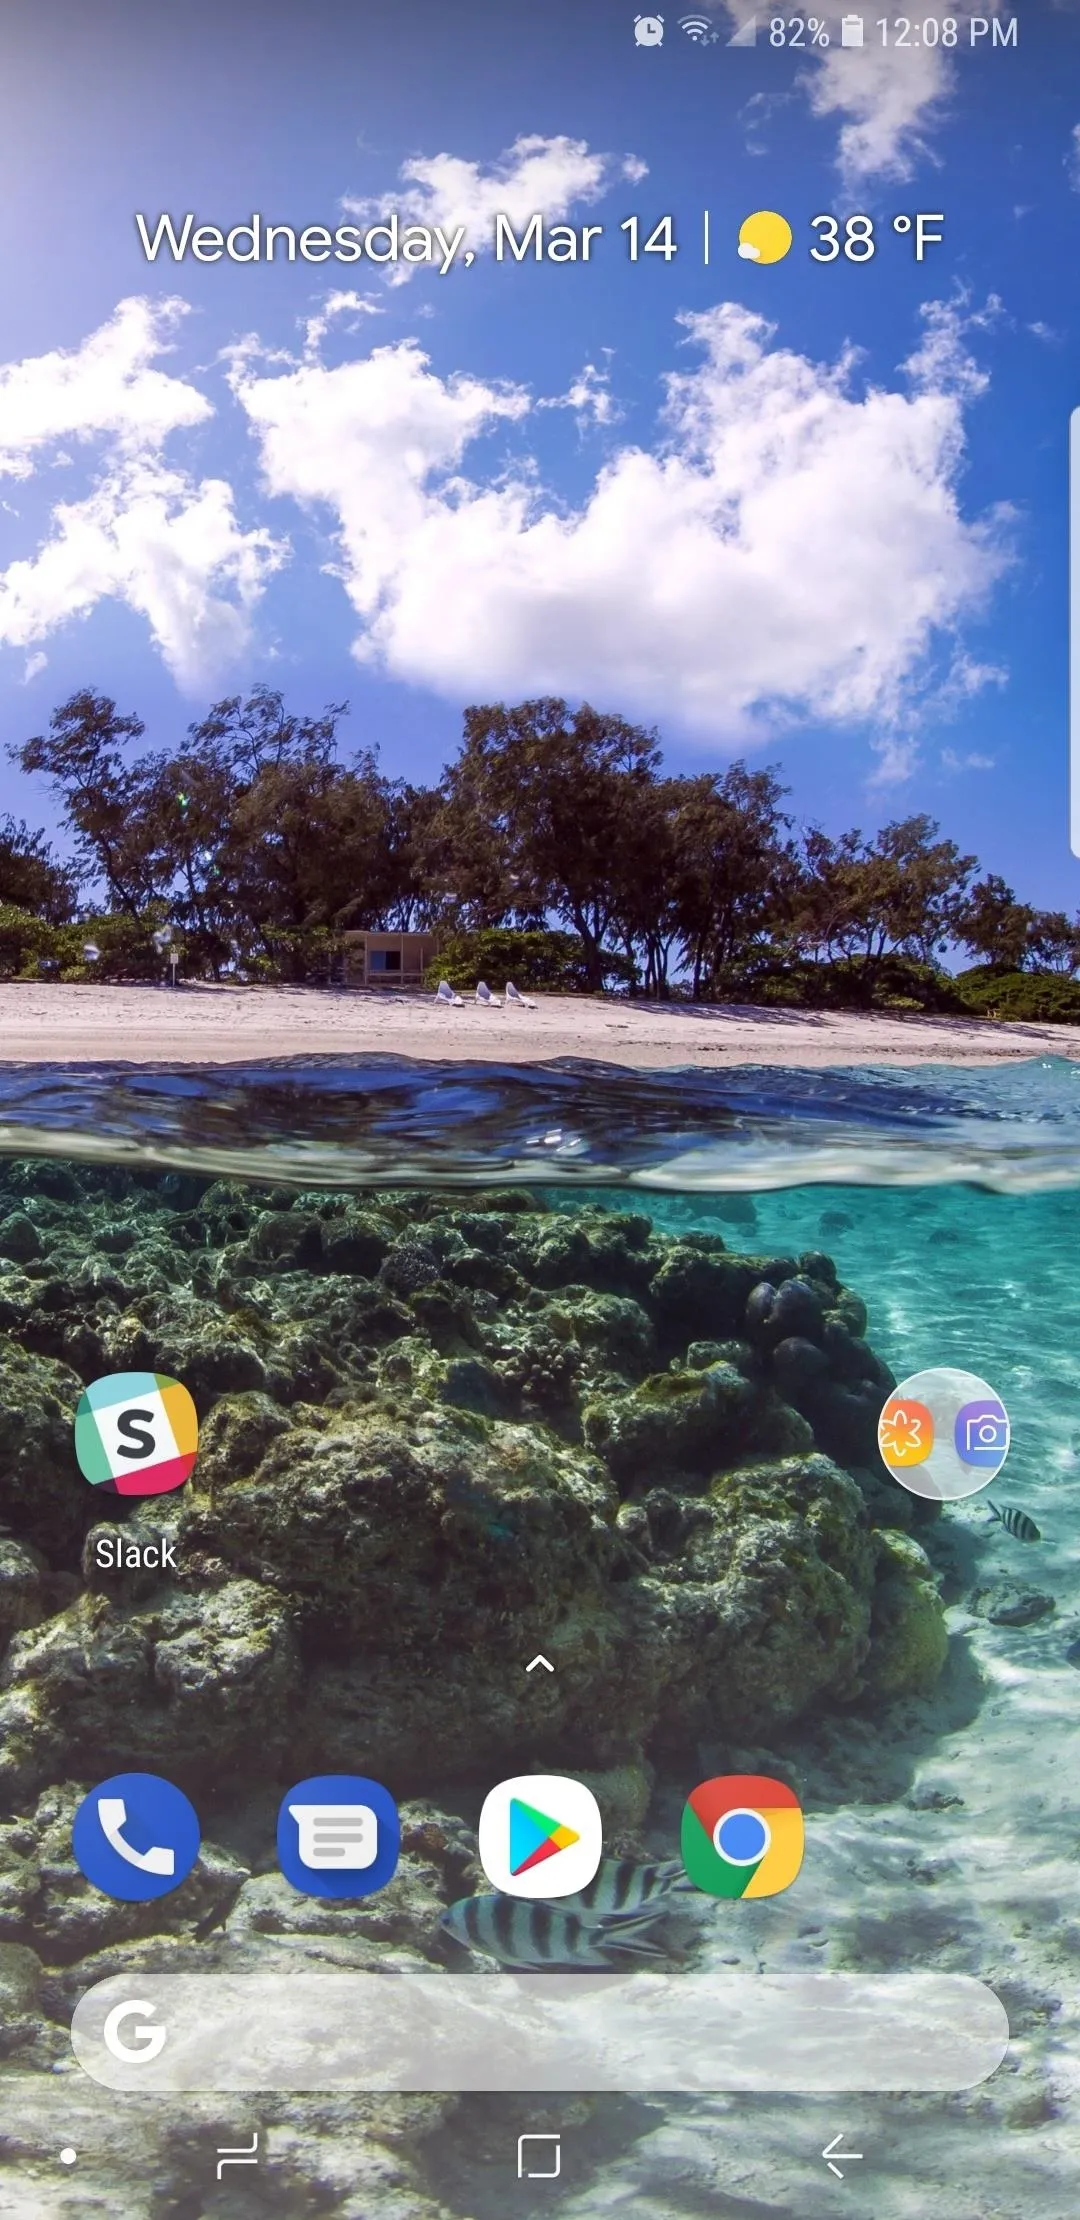


If you want take your wallpaper experience to the next level, you can even get the Pixel's exclusive "Live Earth" wallpaper pack to compliment your S9's stunning display, so be sure to check this guide out to learn how:
While your Galaxy S9 may not be able to run true stock Android, this method gets you as close as currently possible to the experience you would have with the Pixel's minimalist OS. How are you liking the Pixel experience on your S9 so far? We'd love to hear your feedback, so leave a comment down below and share your thoughts or any additional tips you may have.
- Follow Gadget Hacks on Facebook, Twitter, Google+, and YouTube
- Follow Android Hacks on Facebook, Twitter, and Pinterest
- Follow WonderHowTo on Facebook, Twitter, Pinterest, and Google+
Cover image and screenshot by Amboy Manalo/Gadget Hacks


Comments
No Comments Exist
Be the first, drop a comment!