Samsung uses their own SamsungOne font for their Galaxy lineup. But if you're coming from an iPhone or another Android device, you might not love it. With the help of this mod, however, you're sure to find a font that's right for you.
Samsung's Galaxy Store has fonts that you can install. The problem is, many of them aren't free, averaging around $1.79 per font. But Galaxy users on One UI 2.0, aka Android 10, have another option. Using a series of APKs, you can have access to 73 different fonts for free. And best of all, it doesn't require root, just time and a good file browser.
Requirement
- Samsung Galaxy device running Android 10 (One UI 2.0)
Step 1: Download the Monofonts ZIP File
The file that makes it all possible is the ZIP file, "monofonts", shared by XDA user JAMRZ69. You will find the ZIP file attached to the post linked below. Download this file onto your Galaxy.
Step 2: Extract the ZIP File
Since you will be working with a ZIP file, you will need to extract it first to reveal its contents. While you can technically move the file to your computer, extract it, then return to your phone, who has time for that.
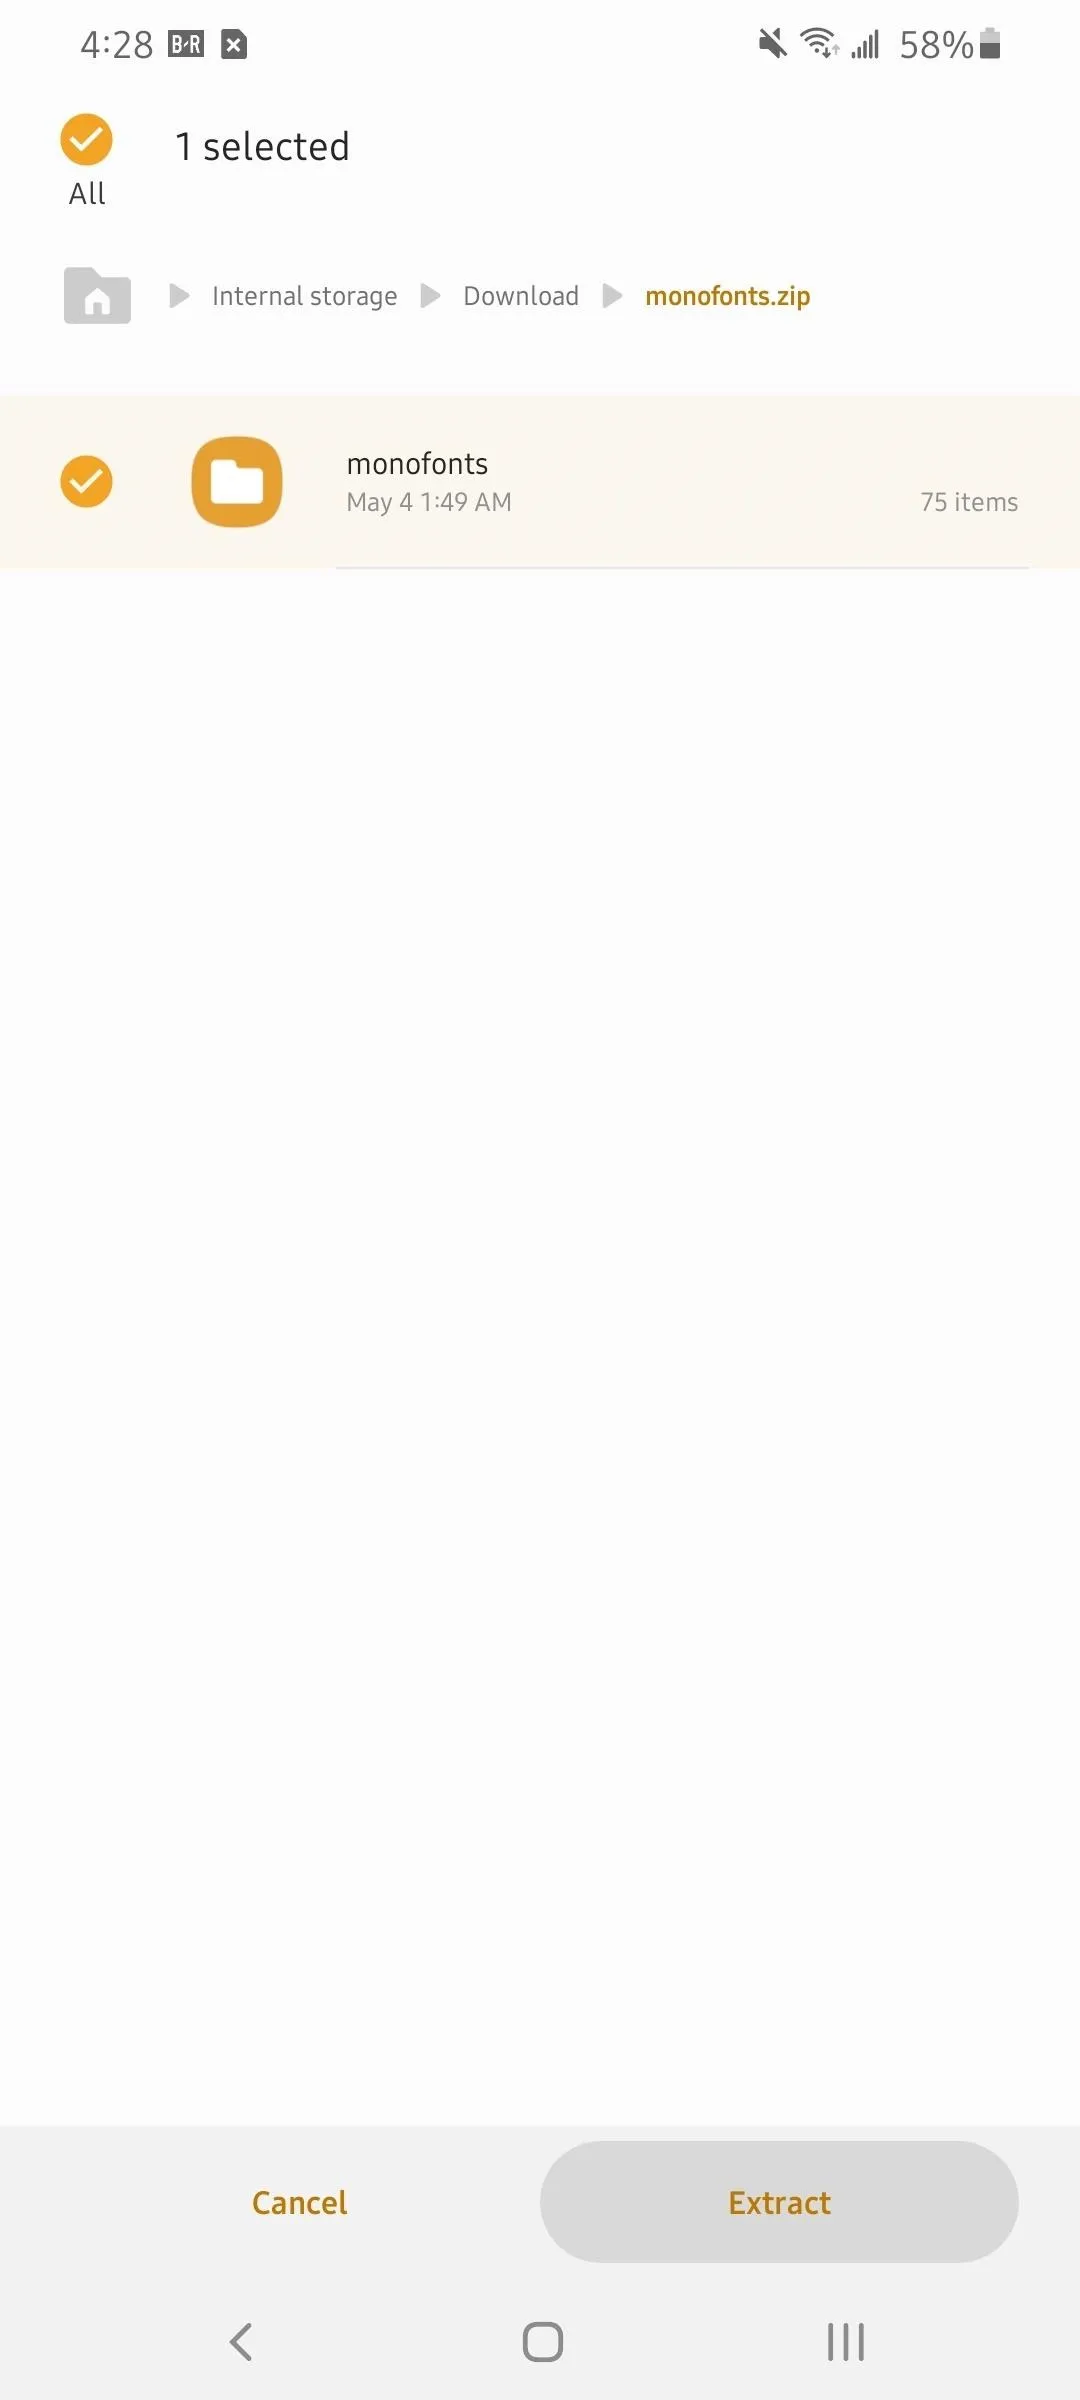
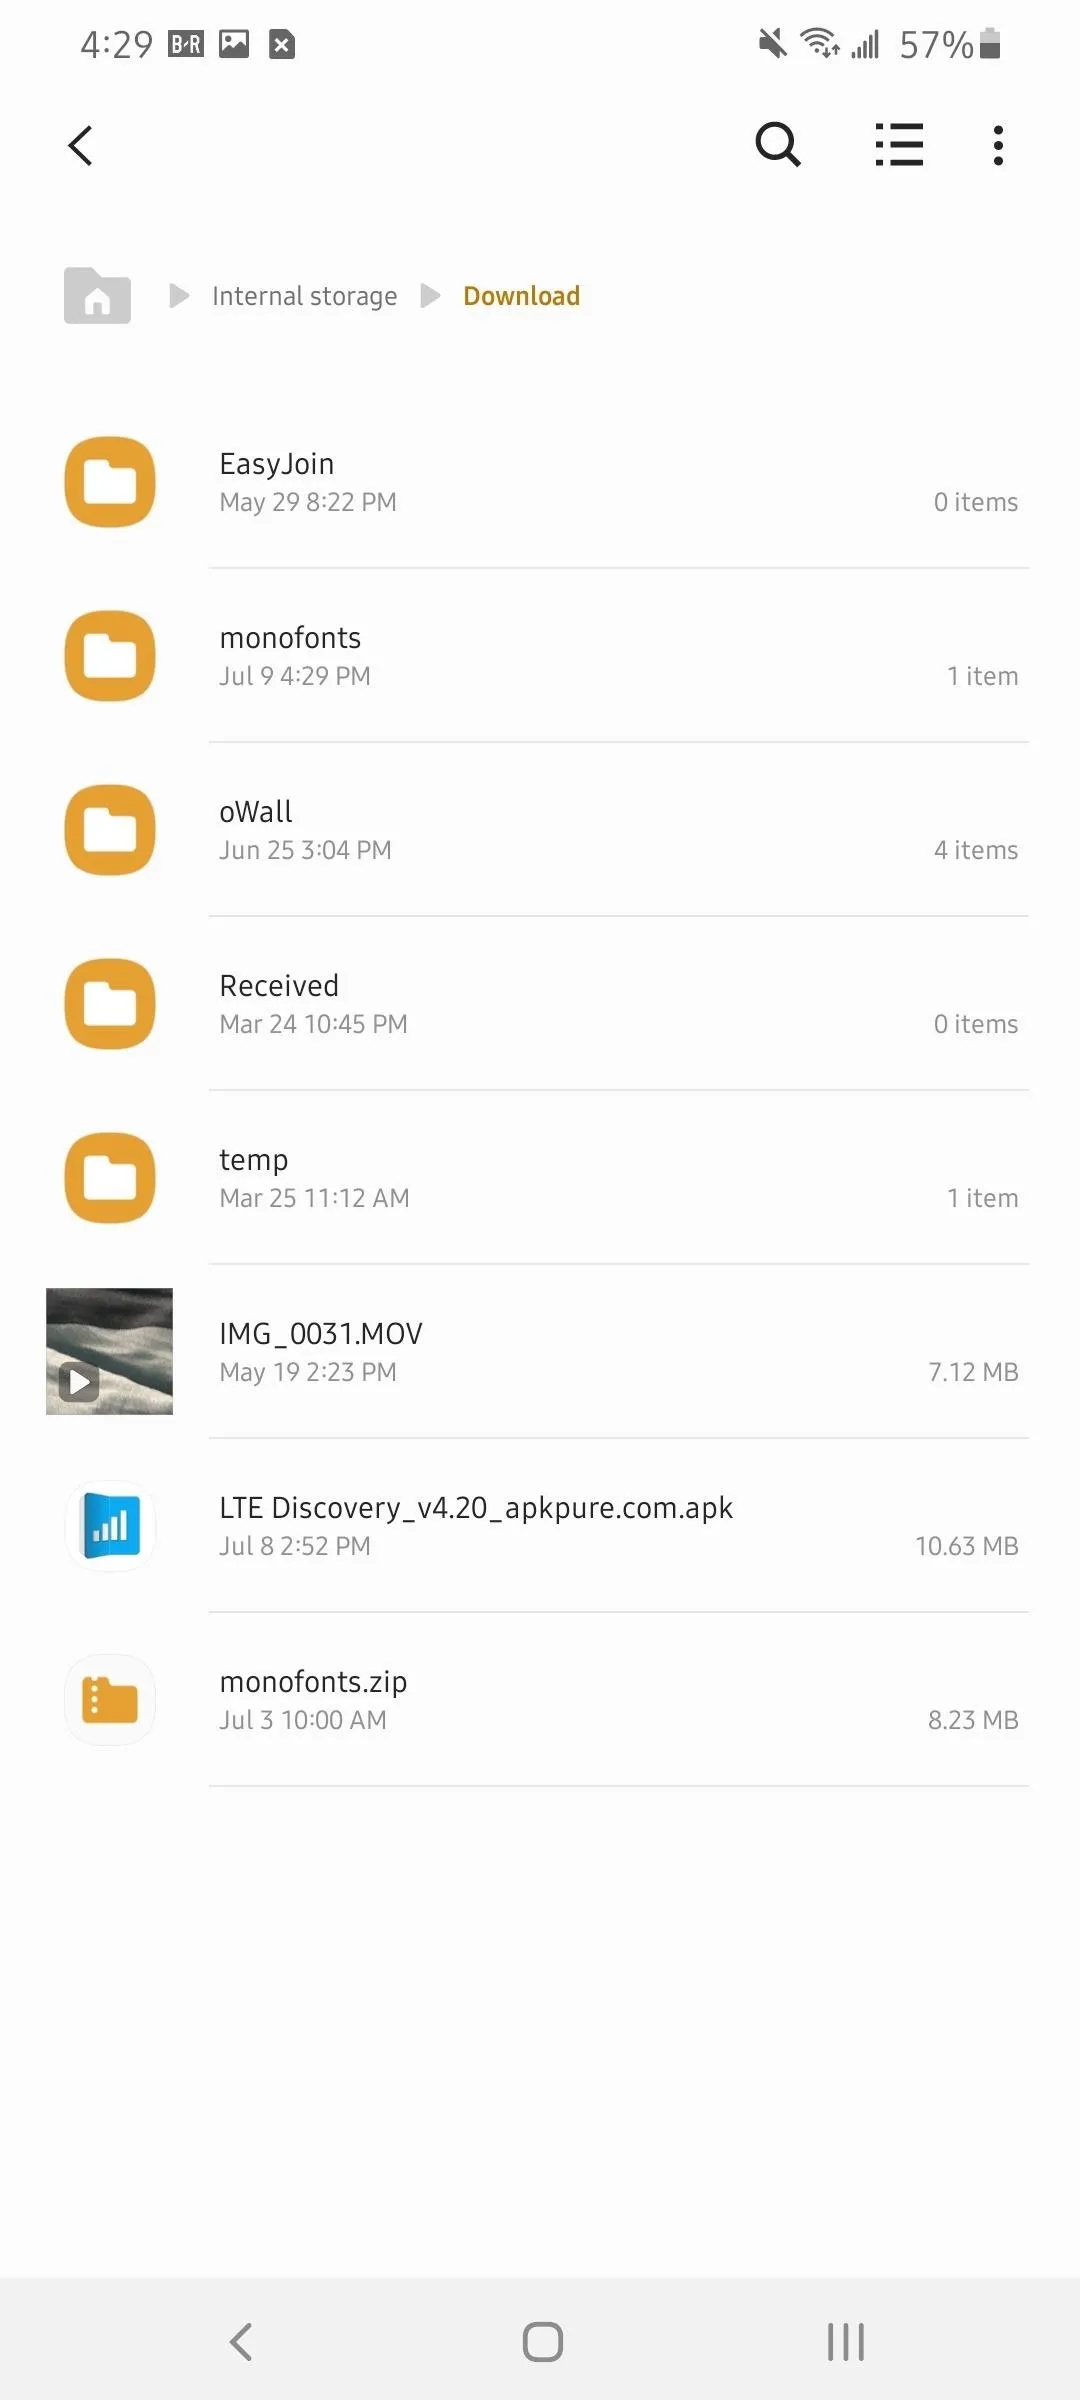
Instead, just open Samsung's pre-installed My Files app or any file browser with ZIP extraction capabilities. Open the file in the browser and choose "Extract." Once extracted, a folder titled "monofonts" will appear in Download.


Step 3: Make the Fonts Accessible
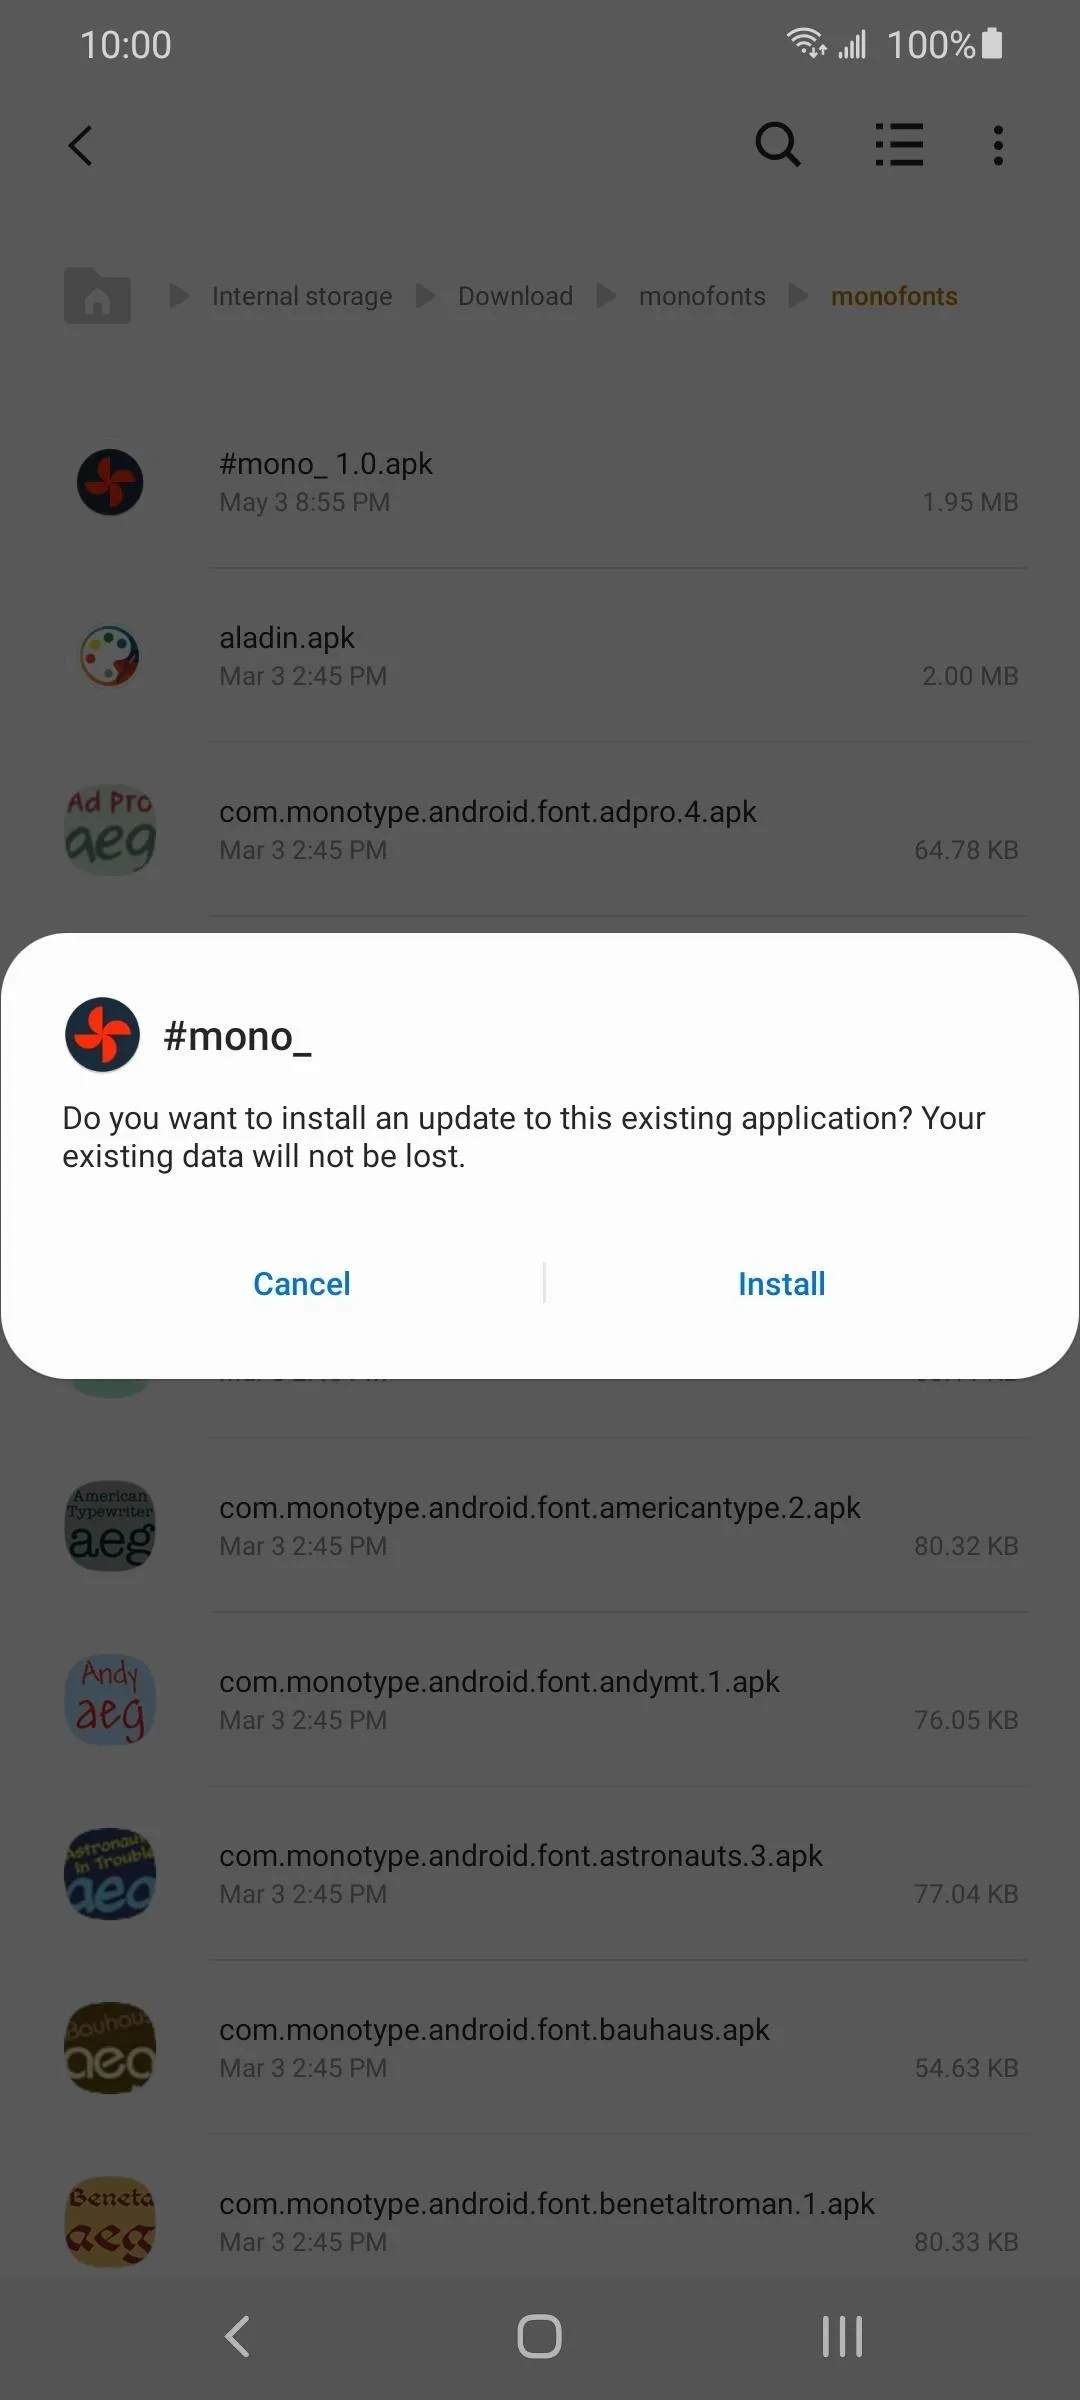
In the "monofonts" folder is an APK file named "#mono_1.0." Sideload this APK onto your Galaxy device. Once installed, move the "monofonts" folder to the internal storage.
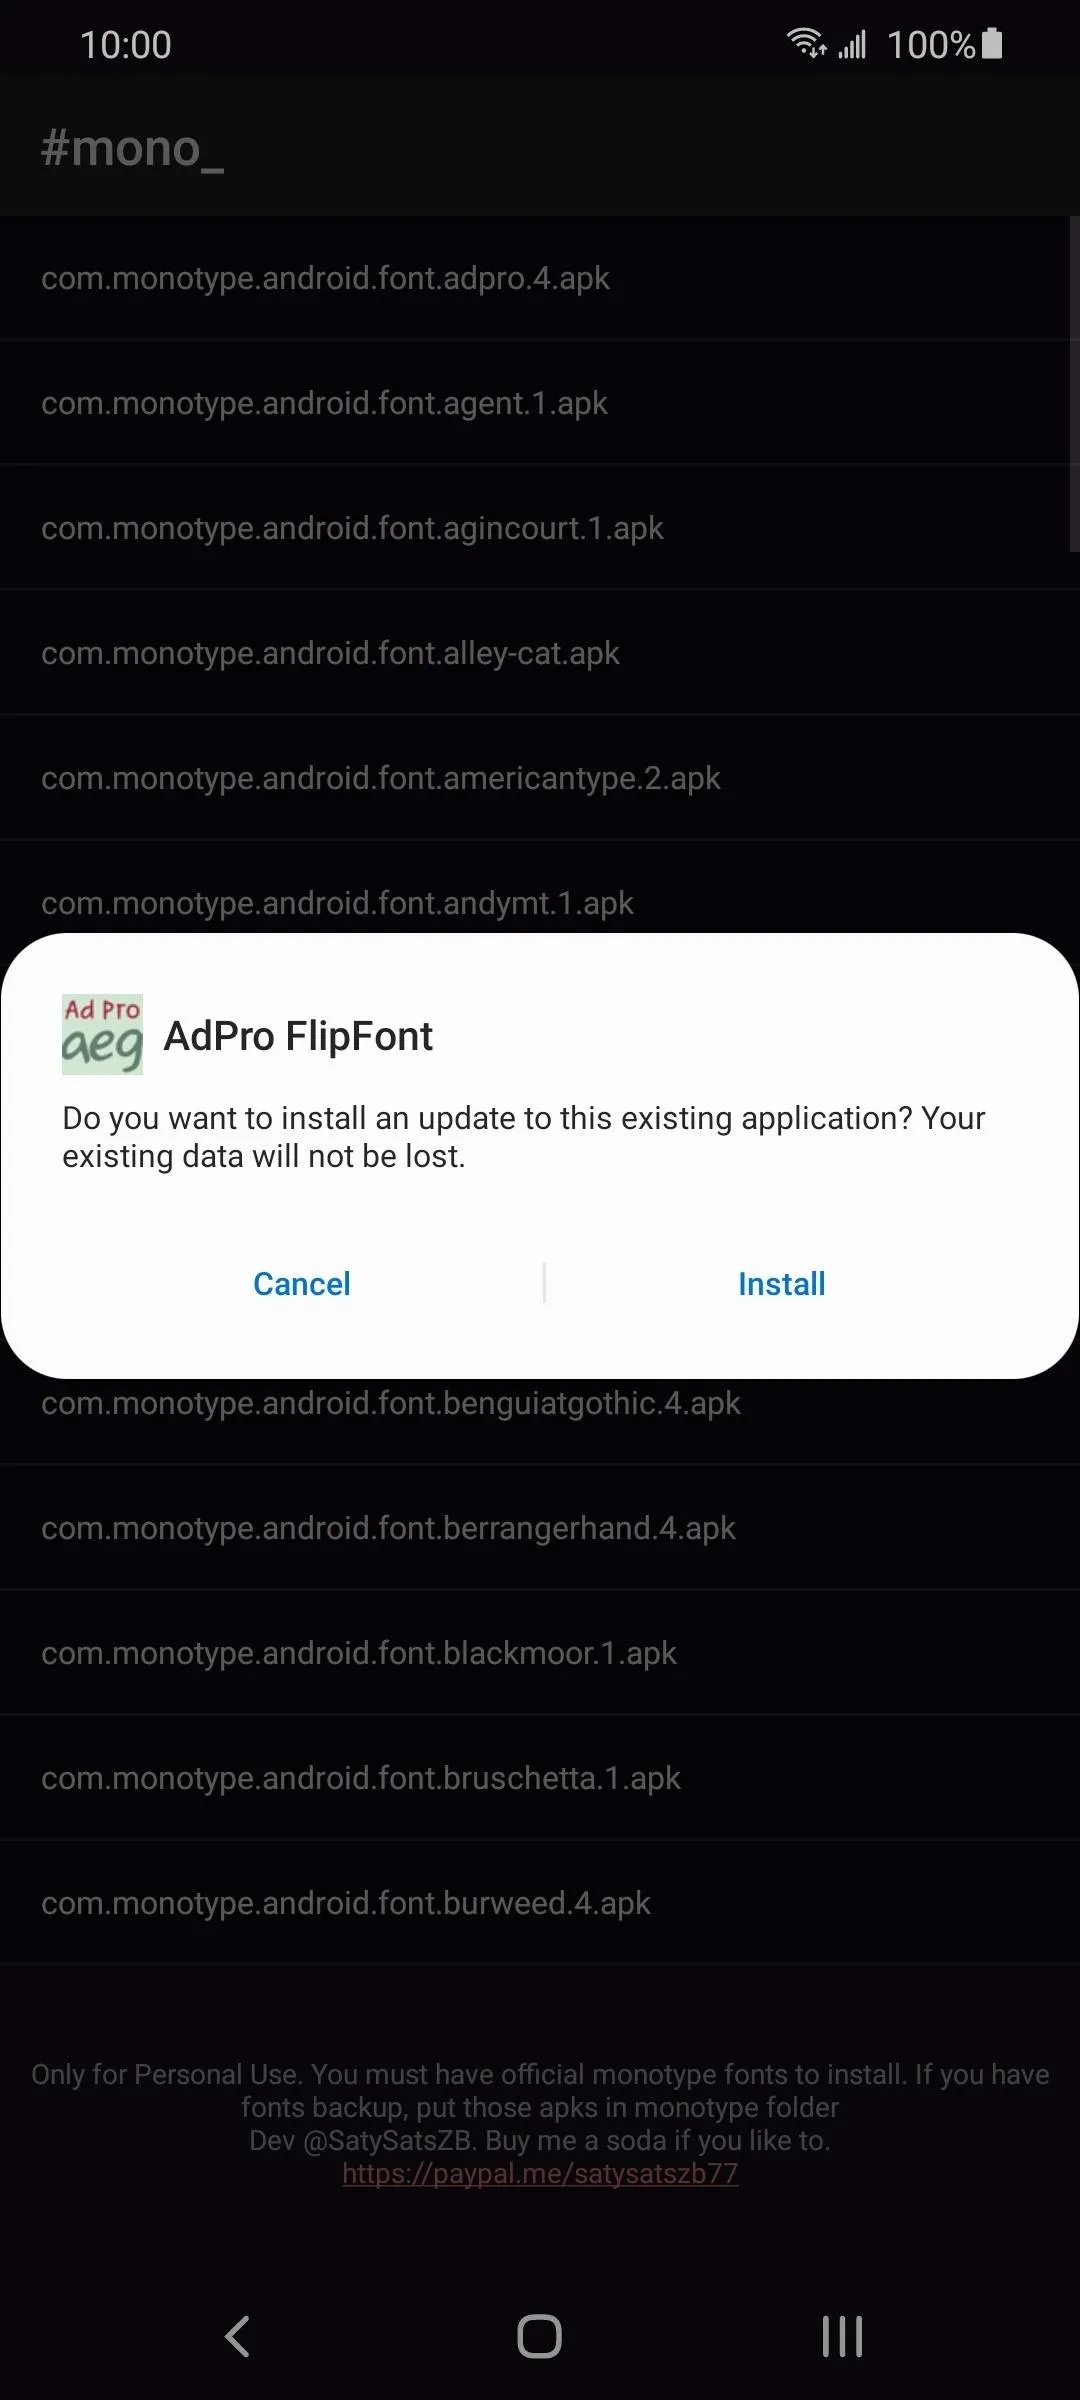
Exit the file browser, and open the #mono_ app you just installed. Here, you will see a list of all 73 different custom fonts you can install. Select an APK and sideload the font. You can install as many as you want if you are unsure how each looks.


Step 4: Change to a Custom Font
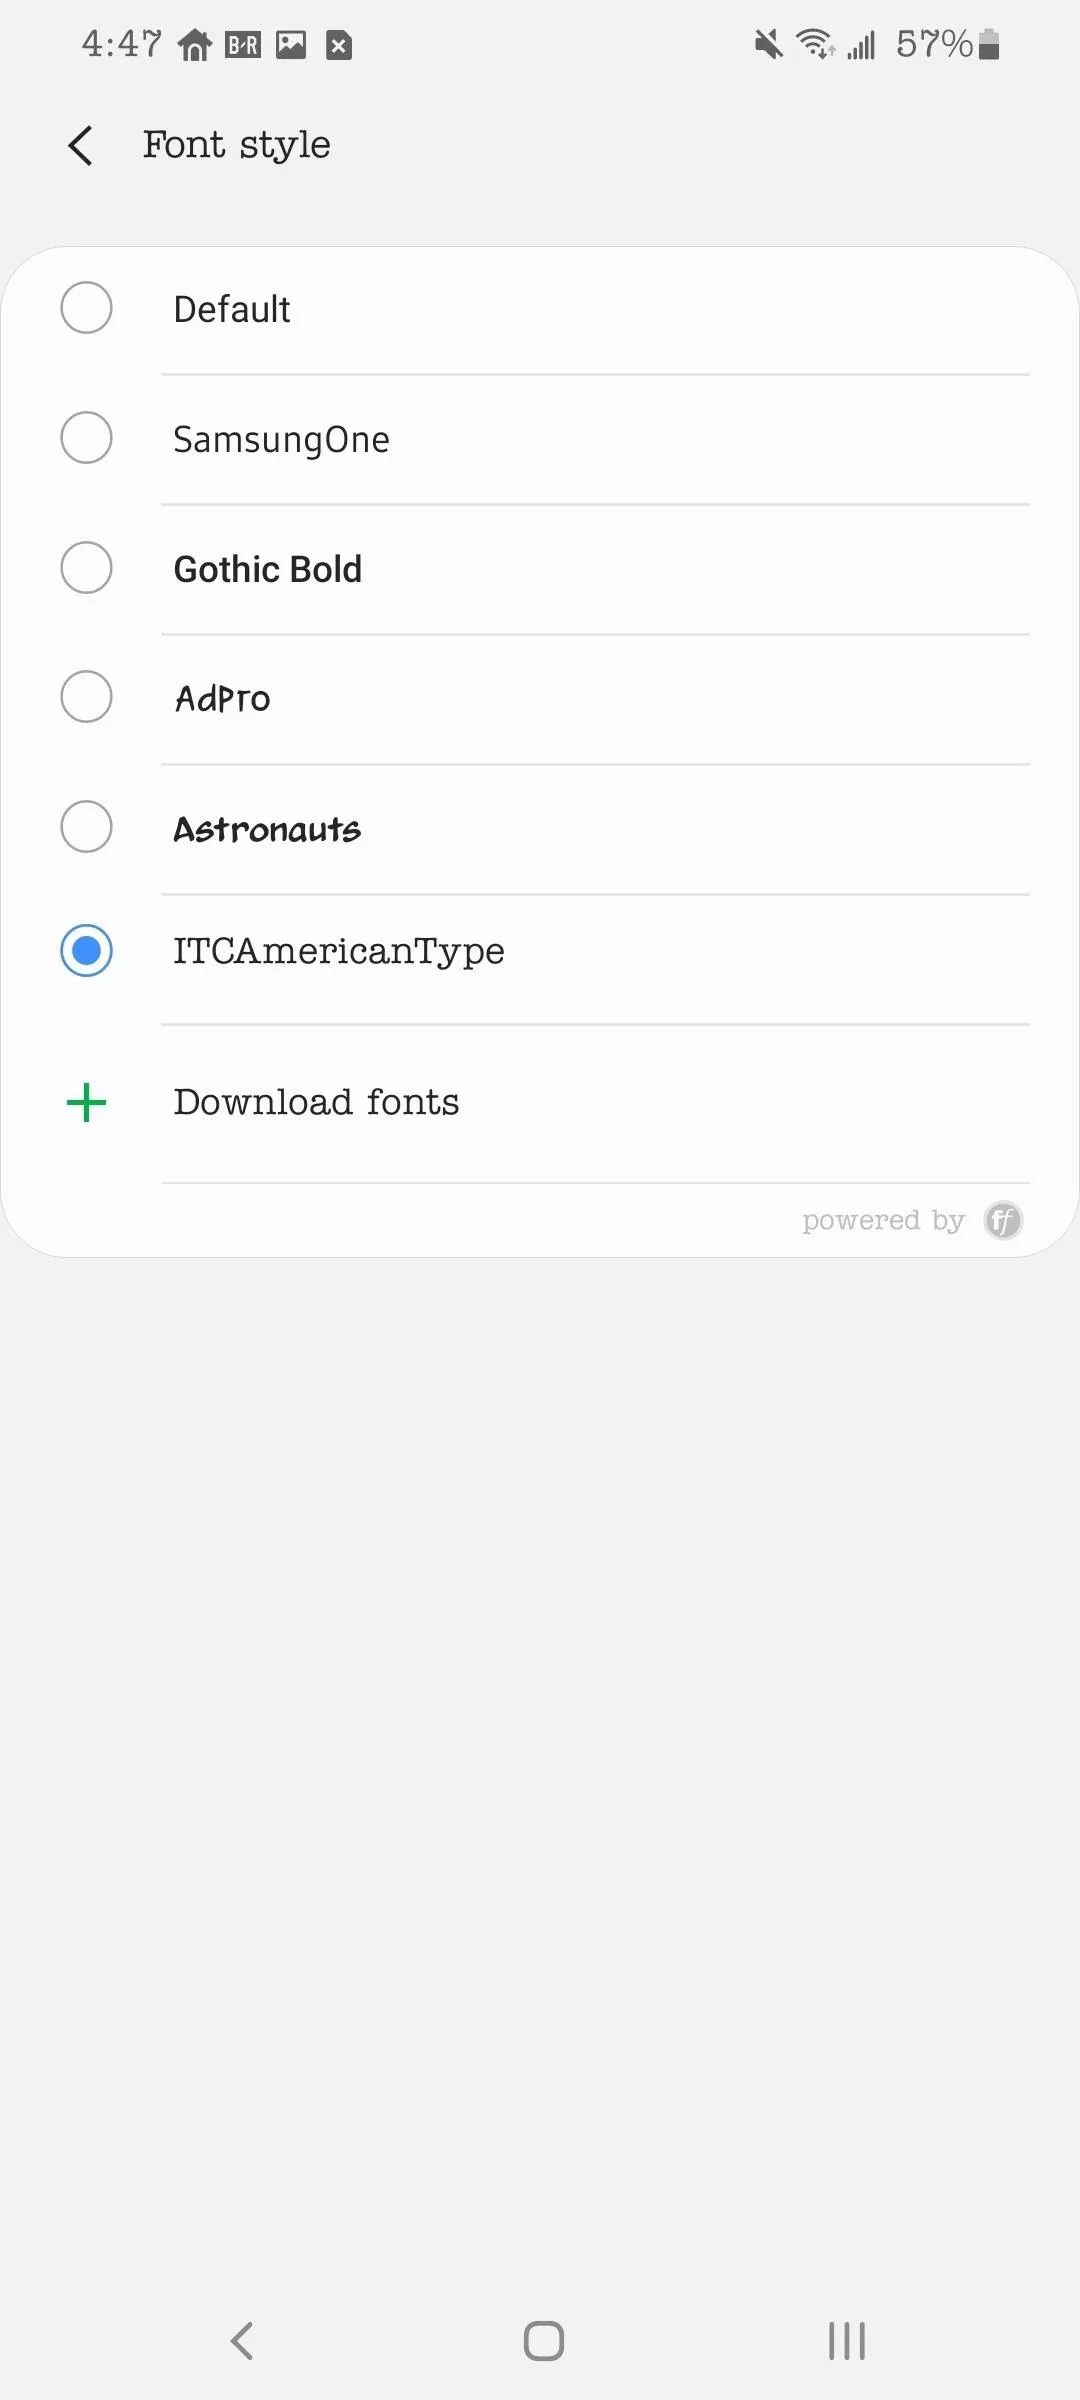
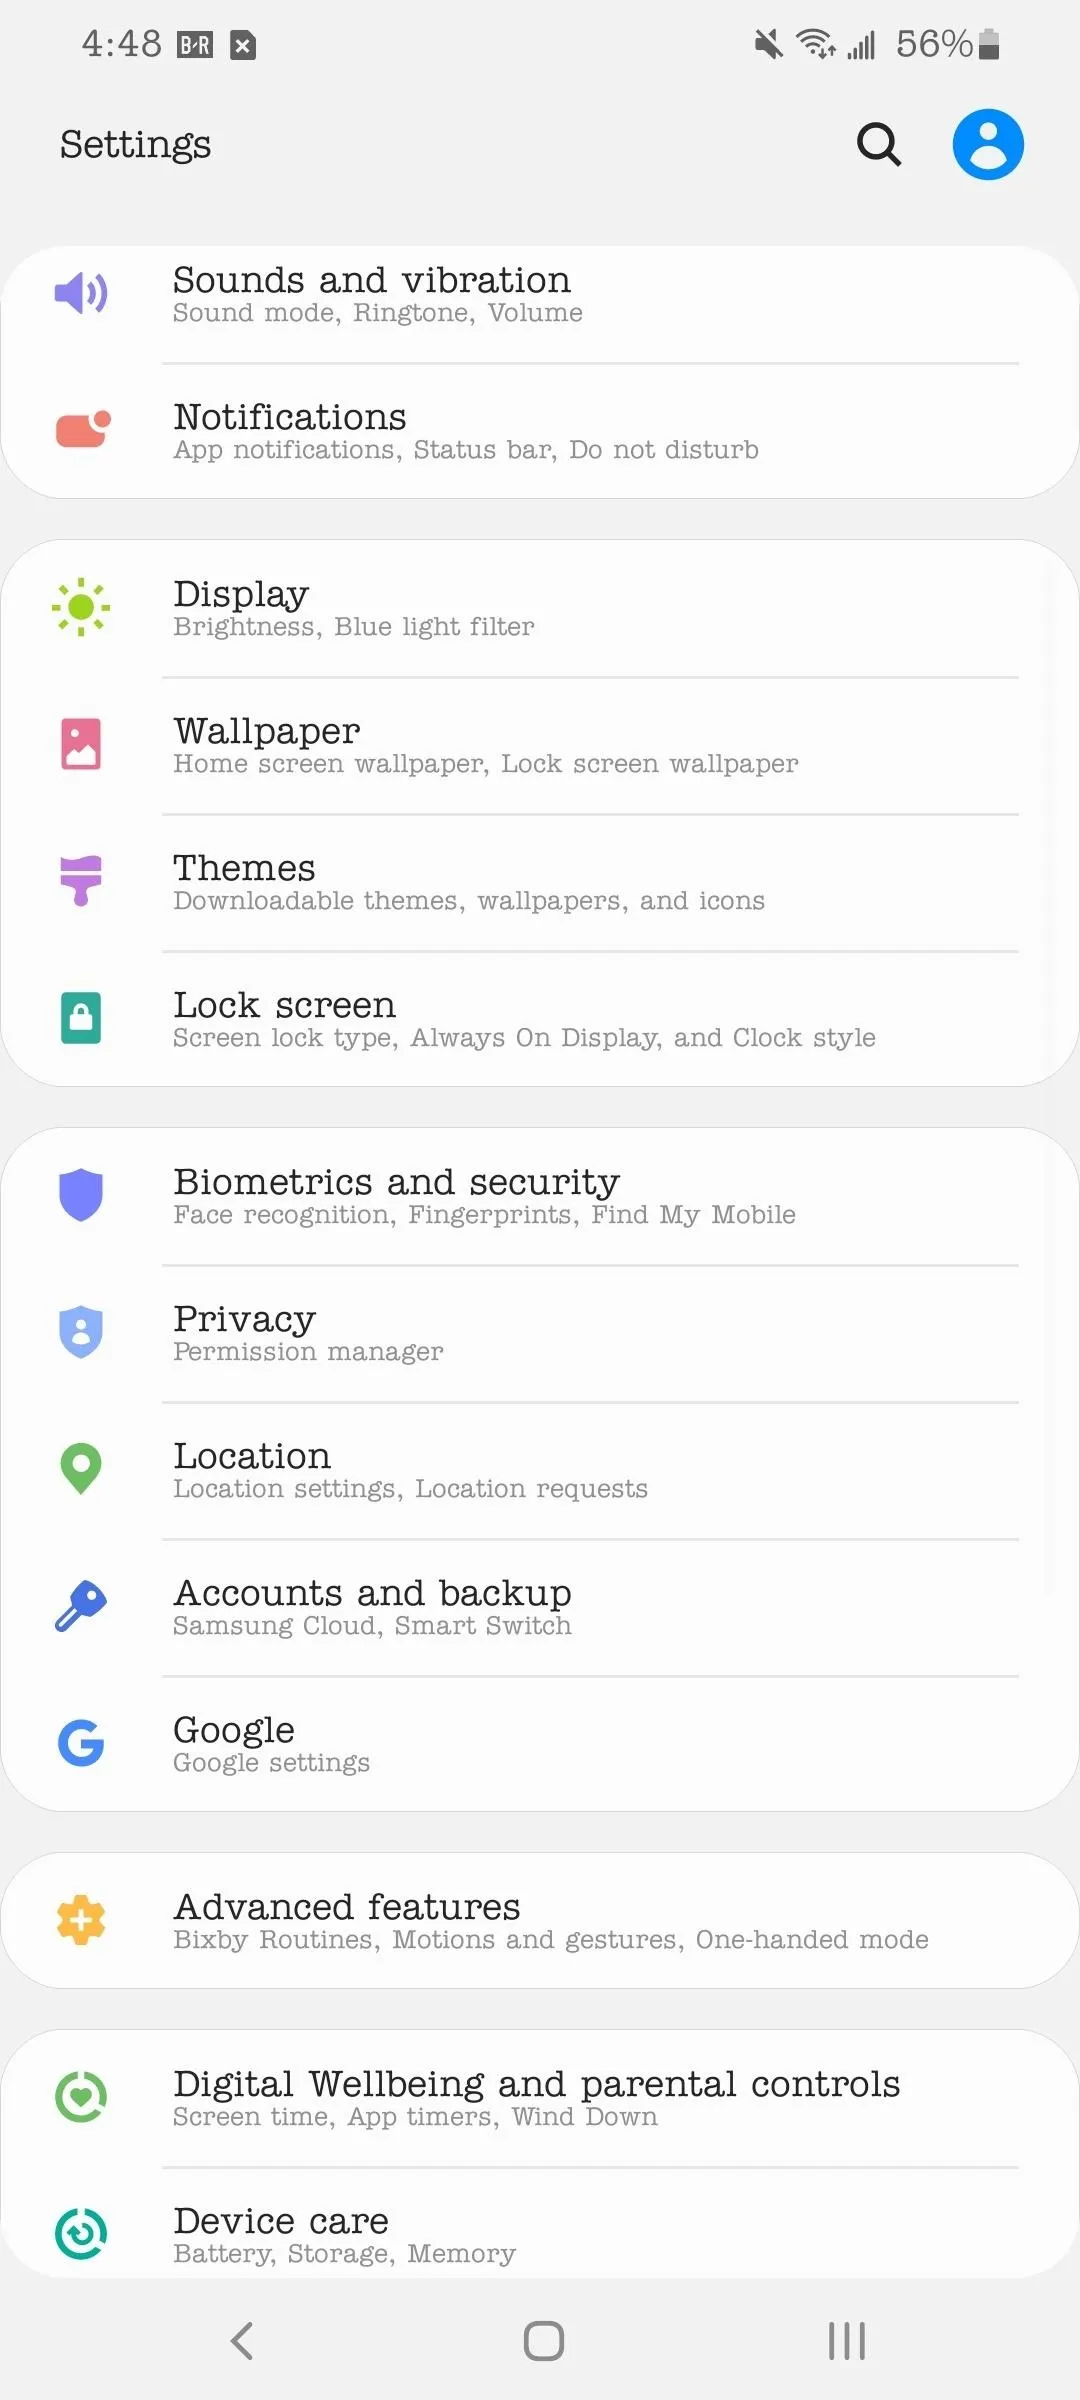
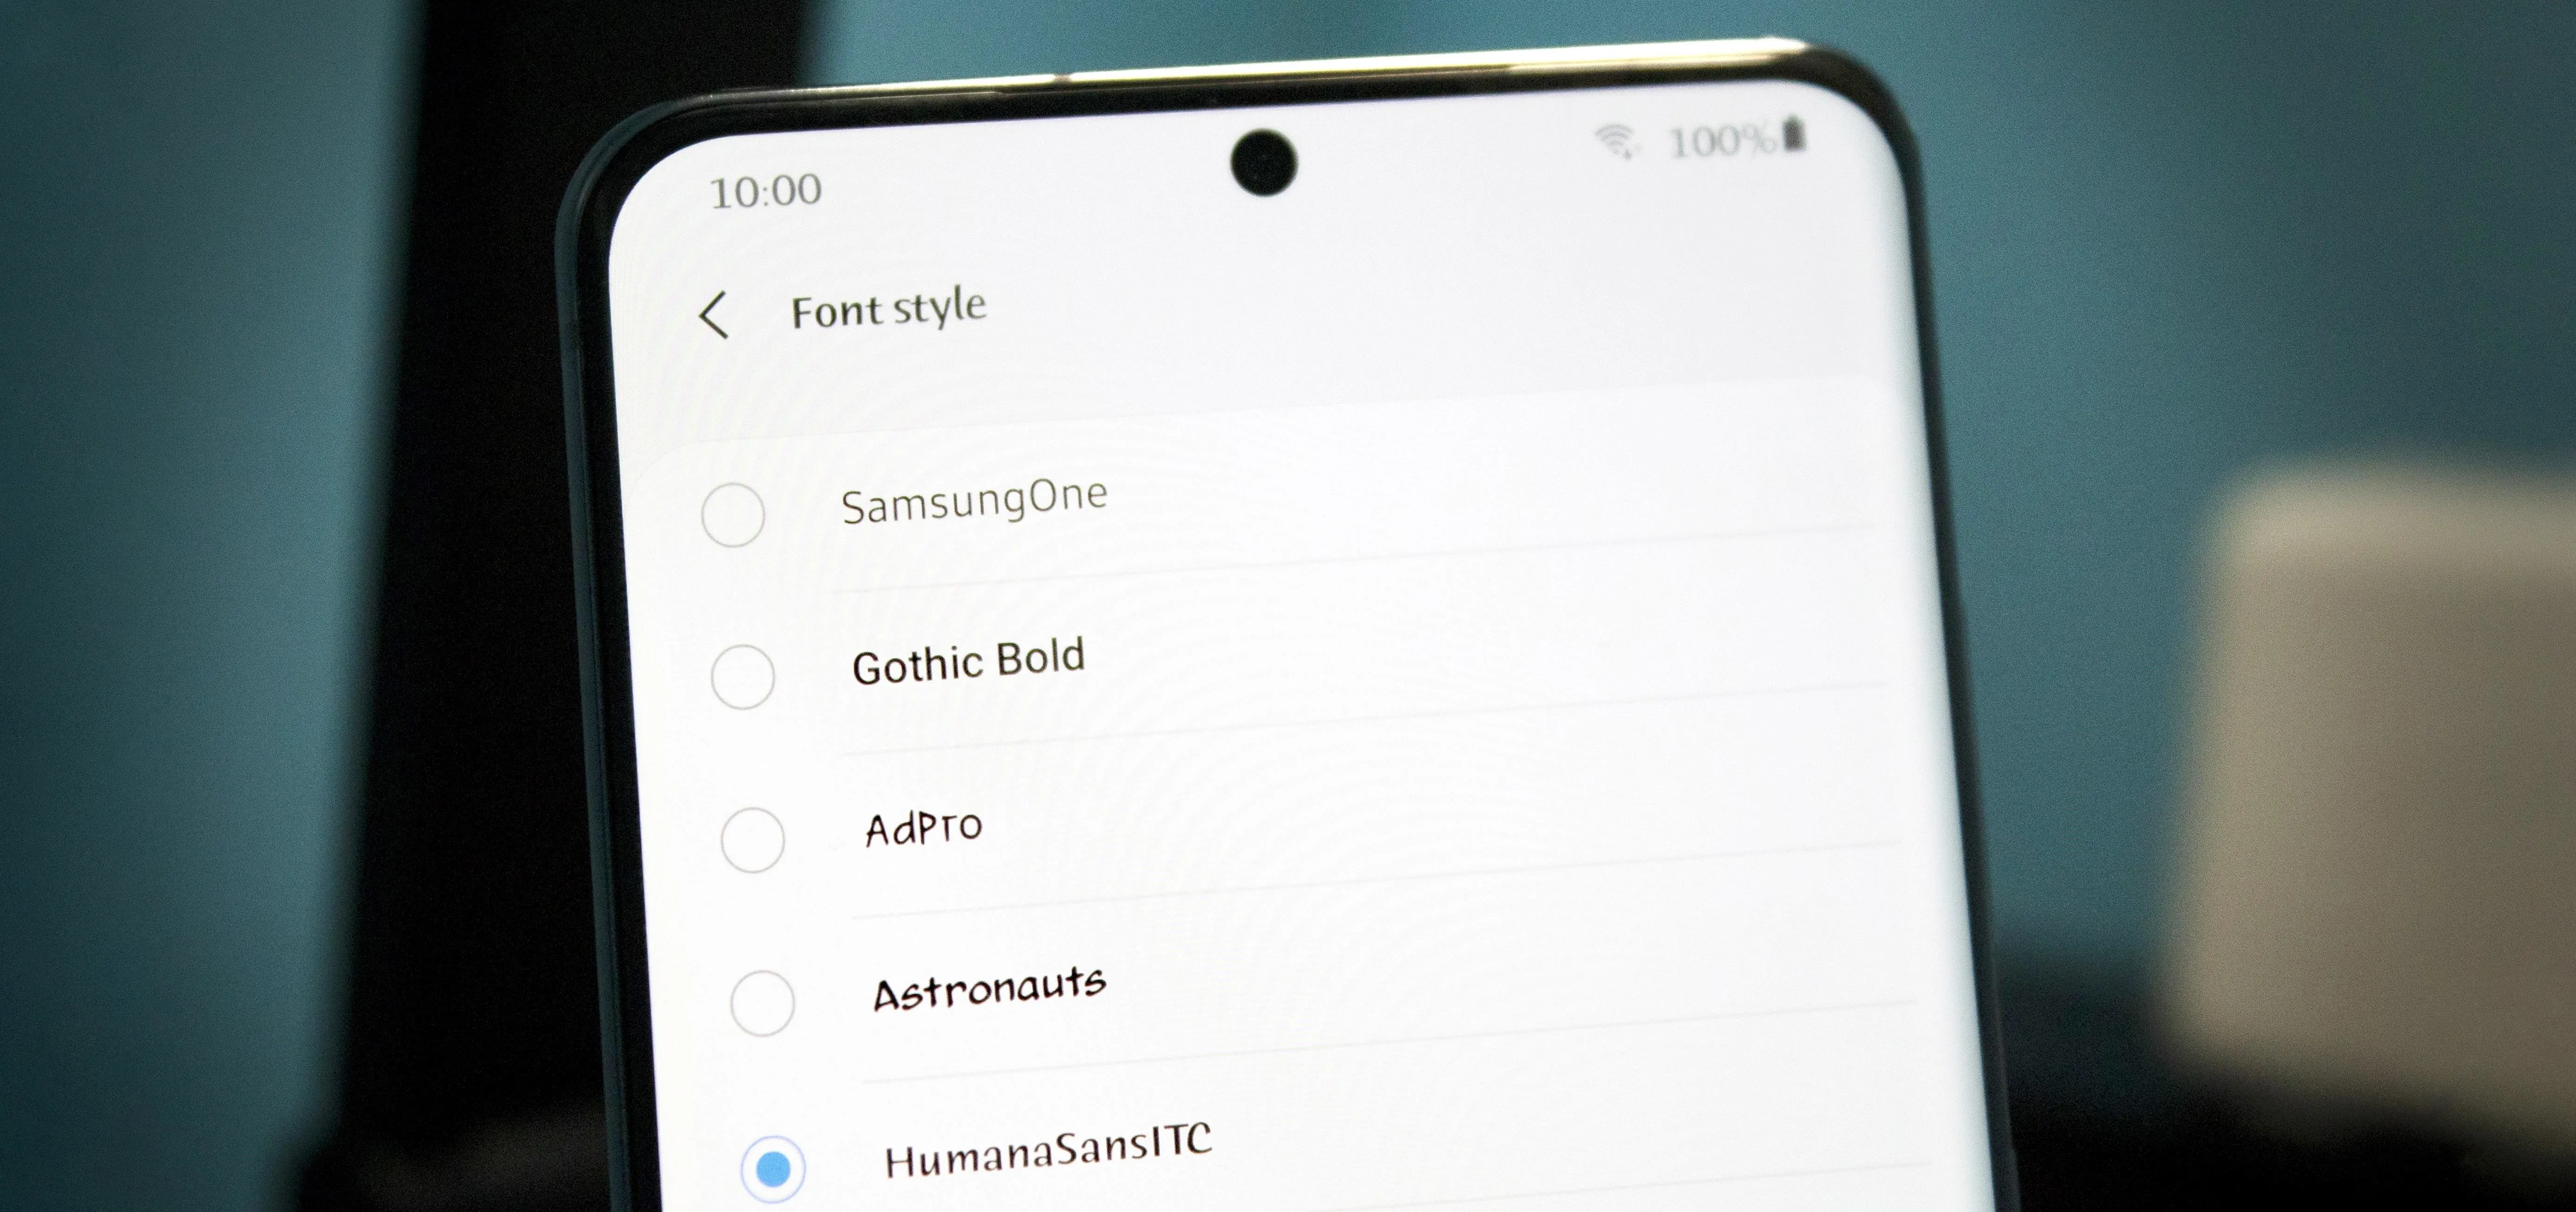
Once installed, navigate to Settings –> Display –> Font size and style –> Font style. All the new fonts you installed will appear at the bottom of this list. Select the font you want and the system font will change. Use this menu to activate any font you installed. And if you want to try more, use the #mono_ app to install more fonts, making them accessible within "Font style."


Cover image, screenshots, and GIFs by Jon Knight/Gadget Hacks


Comments
No Comments Exist
Be the first, drop a comment!