When it comes to smartphones, the biggest complaint voiced by most users is battery life. Sure, it's unrealistic to expect your Android device to run for weeks without a recharge, but many folks struggle to even make it through the day without having to top off their battery.
There are several reasons that your Android device's battery might not be up to snuff, and some of these we can't control. For instance, if your phone is wasting juice by constantly struggling to maintain a cellular data connection due to poor signal strength, there's no easy software fix for this.
But many aspects of Android battery drain are indeed within the realm of our control. Below, I'll outline methods for rooted and non-rooted users alike that should help you get to the bottom of your battery drain issues, and hopefully even solve them once and for all.
The first three tips should be useful to any user, regardless of if you've rooted your device or not. If you do happen to be rooted, I've added a few battery tips towards the end of this article that will take advantage of your Superuser status.
No-Root Tip #1: Identify Battery Draining Apps
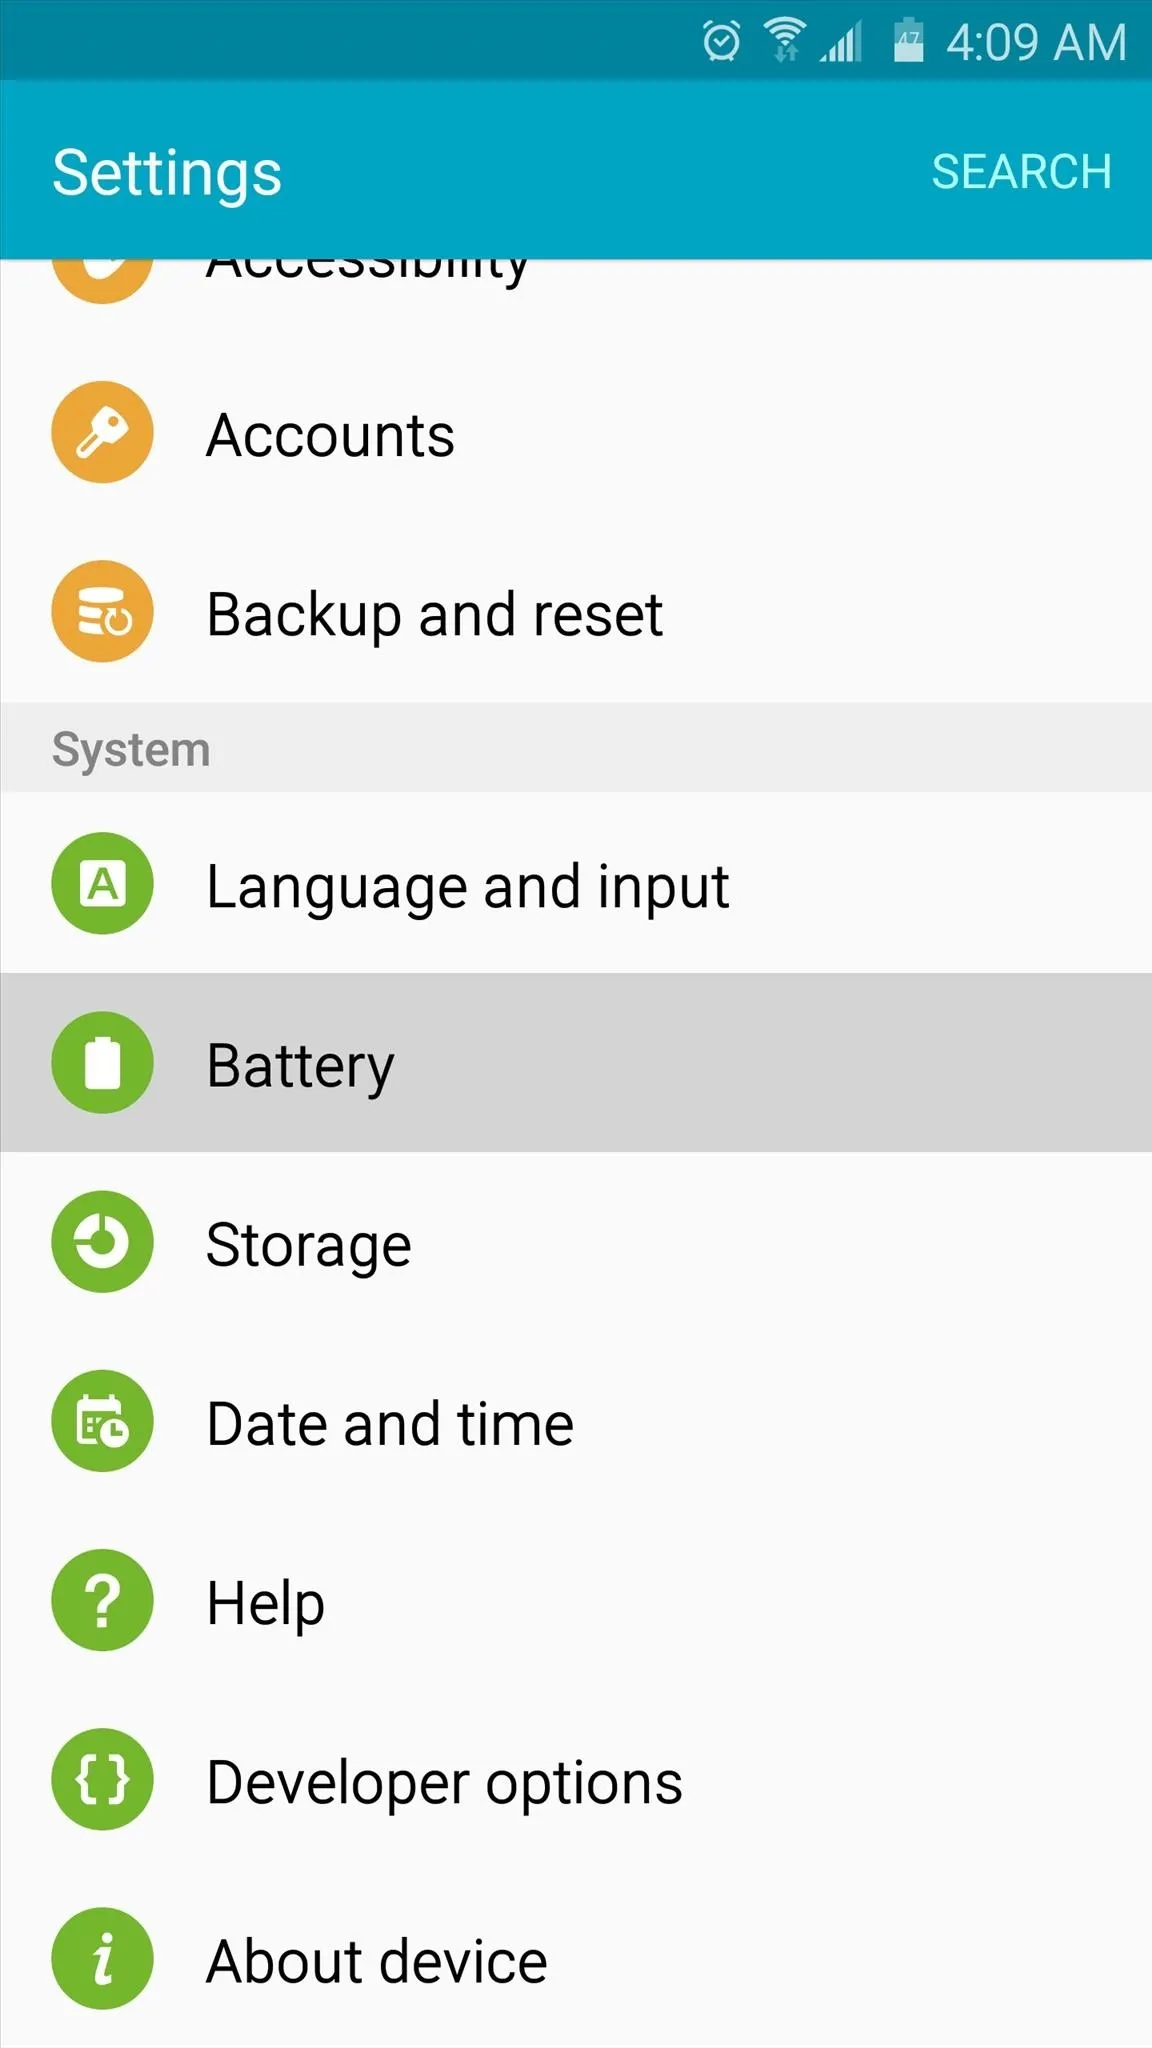
First and foremost, everyone should be familiar with Android's battery menu. It's a very useful tool that helps you identify apps that have been draining your battery more than others. To begin, head to your phone's main Settings menu, then tap the "Battery" entry.
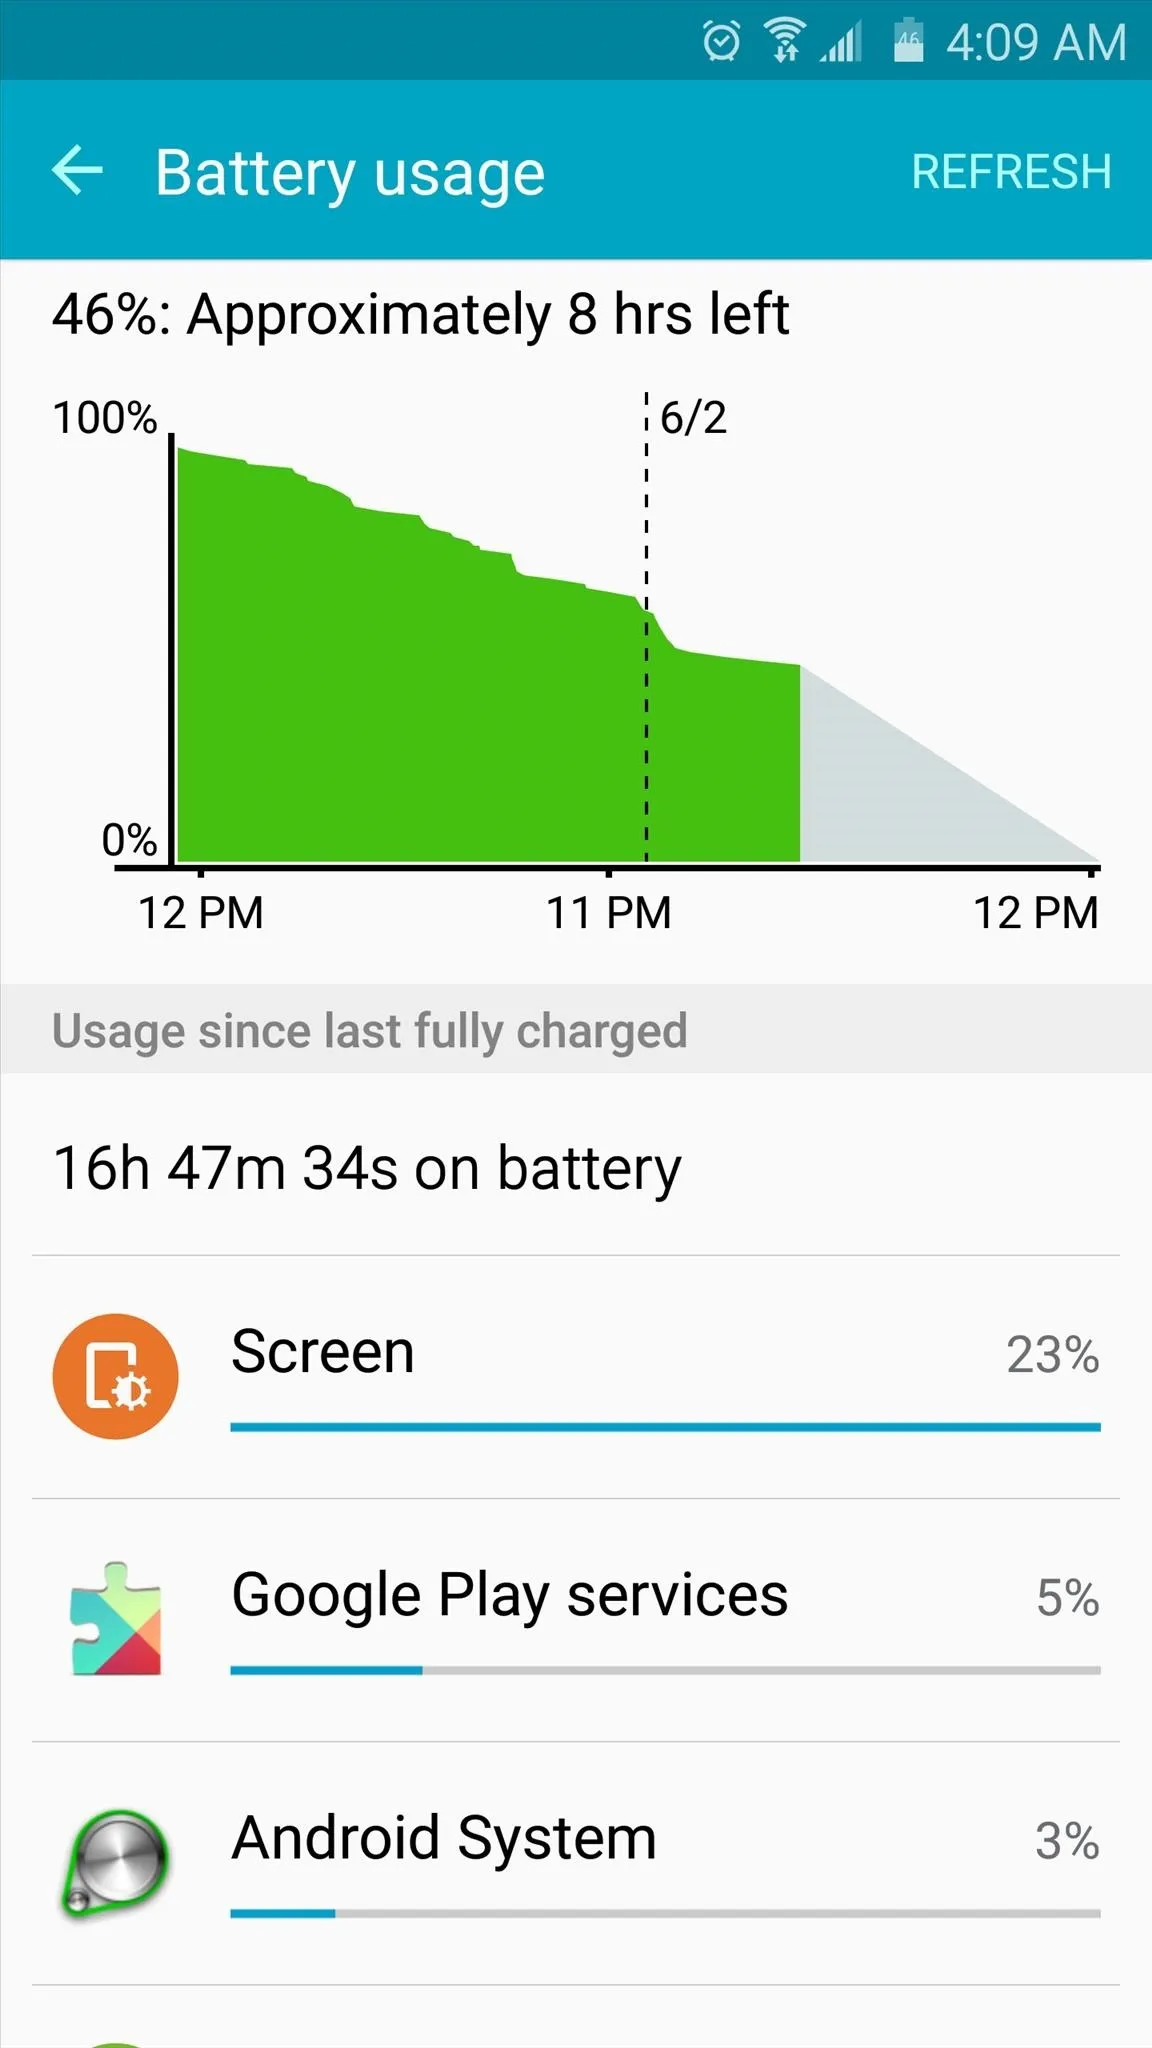
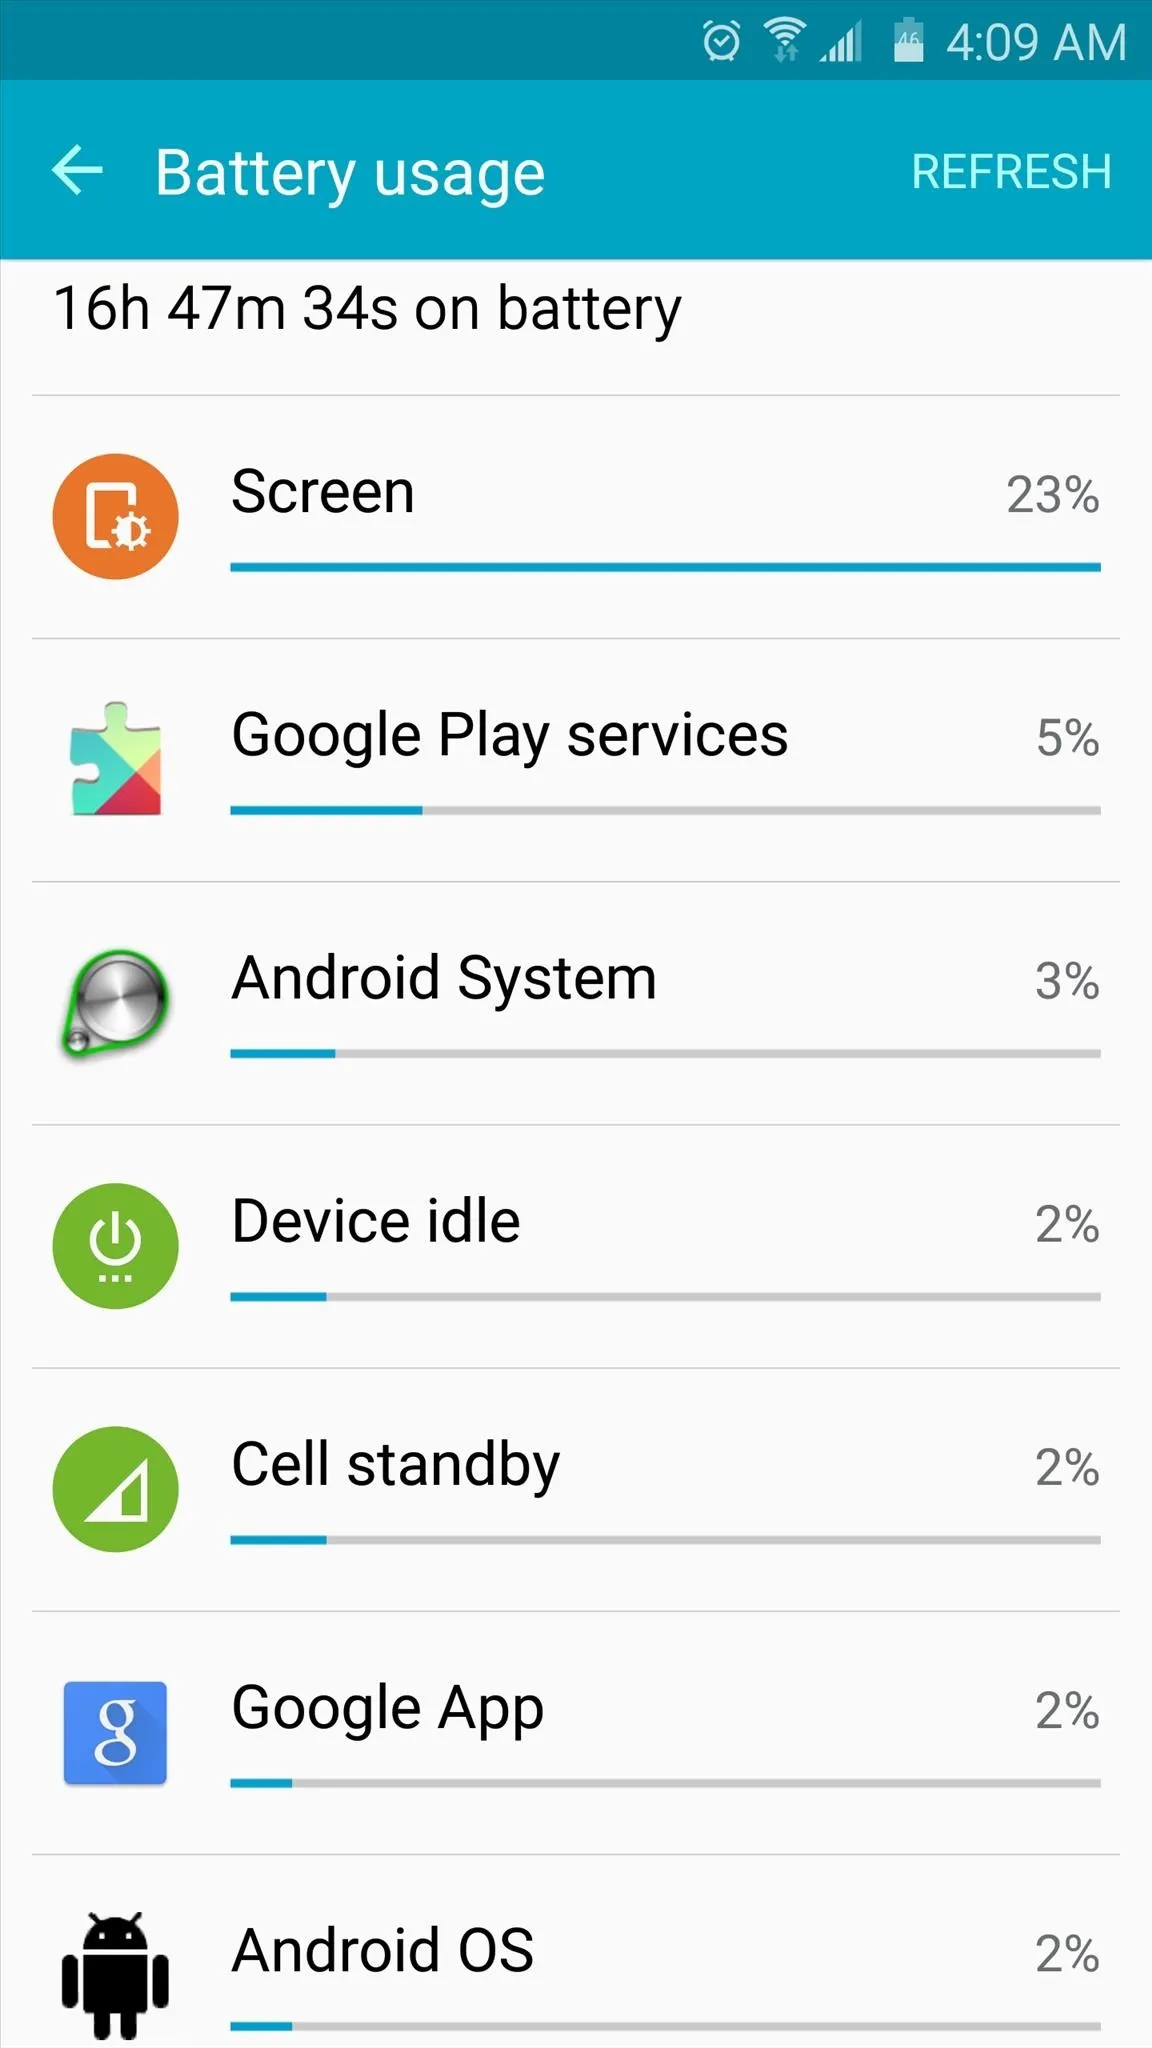


Just beneath the graph at the top of this screen, you'll find a list of the apps that have been draining your battery the most. If everything is going as it should, the top entry in this list should be "Screen." But if an app is the main battery drainer for you, this is cause for alarm.
Familiarize yourself with the apps in this list, and you'll usually find that the worst offenders rise to the top of this list day after day. If you want a more in-depth version of Android's battery menu, you can try an app called GSam Battery Monitor, which provides a sortable list of these same apps. Once you've nailed down your list of problematic apps, I have some solutions below for minimizing battery drain.
No-Root Tip #2: Uninstall or Disable Battery Draining Apps
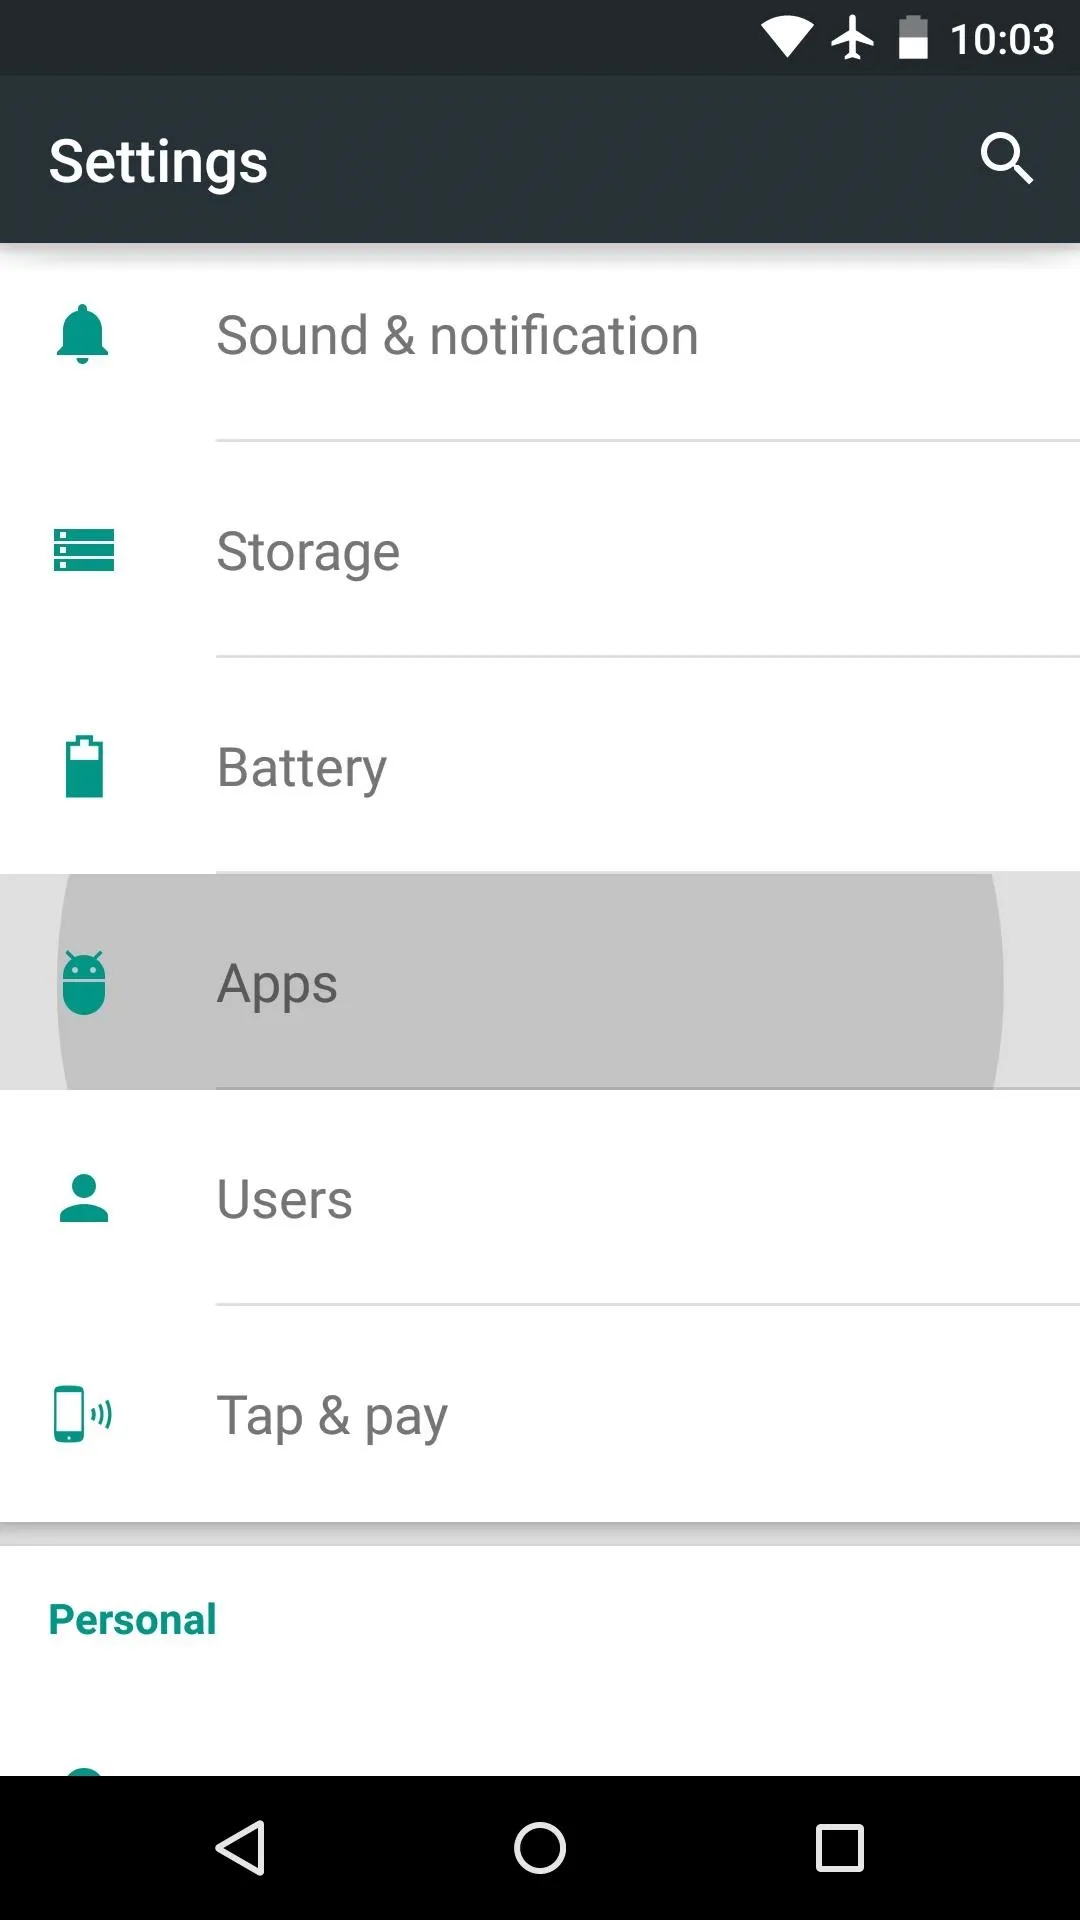
If your battery-draining app is one you installed yourself, the easiest solution would be to uninstall this app. That's simple enough—just head to the "Apps" menu in Settings, then uninstall the problematic app.
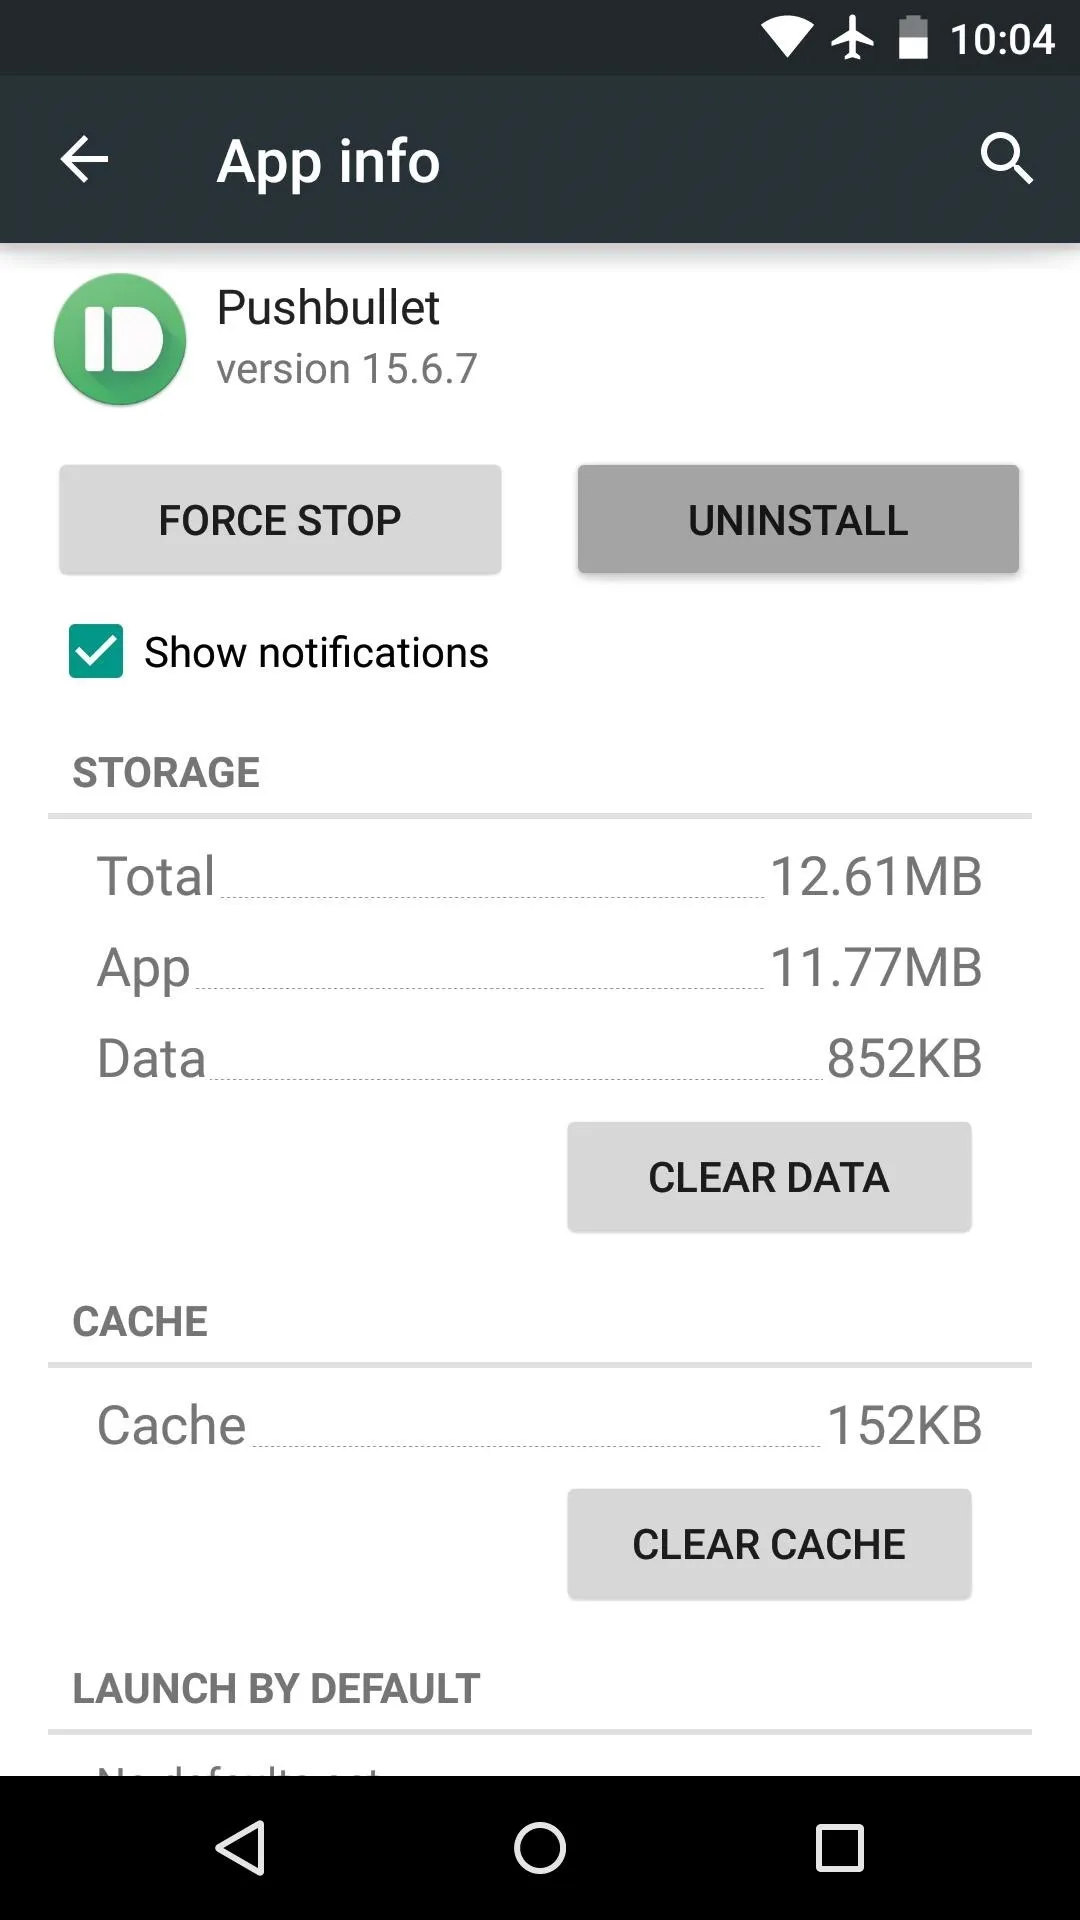


Apps that came pre-installed on your device generally cannot be uninstalled without root access. If one of your problematic apps falls into this category, you may want to check out a Windows program called Debloater, which will allow you to disable any app without needing root access.
No-Root Tip #3: Restrict App Permissions
If your problematic app is one you simply can't live without, consider restricting its permissions. In particular, the "Autorun" and "Background Service" permissions that some apps request can be huge battery drains.
For non-rooted users, the easiest way to restrict app permissions is with UU AppPurifier. This app works by injecting a wrapper into other apps that allows for granular permissions controls. Remember to disable the "Autorun" permission if you can!
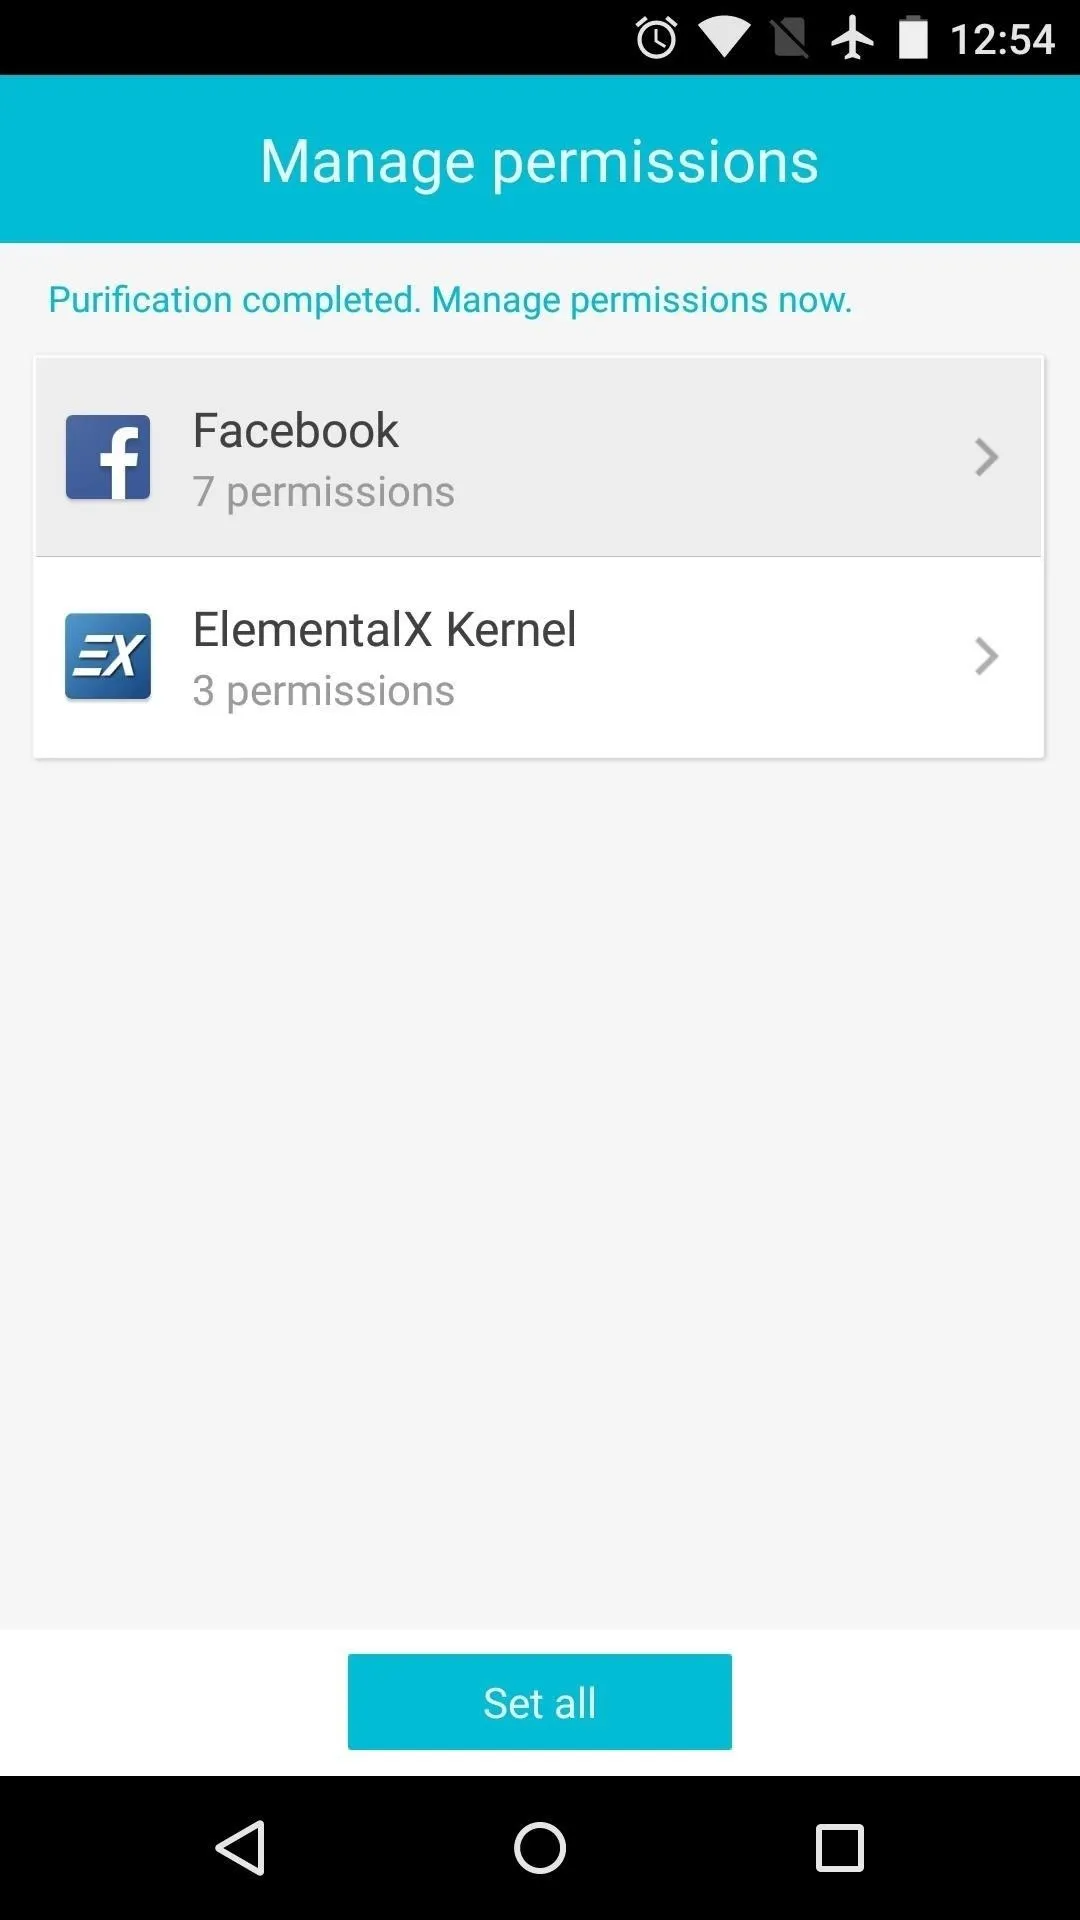
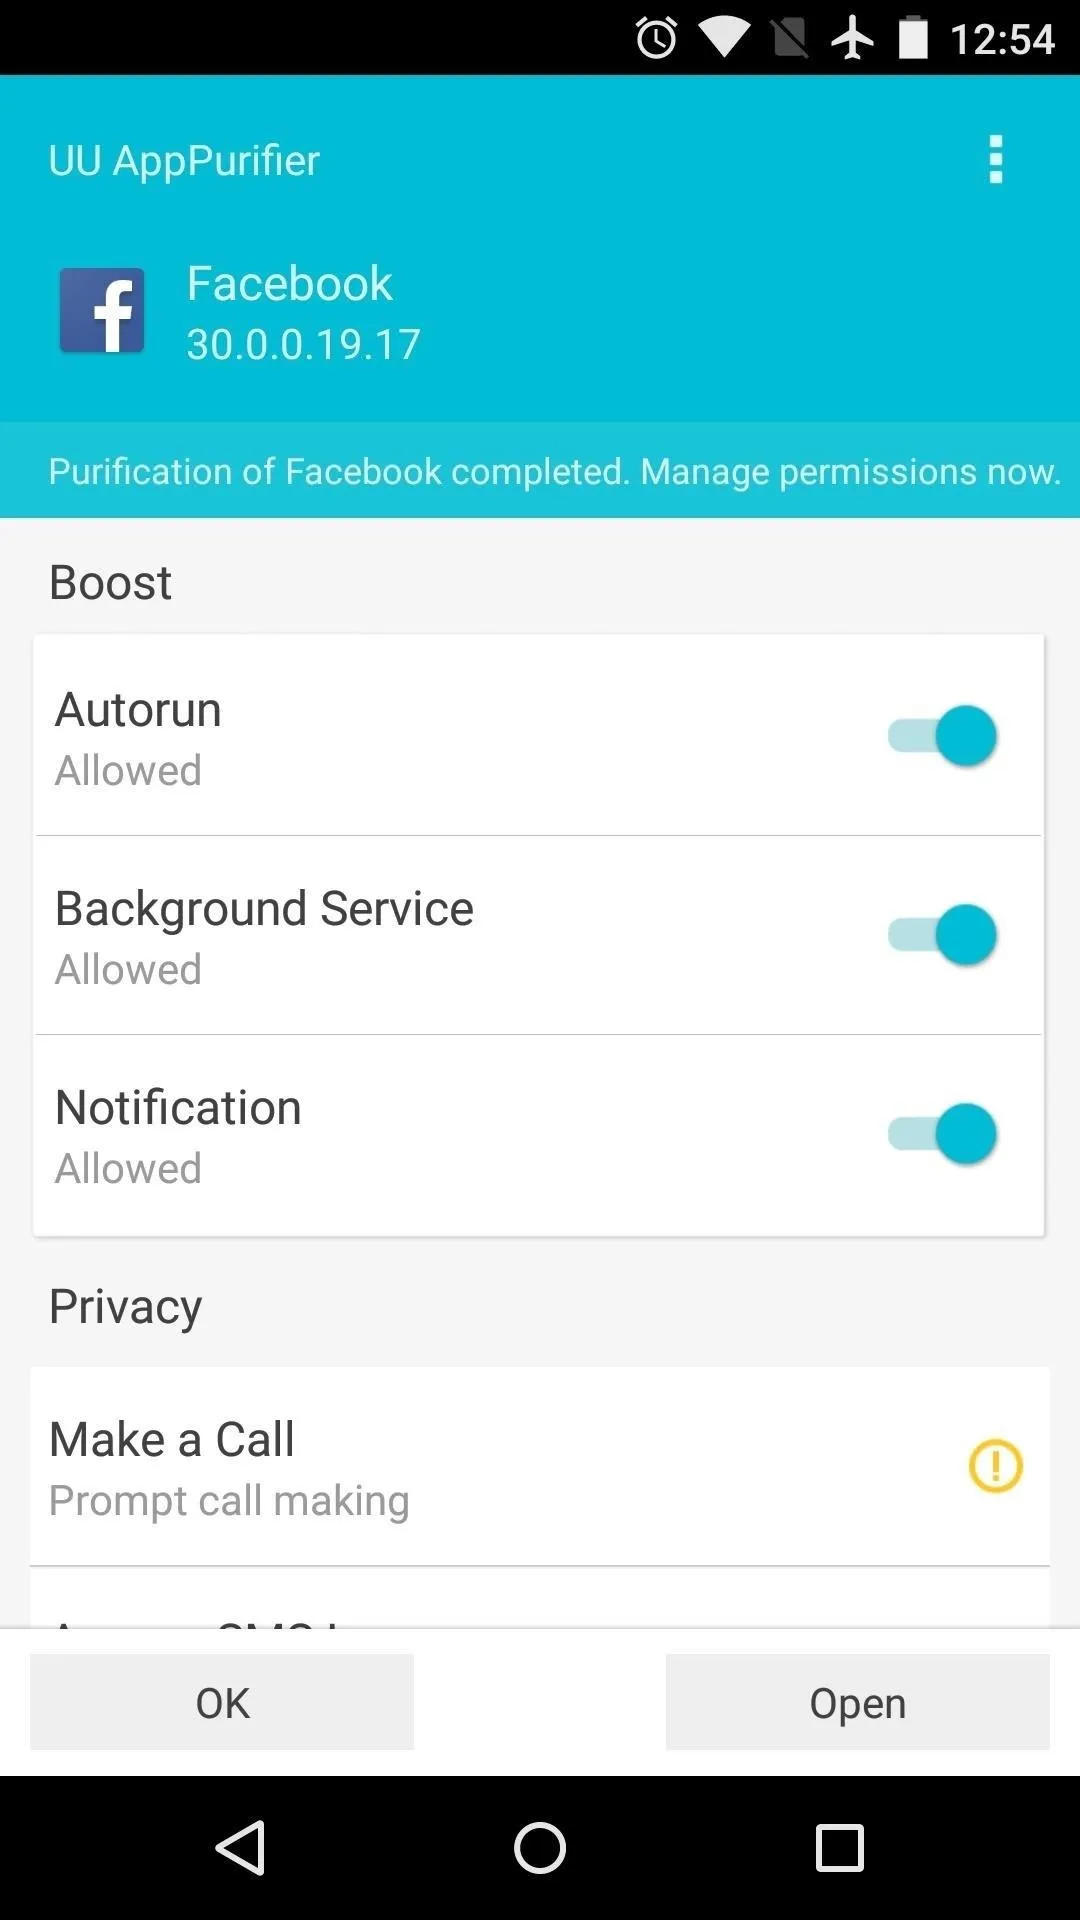


Alternatively, you can try installing a different app that accomplishes the same task, but doesn't require as many battery-hungry permissions. A good example of this is Facebook Lite or Tinfoil for Facebook, which are two apps that serve as more efficient alternatives to the official Facebook app, which is well known as an Android battery killer.
Root Tip #1: Find Your Biggest Wakelocks
For rooted users, the main point of emphasis should be wakelocks—these are requests from apps that prevent your phone from sleeping so that the app can sync data or post notifications. As you can imagine, preventing your device from sleeping takes a big toll on your battery, but wakelocks are a necessary evil.
Nonetheless, you should definitely be aware of the apps on your system that are requesting too many wakelocks. There are several apps to monitor wakelocks on your device, but of the free options, Wakelock Detector is the best, in my opinion.
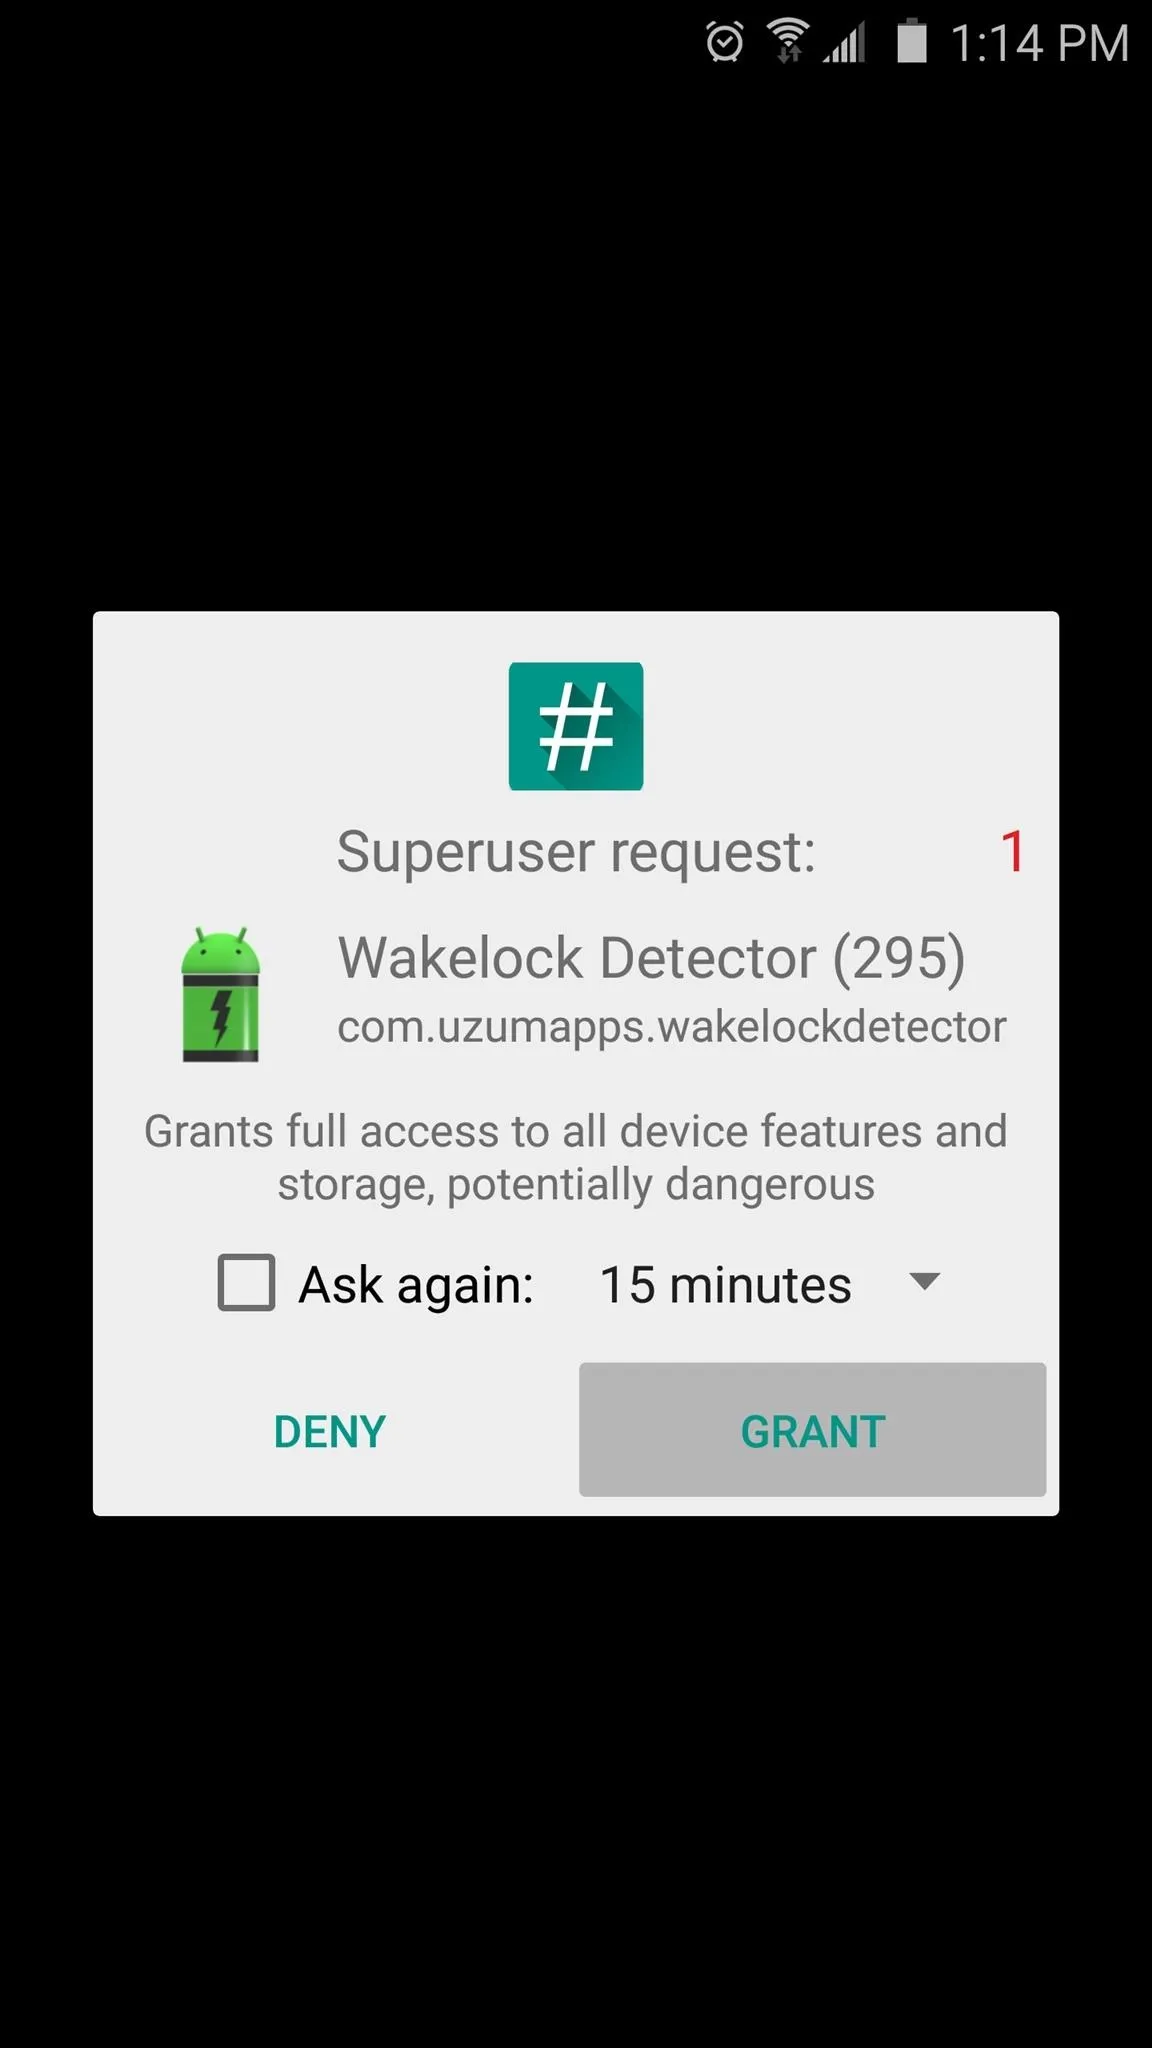
The developer recommends that you have at least 90% battery life remaining before you run Wakelock Detector for the first time. If you're in a pinch, though, you can simply reboot your phone immediately after installing the app, then open WLD and grant it Superuser access.
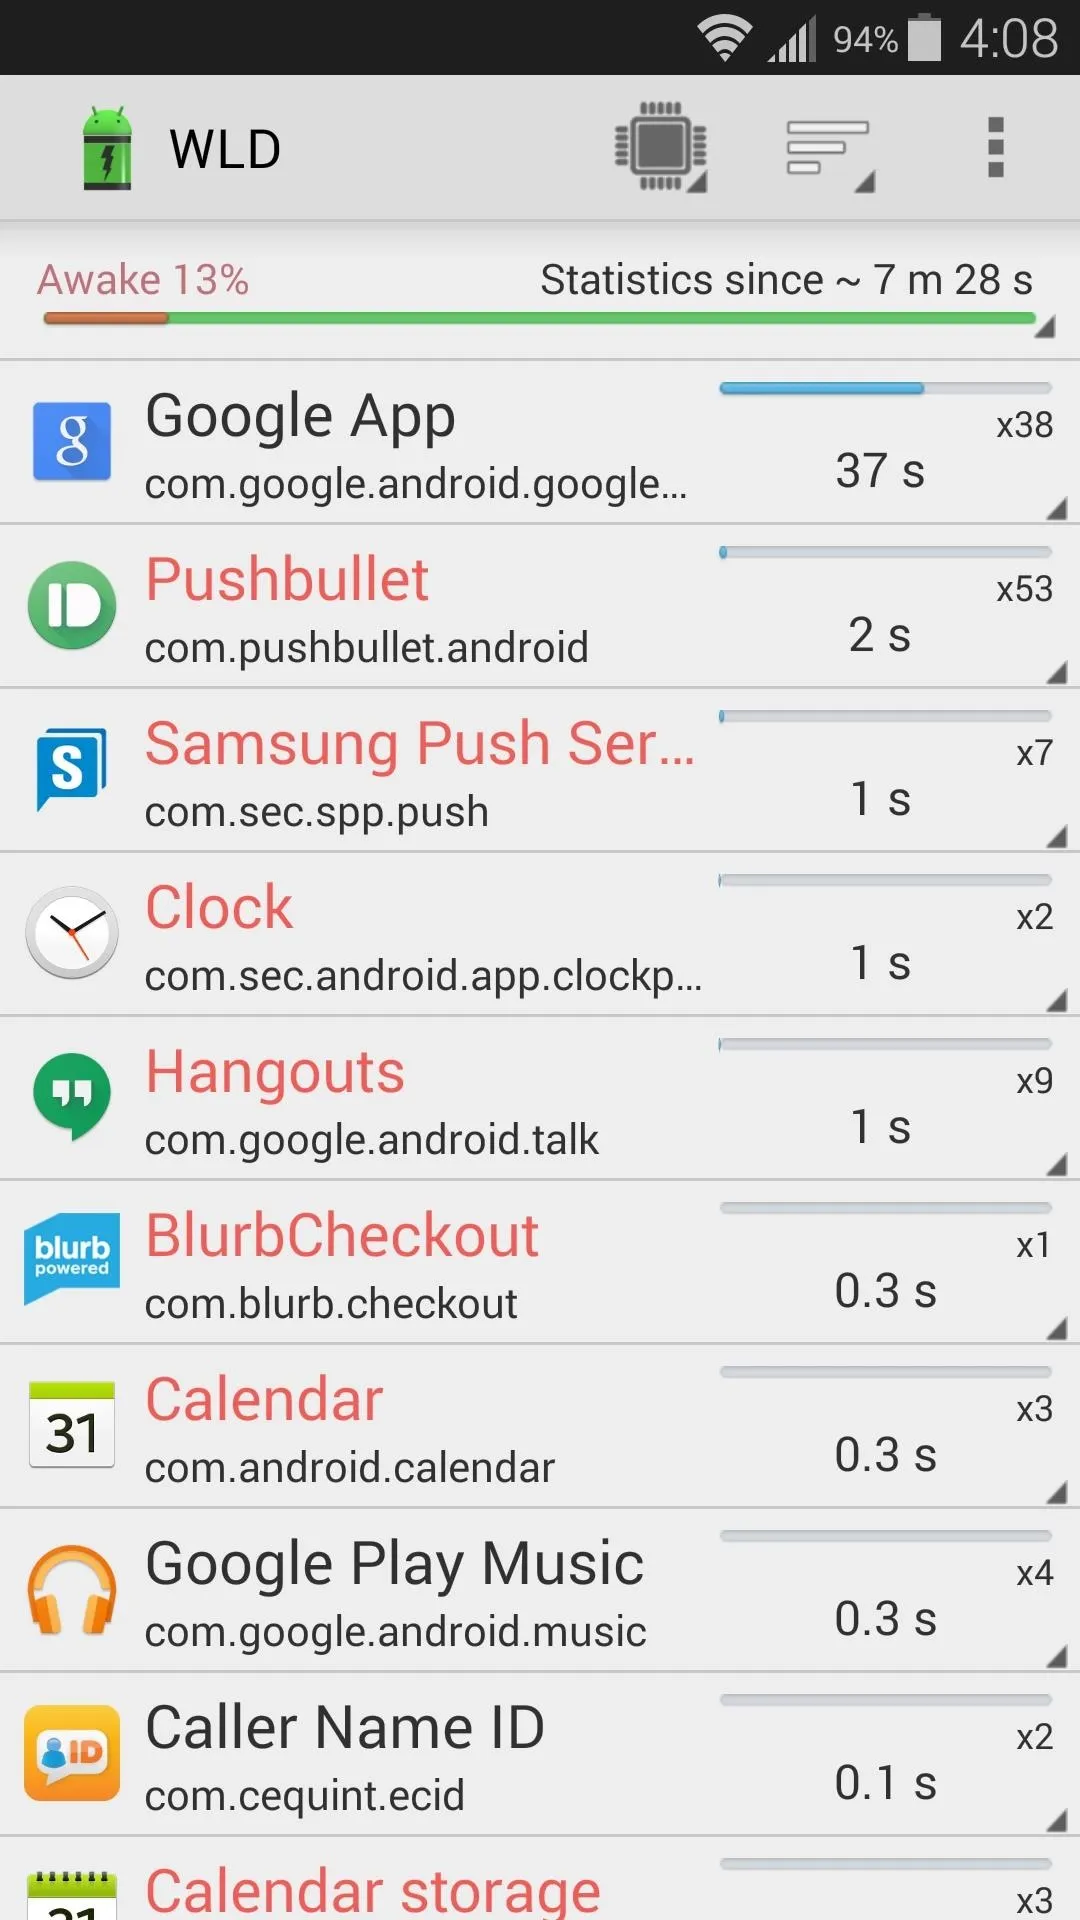


Once you've got it all set up, give Wakelock Detector as much time as you can for it to accumulate data. Eventually, you'll start seeing apps pop up in this list, and they're ordered by how long they've held wakelocks.
Root Tip #2: Uninstall Battery Draining Apps (Even System Apps)
Once you've found your biggest wakelock culprits, you should first consider uninstalling the apps. As a rooted user, Titanium Backup should be your go-to tool in this regard.
Keep in mind, though, that Titanium Backup is capable of uninstalling any app—even those that are essential to Android. So use some discretion when removing troublesome apps, and as a general rule of thumb, don't uninstall anything that doesn't have an entry in your app drawer.
Root Tip #3: Restrict Wakelocks
Let's say your biggest wakelock-holding apps are the kind you shouldn't uninstall. This is likely the case with Google Play Services, which is usually among the top battery draining apps on any Android device. As this is a core element of the Android system, uninstalling Play Services is not an option—but restricting its wakelocks definitely is.
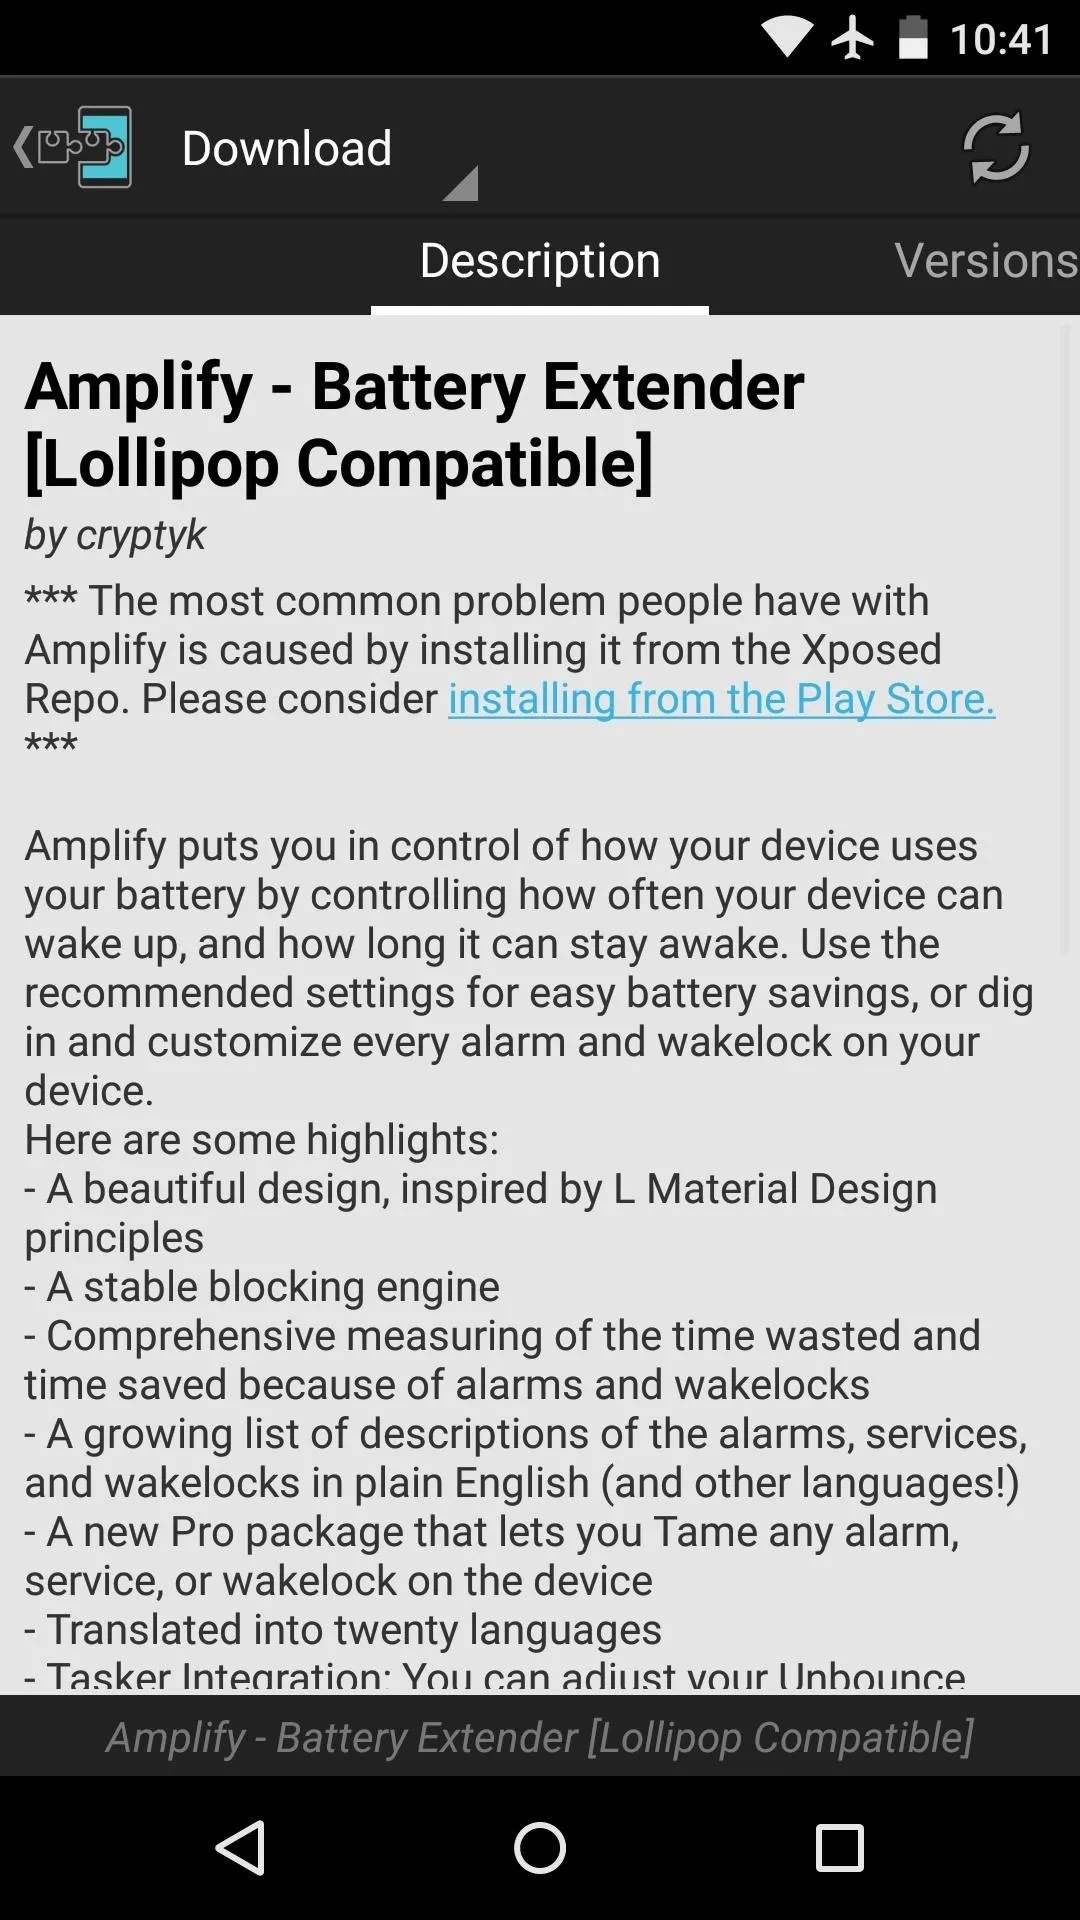
If you have the Xposed Framework installed, there's an awesome module that will let you restrict wakelocks without losing any functionality. It's called Amplify, and it basically allows you to decrease the frequency at which apps can request wakelocks.
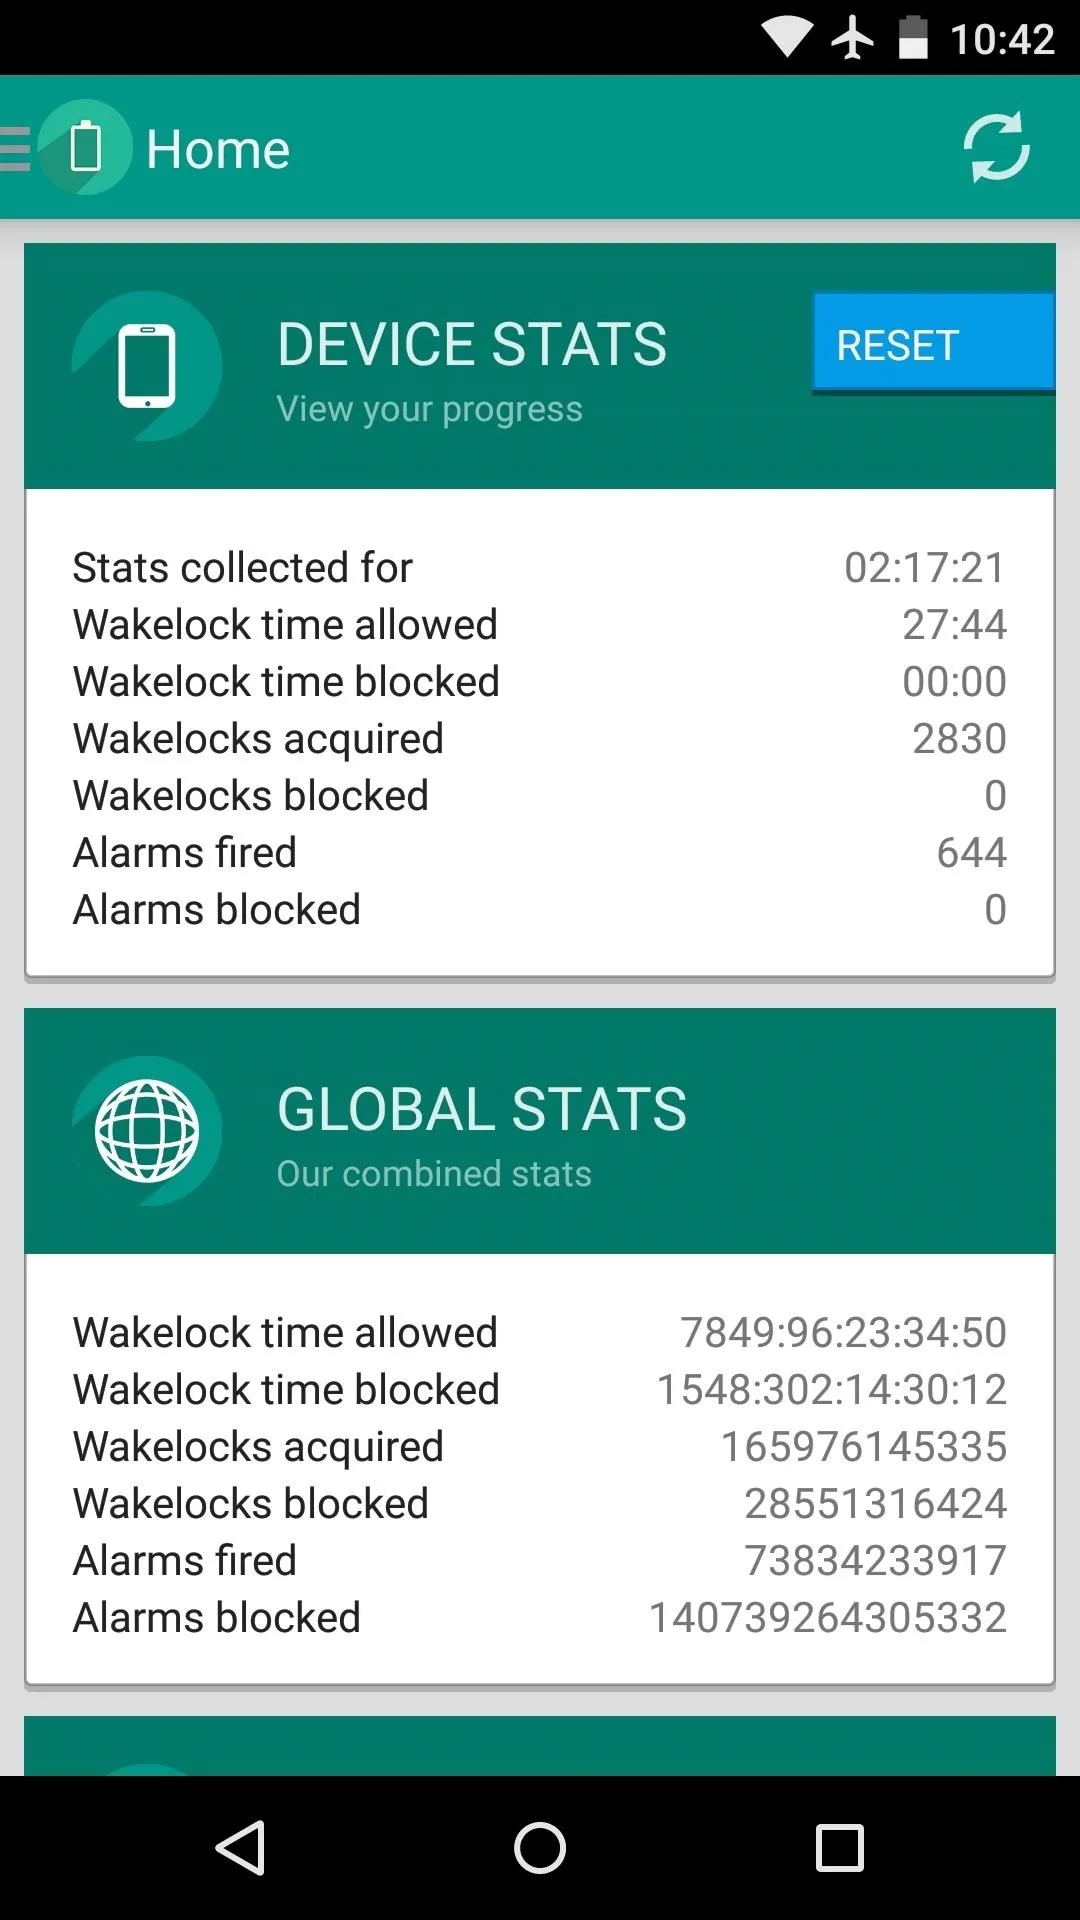


With your wakelocks under control, you should hopefully see a huge boost in battery life going forward.
Do you have any battery-saving tips that you'd like to share? Let us know in the comment section below, or drop us a line on Android Hacks' Facebook or Twitter, or Gadget Hacks' Facebook, Google+, or Twitter.



Comments
No Comments Exist
Be the first, drop a comment!